The Timothy Halsey House
Our renovation of an historic 225-year-old timber-frame farmhouse on the South Fork of Long Island

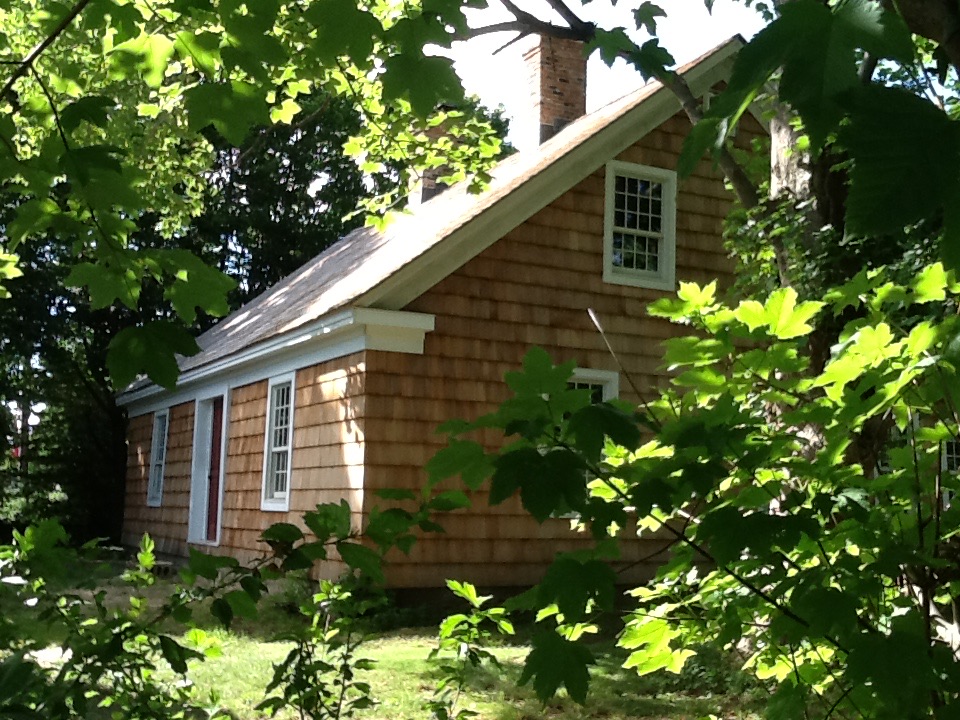
Built c. 1790 the Timothy Halsey House is protected by an historic lien put in place to preserve the size, location, and appearance of the historic structure.
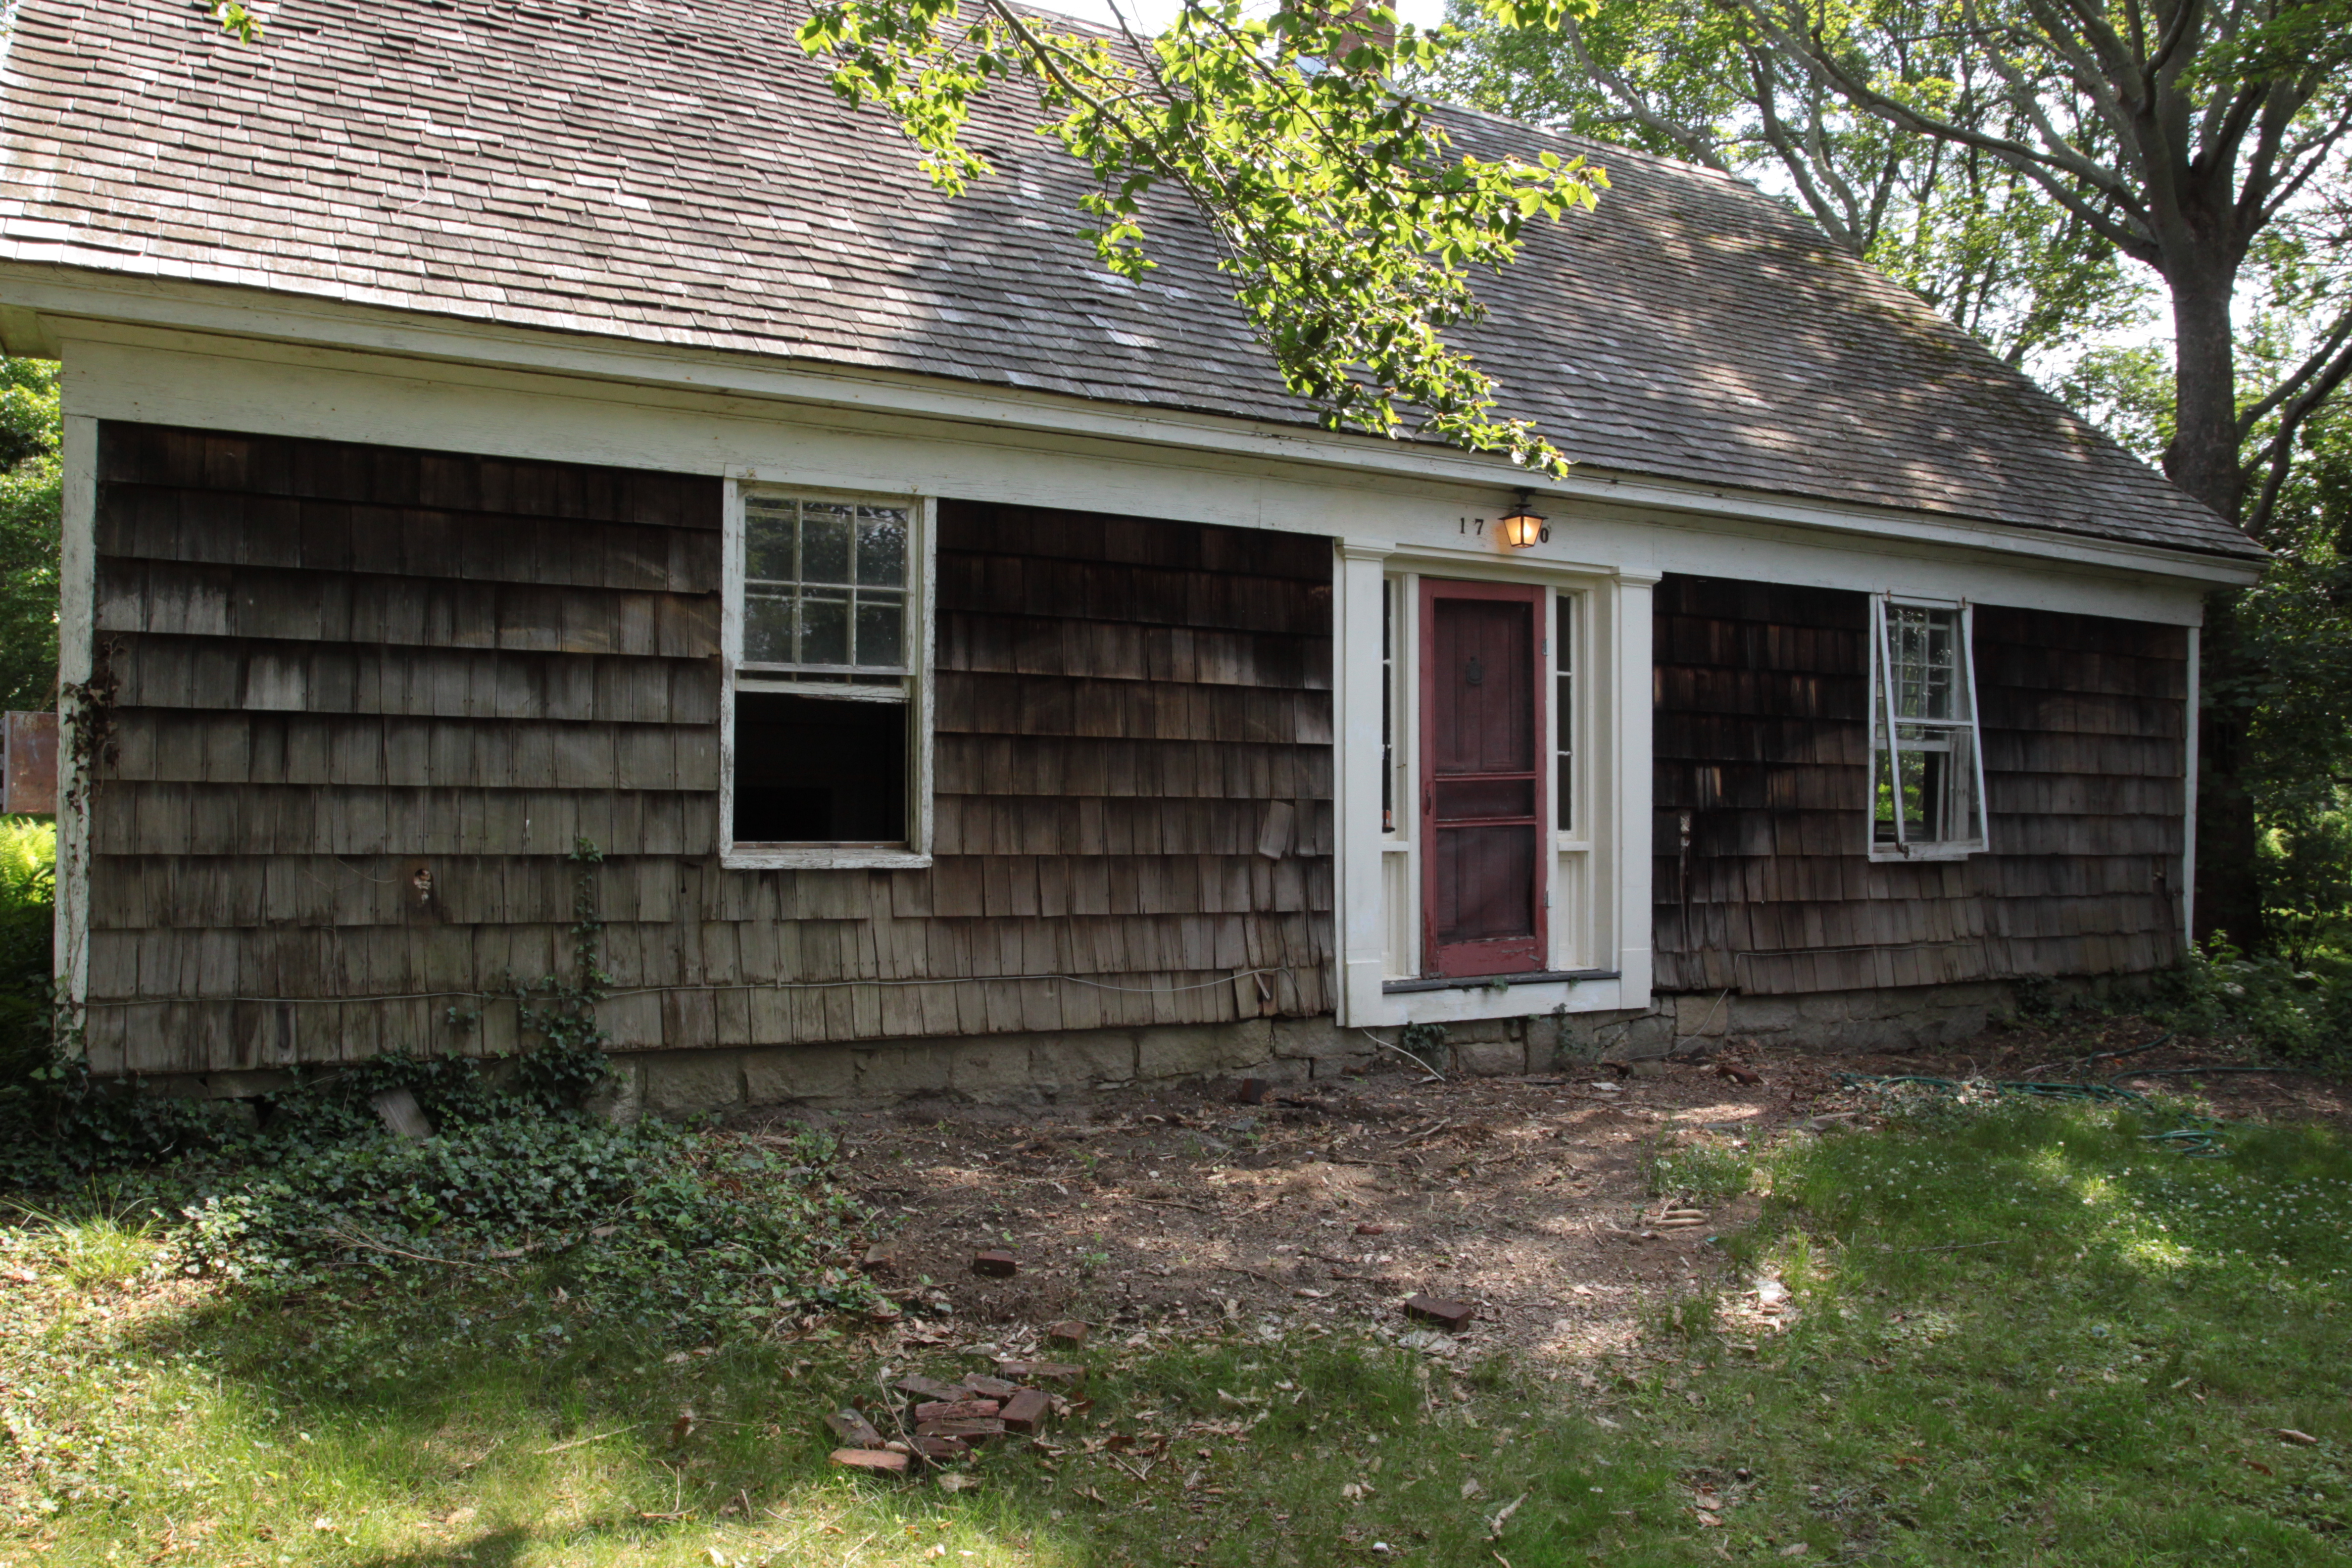
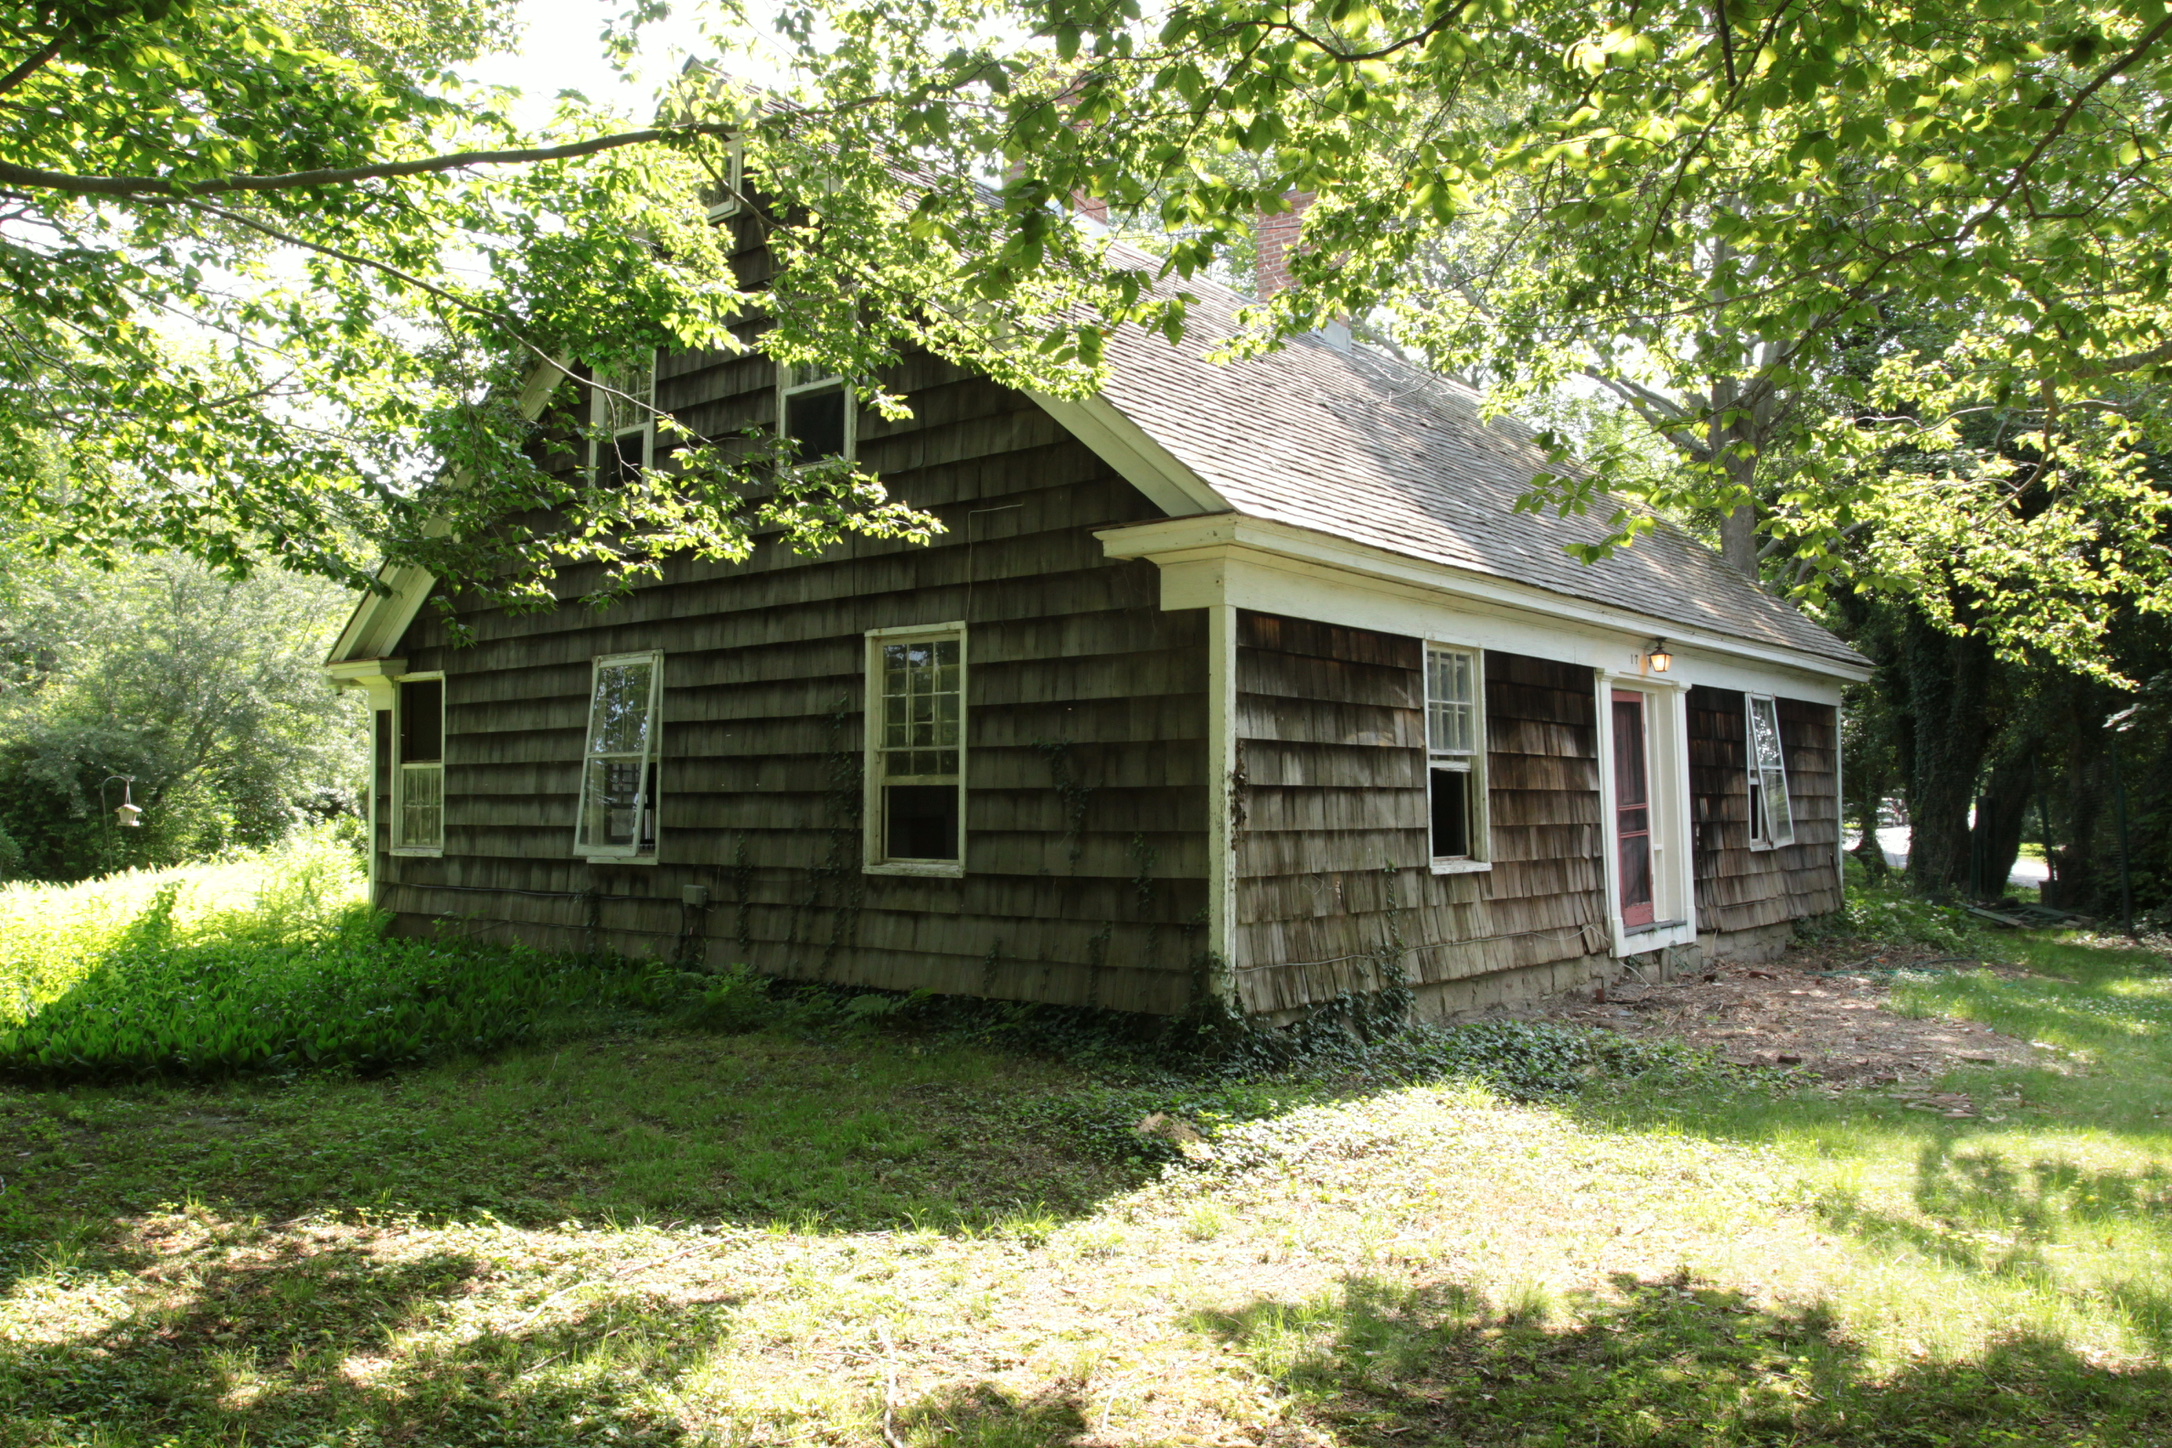
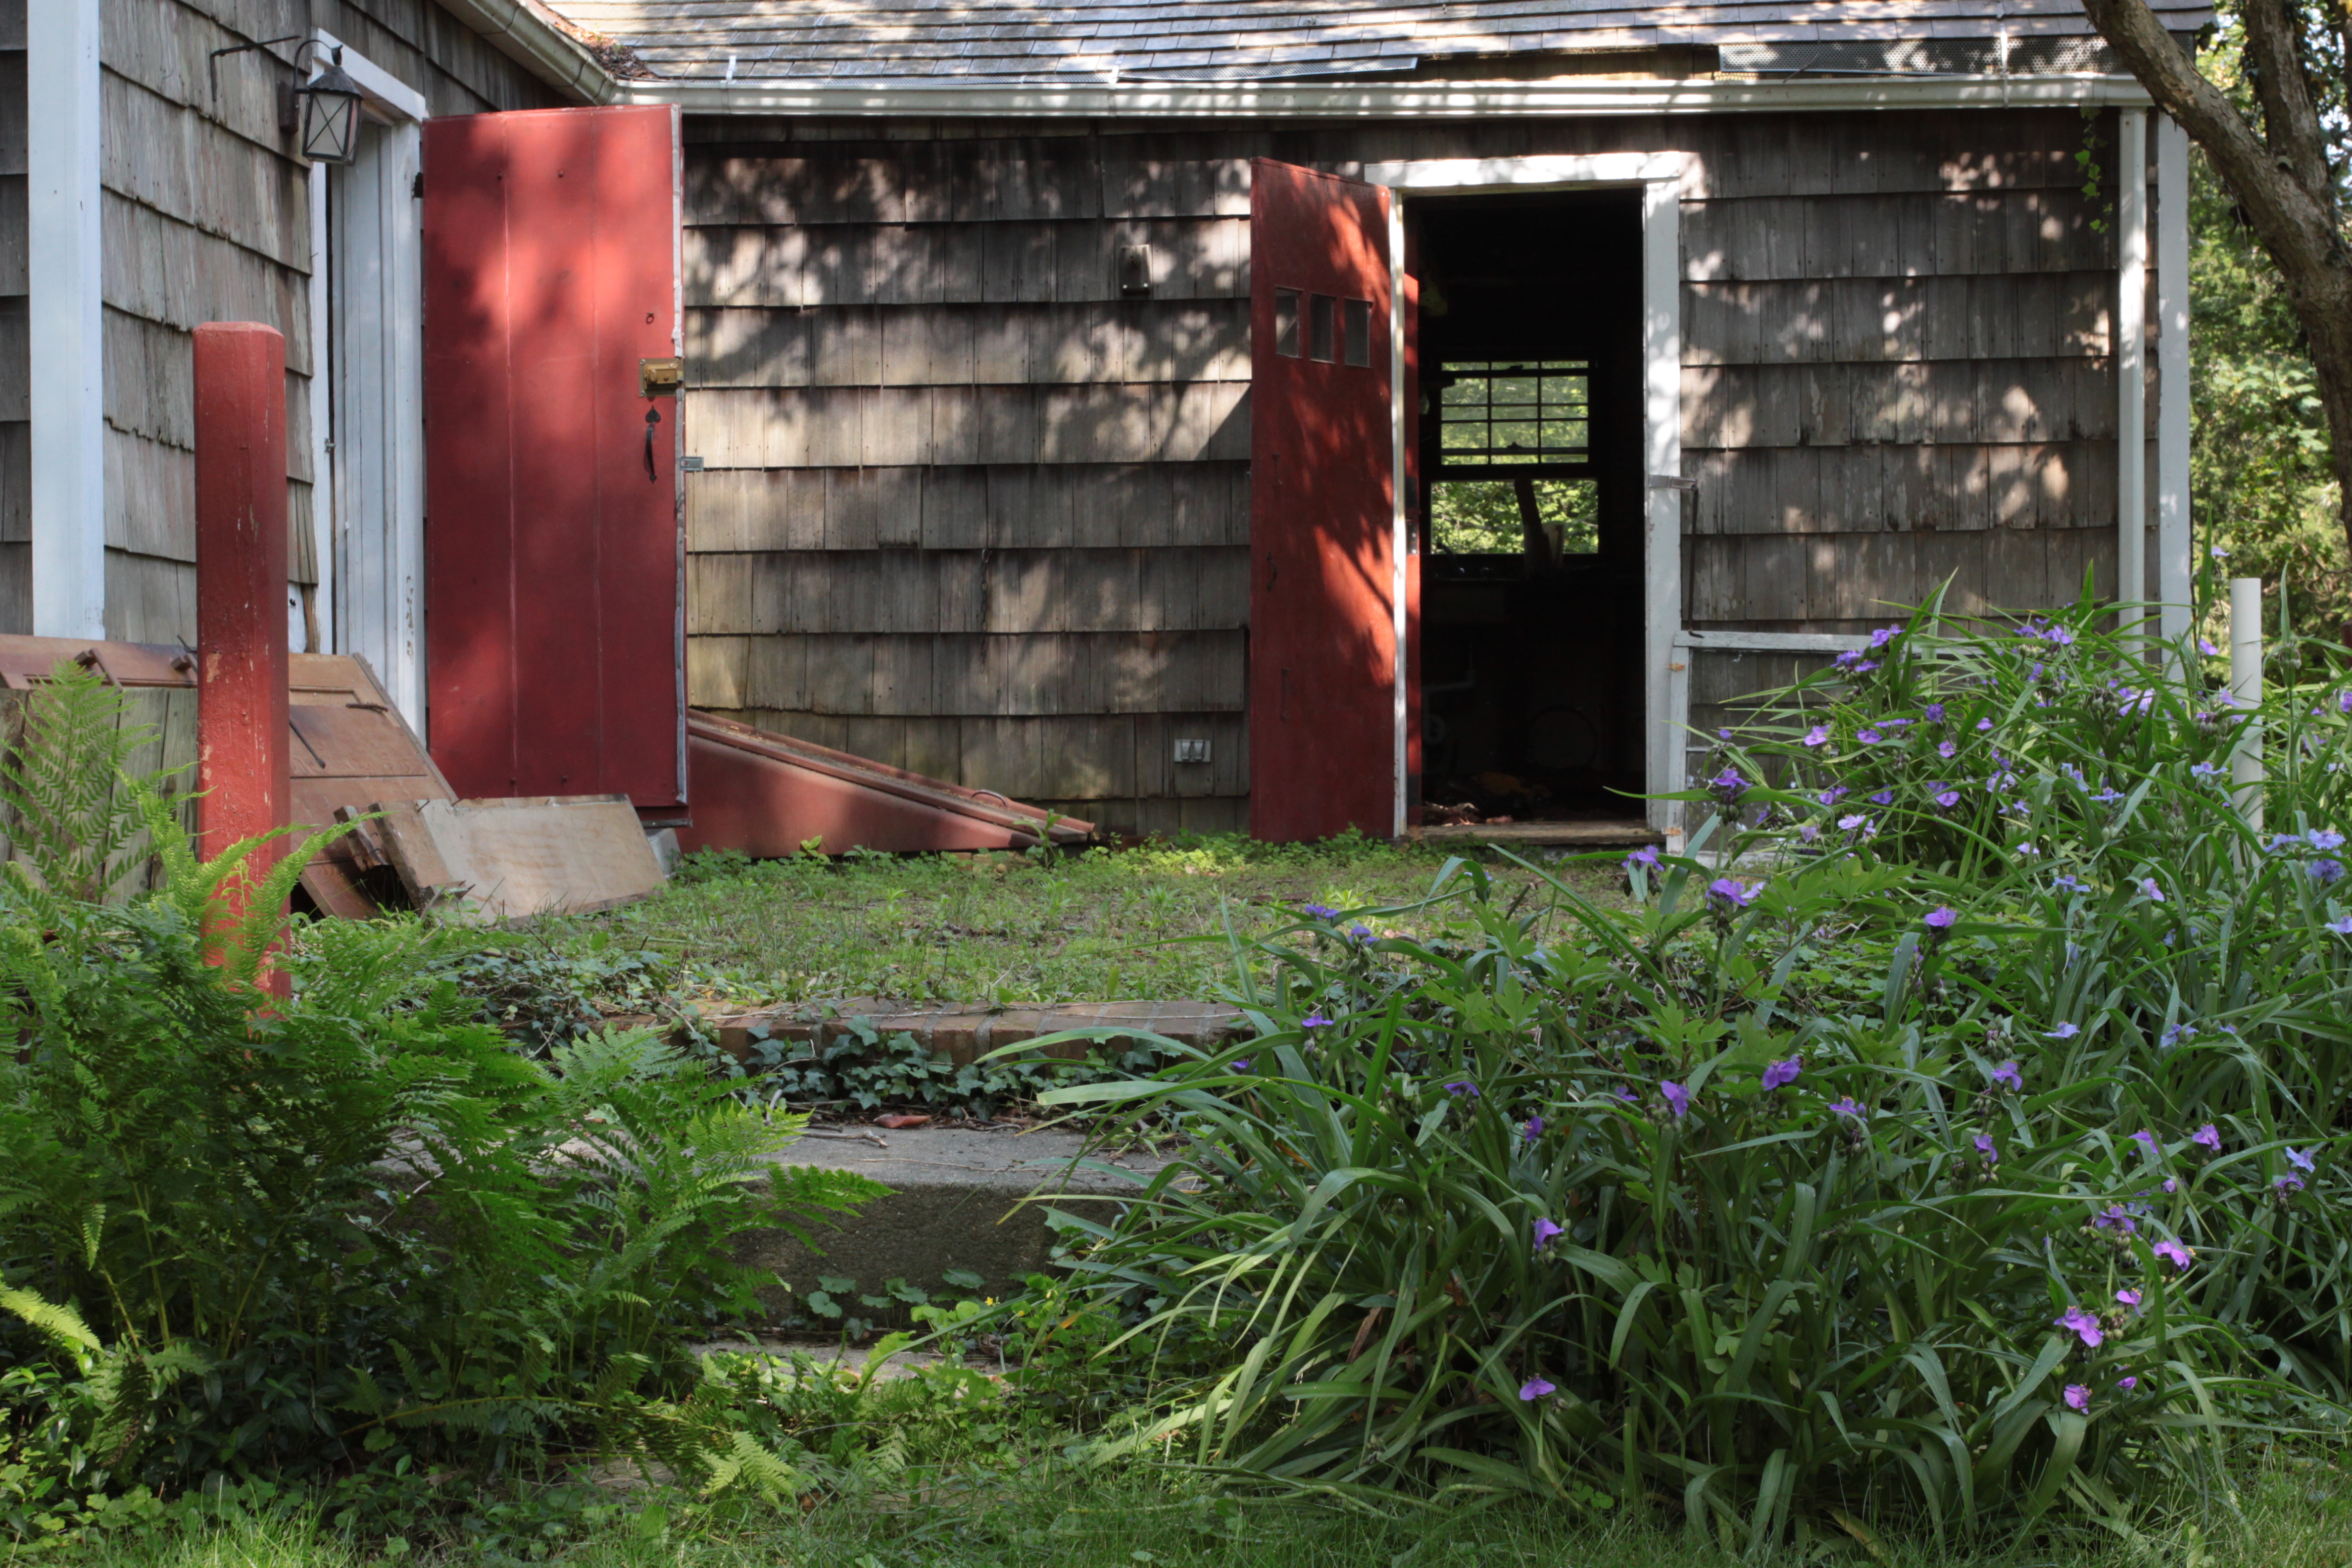
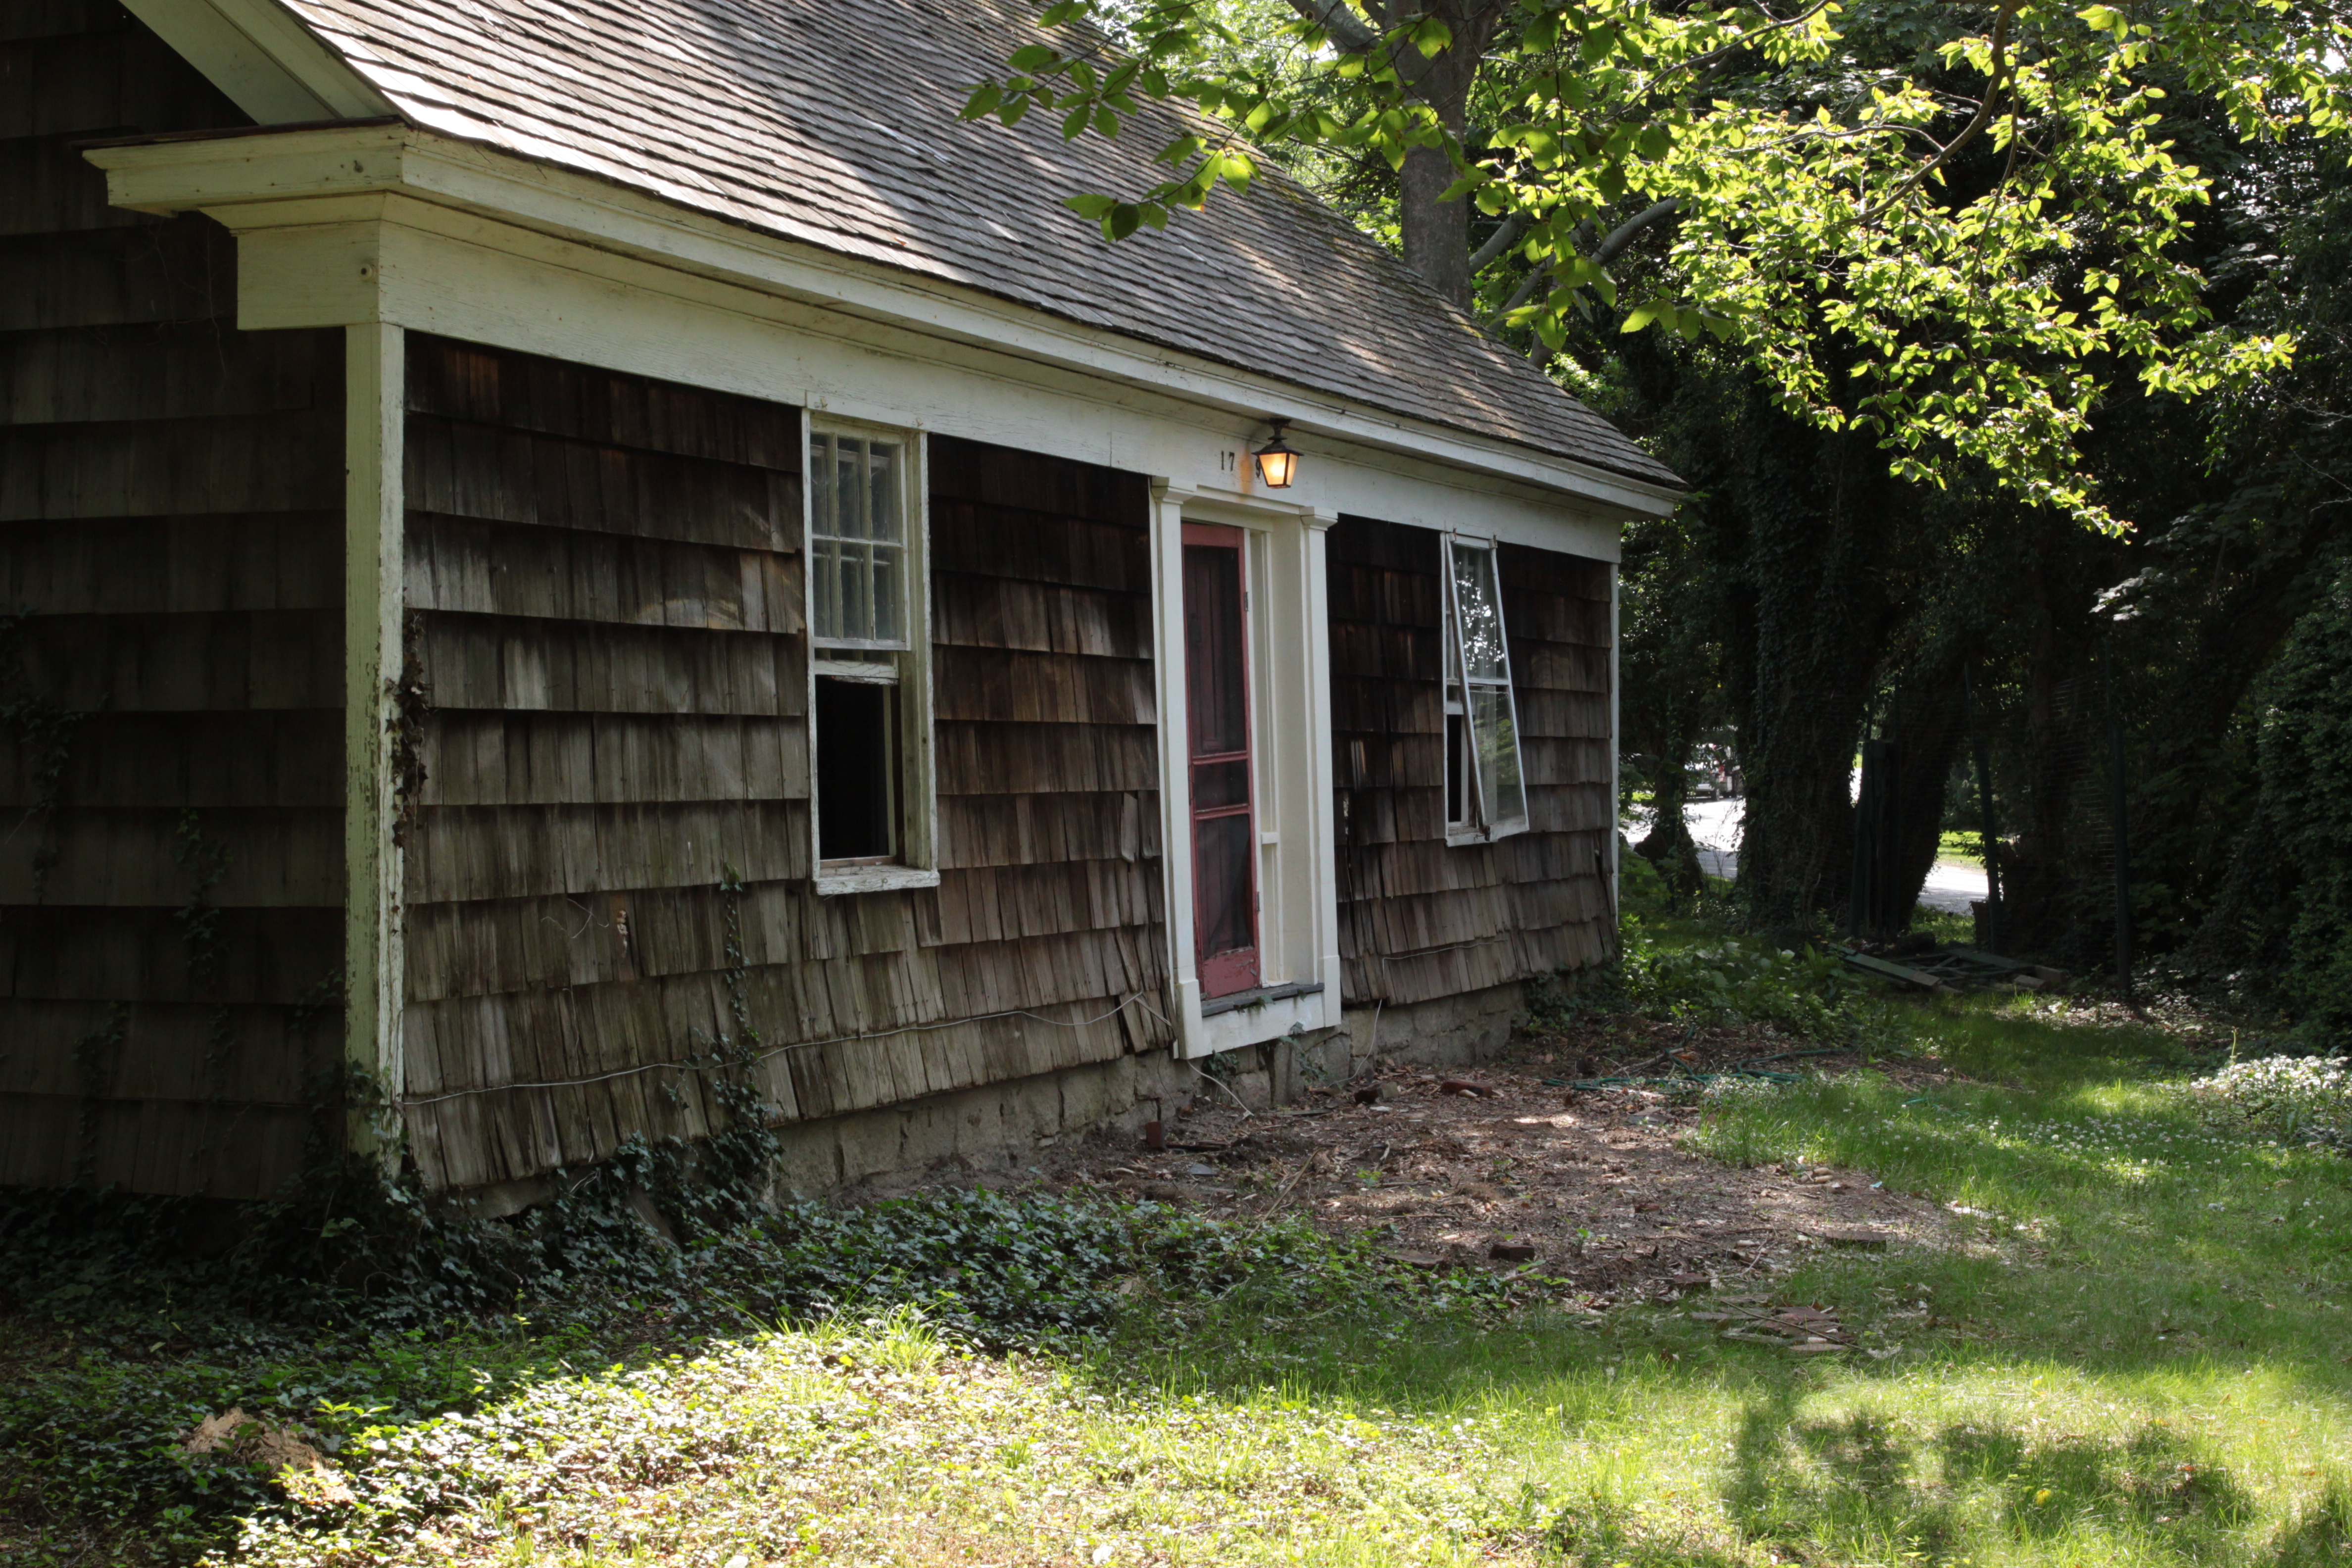
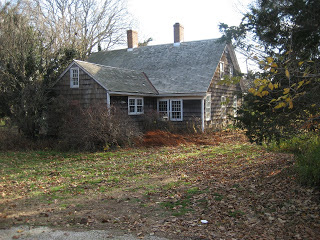
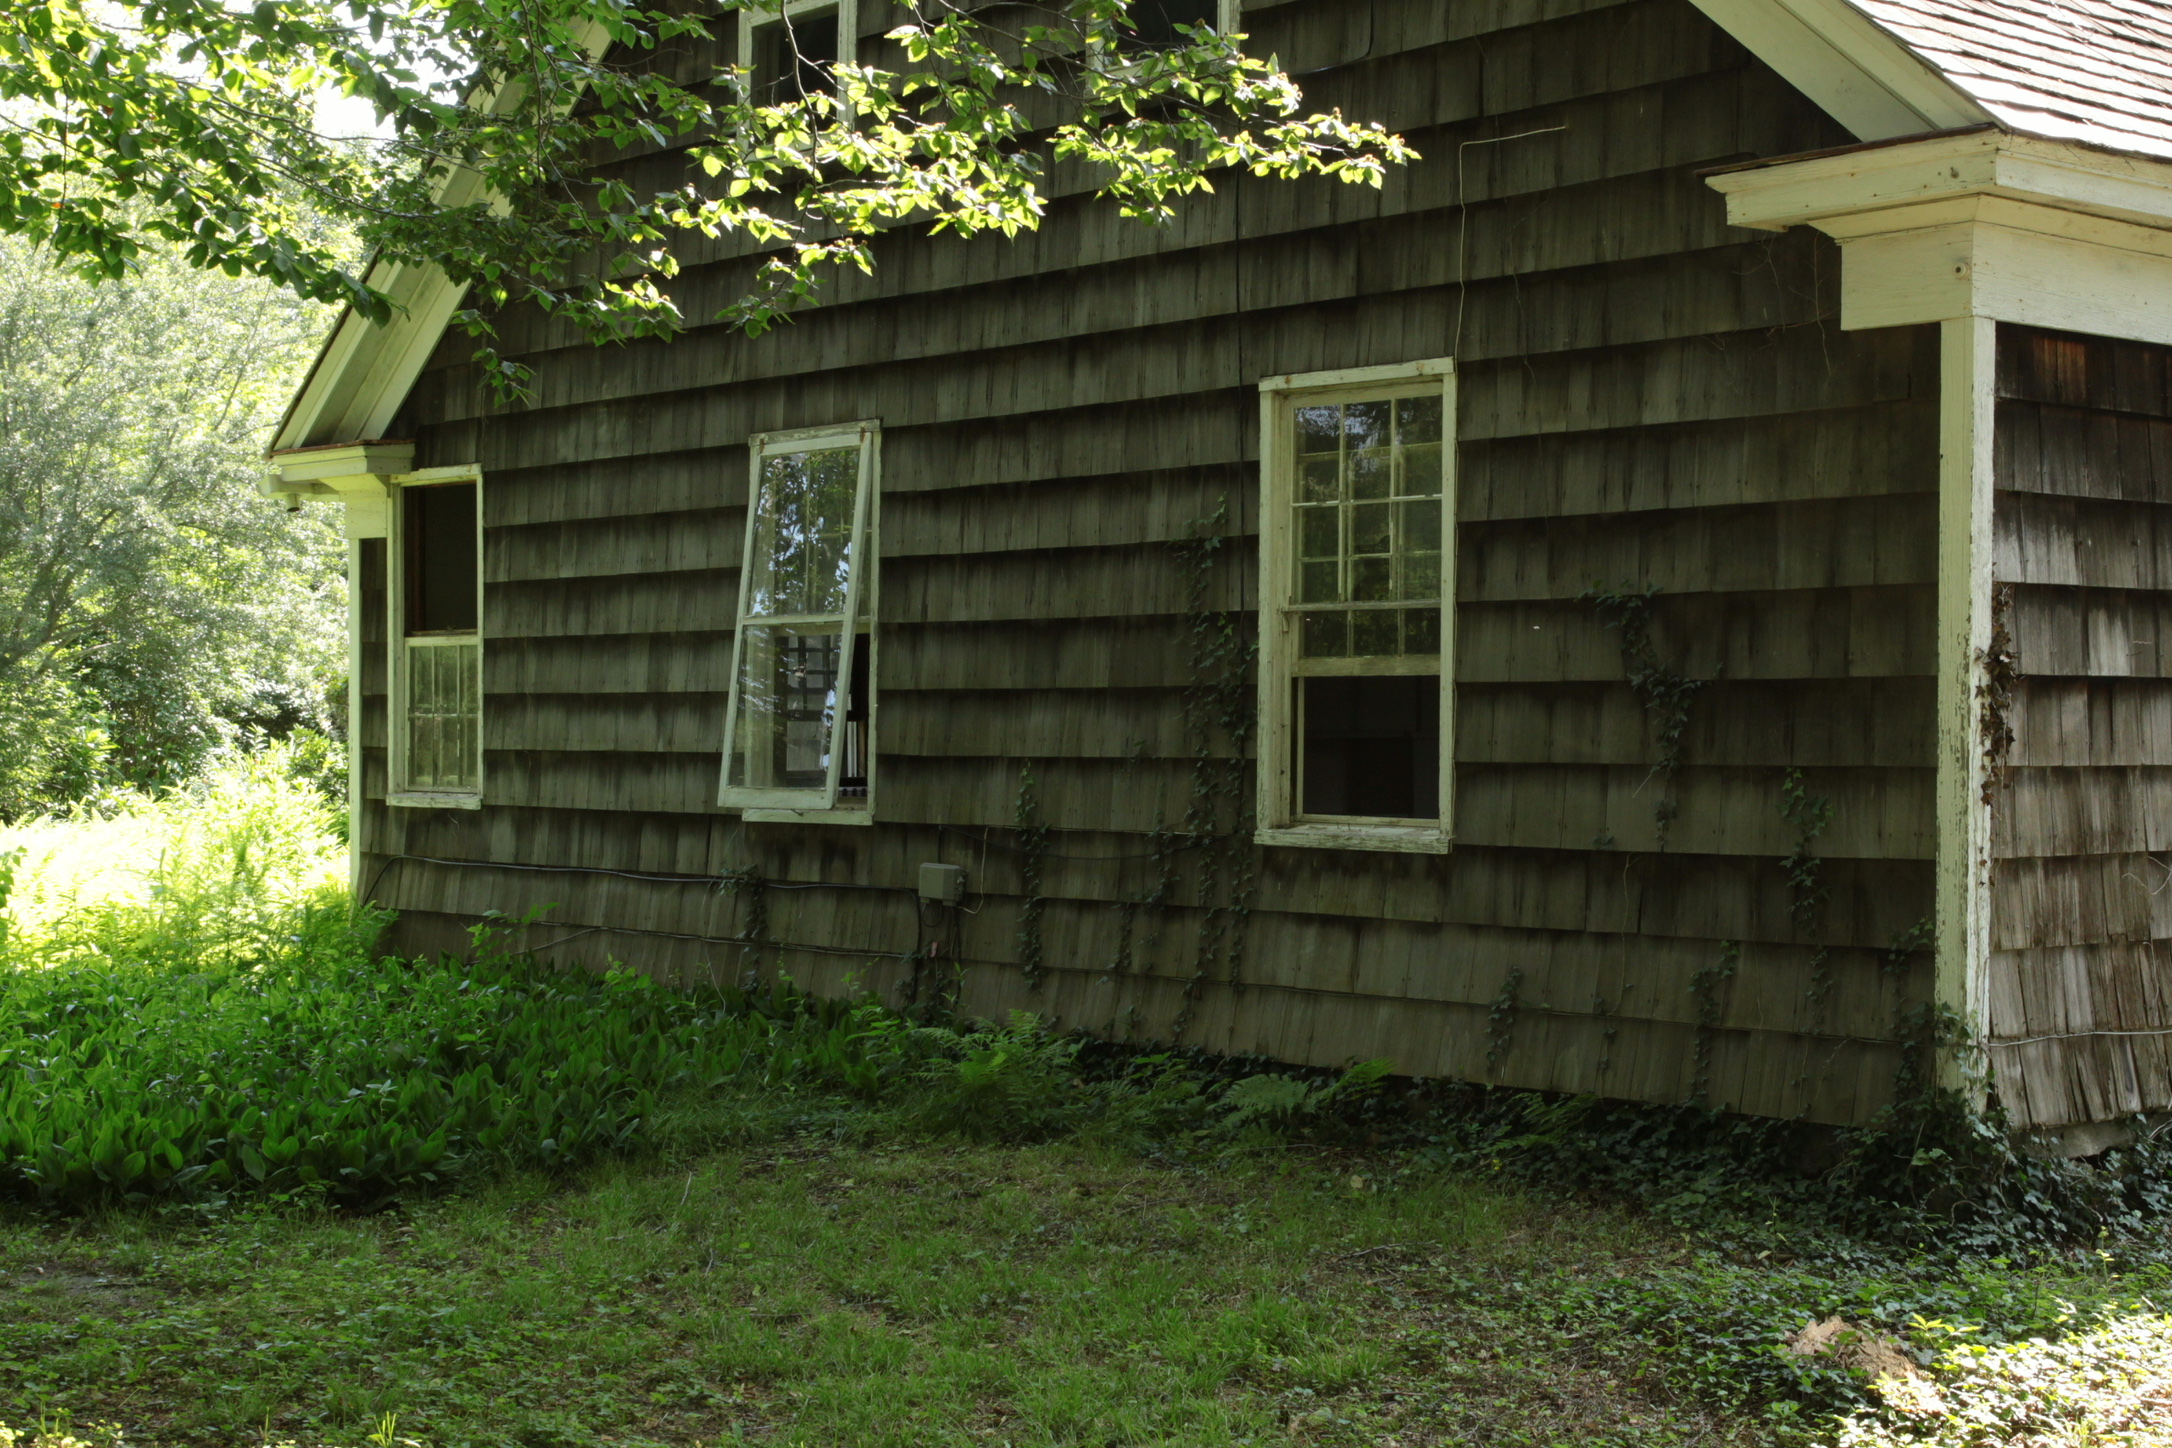
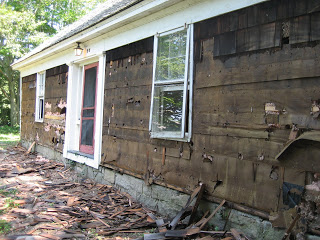
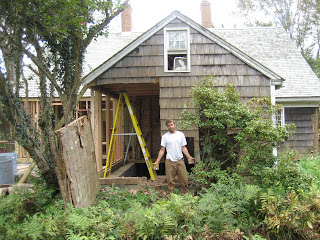
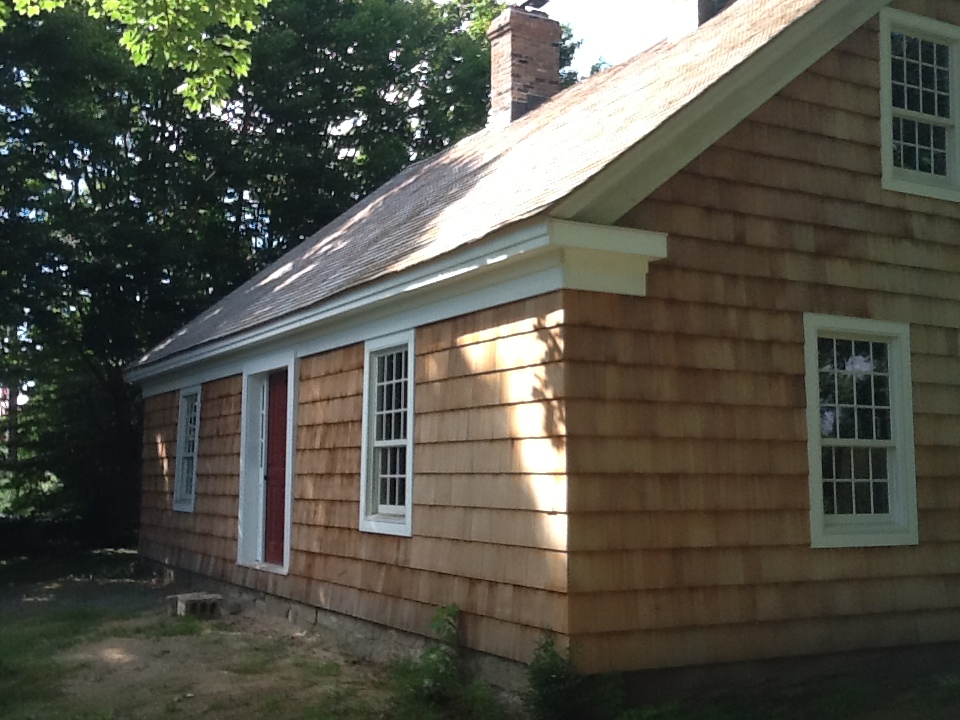
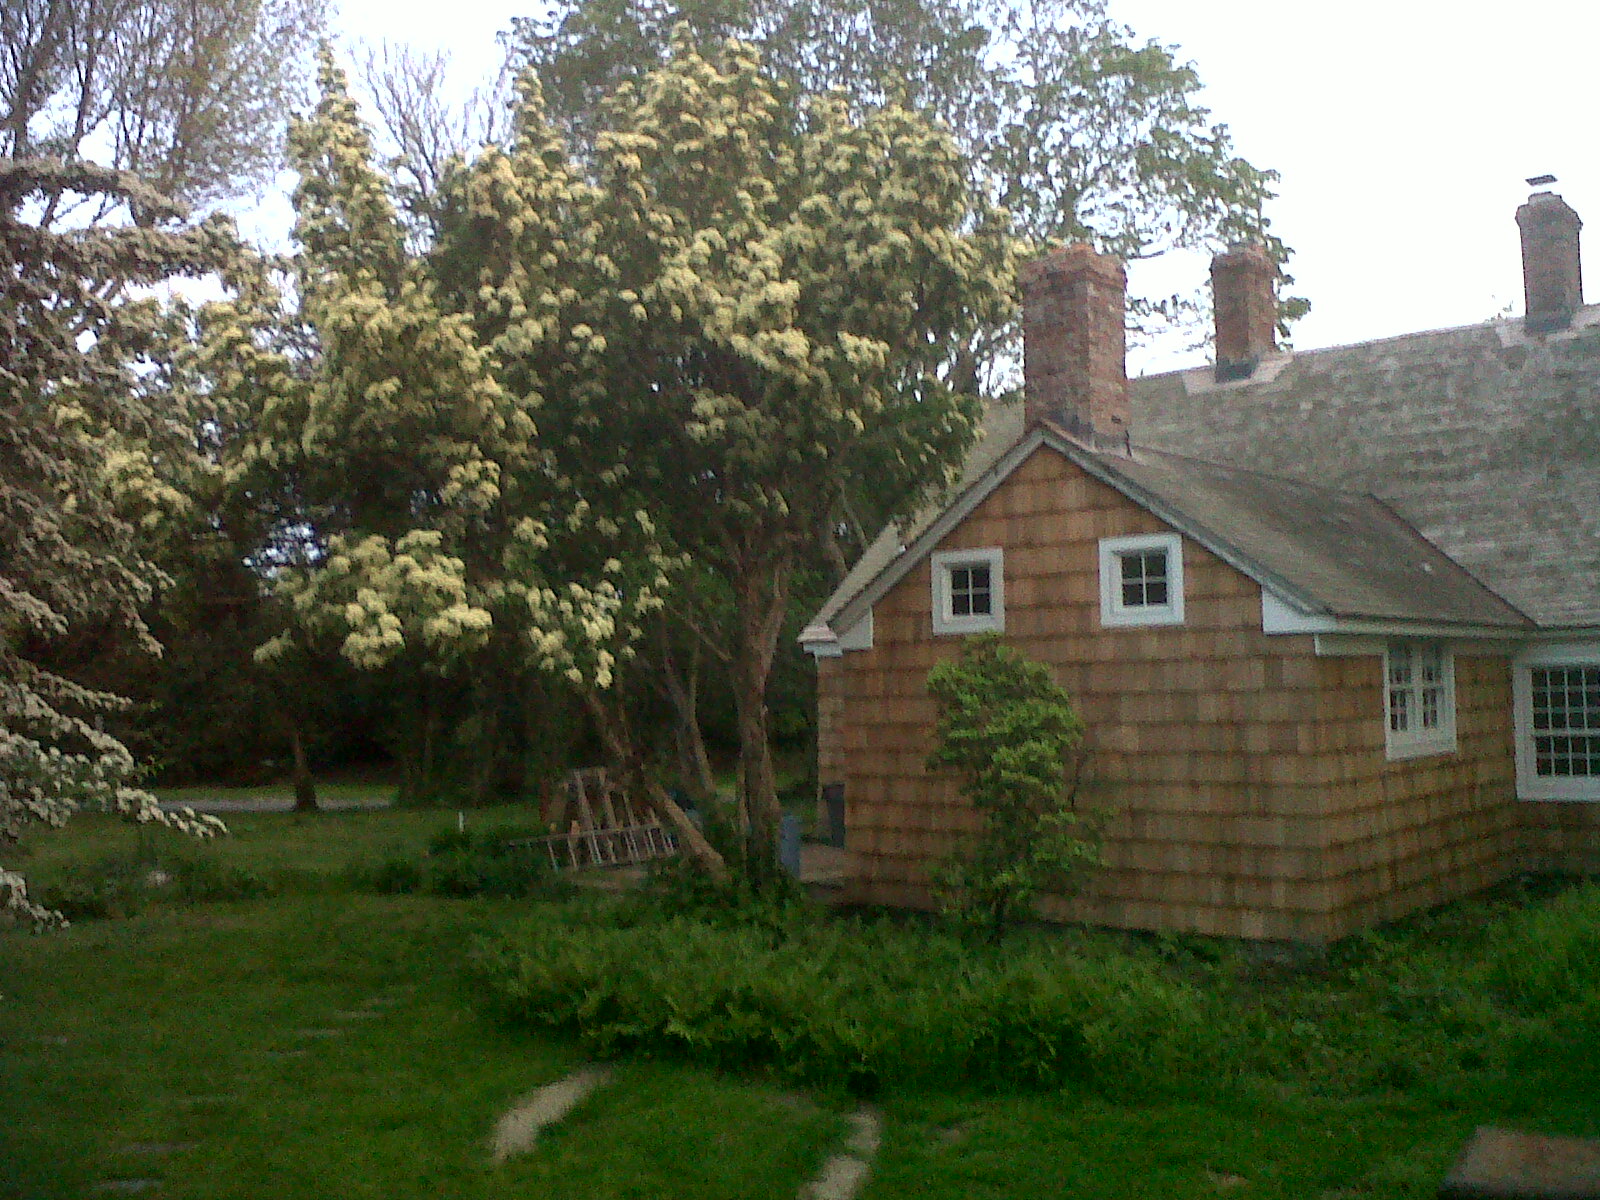
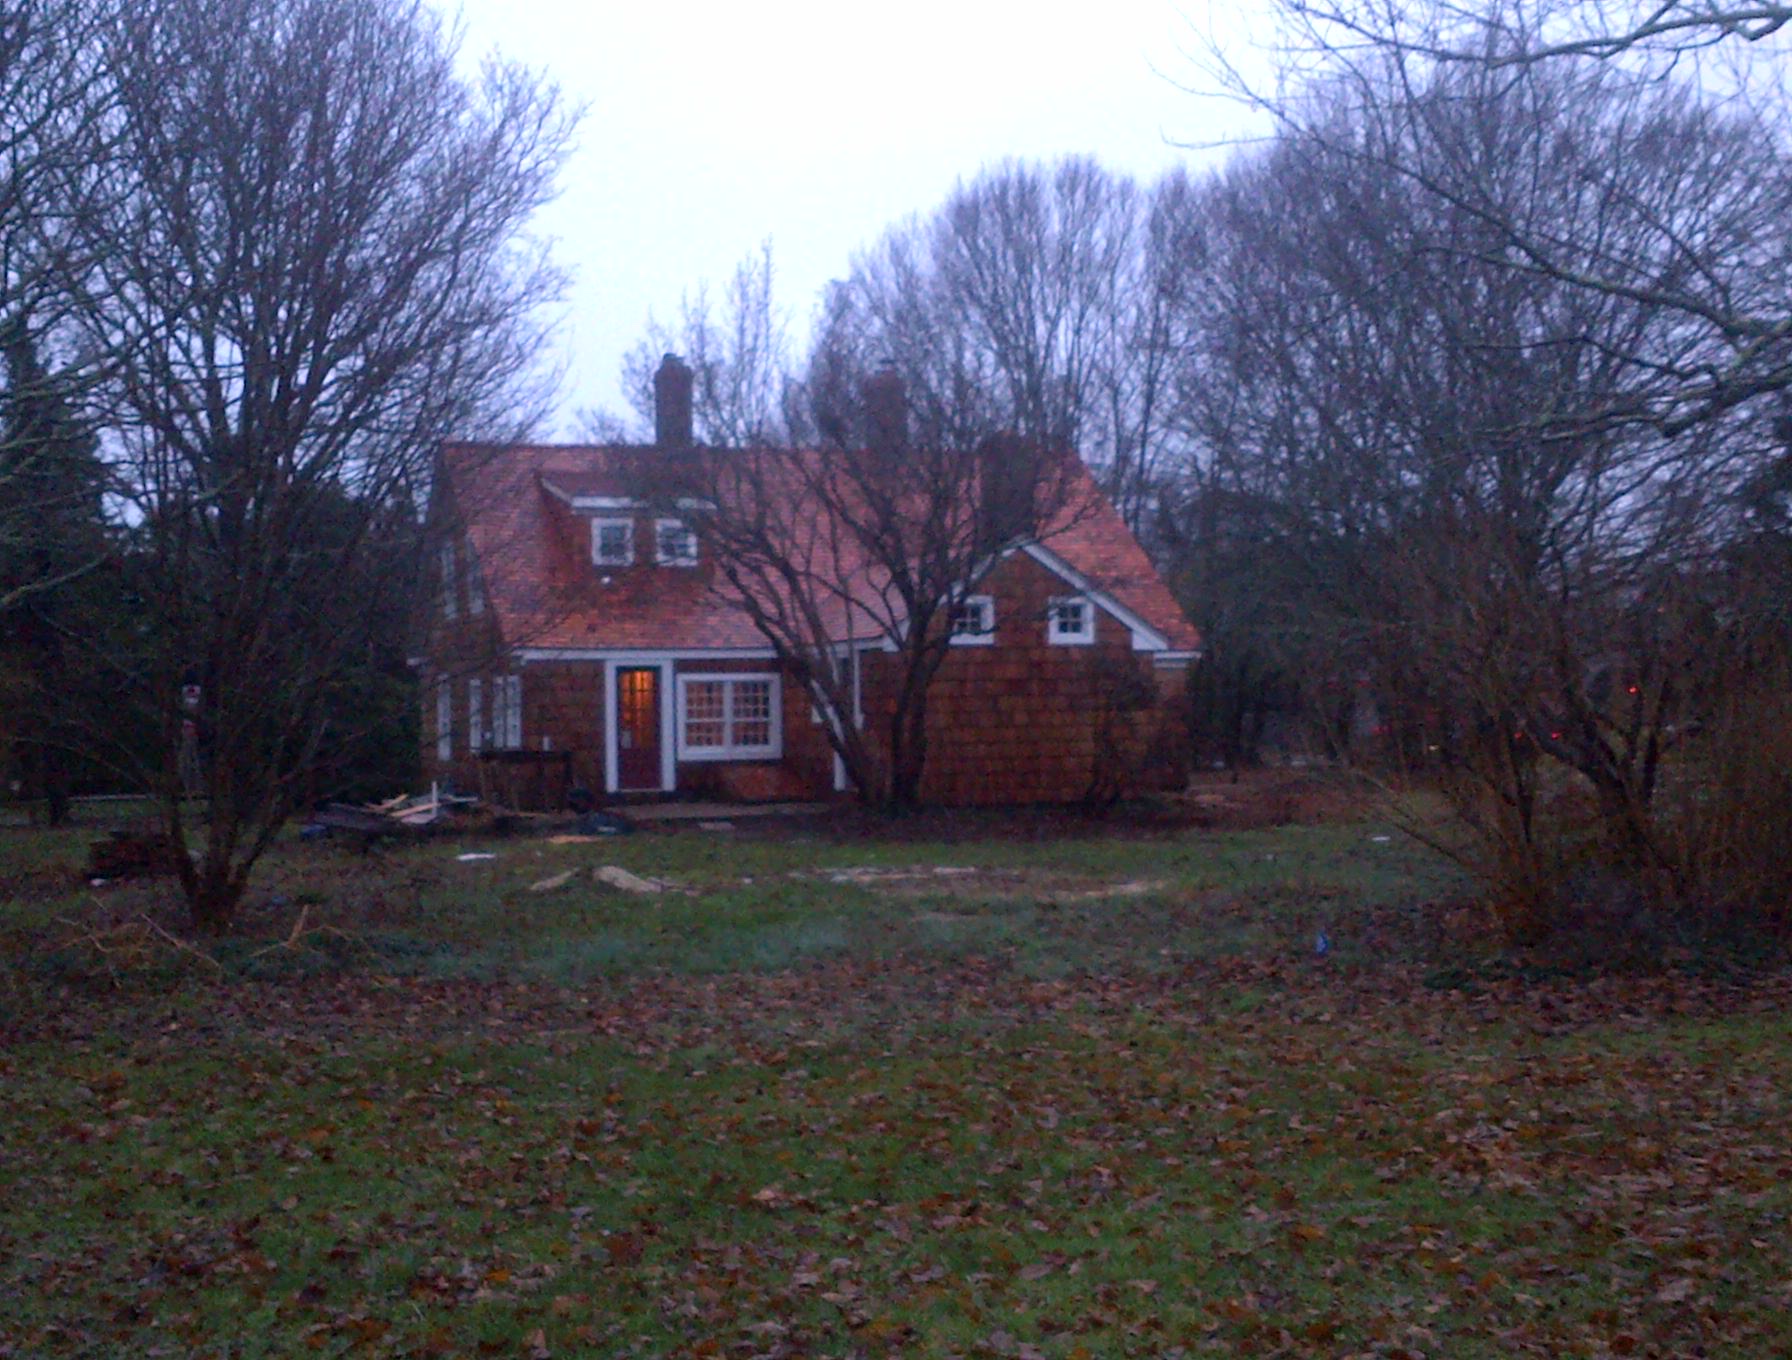
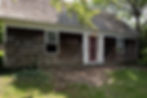
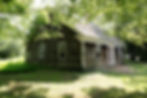
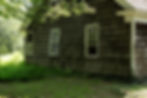
Exterior - before
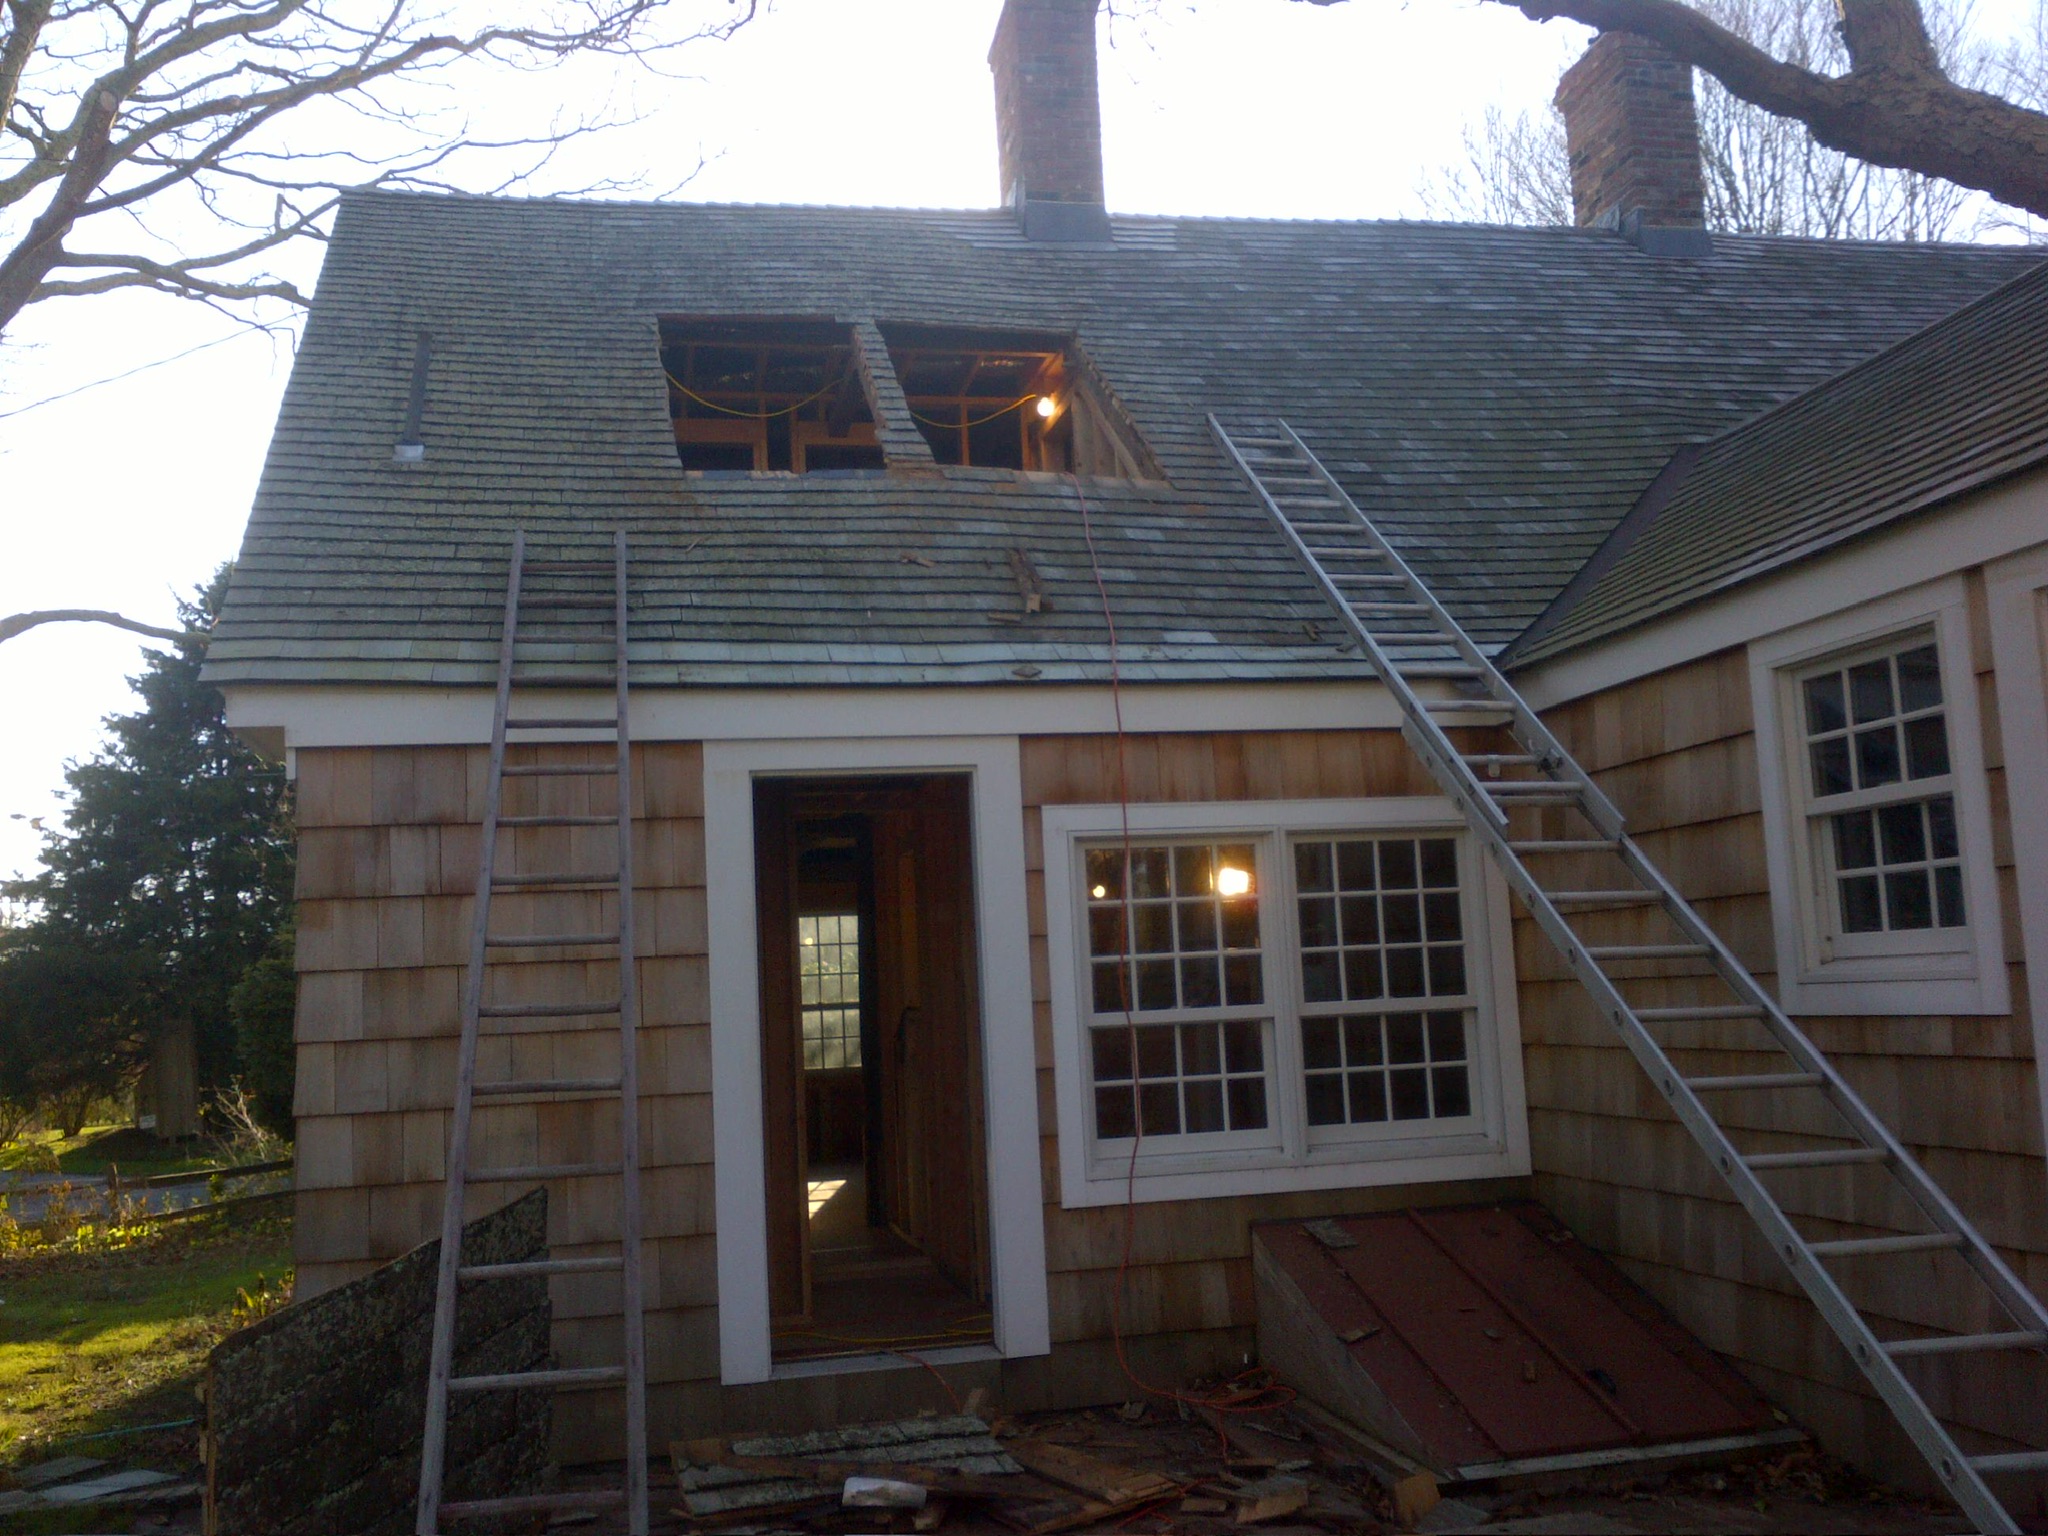
When we bought the property in 2012, the house and property had fallen into disrepair. The prior owners had loved and preserved the house relatively untouched for over 50 years. But in later years, the house became more difficult to maintain. When we acquired it, the house had been empty for over two years. Sections of the foundation had settled. Sill beams and structural beams had dry rot. The siding, windows, and roof were leaking, and the mechanical systems were either non-existent or substantially out of date.


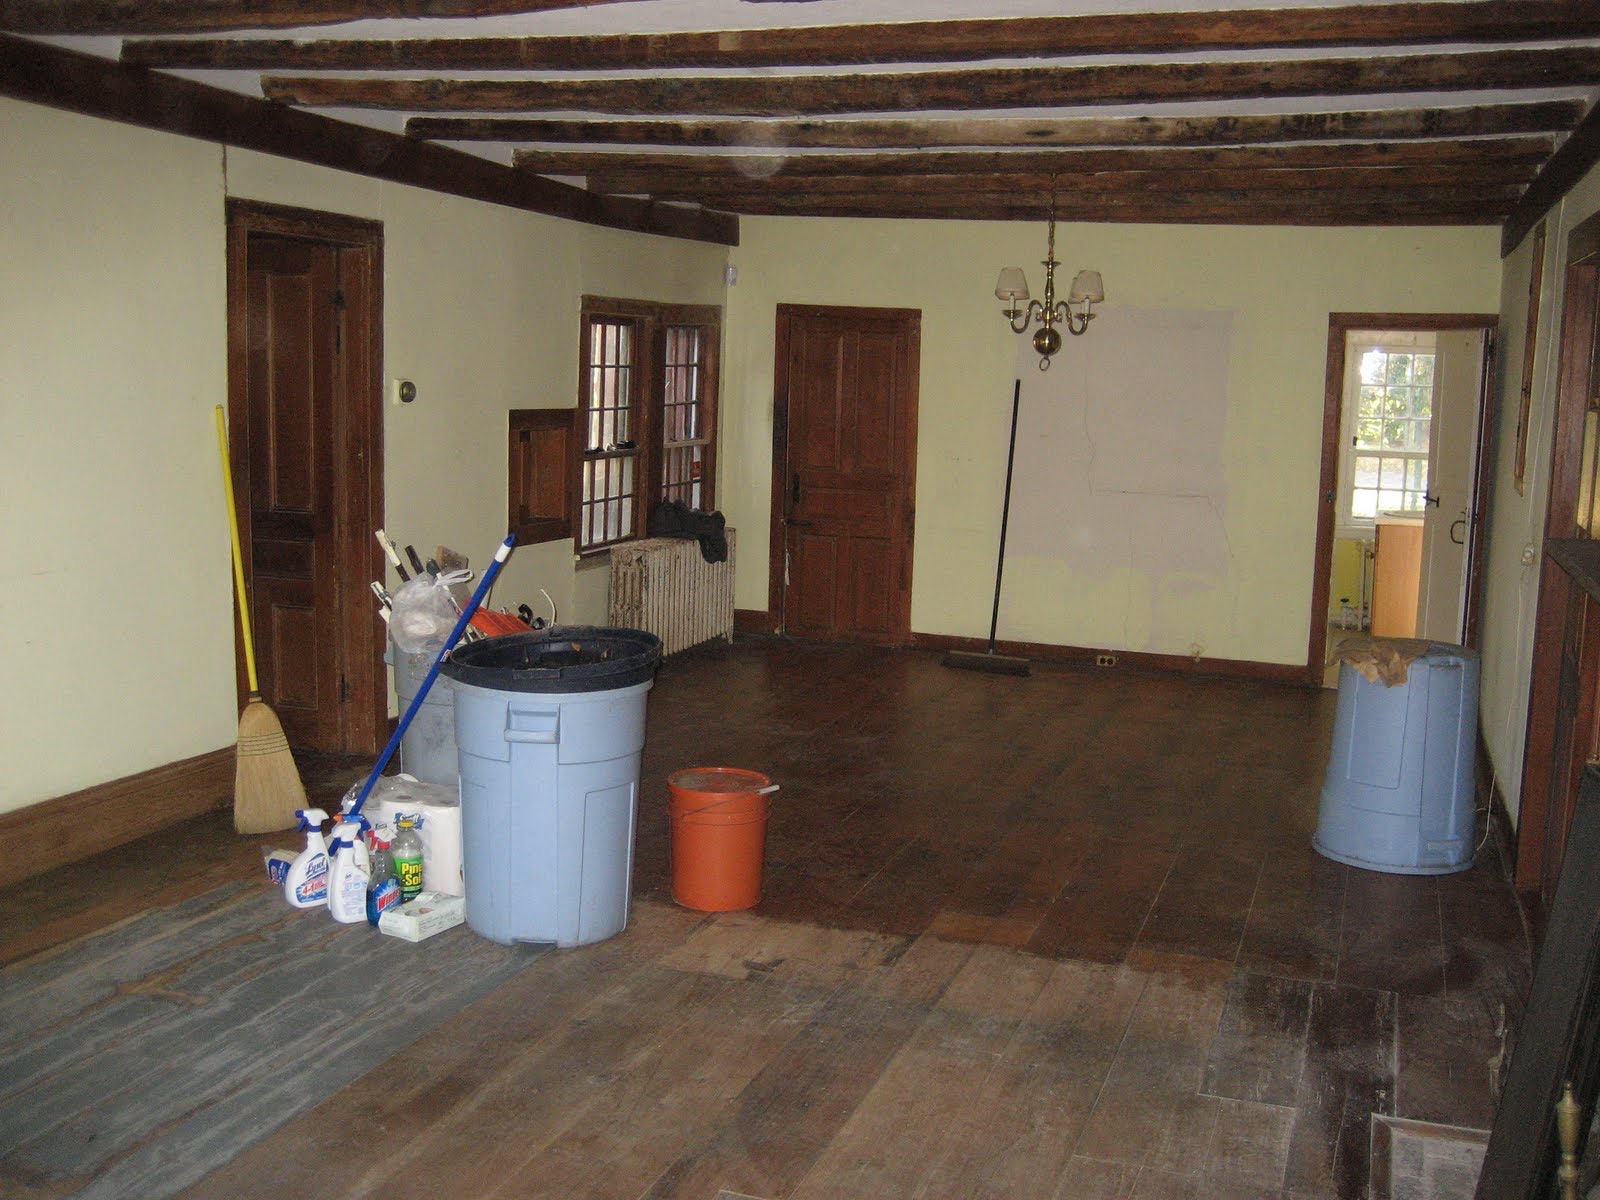
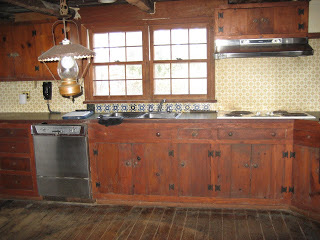
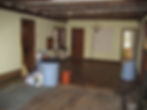
Interior - before
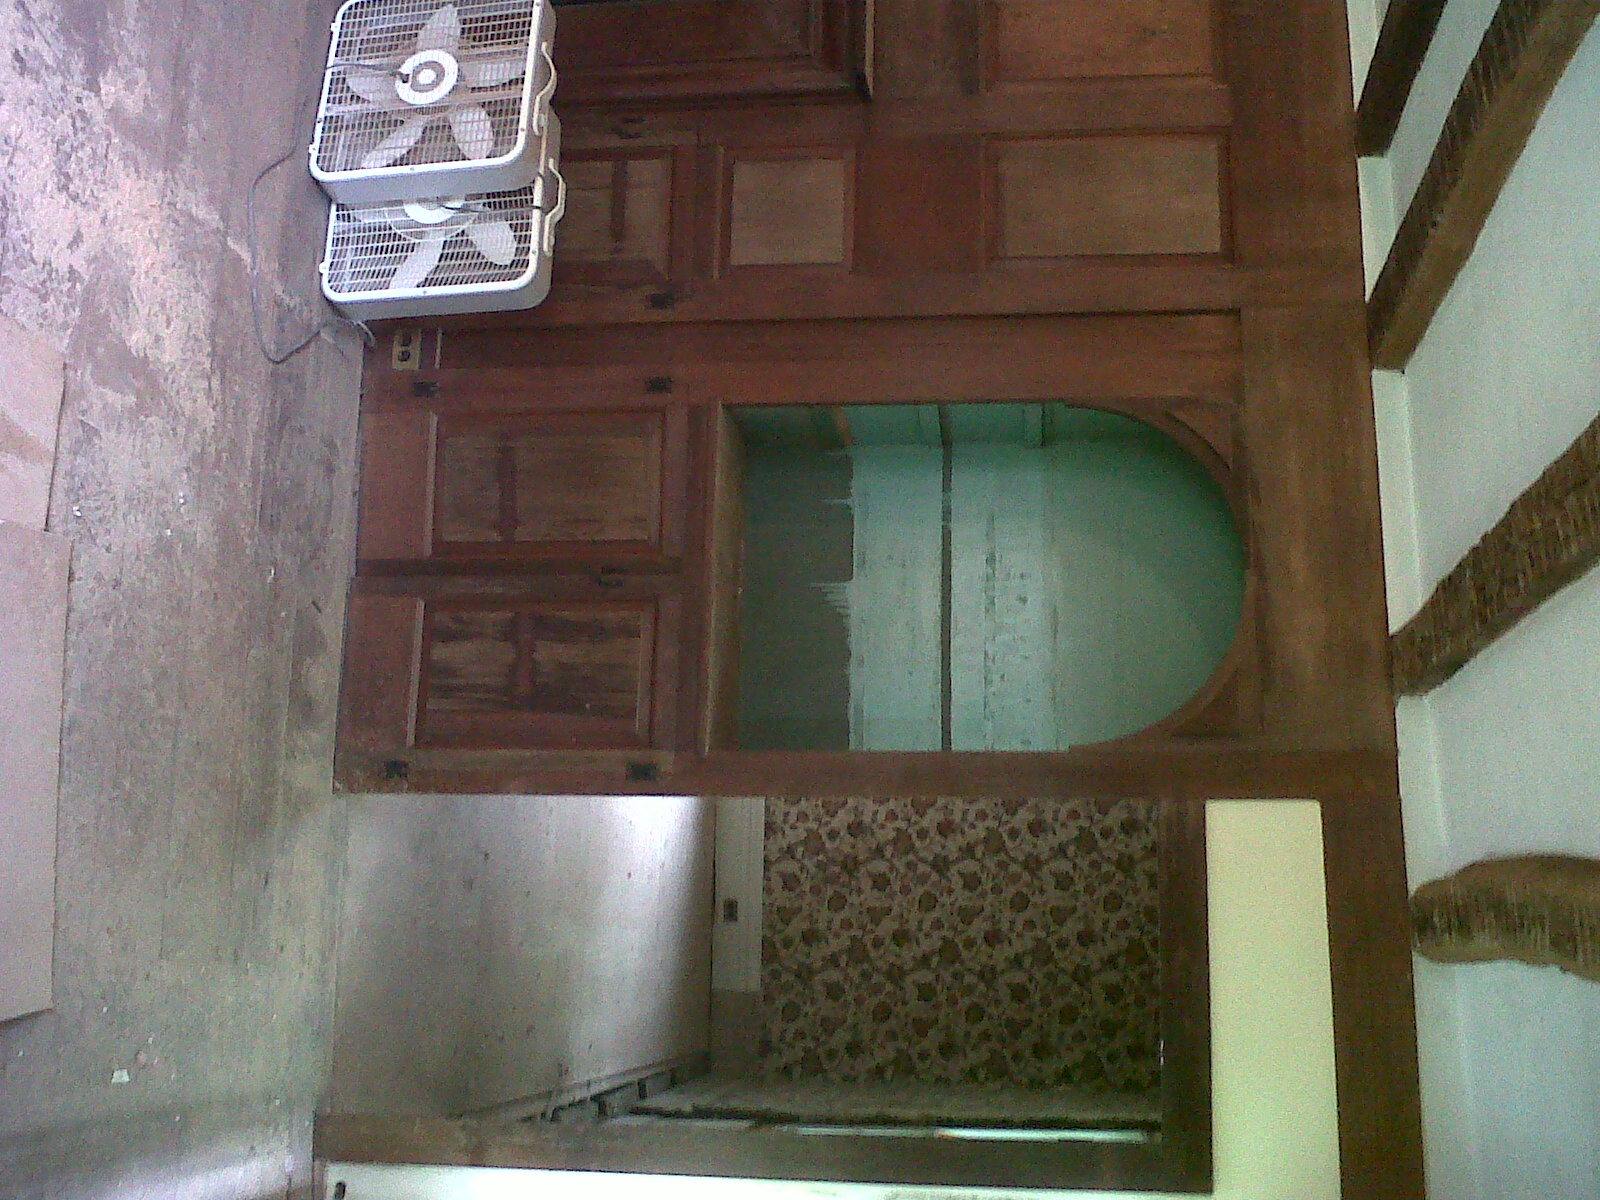
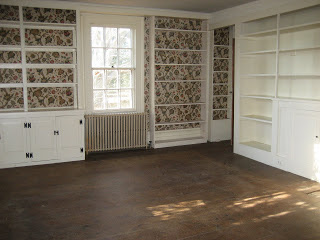
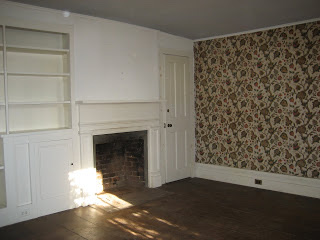
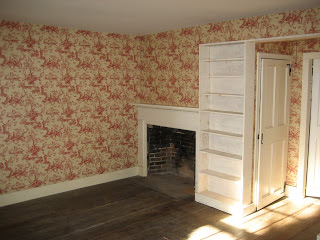
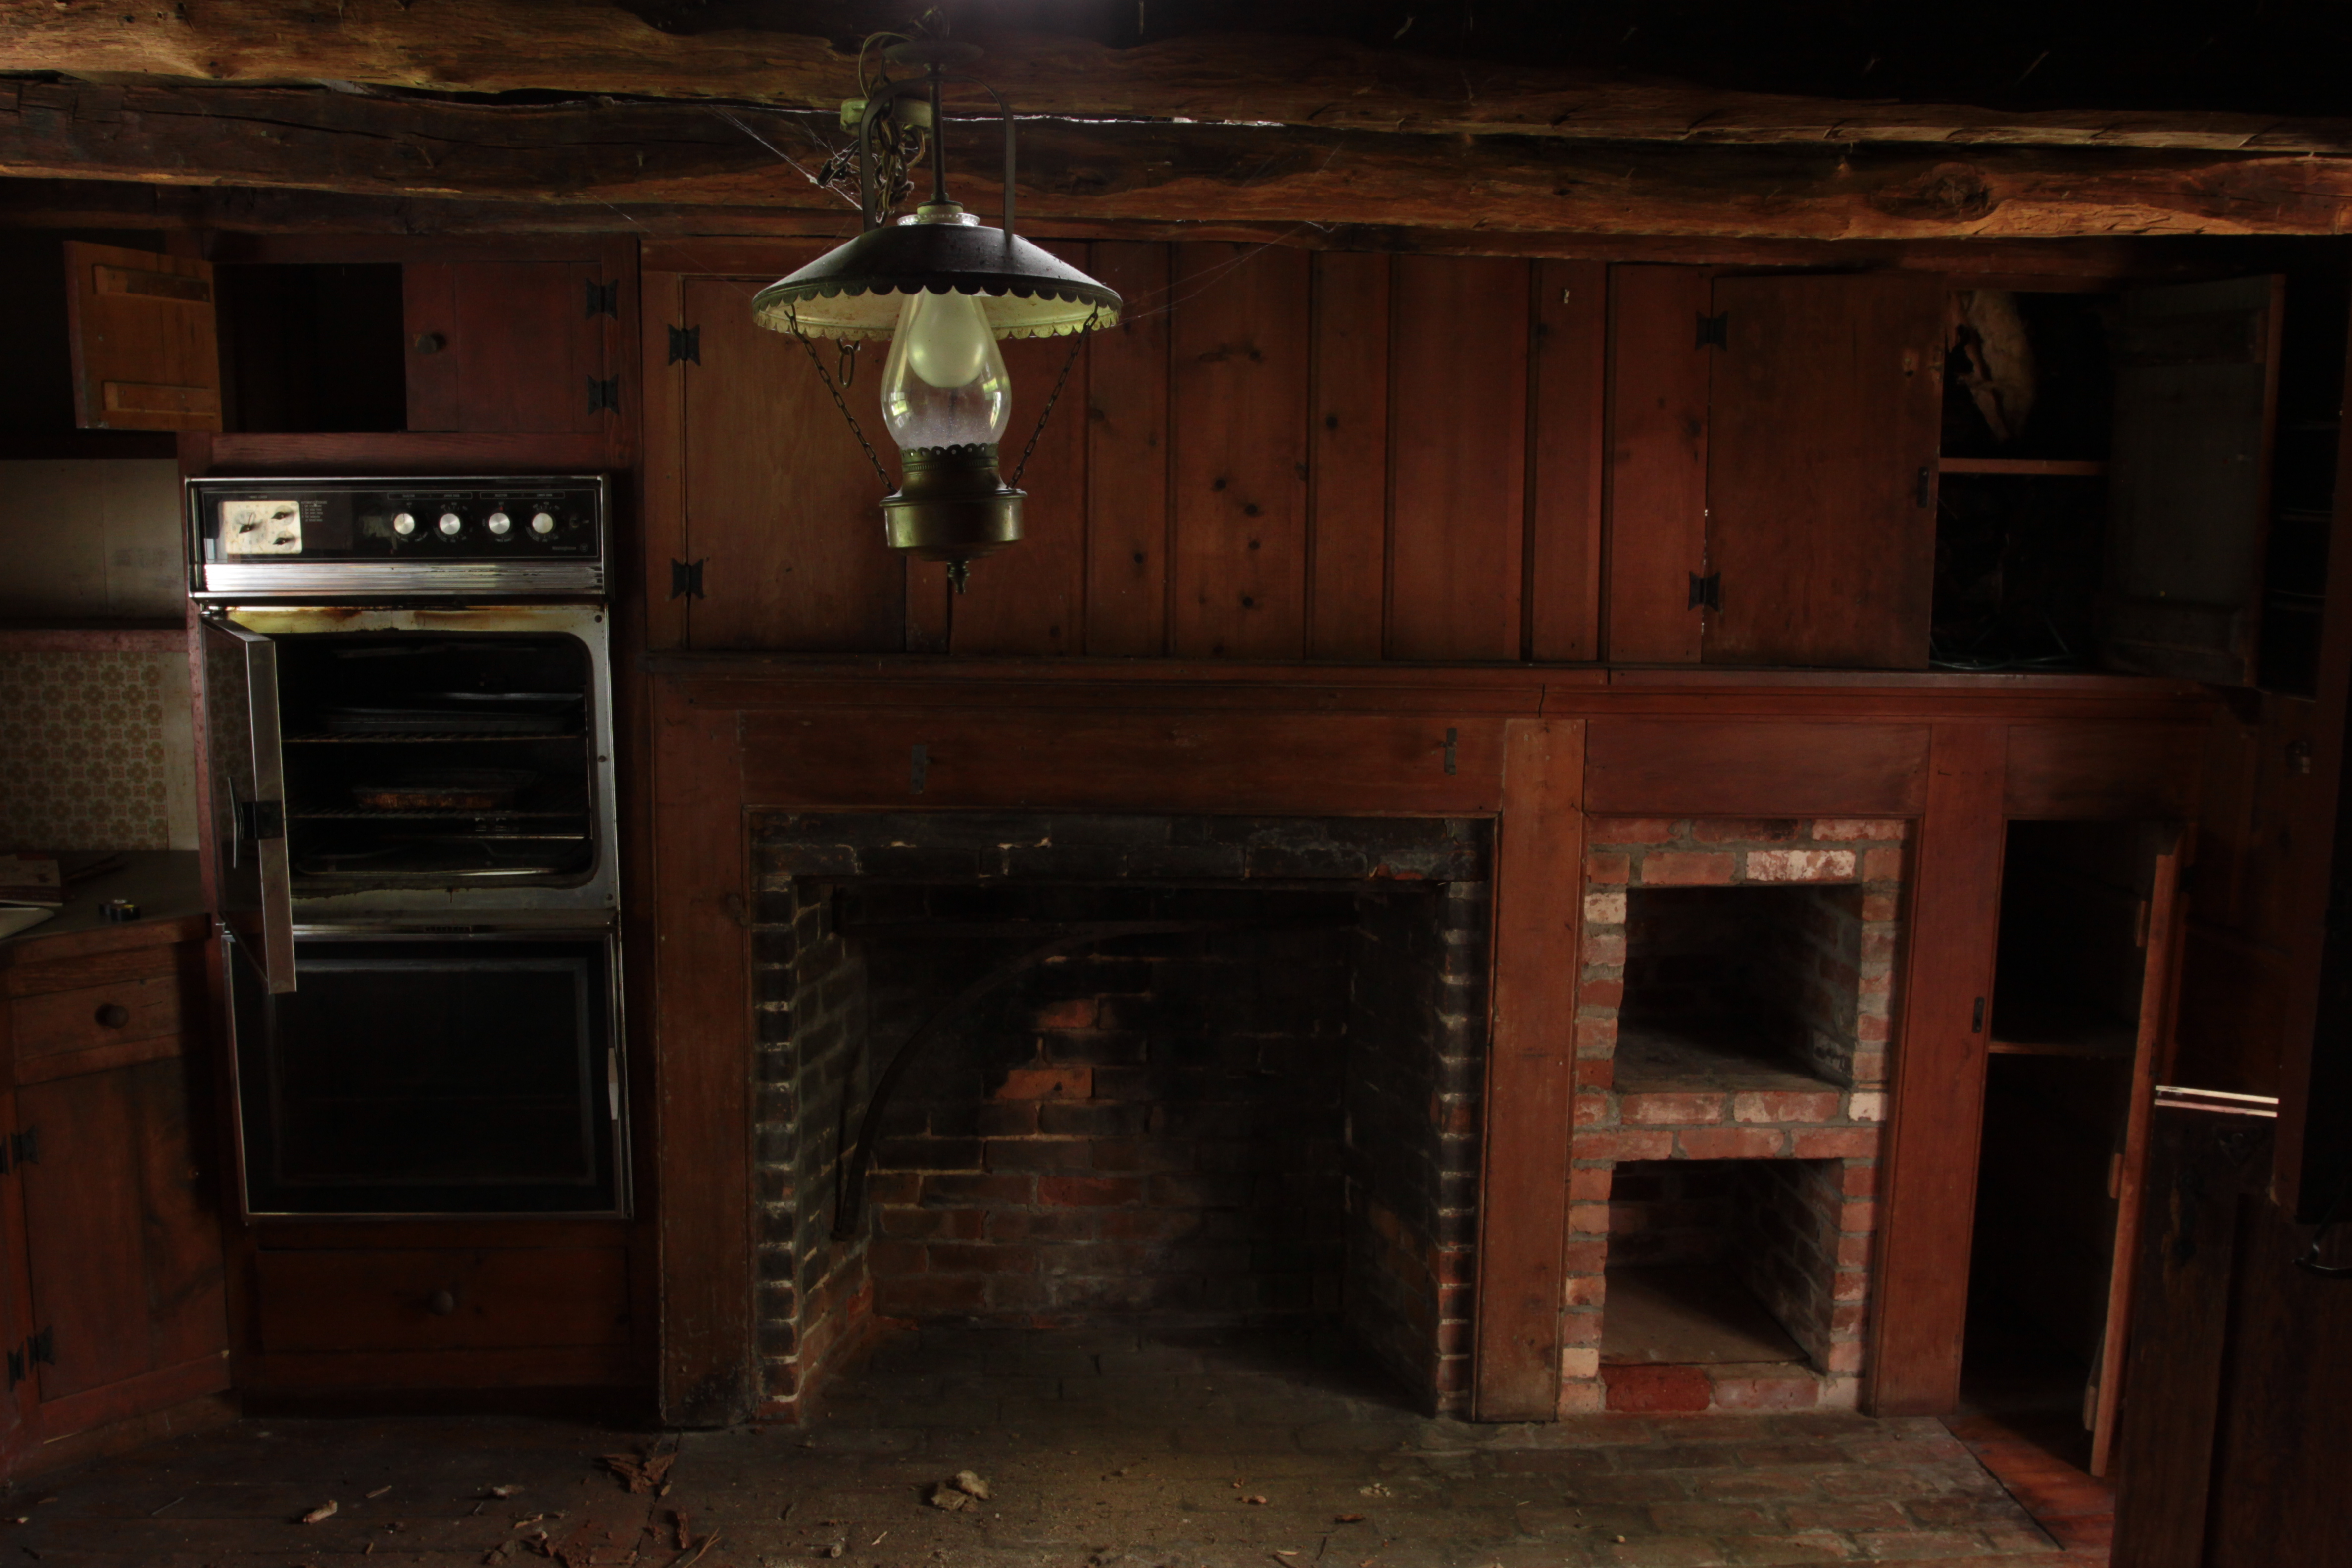
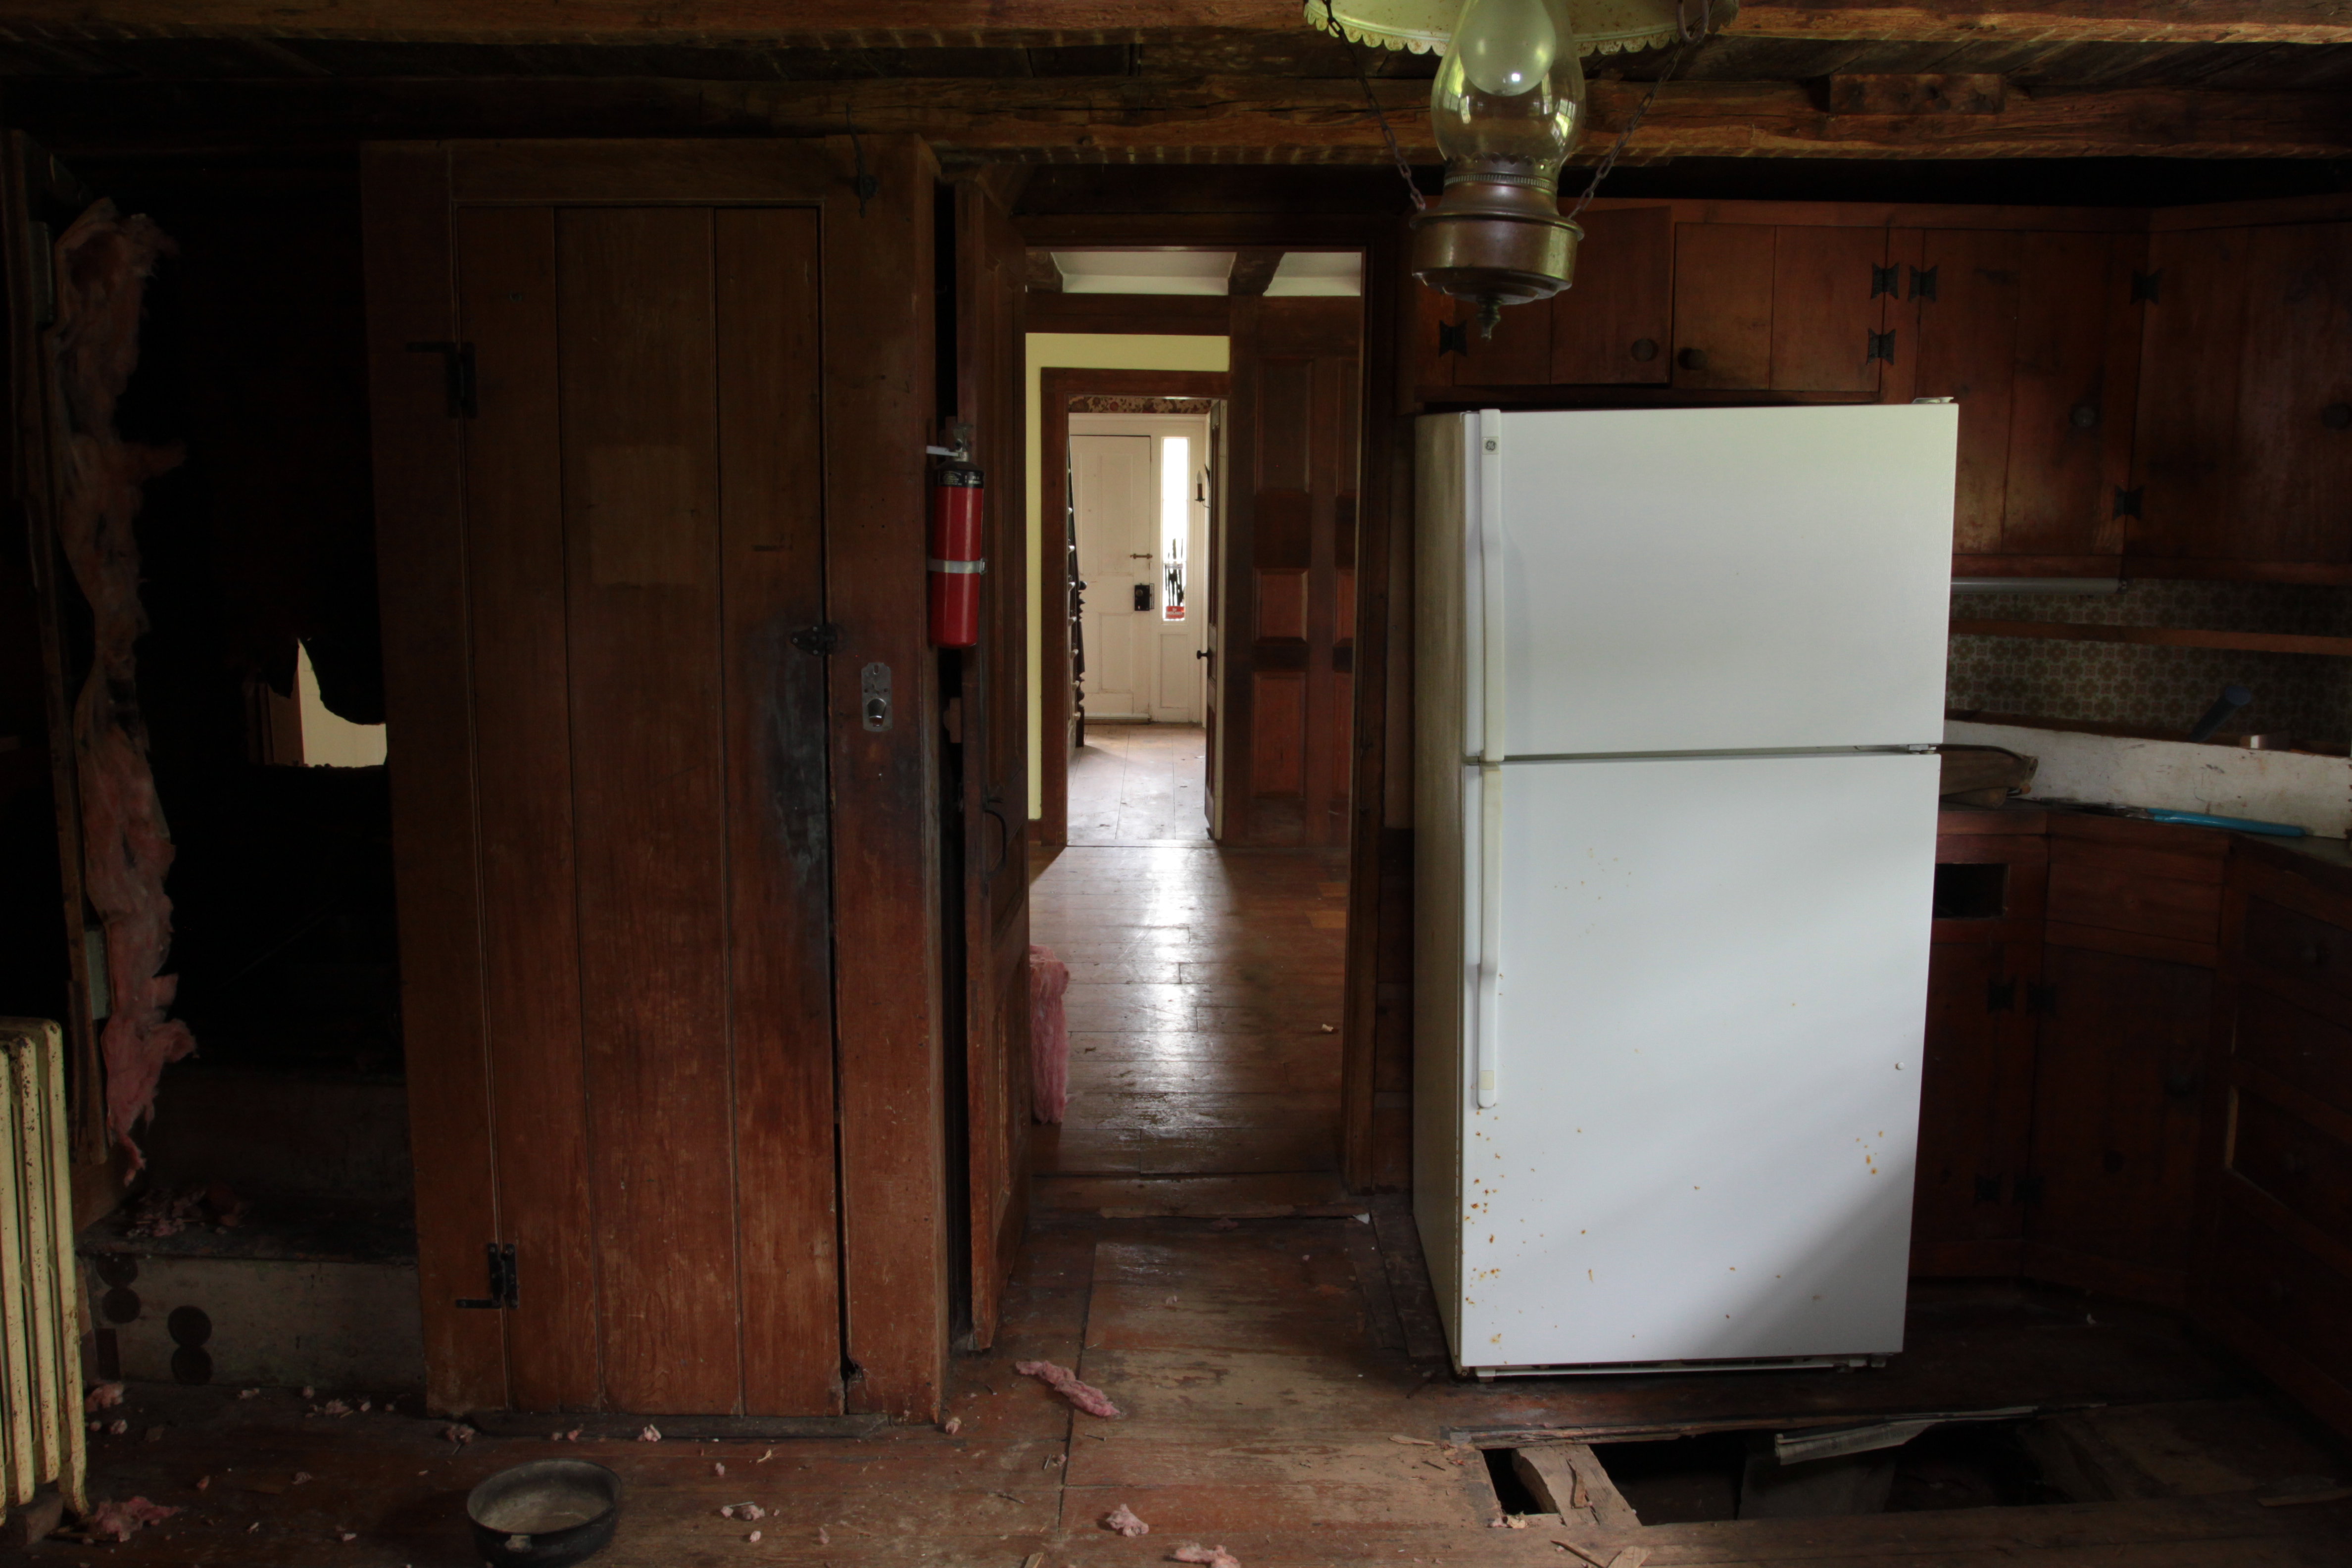
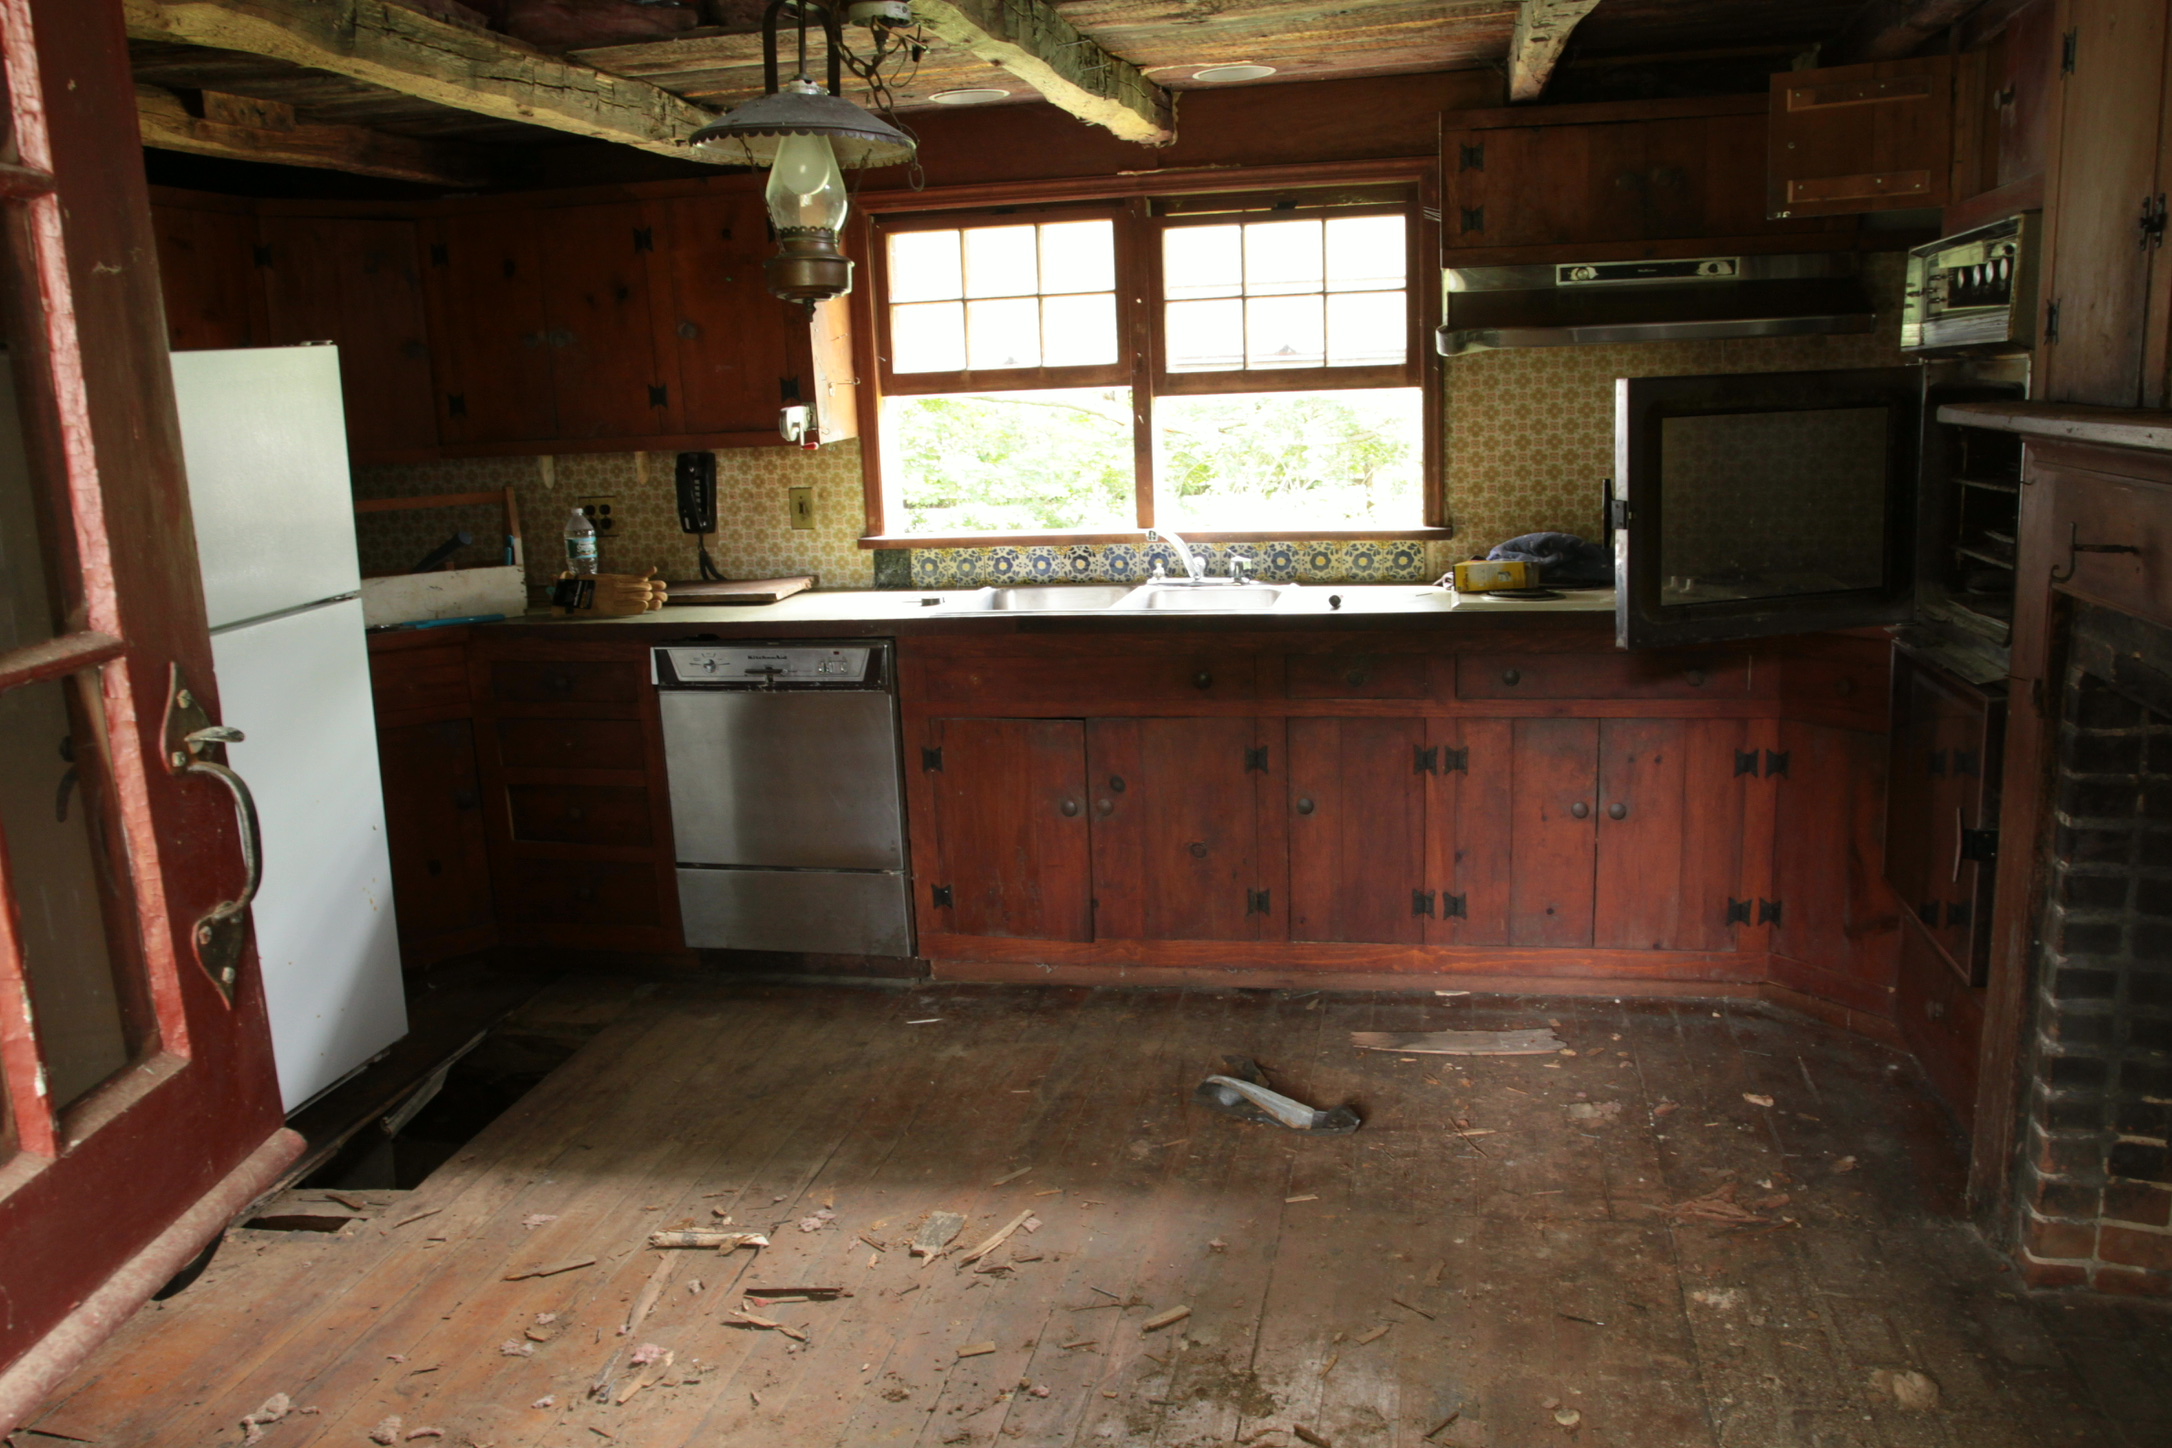
The interior of the house was likewise untouched in decades. While many elements appeared "charming," there were a number of issues just below the surface. The floors were essentially built on grade, with dirt floors a few inches below, creating a lot of moisture in the house. The horse-hair plaster walls were crumbling with age. The wallpaper hid mold. The floors were unstable in spots. The fireplaces and chimneys needed substantial overhauls, and there was no heat or running water.




Demo - preparing the space
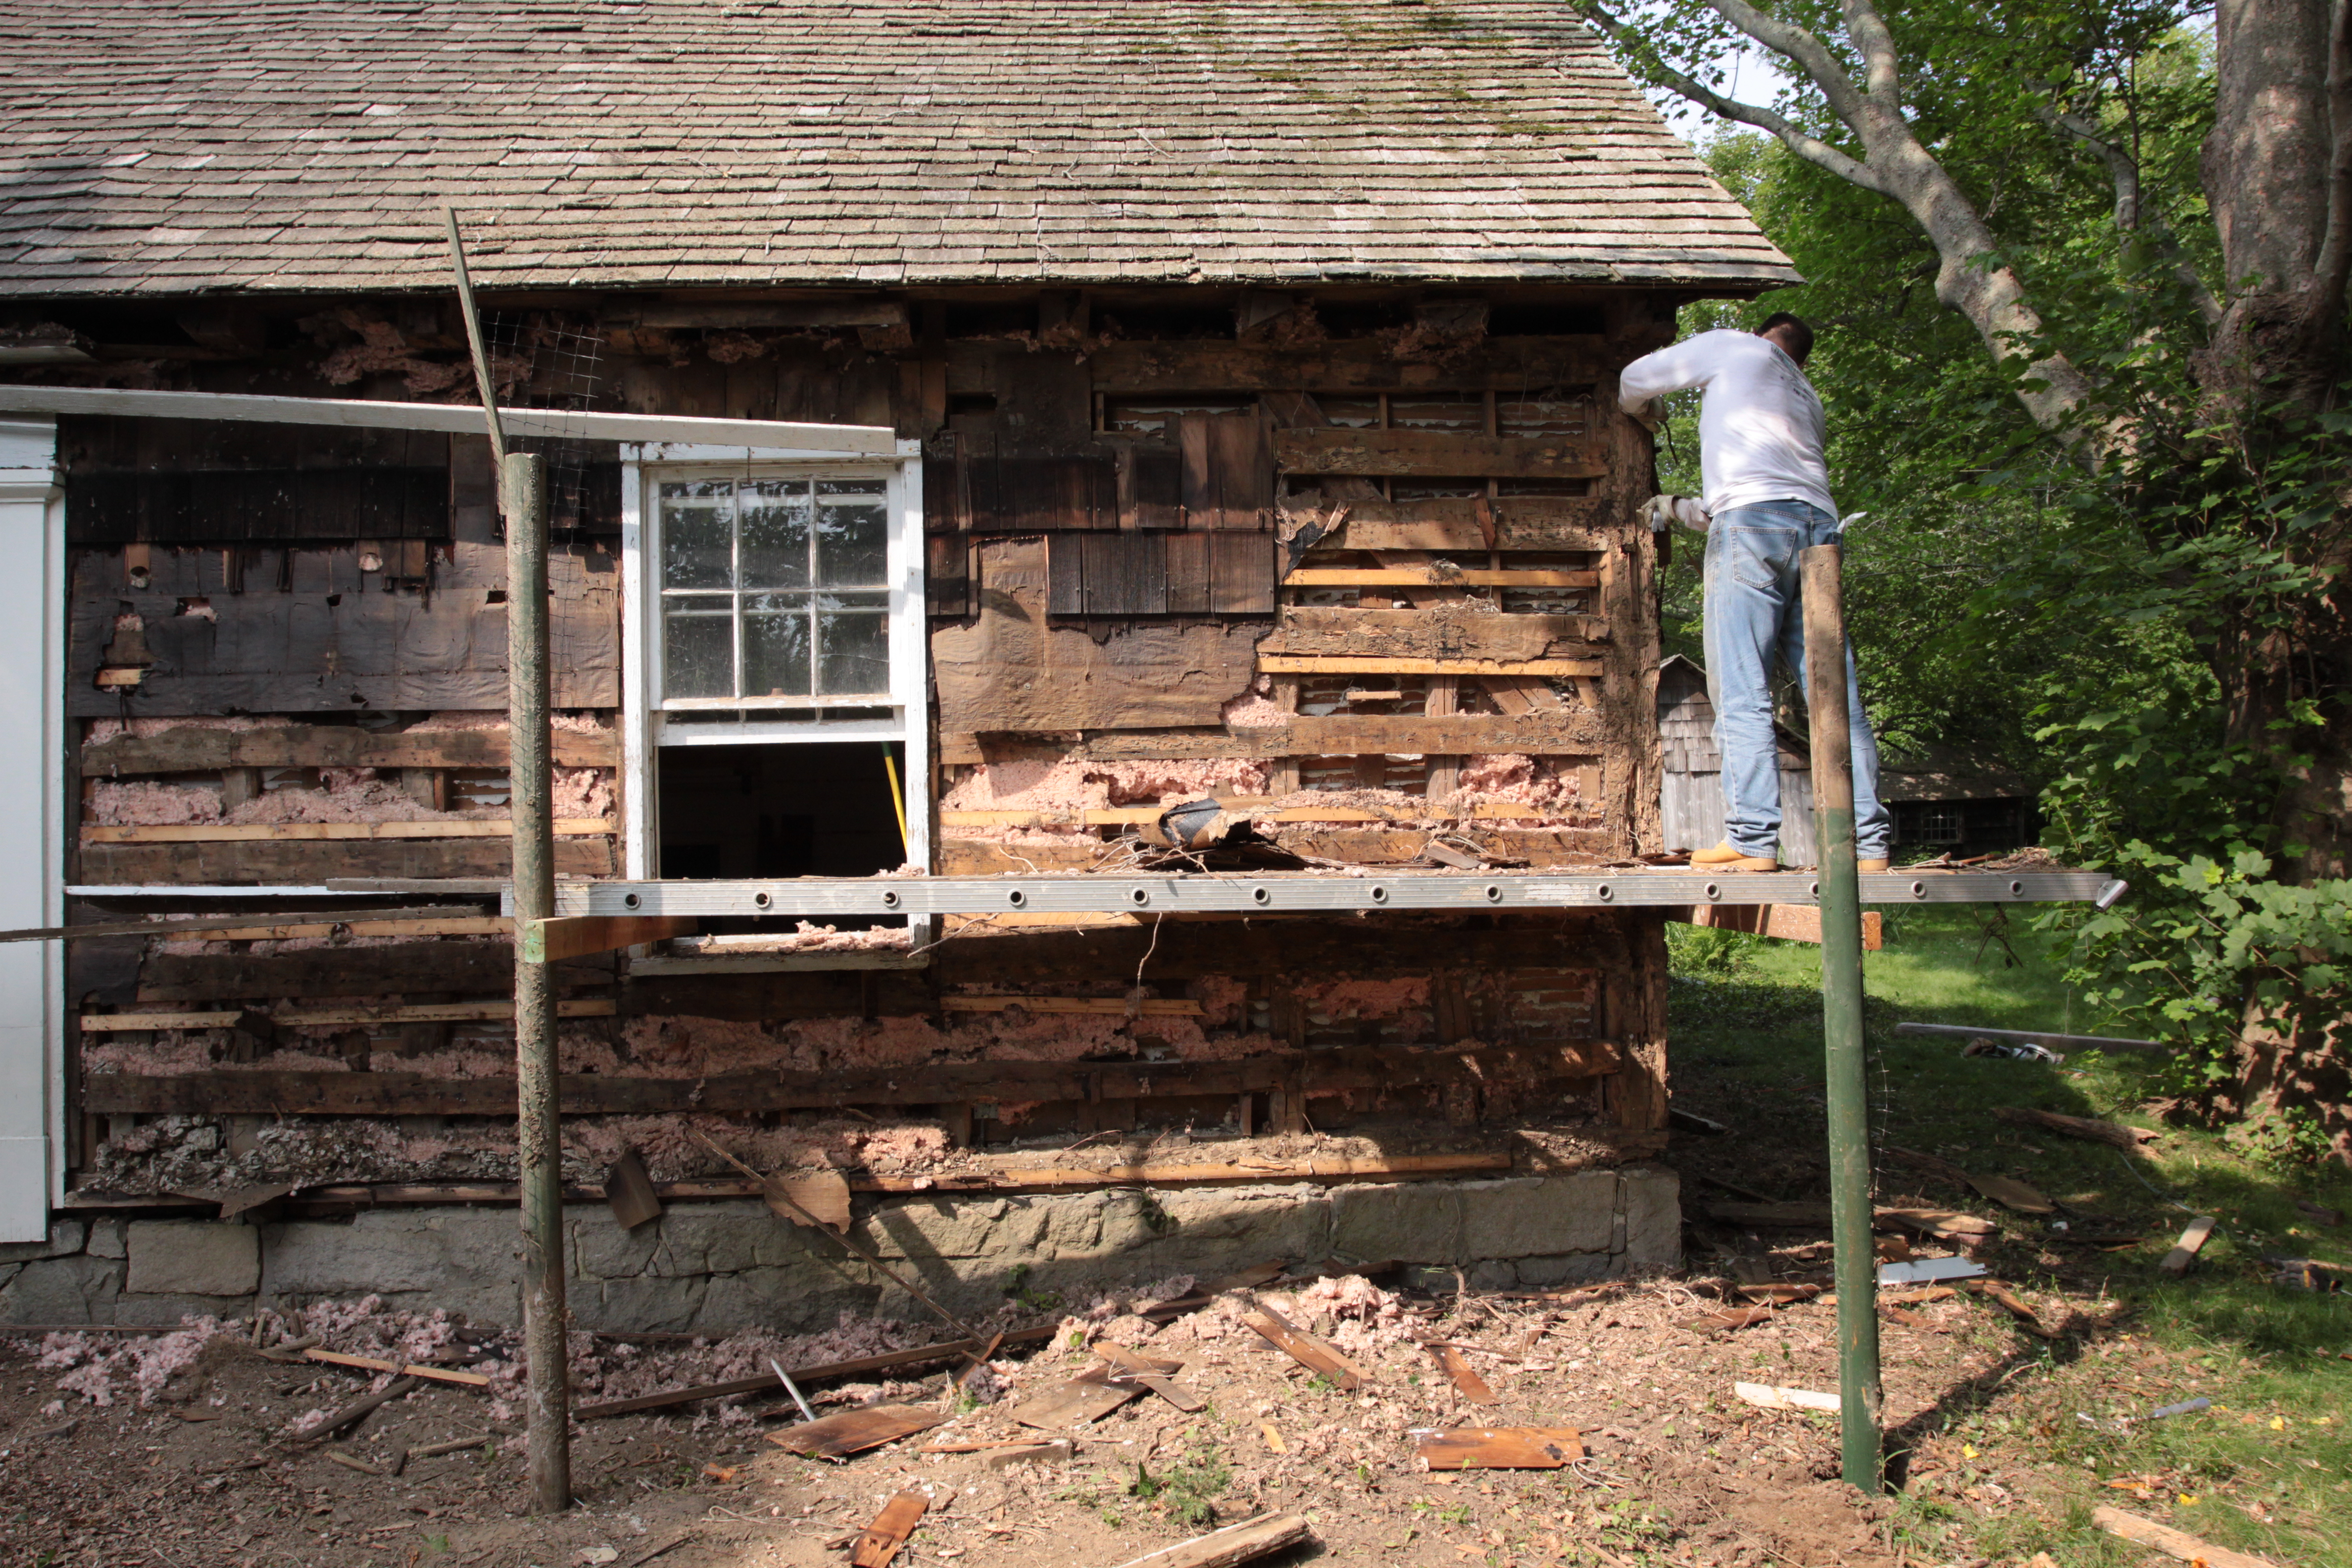
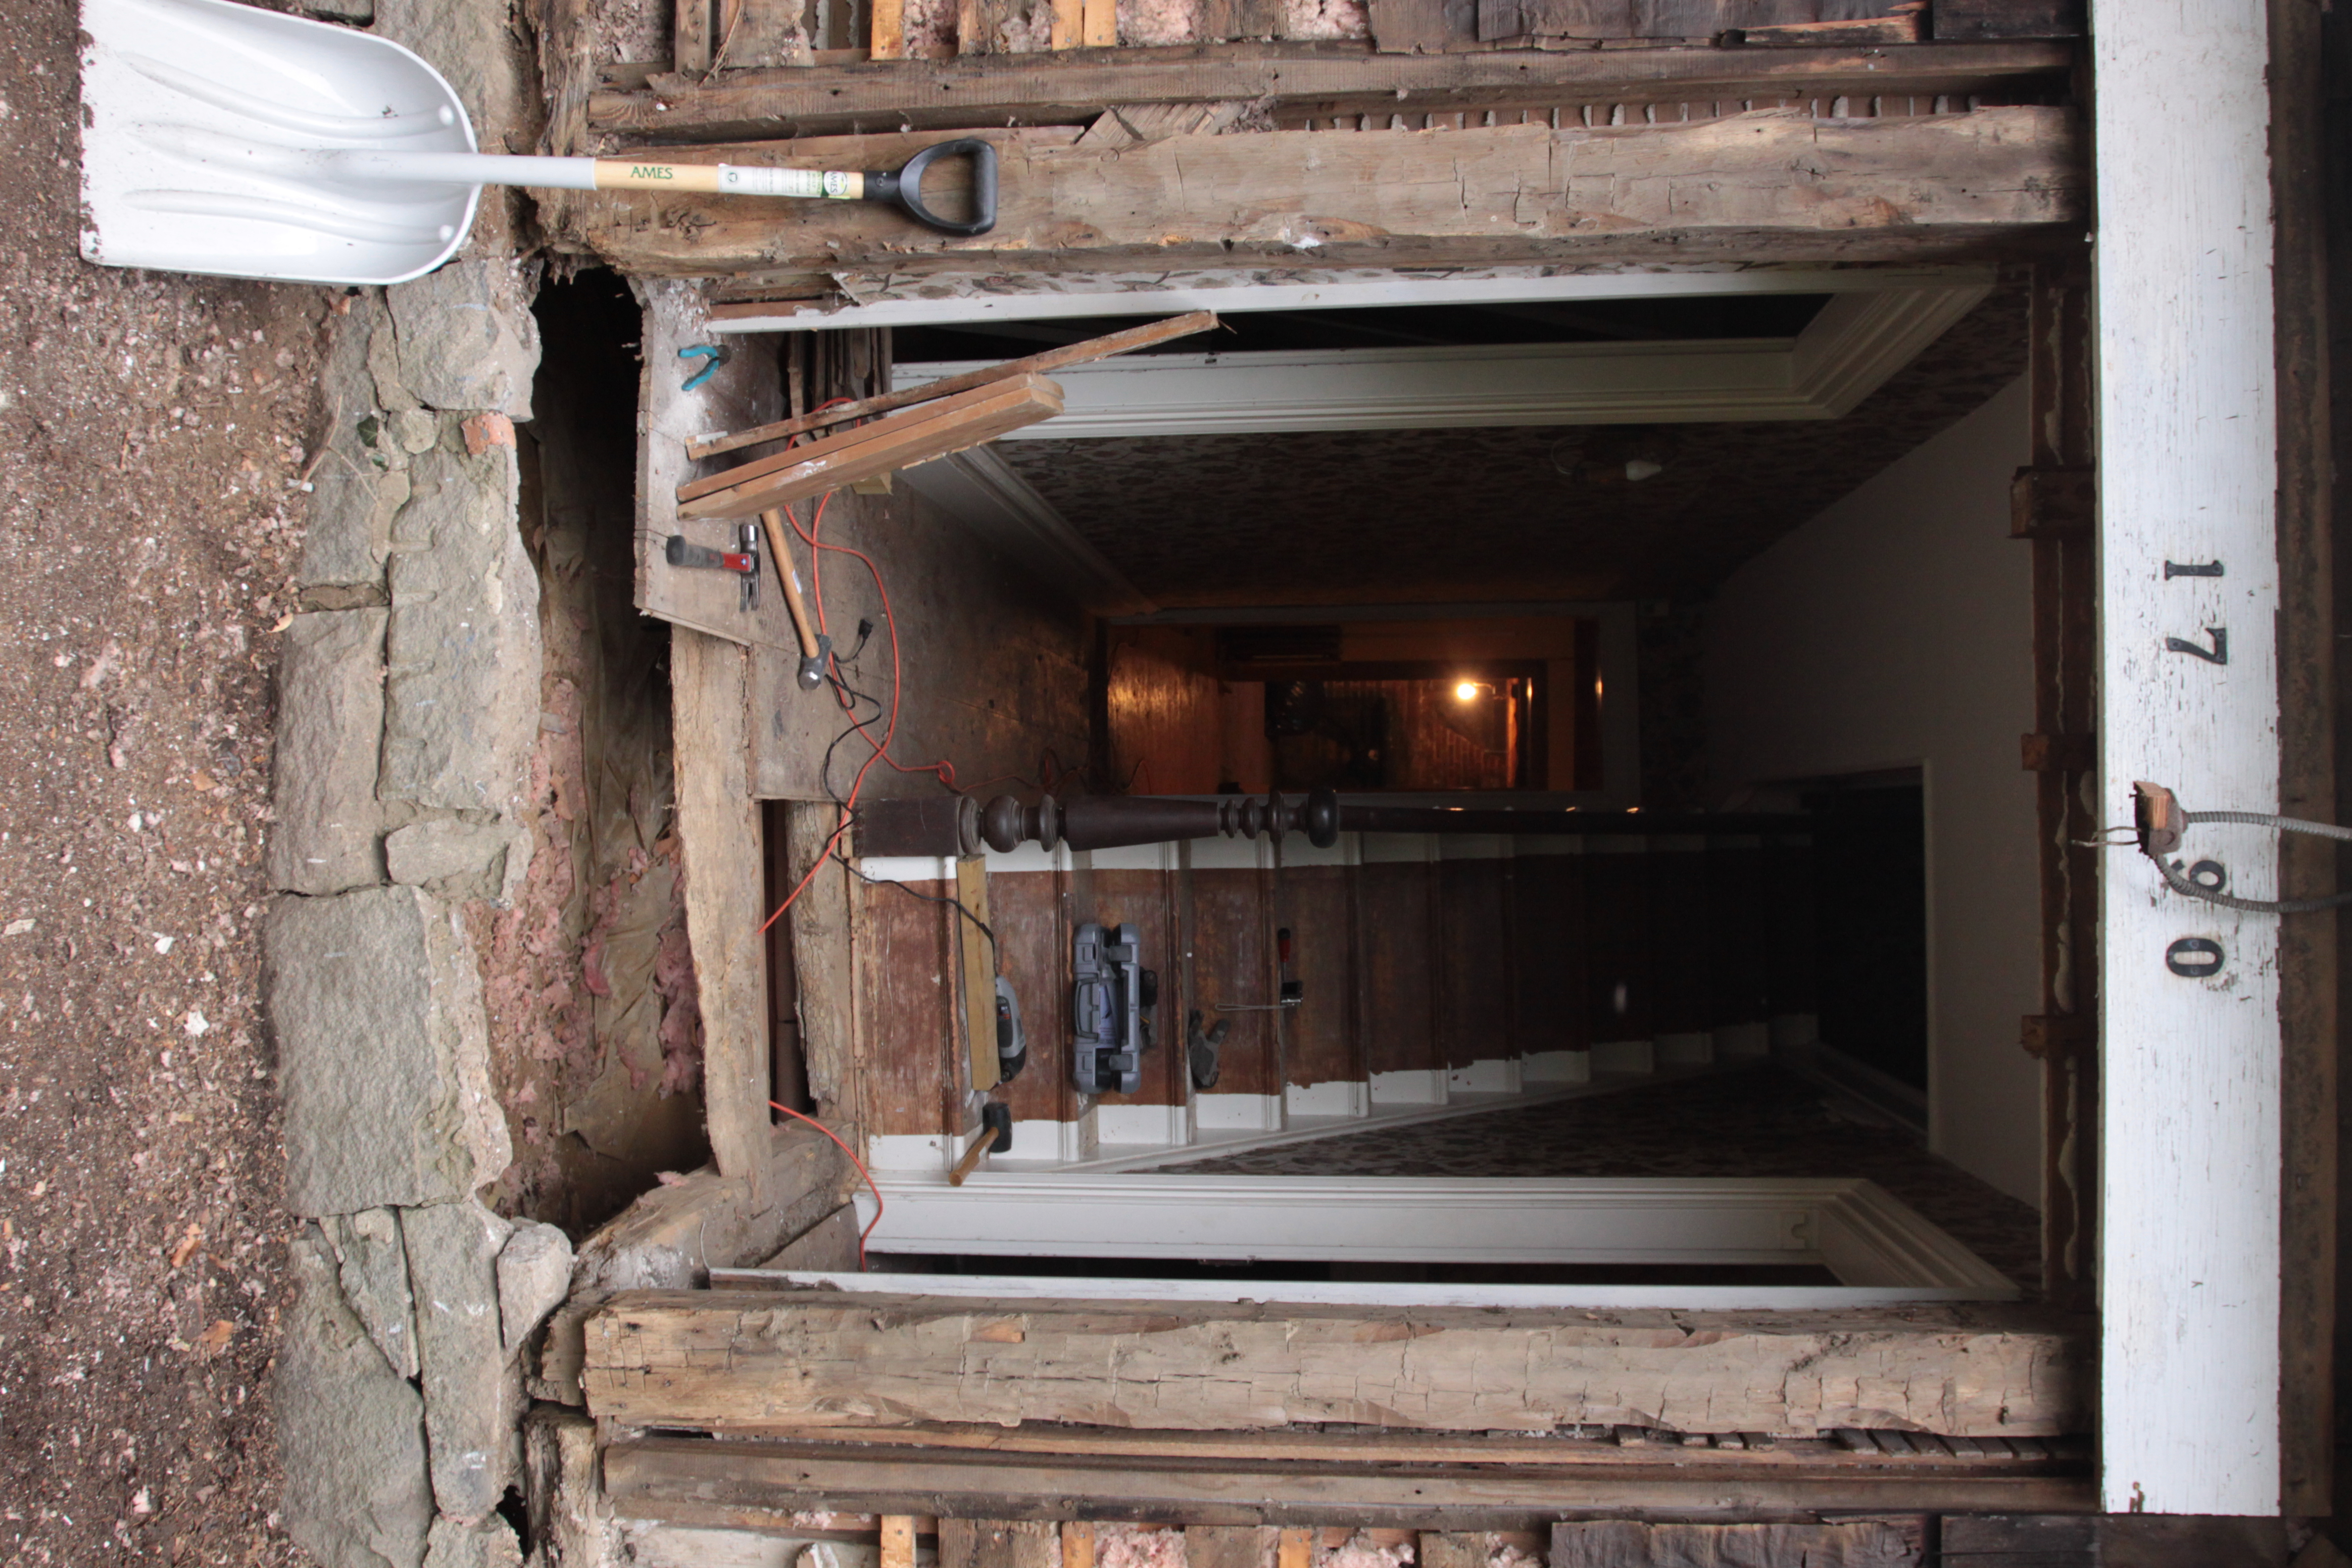
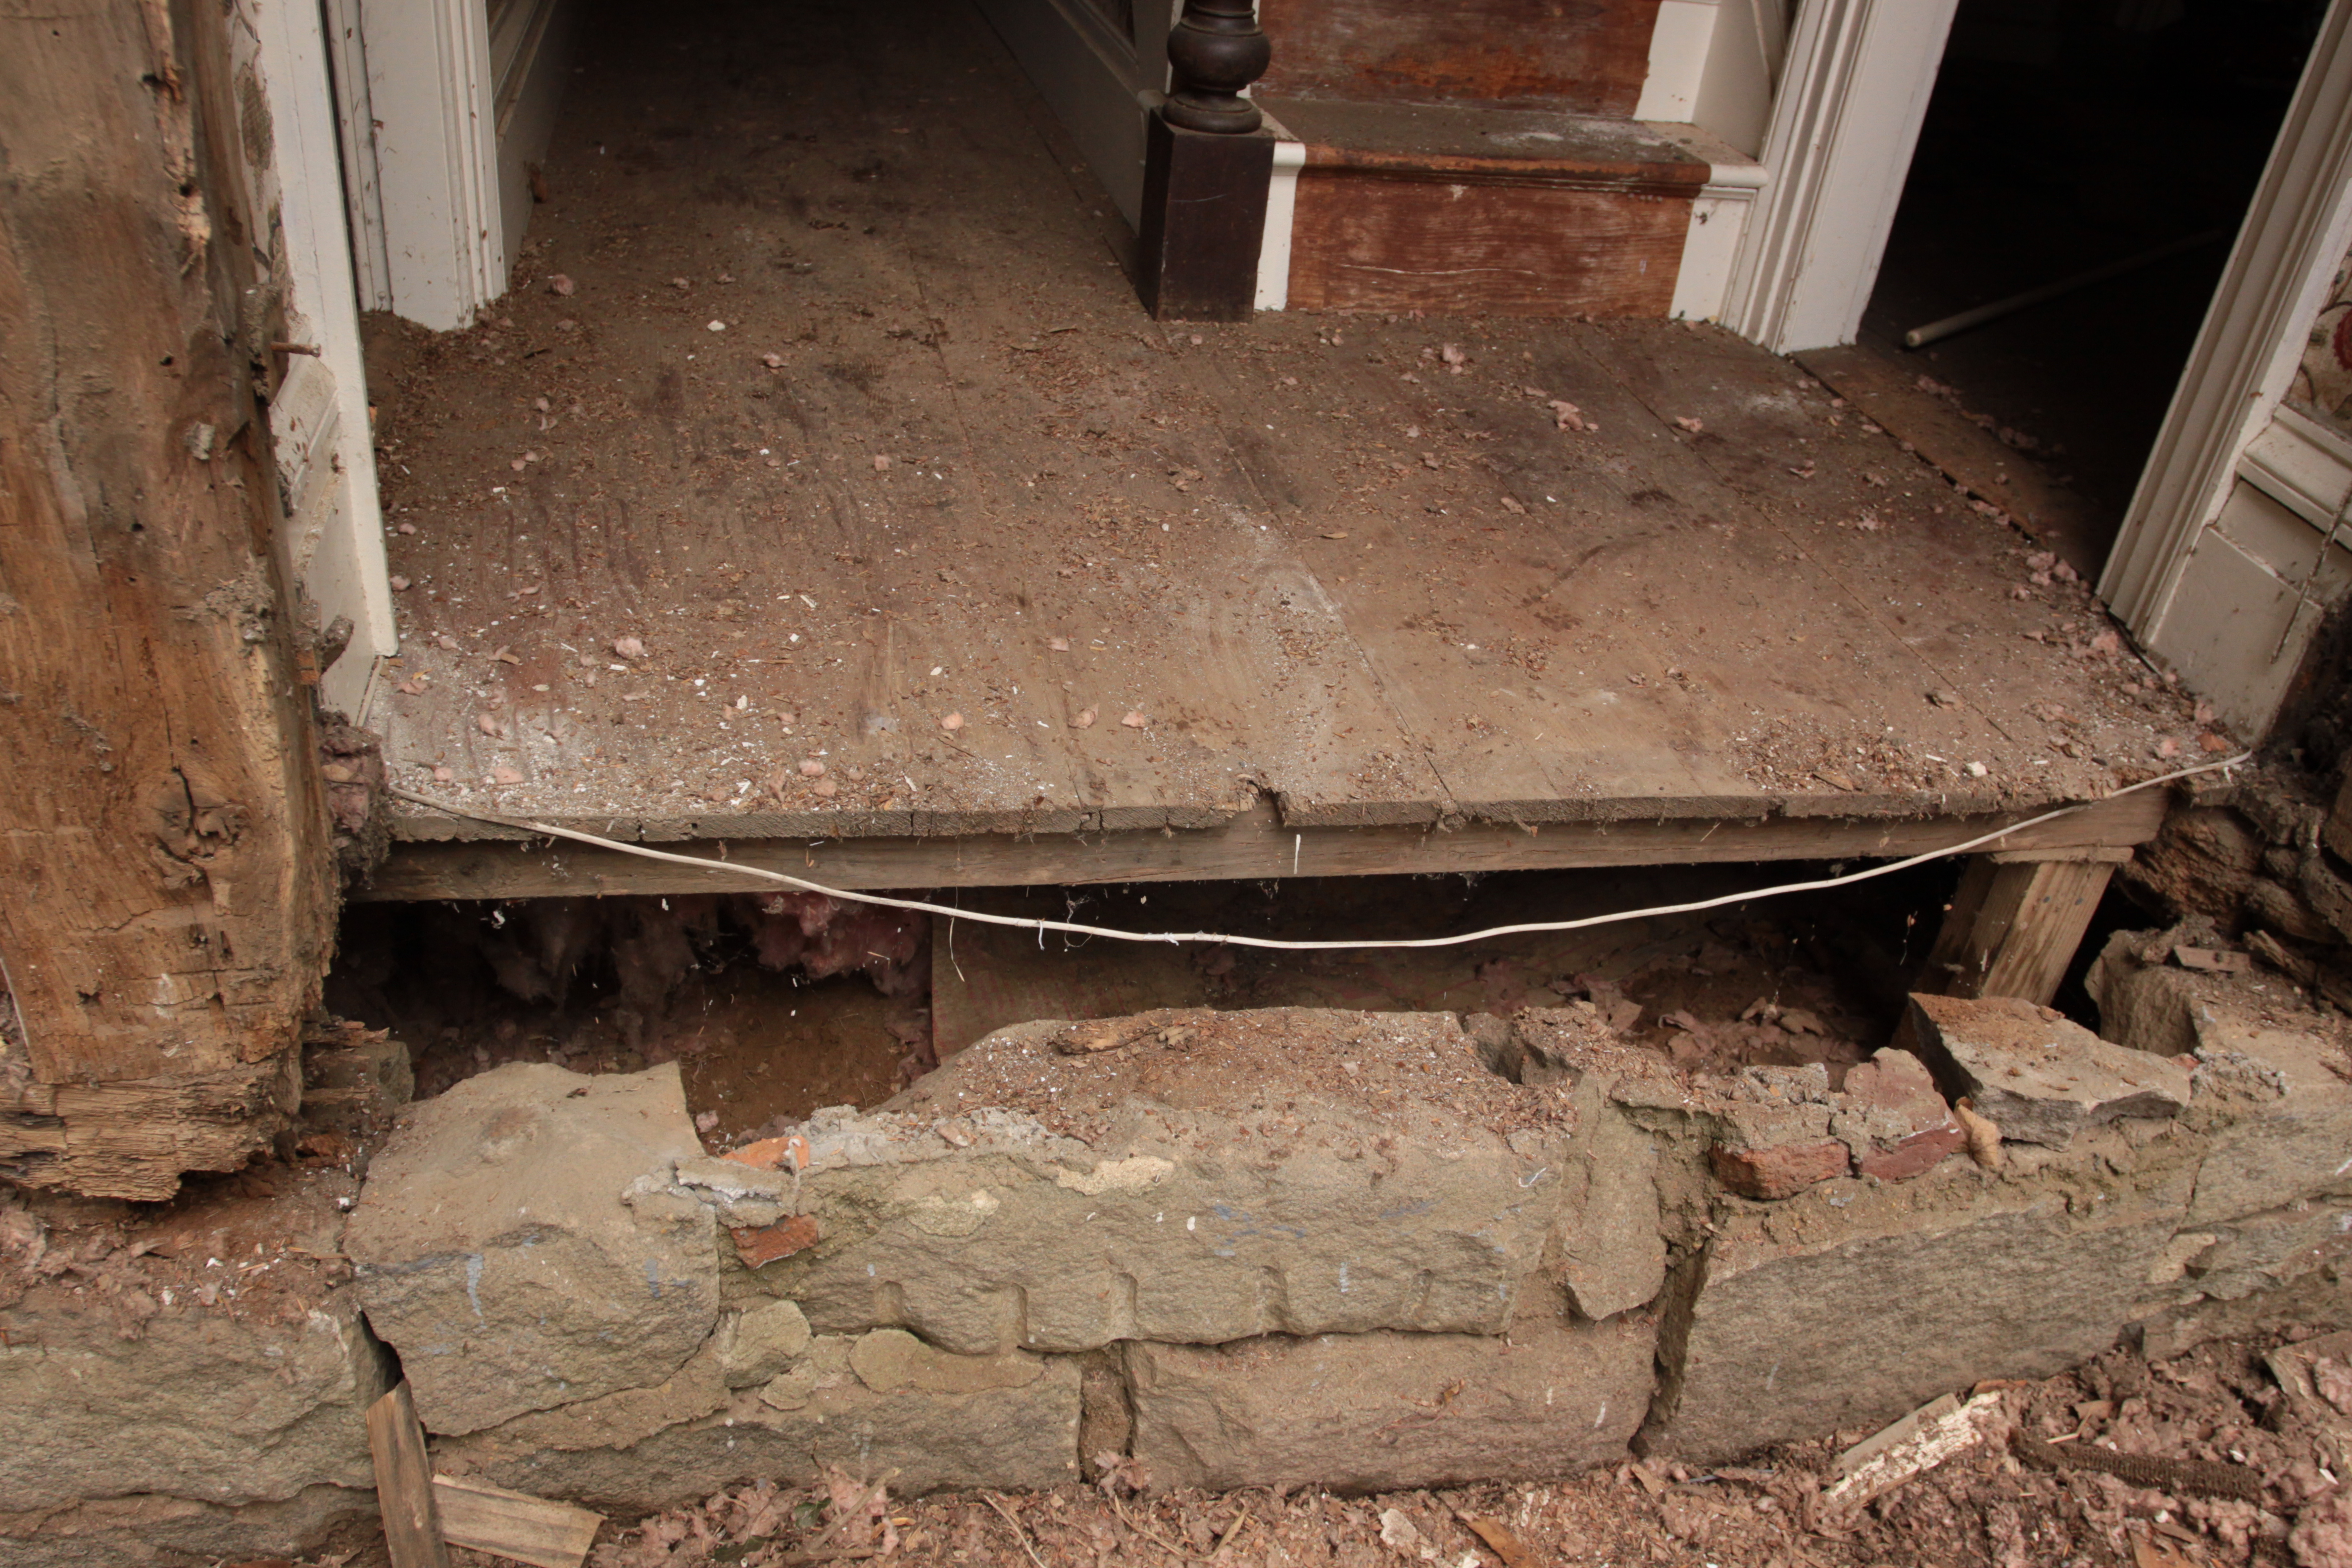
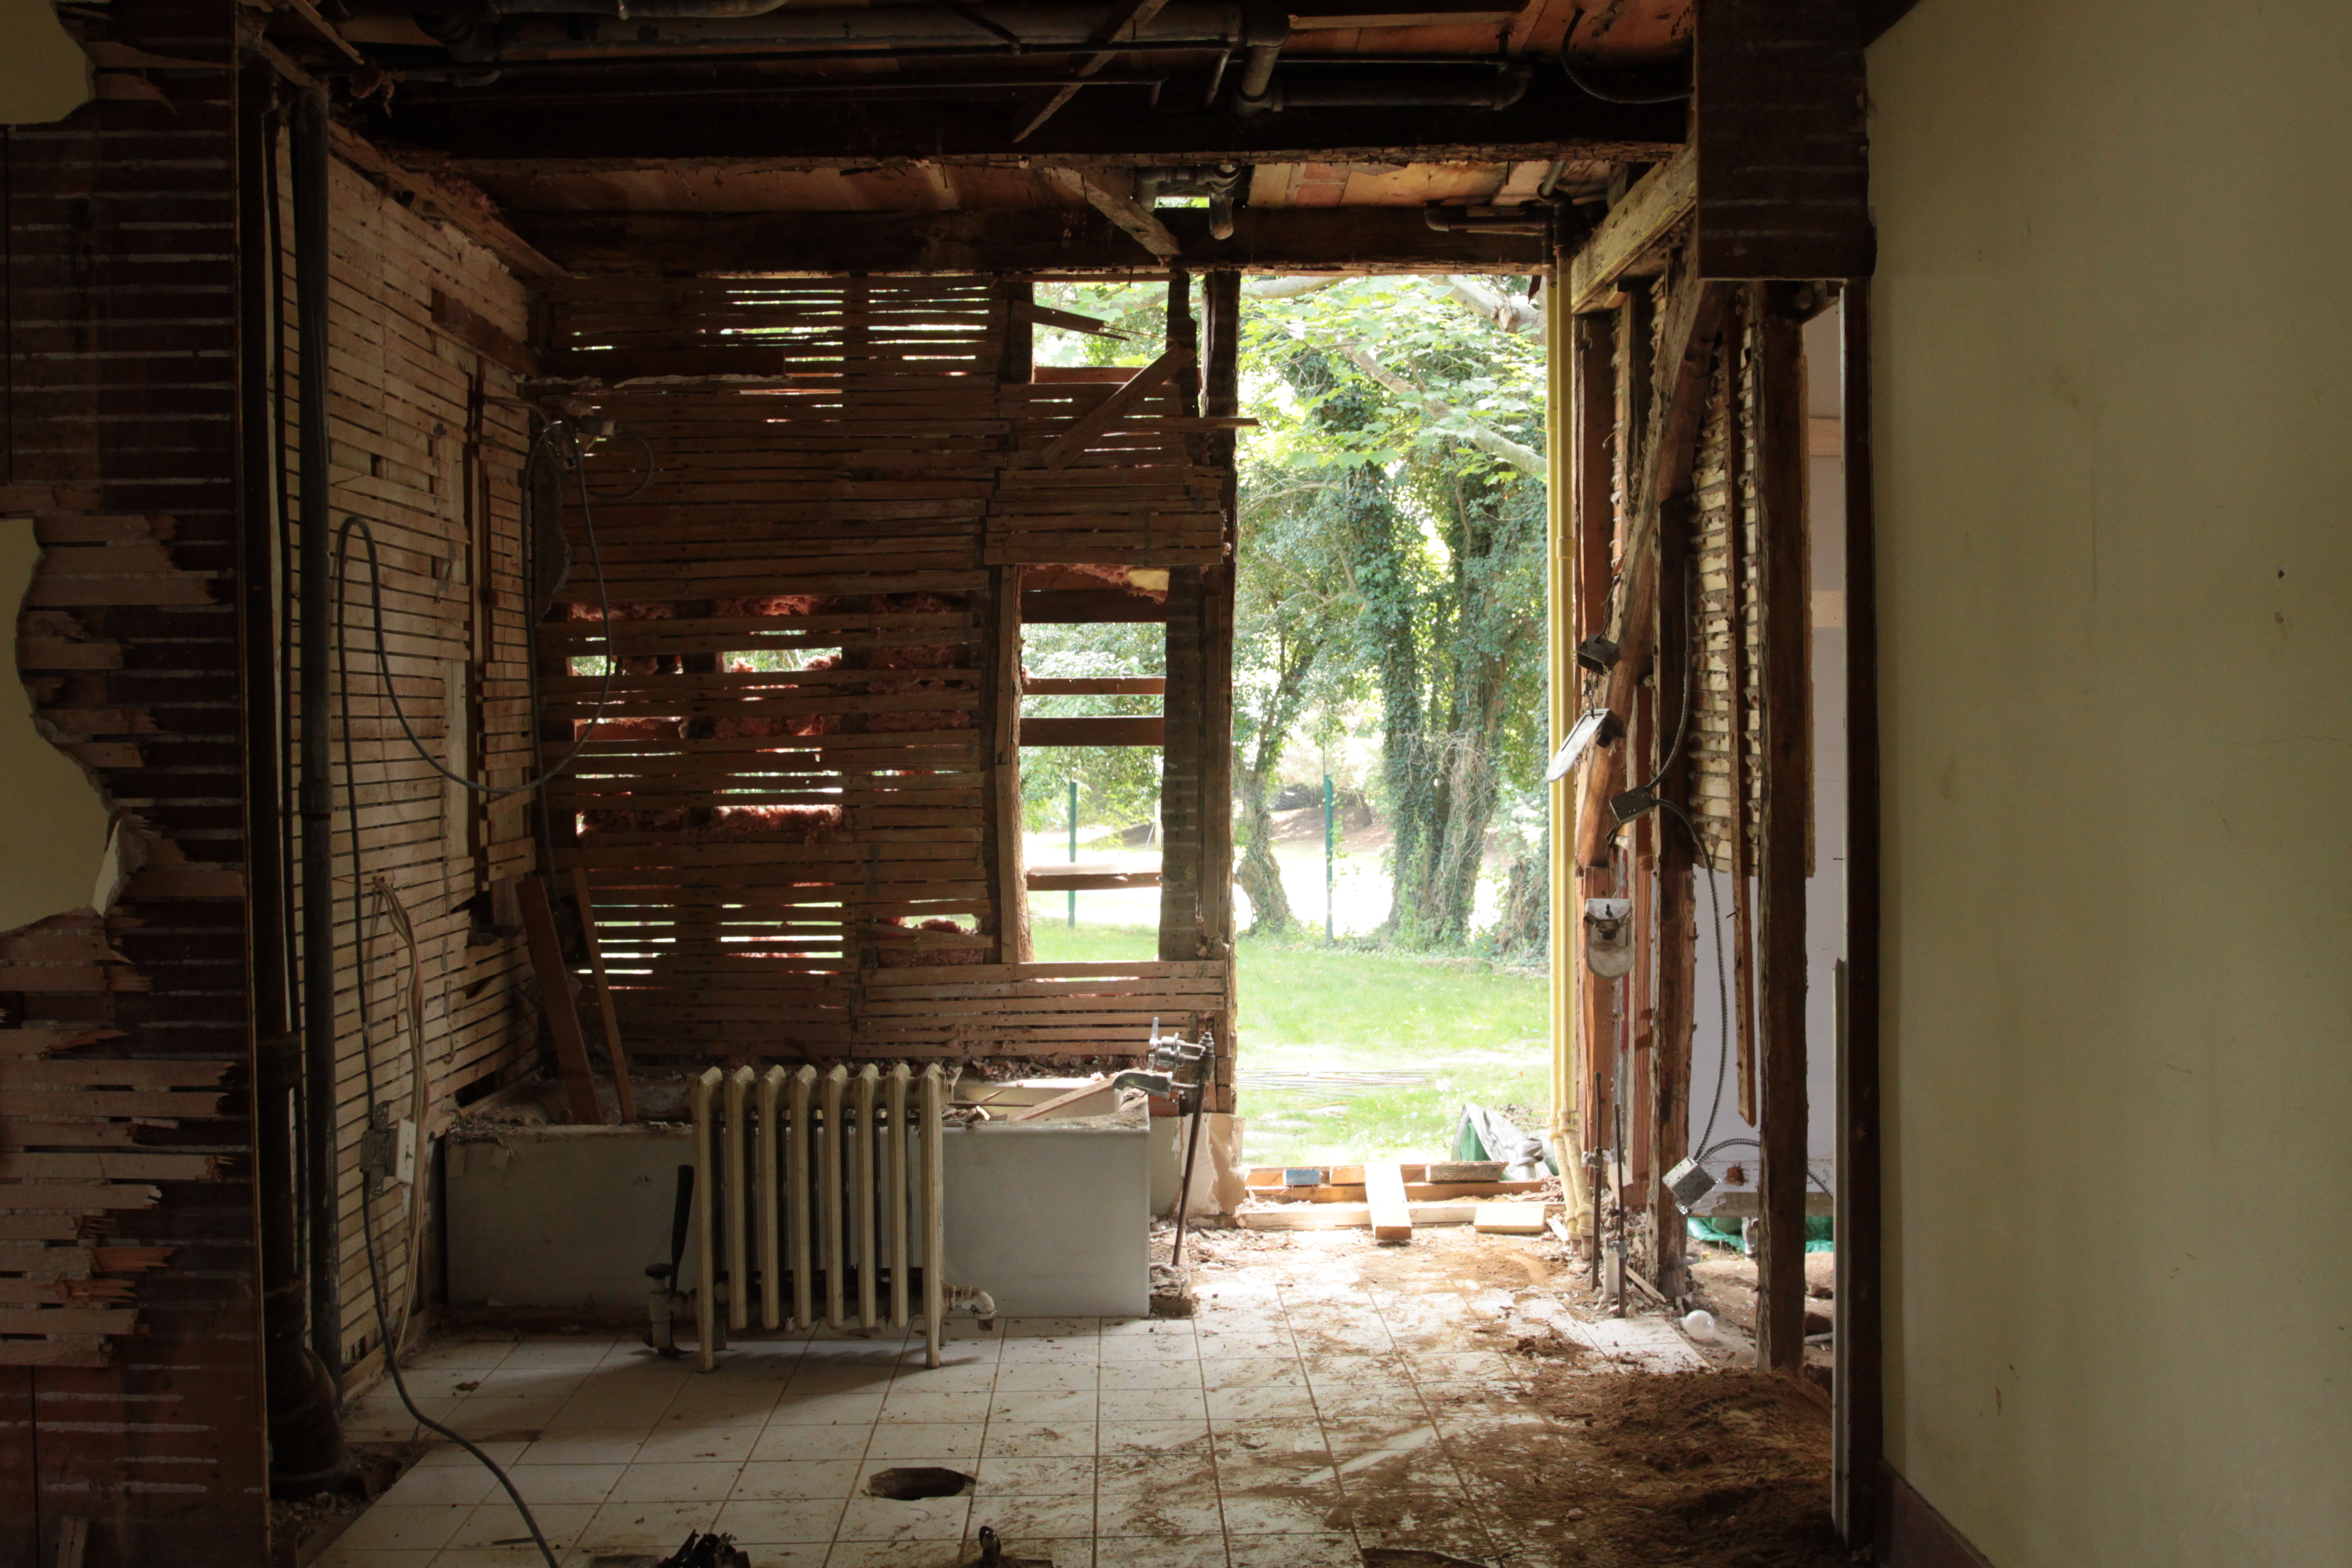
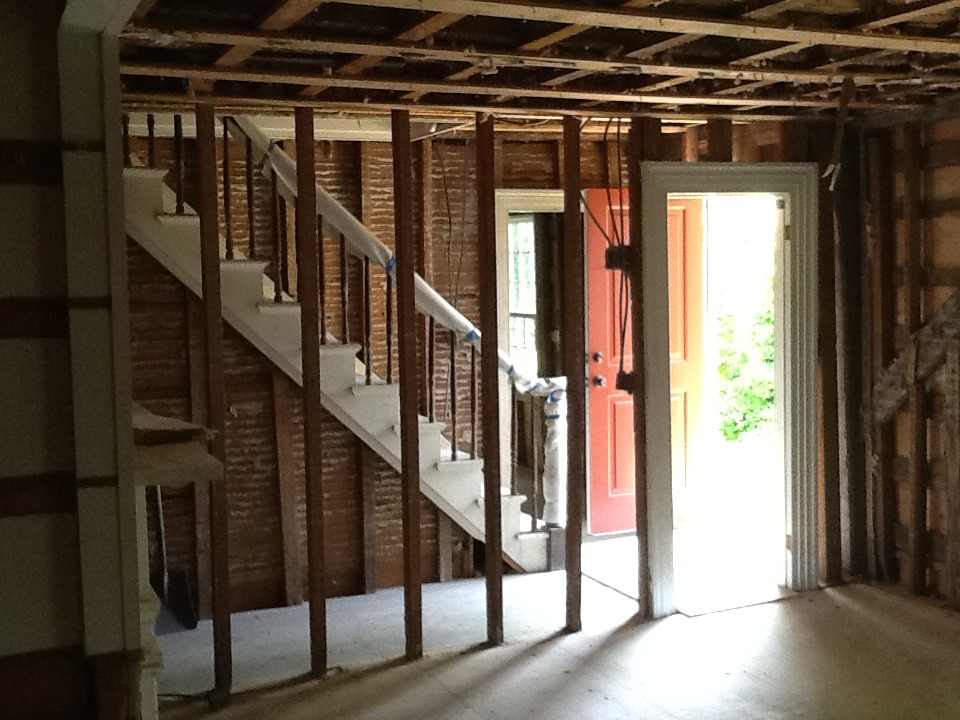
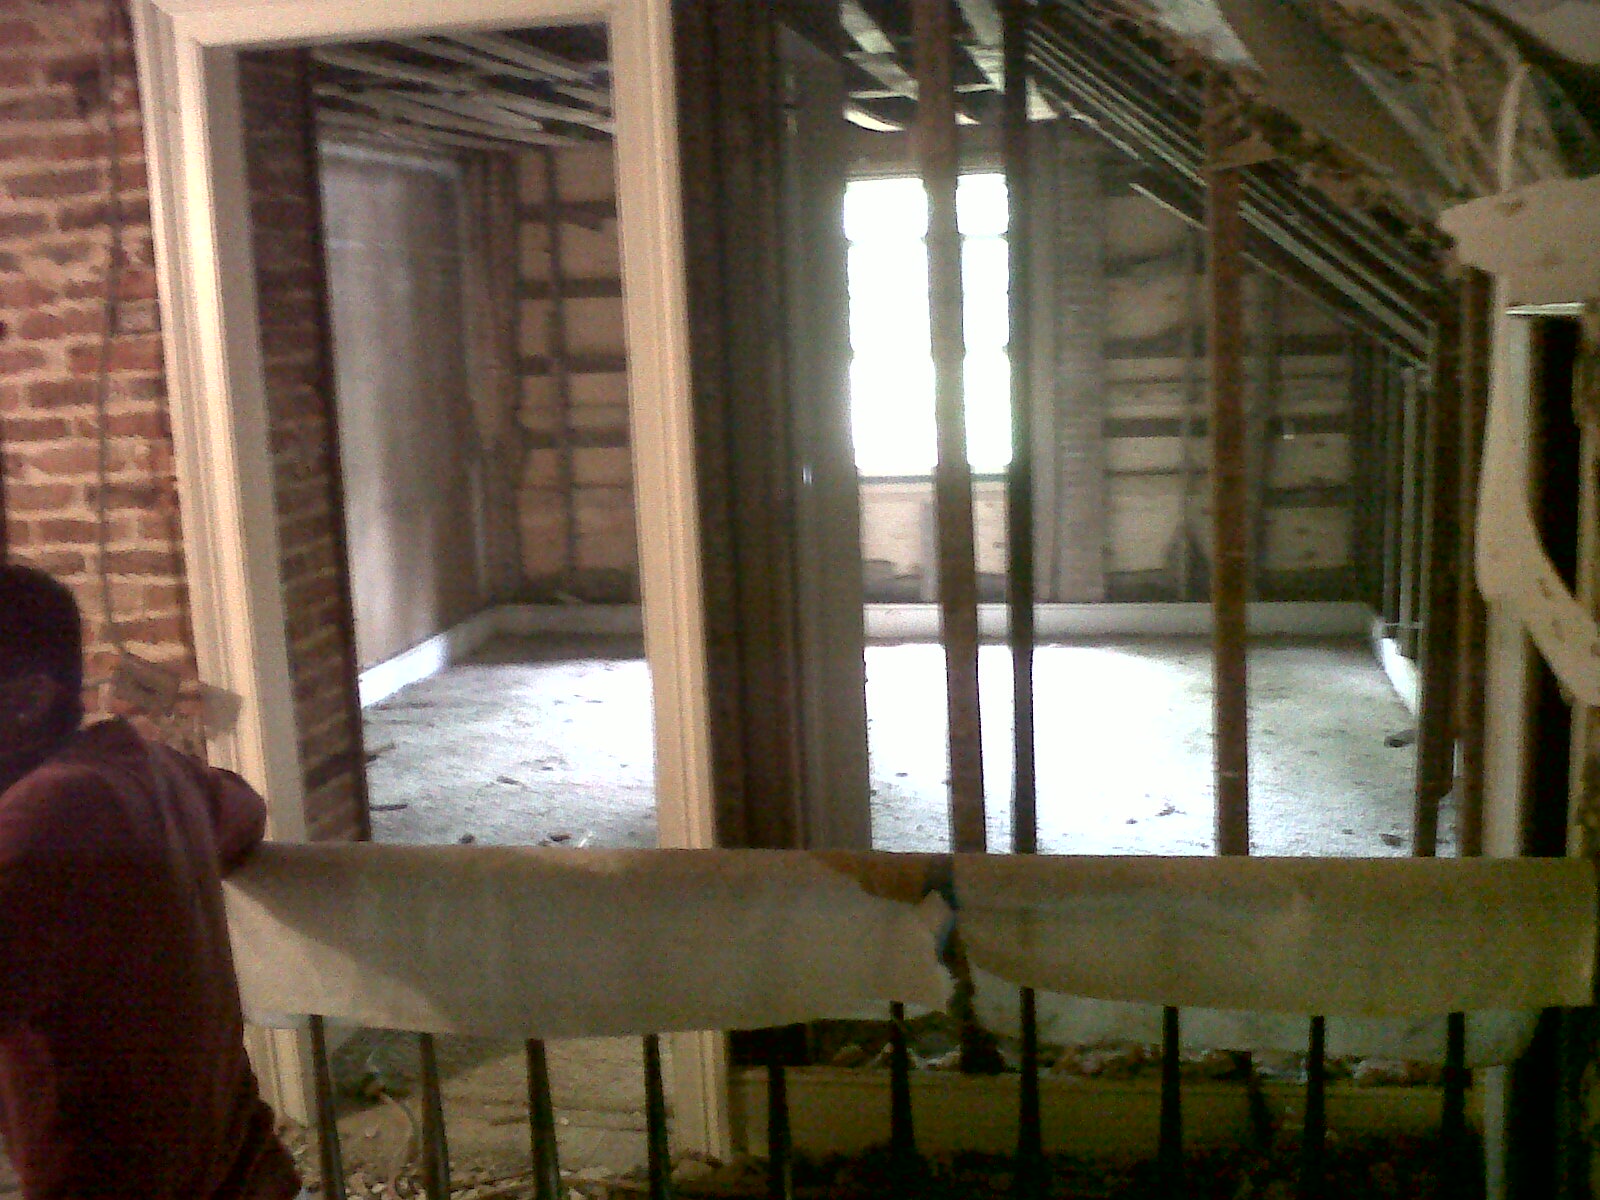
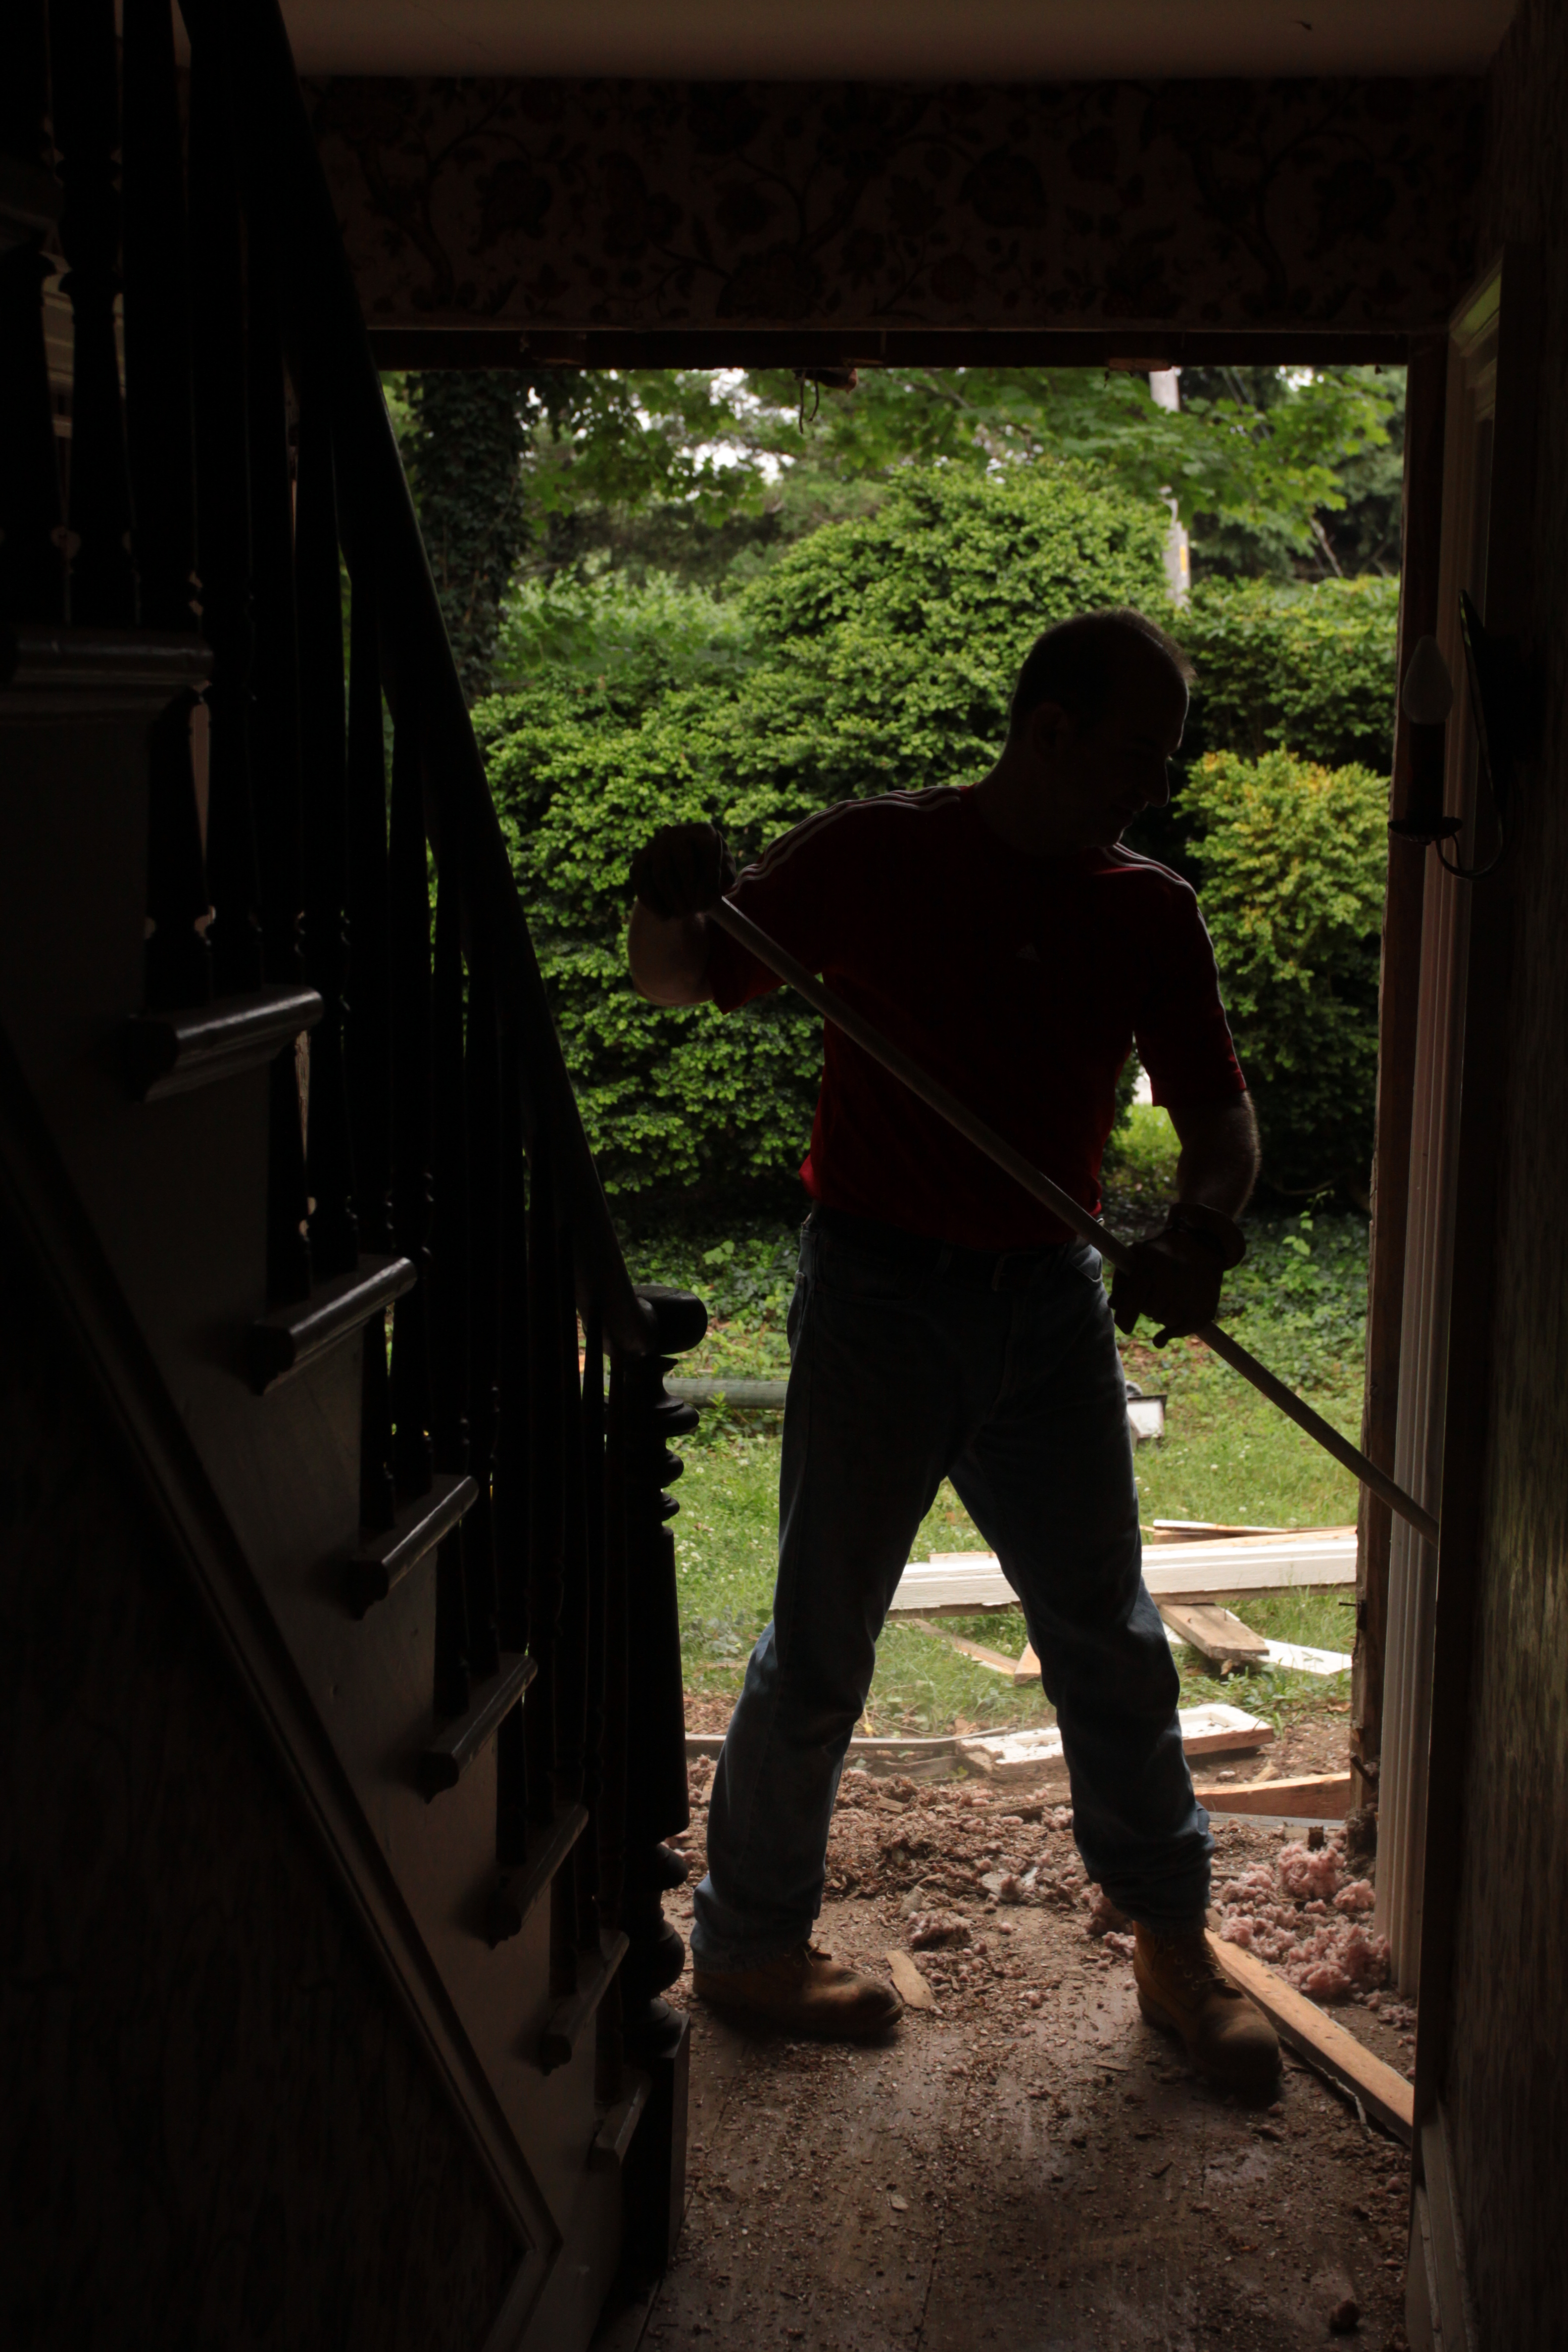
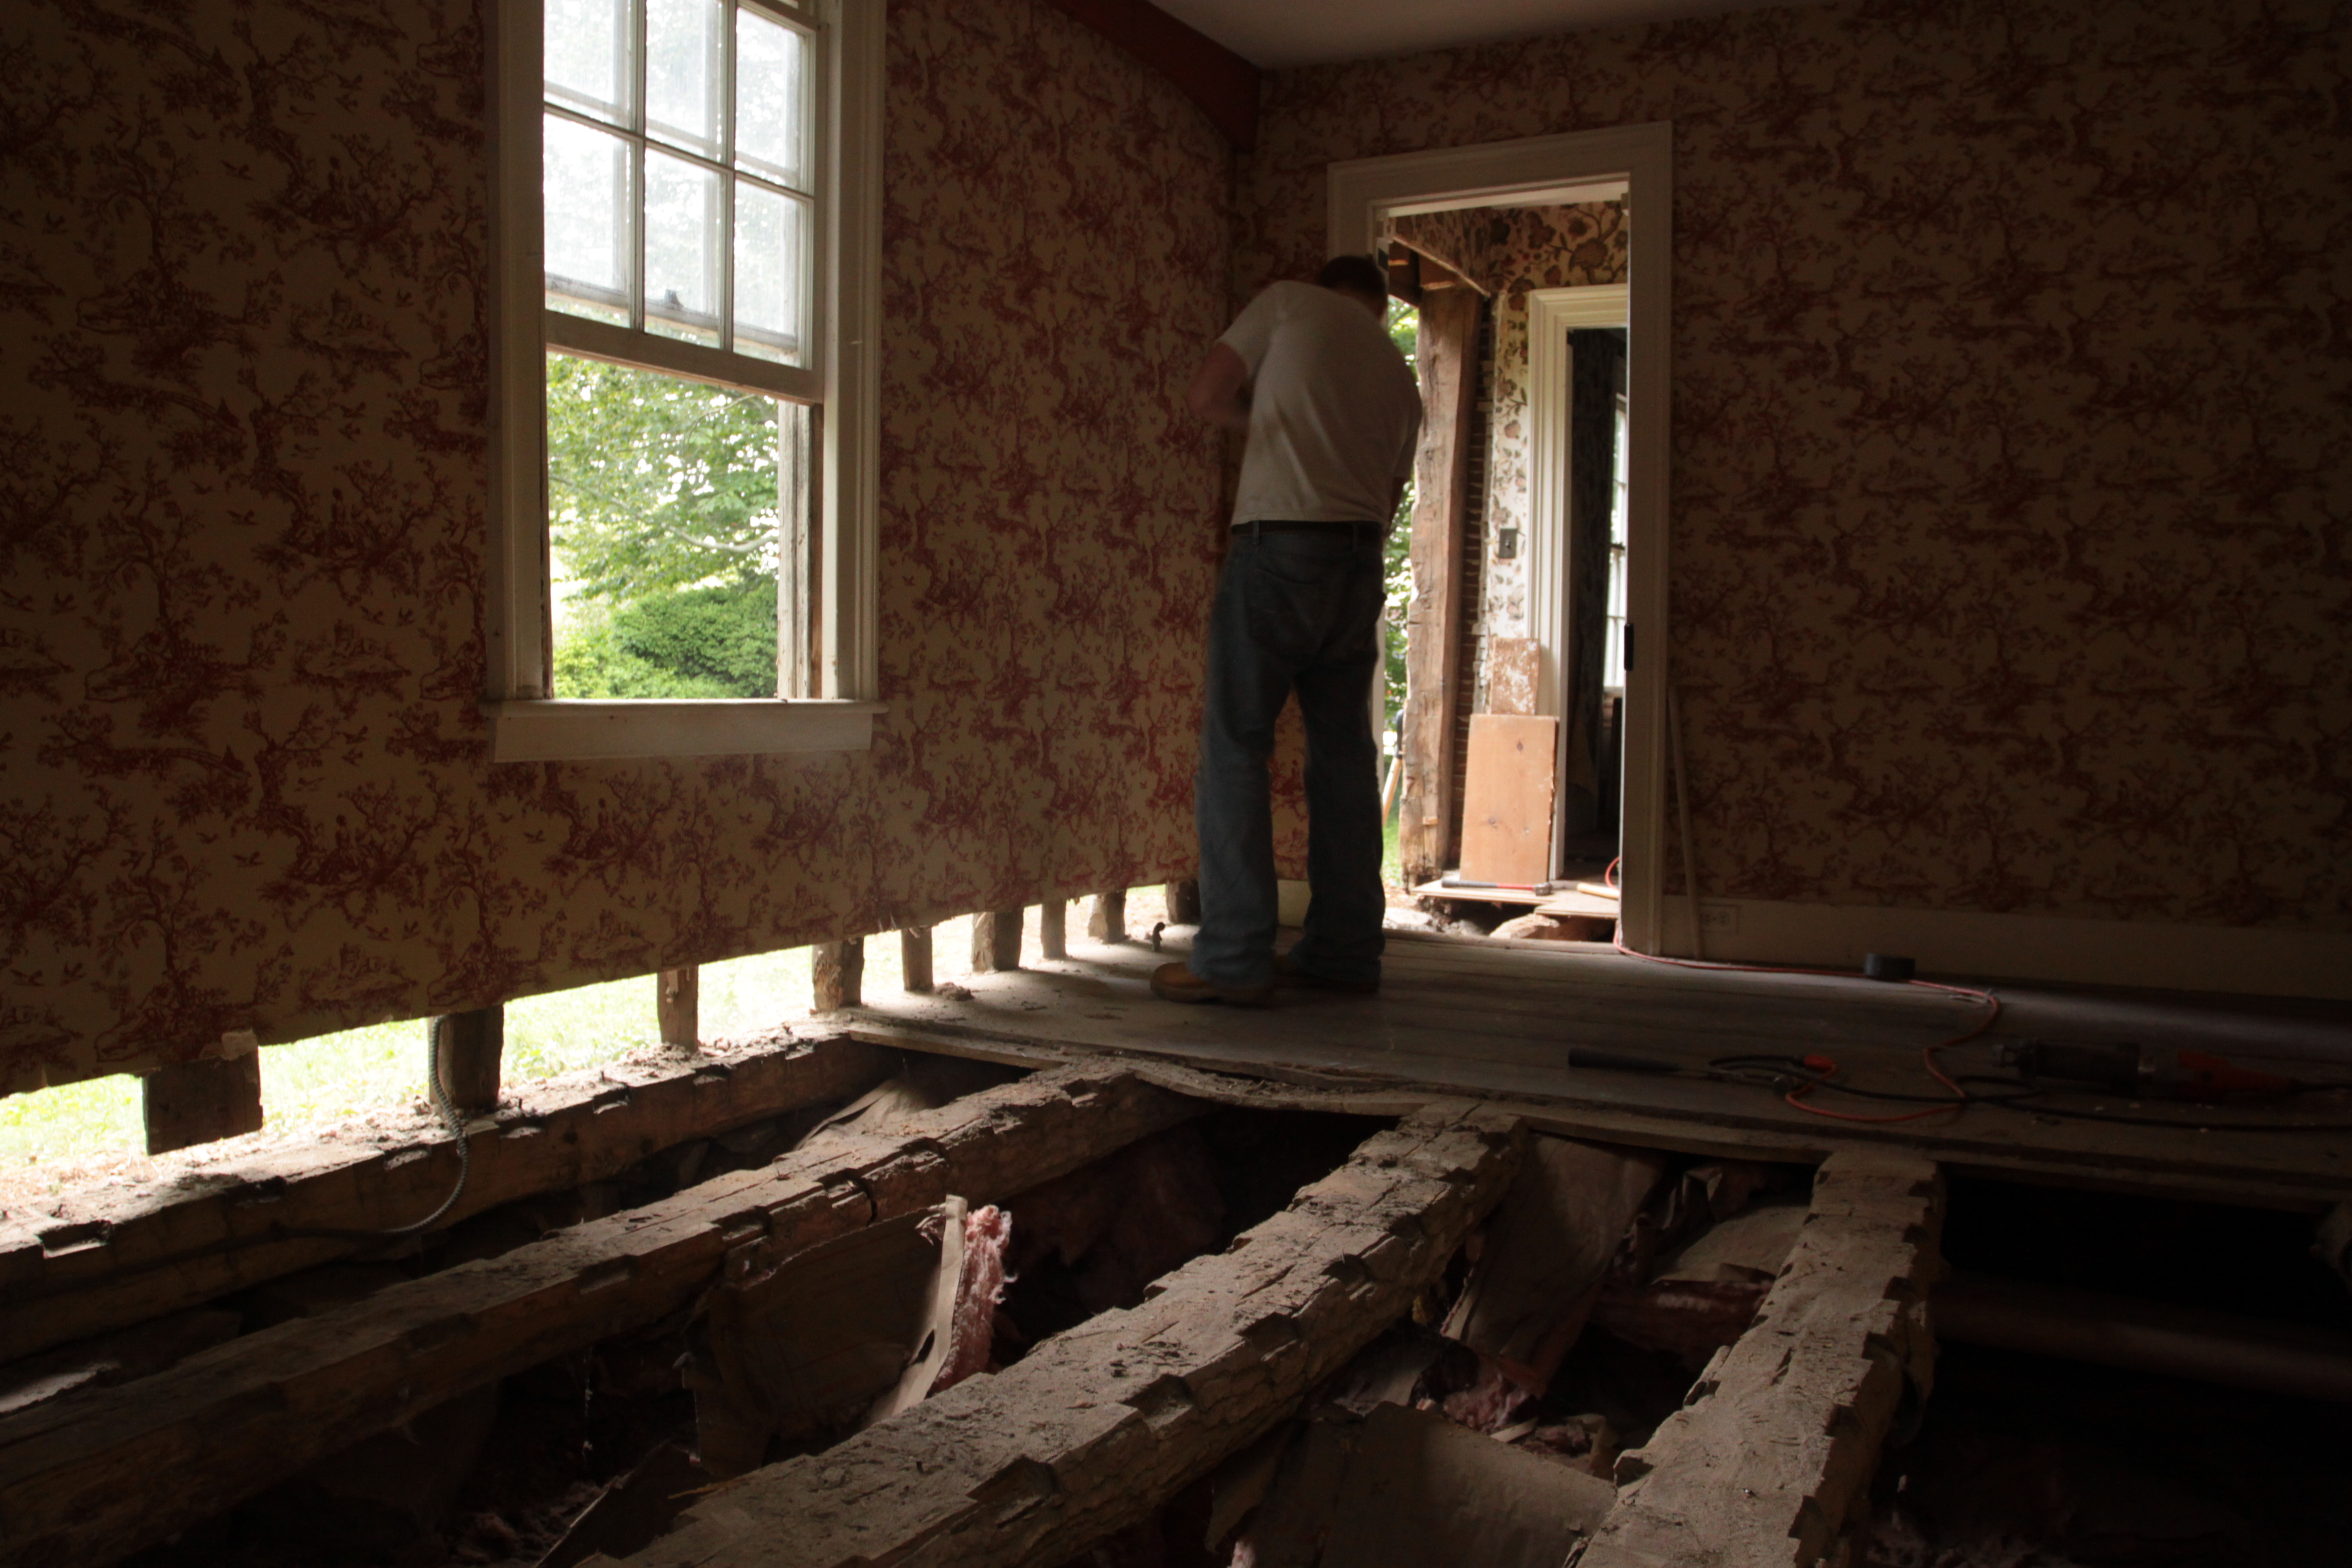
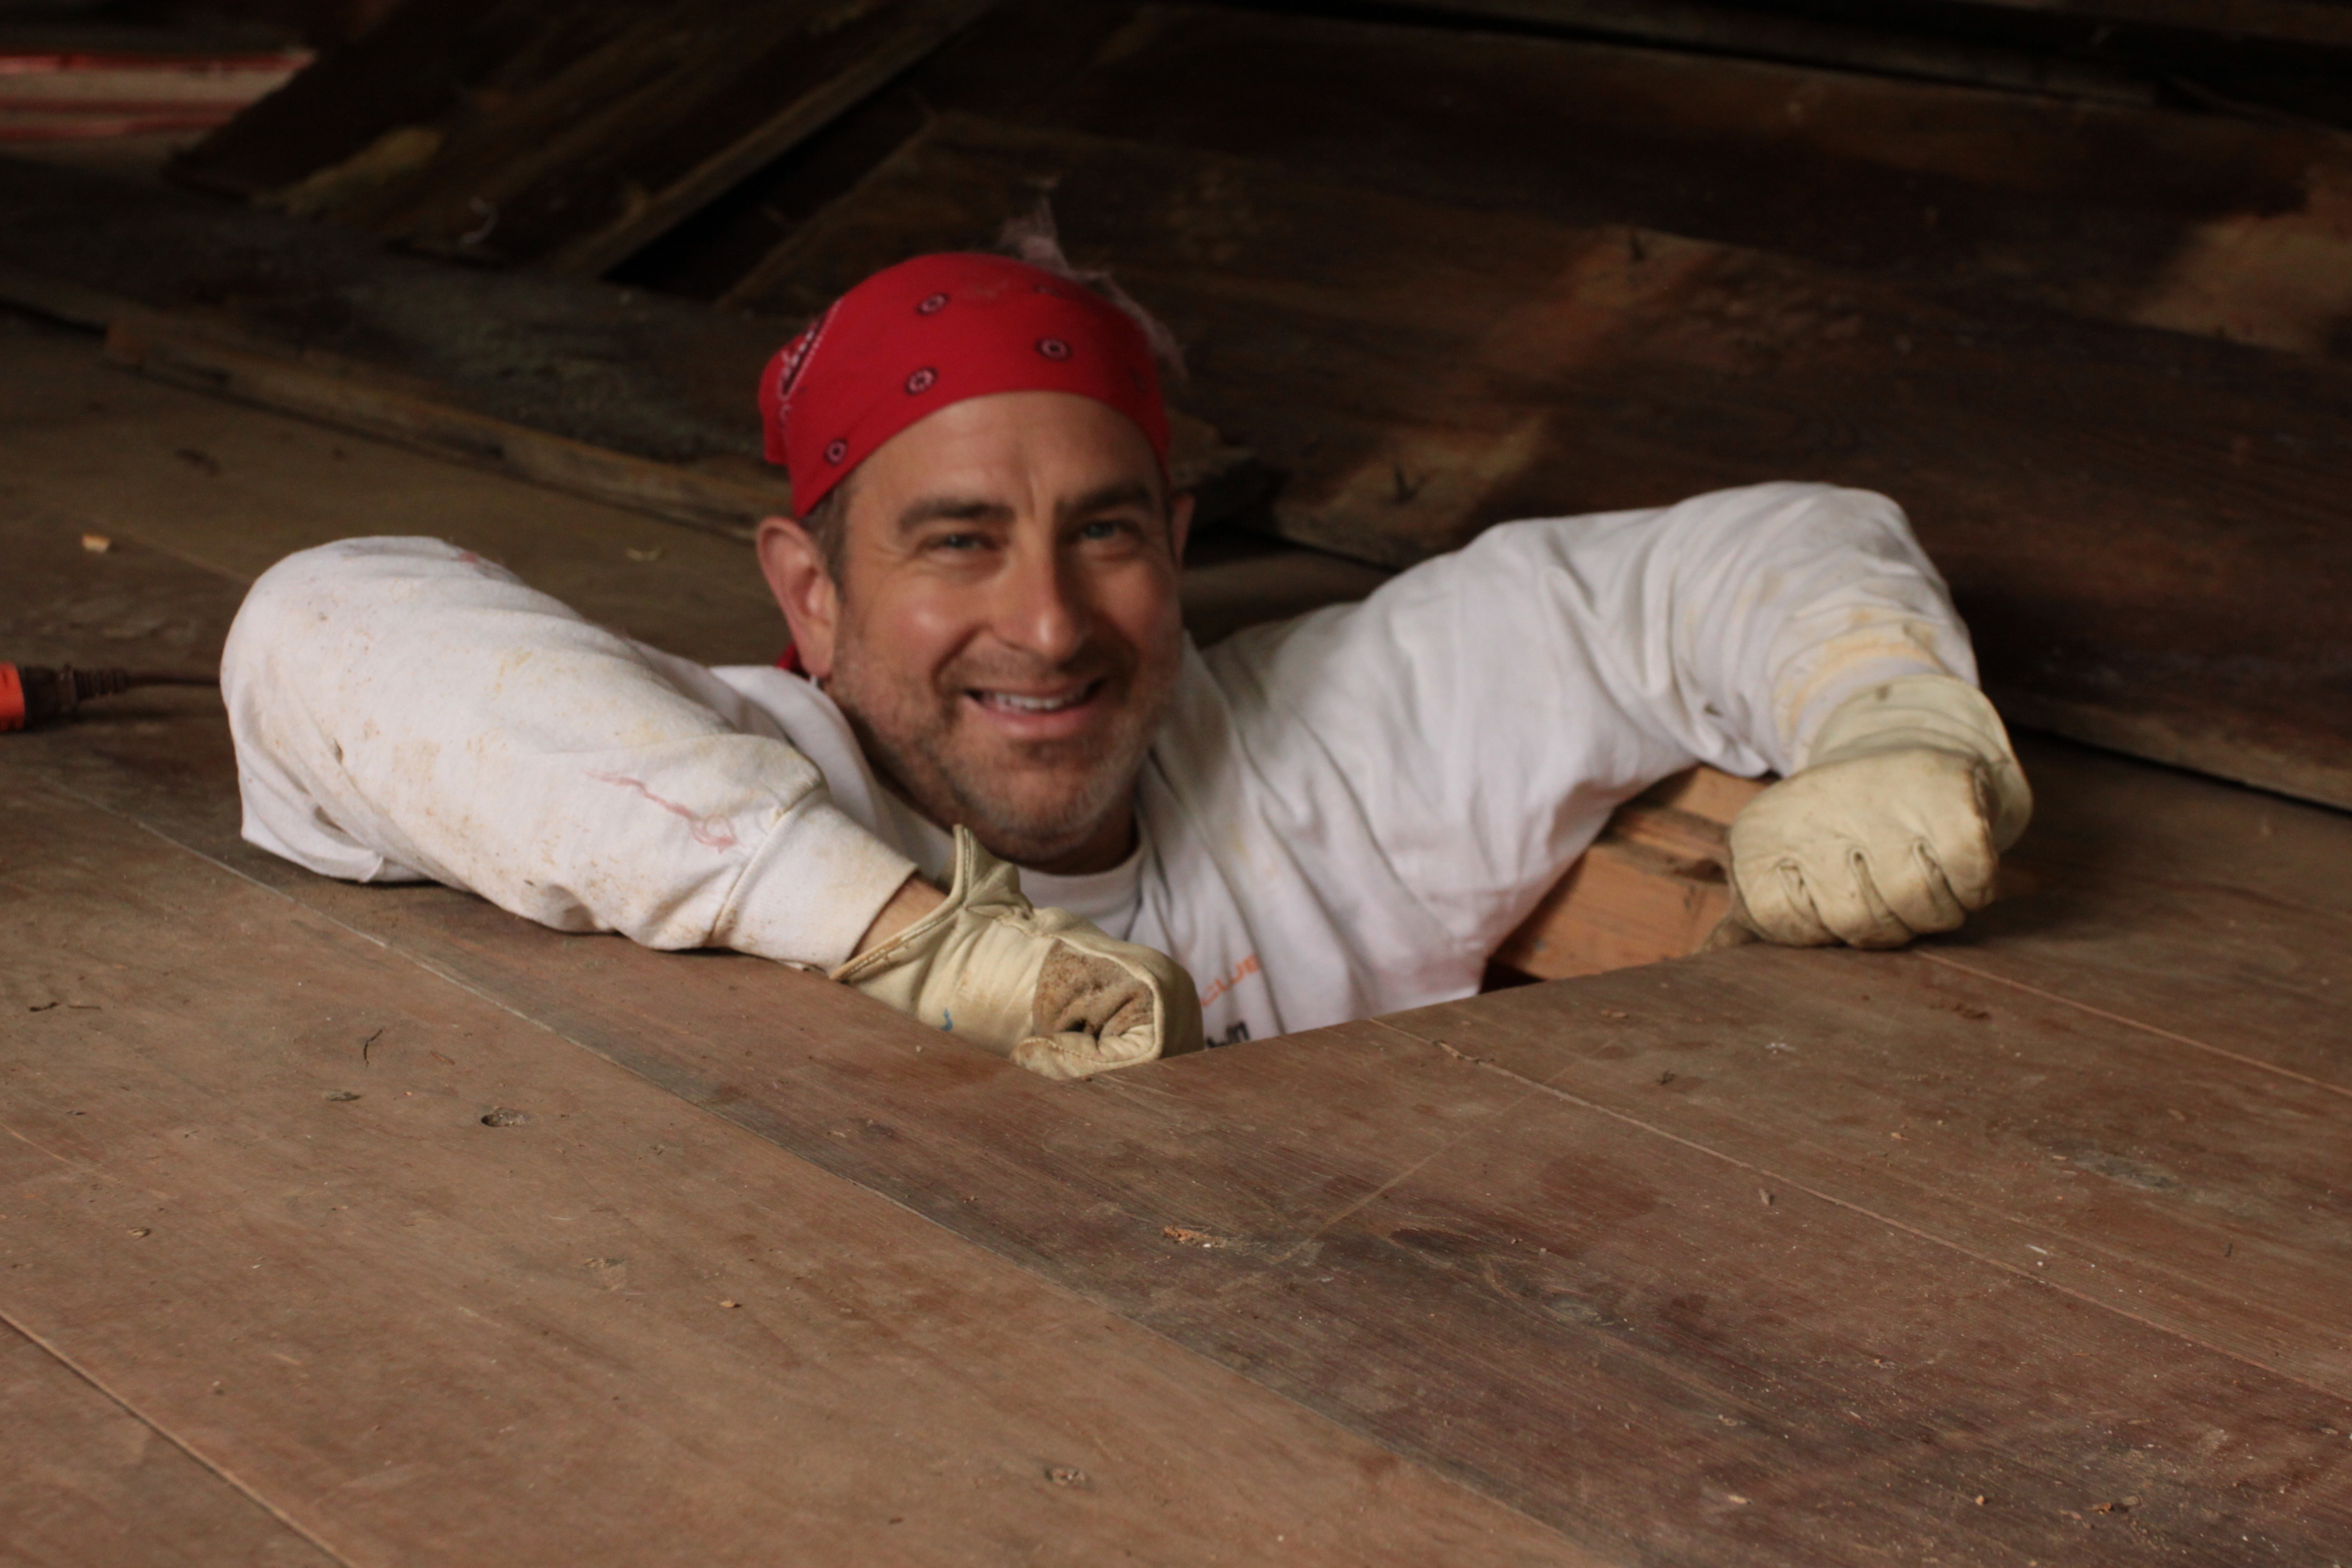
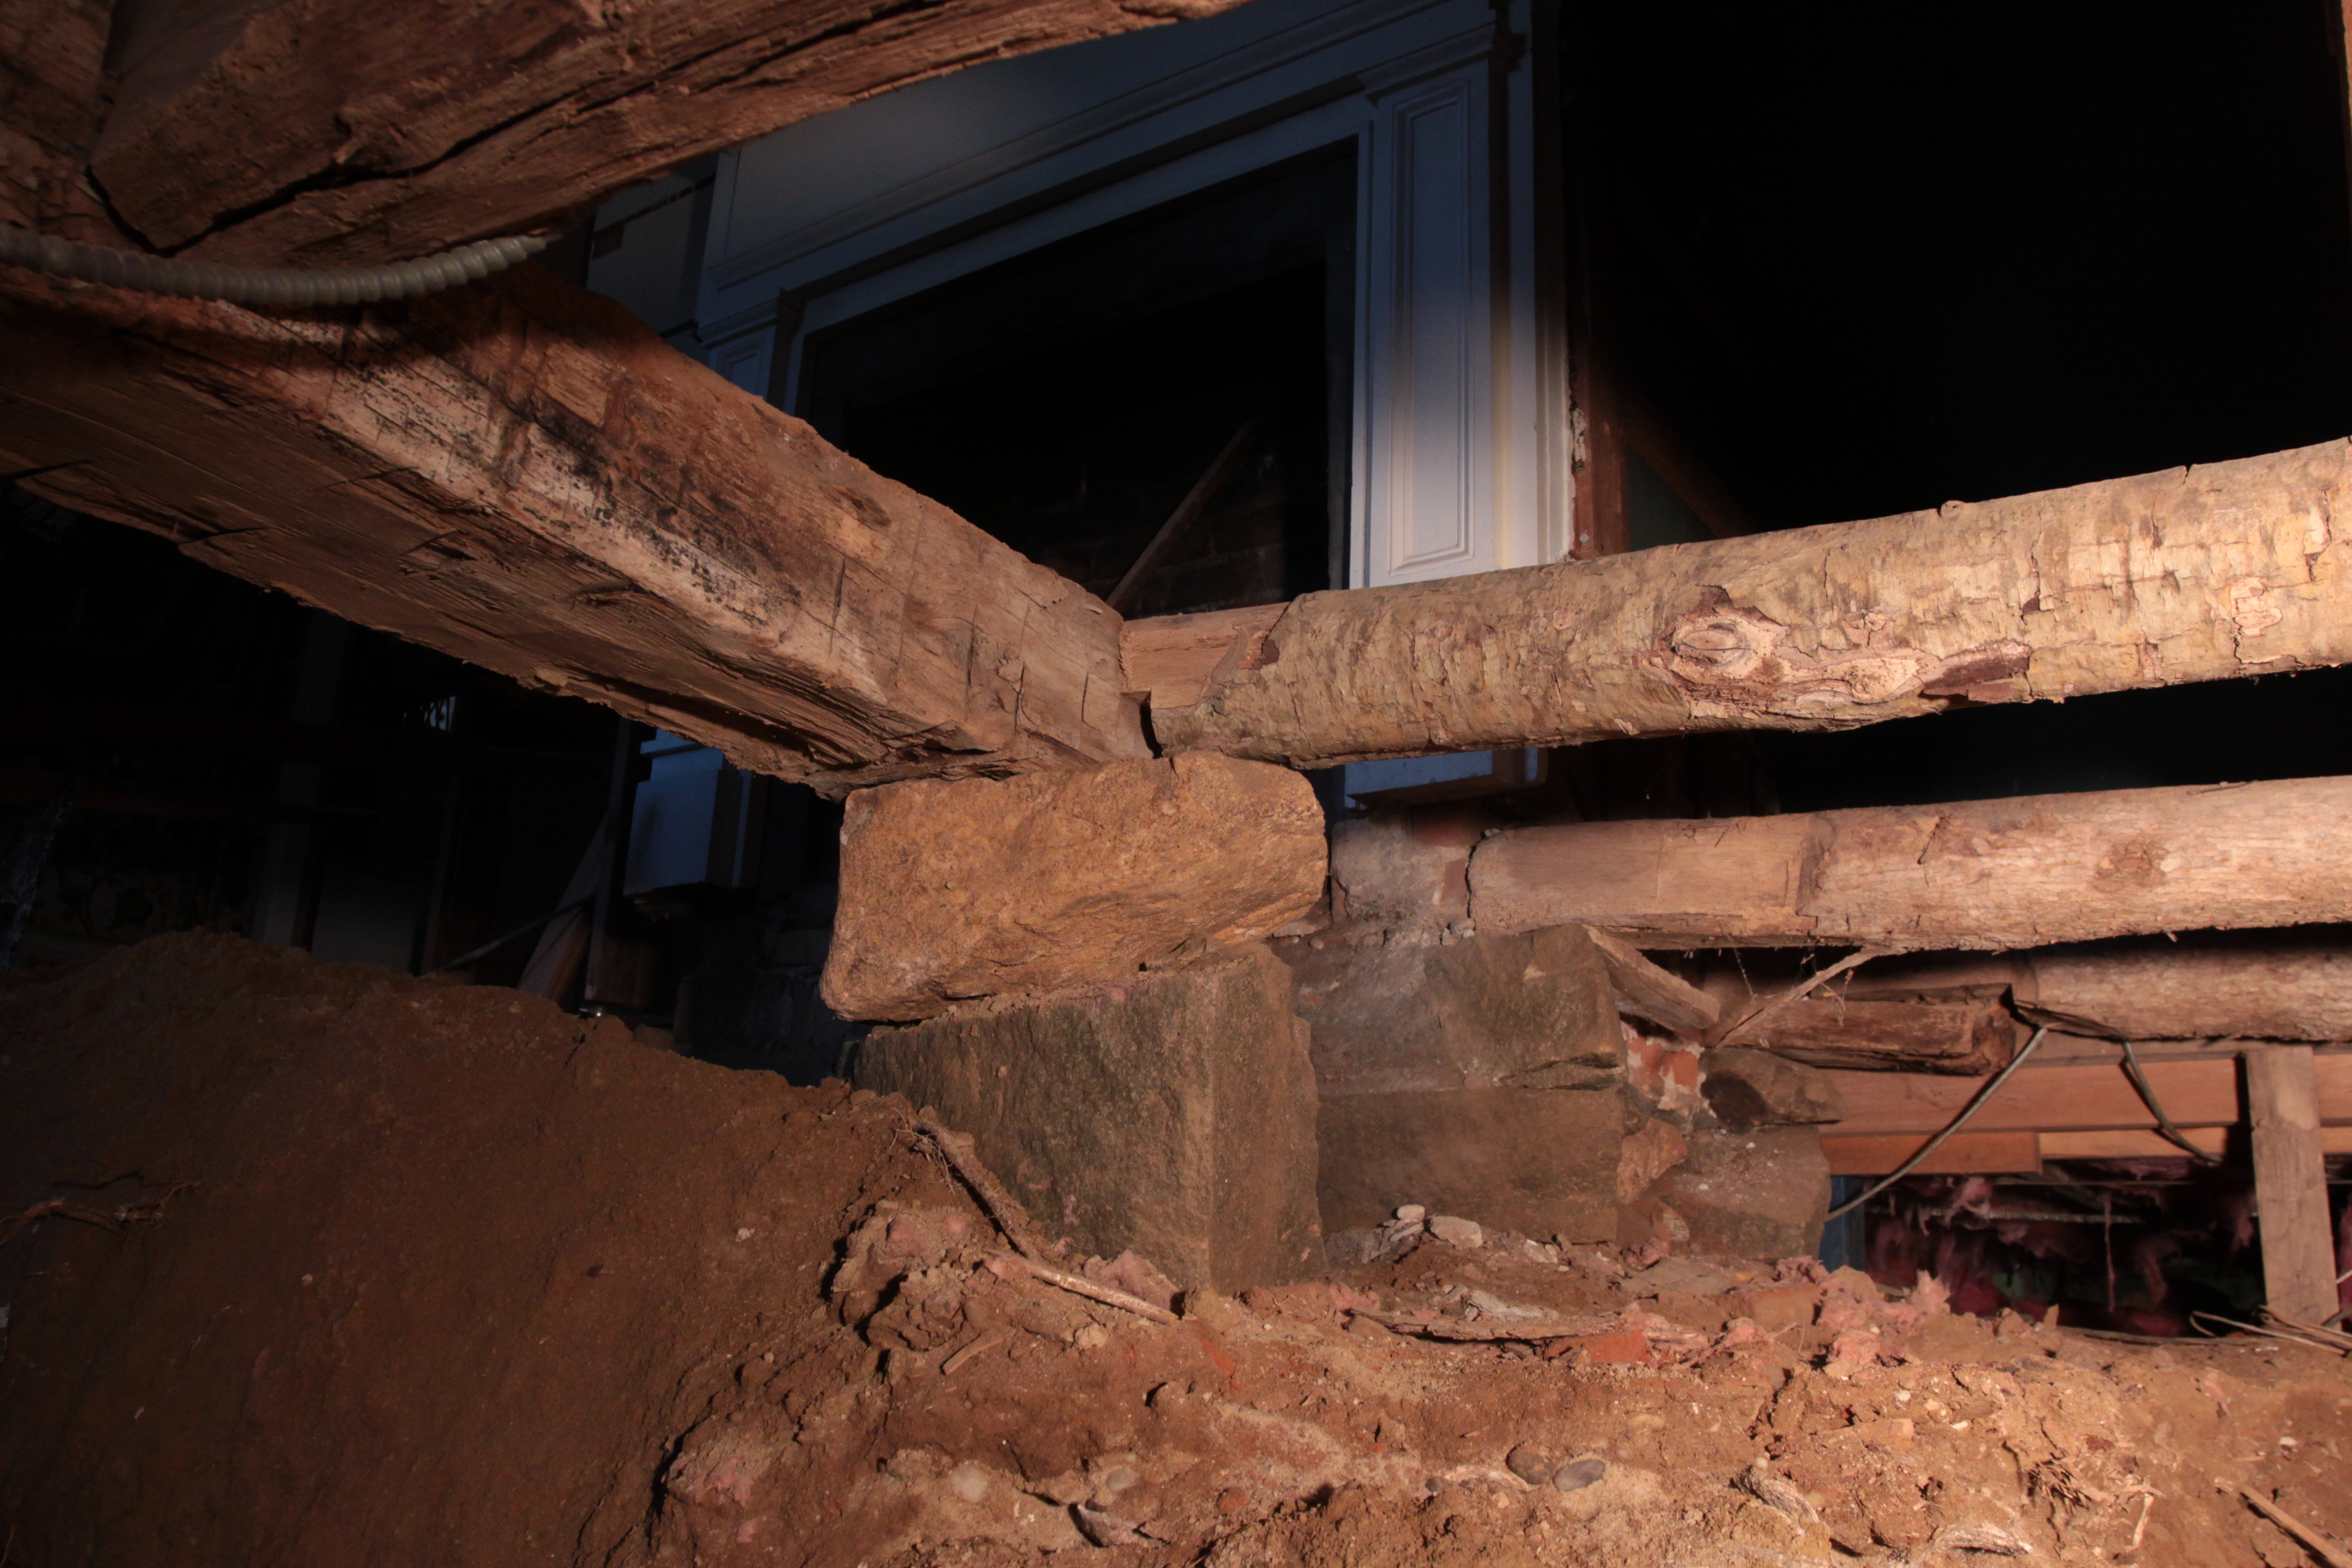
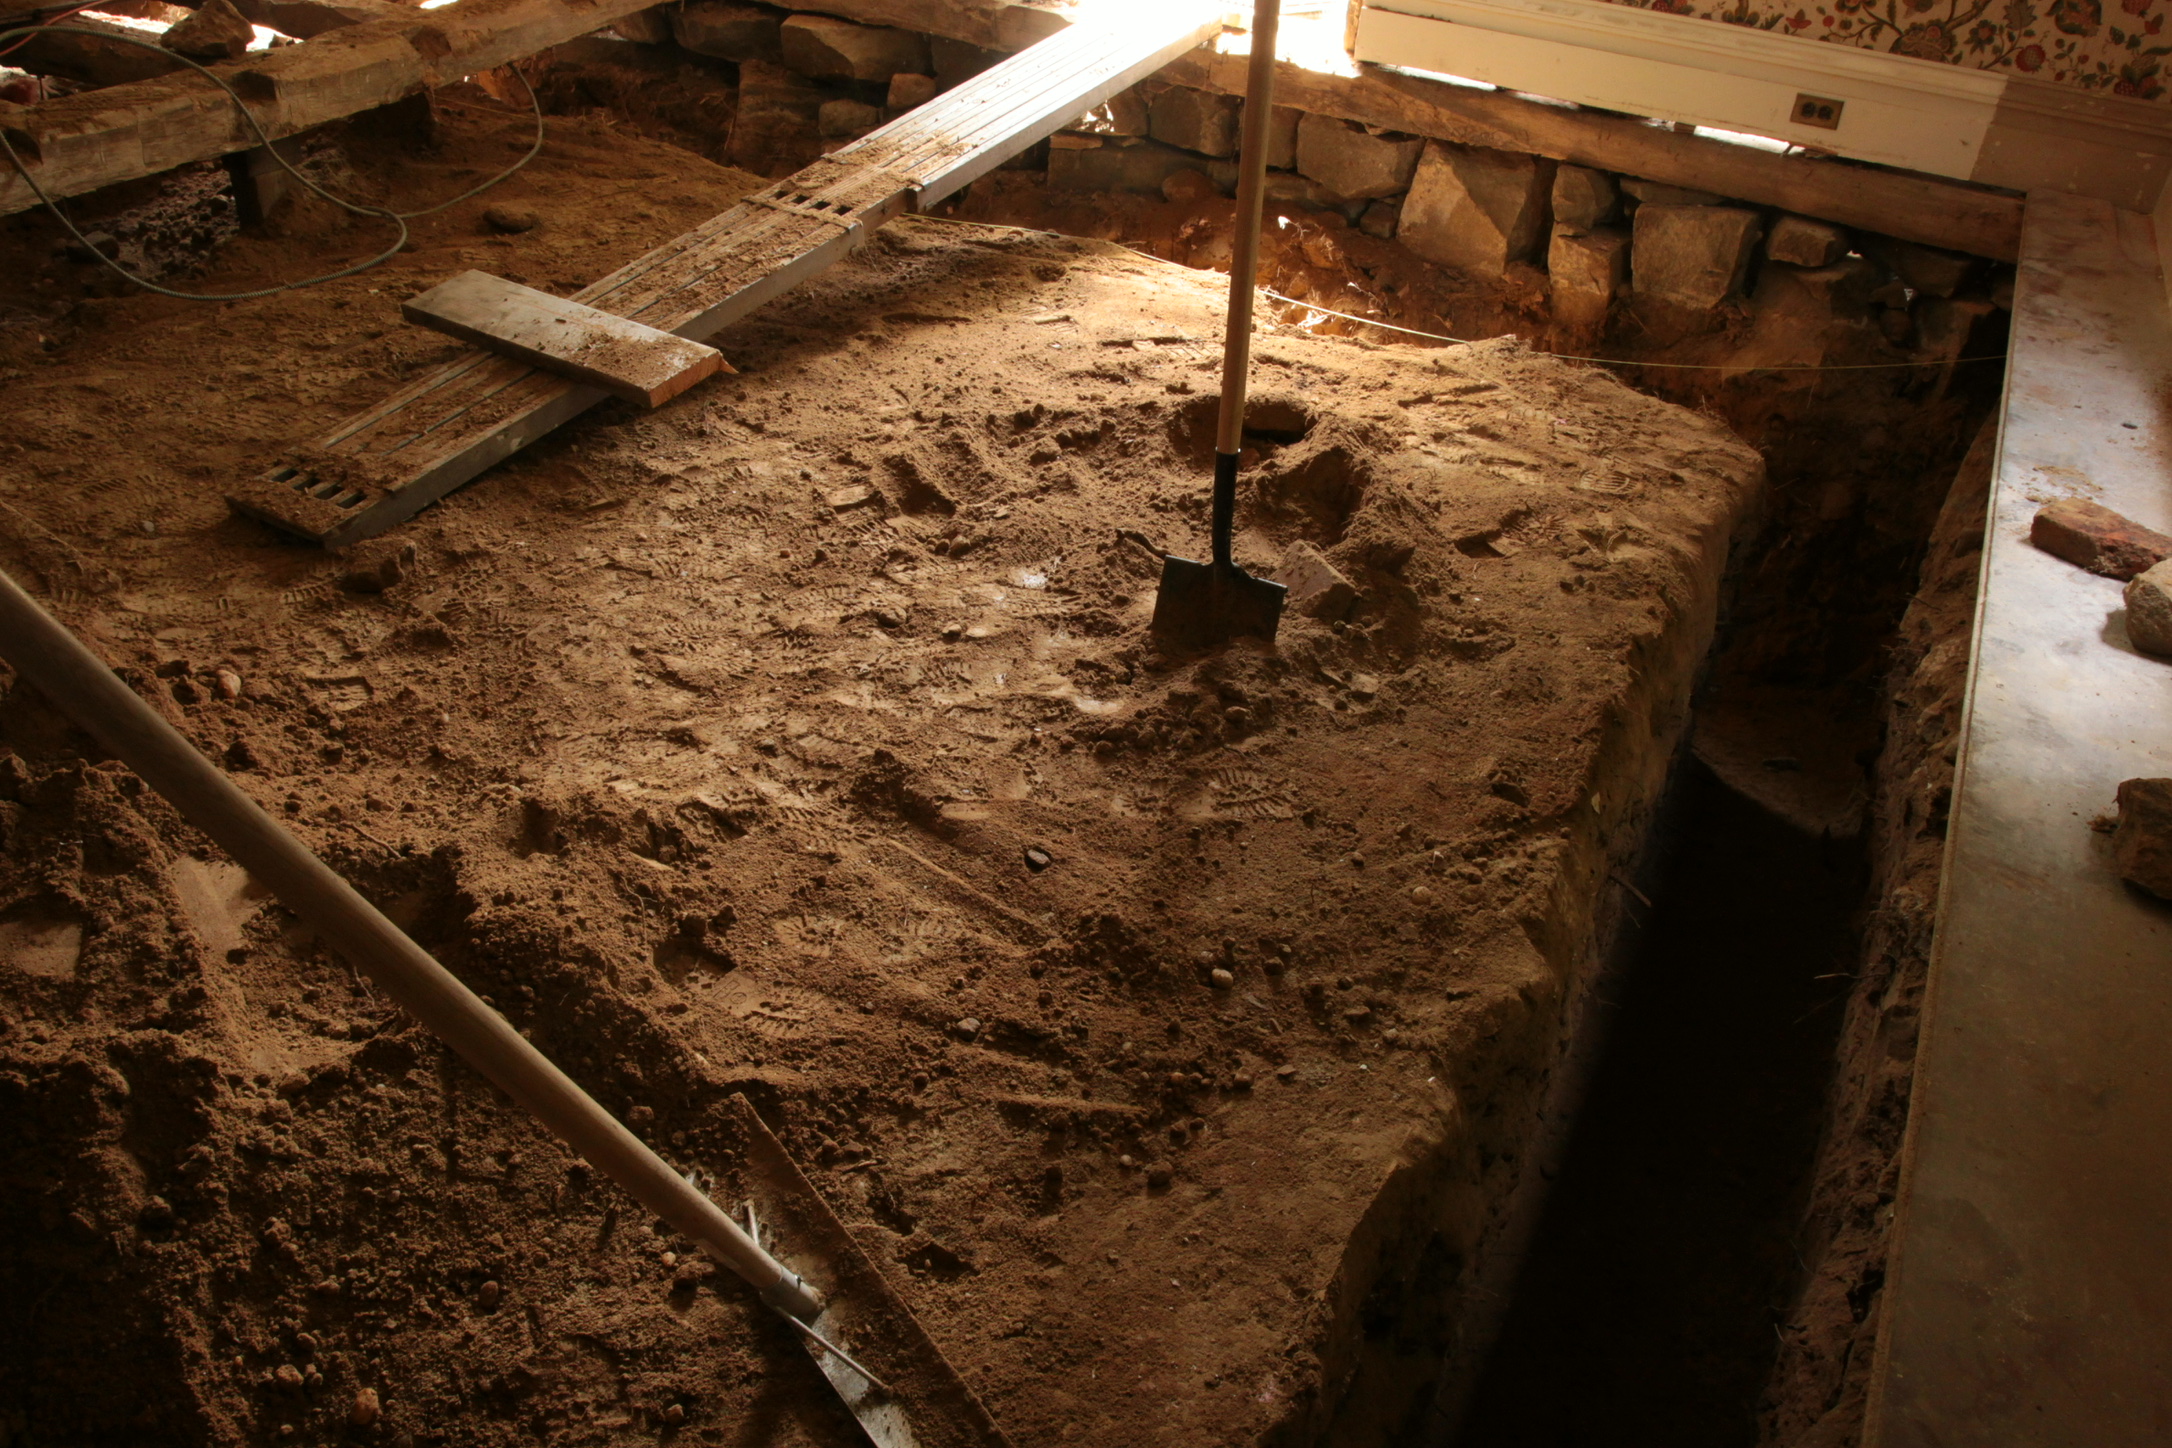
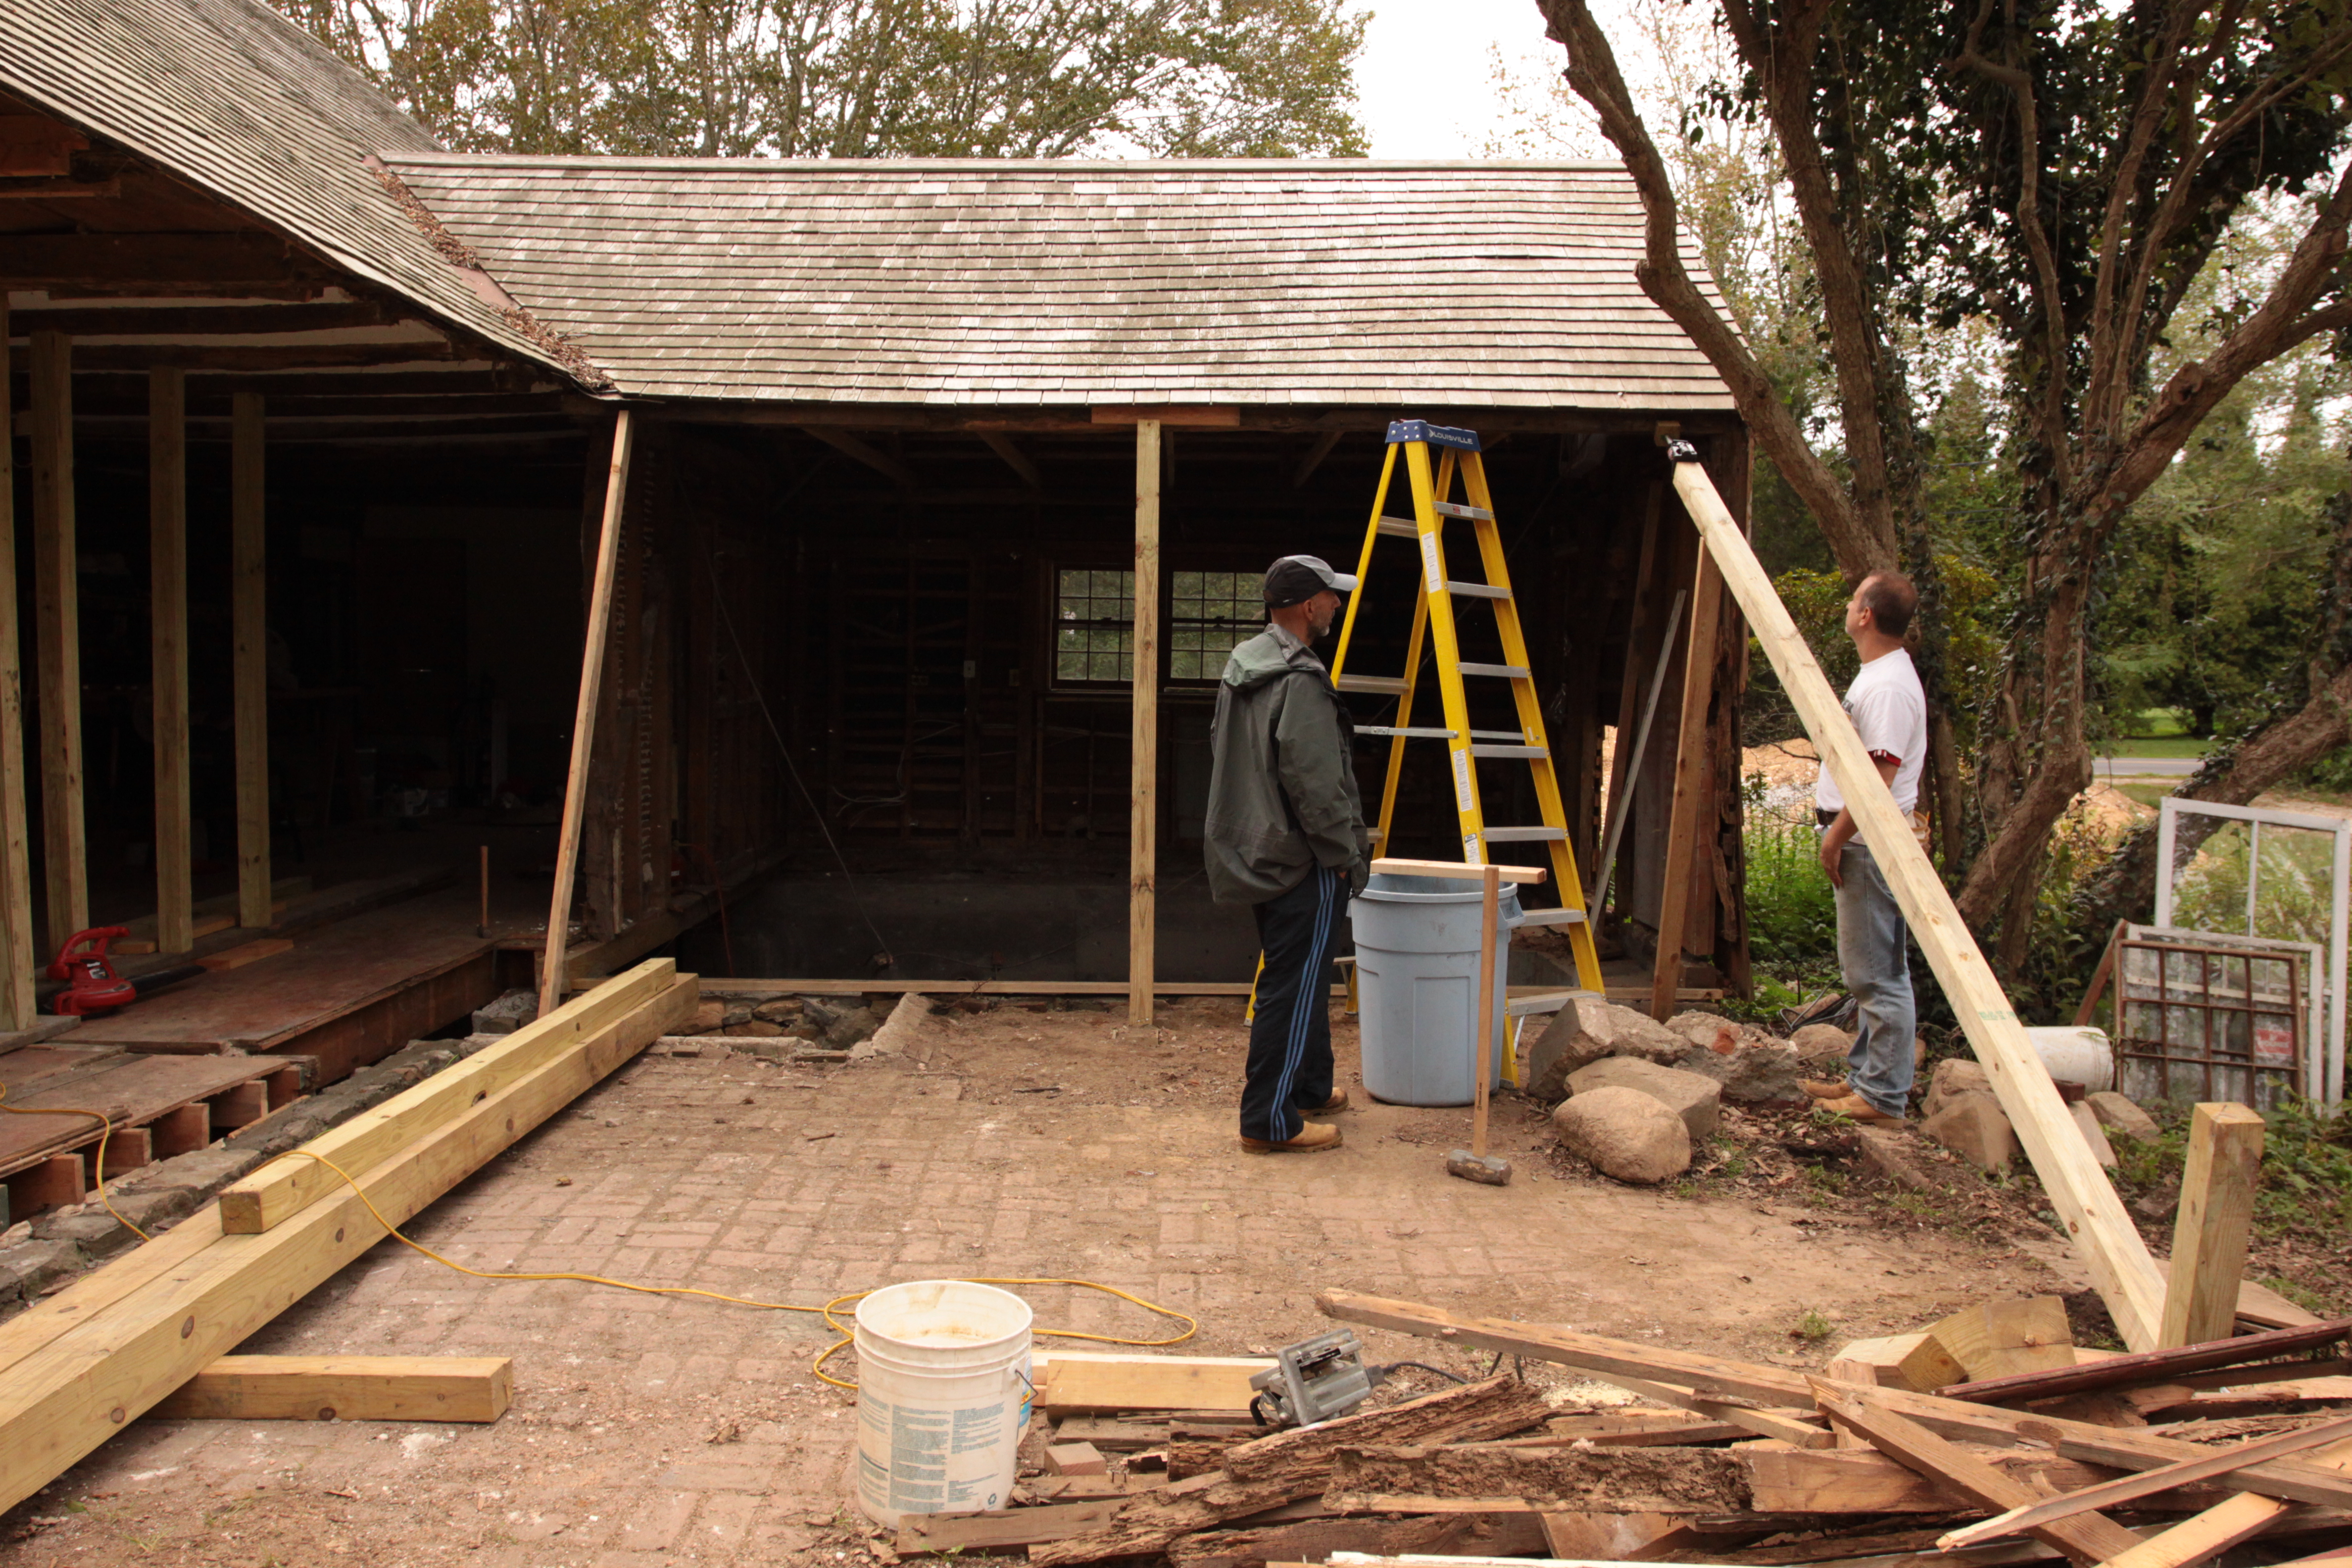
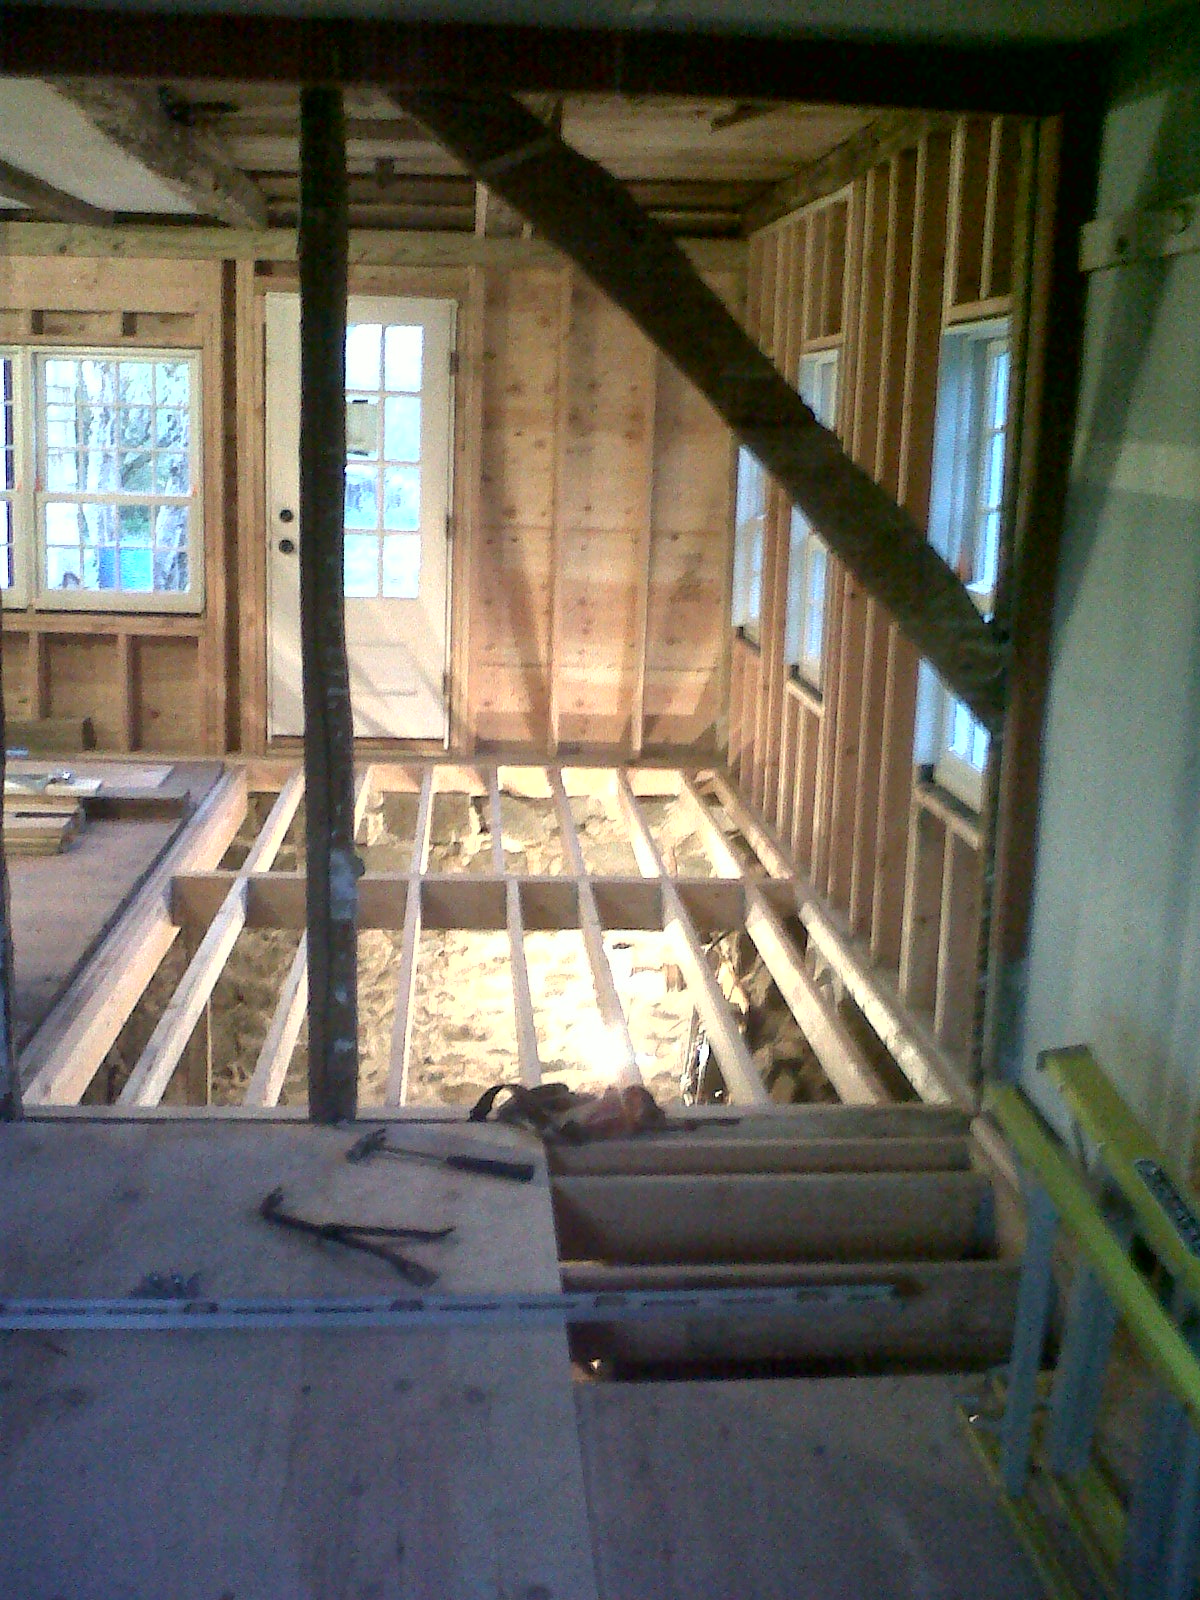
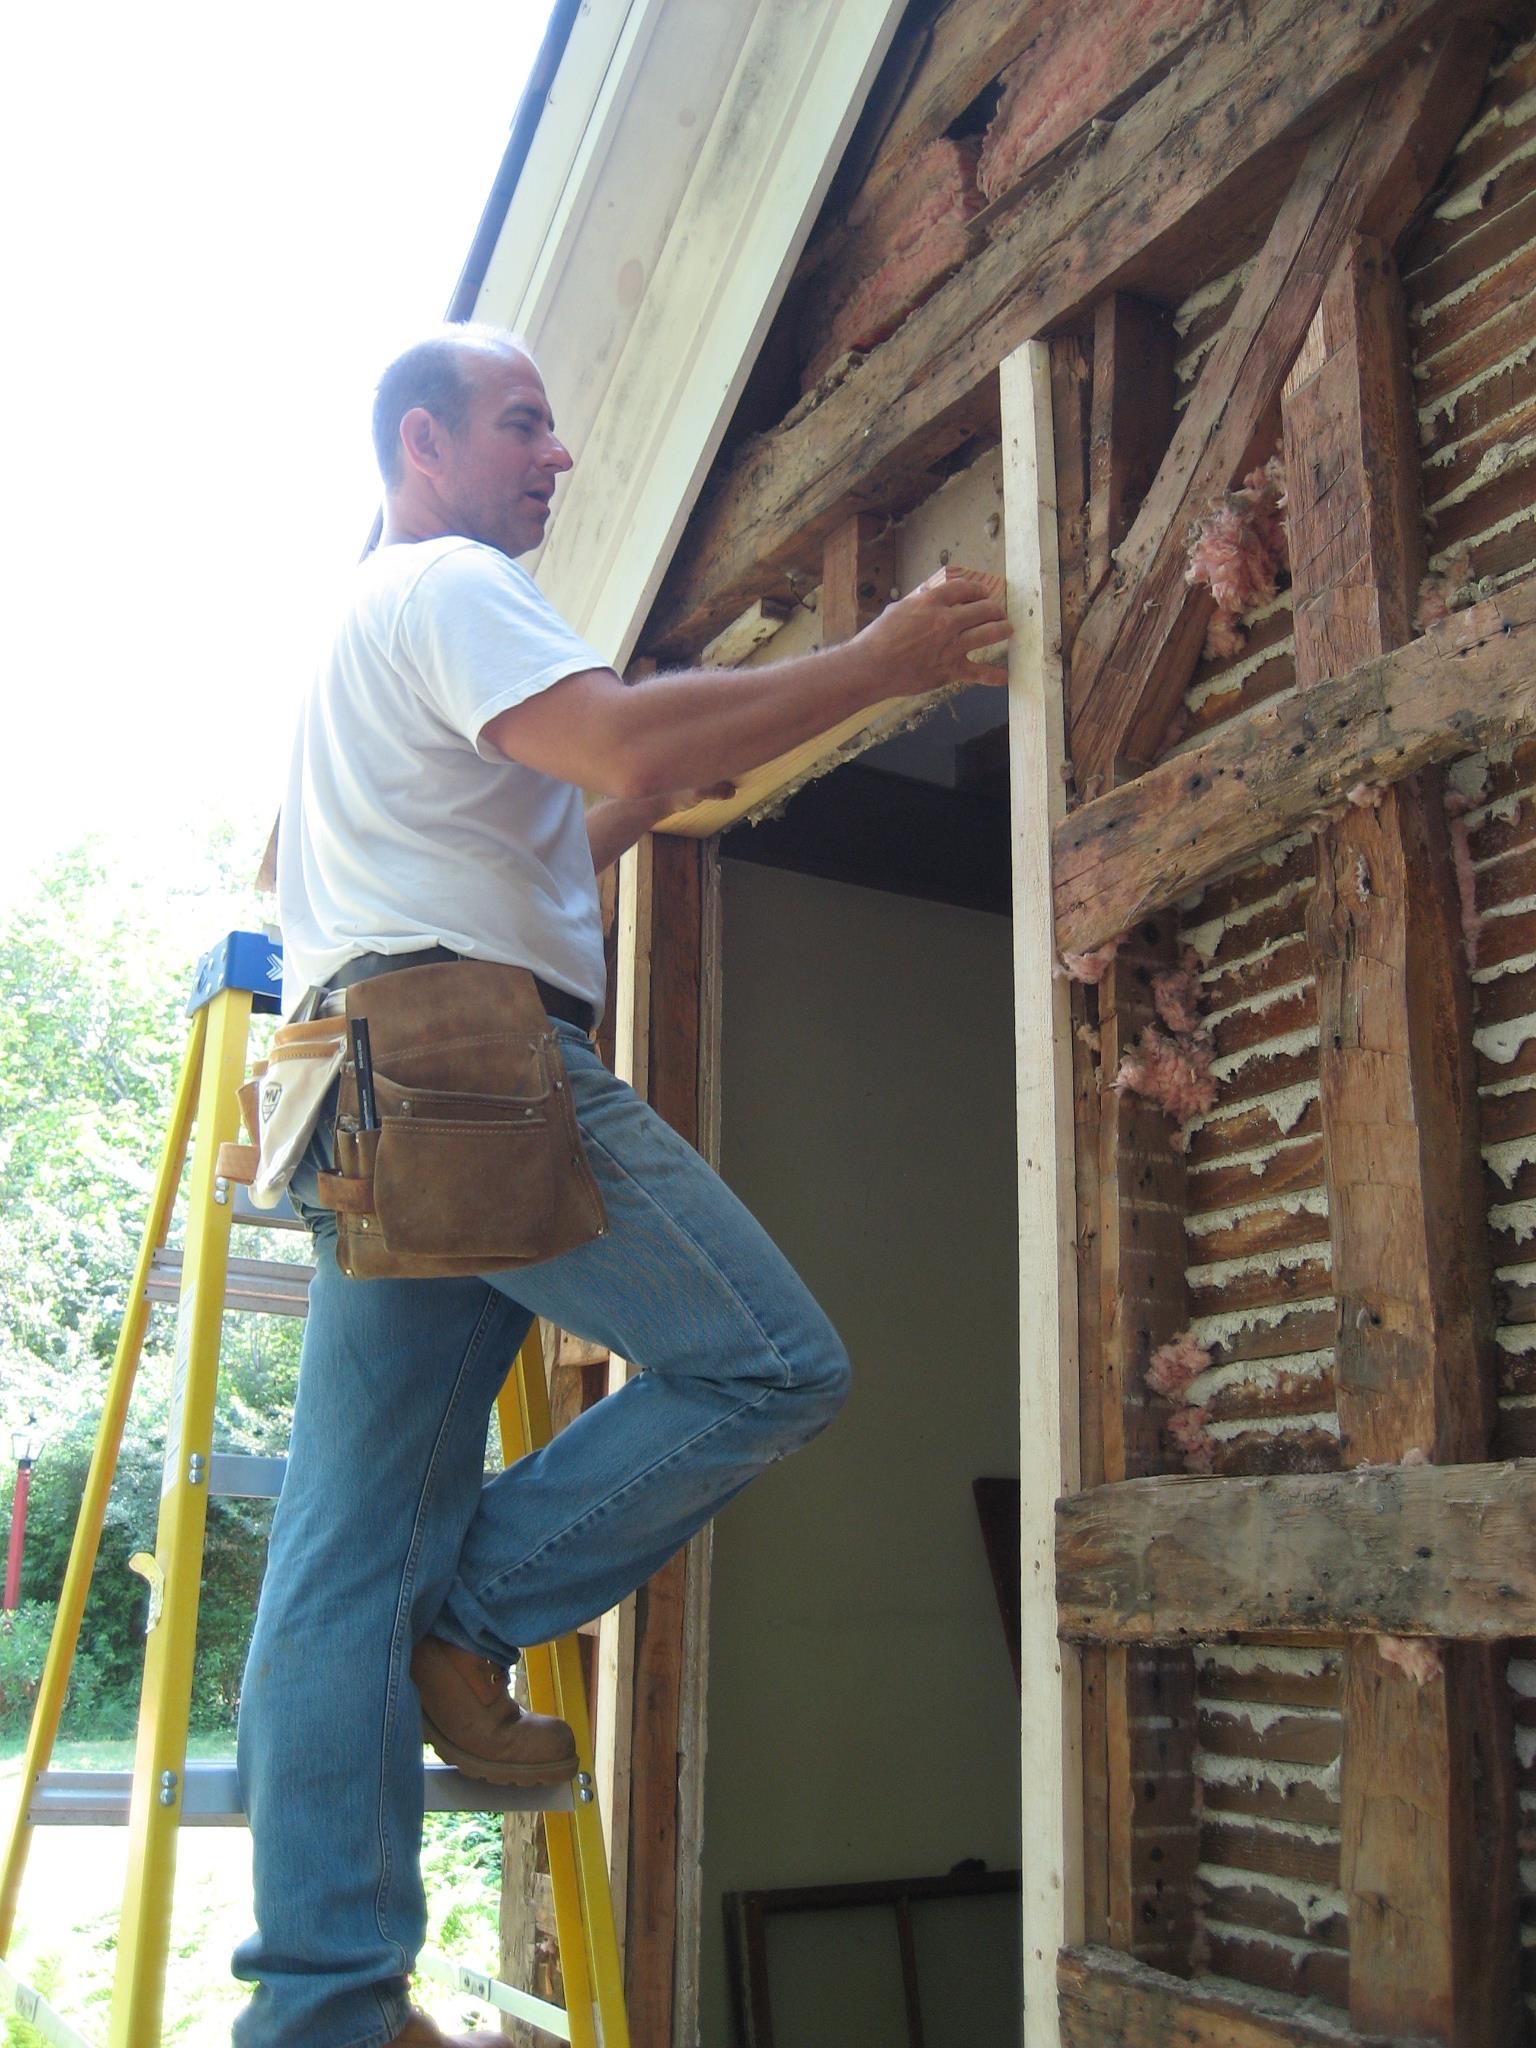
Starting from the outside we removed the shingles, windows and doors one wall at a time, and reframing as we went. We then moved on to the interior, removing the plaster, then the lathe, being careful to protect all the historical elements we wanted to maintain. In the two front rooms of the house, we took up the original wide-plank "pumpkin pine" floors, labelling and storing each piece. We did this for two reasons: first, there were areas of significant deterioration in the front foundation and sill plates that had to be repaired. Second, removing the floor boards gave us access to the crawl-space to be able to manage excavation and foundation work for the house.
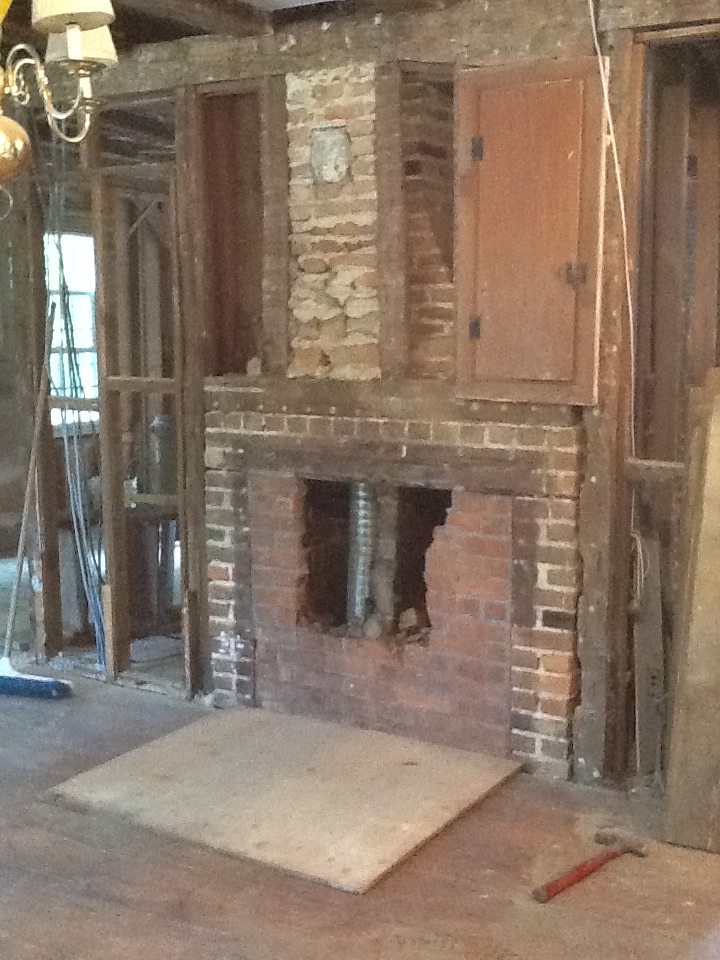
While we hoped to find hidden treasures, we came up a bit short. Interior demo exposed a fifth fireplace that had been bricked up decades earlier to create a flue for an oil burner in the basement. Beyond that, we primarily found corn cobs and nut husks stored away in the eaves by squirrels, and lots of fragments of broken china in the crawlspace under the floorboards.






Foundation and Masonry
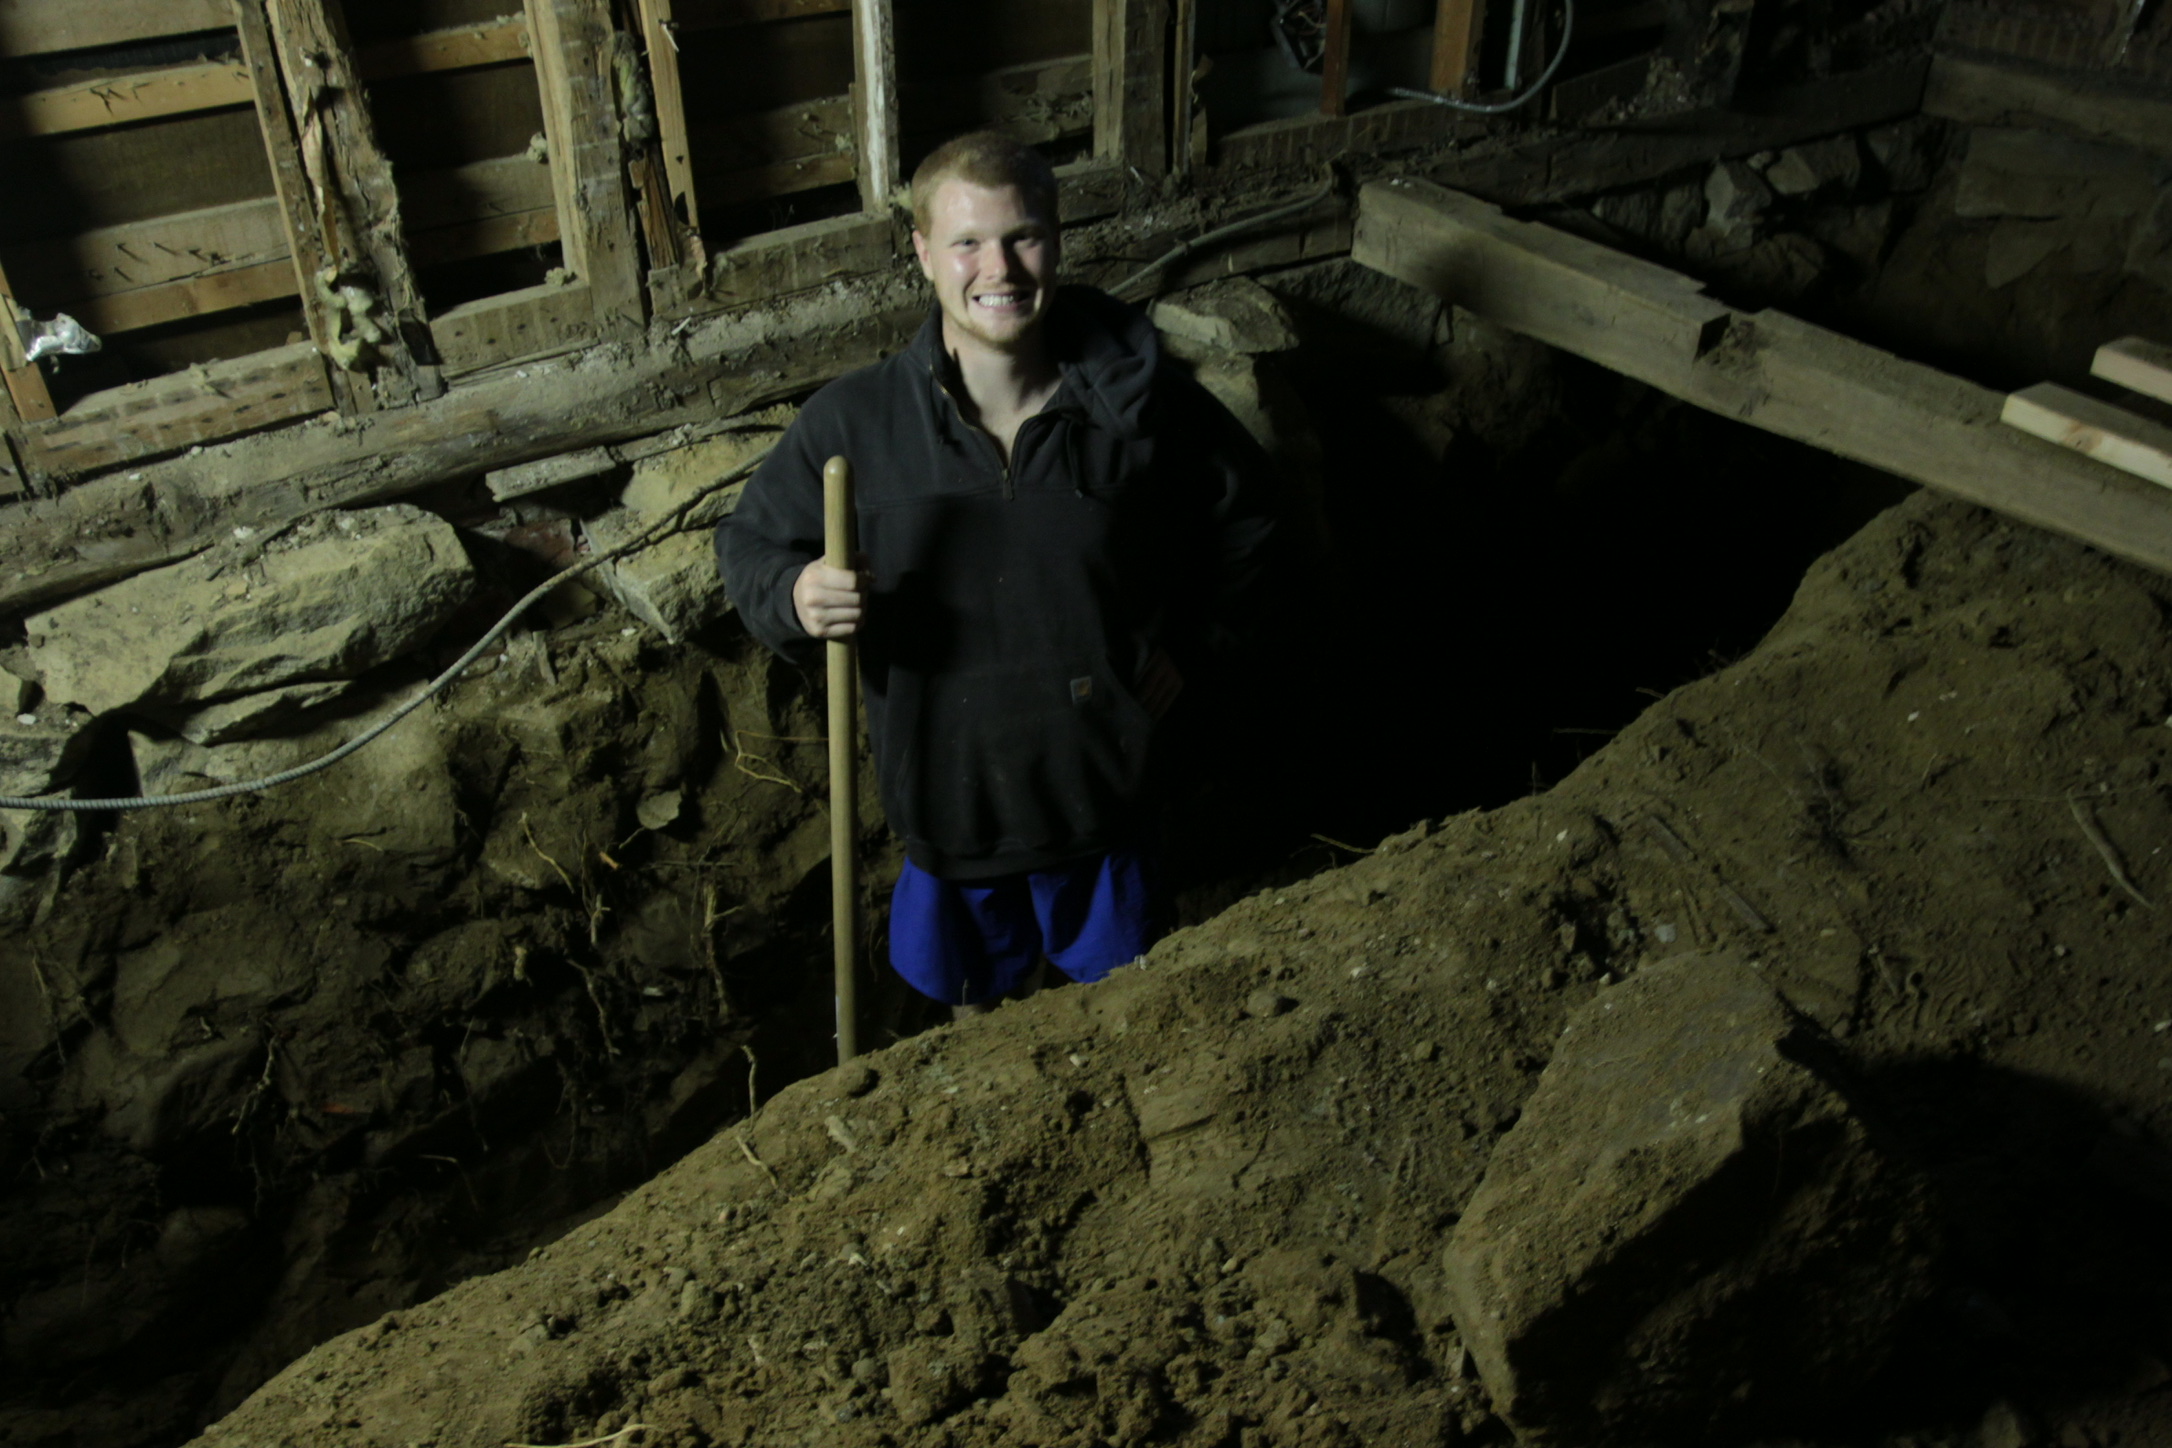
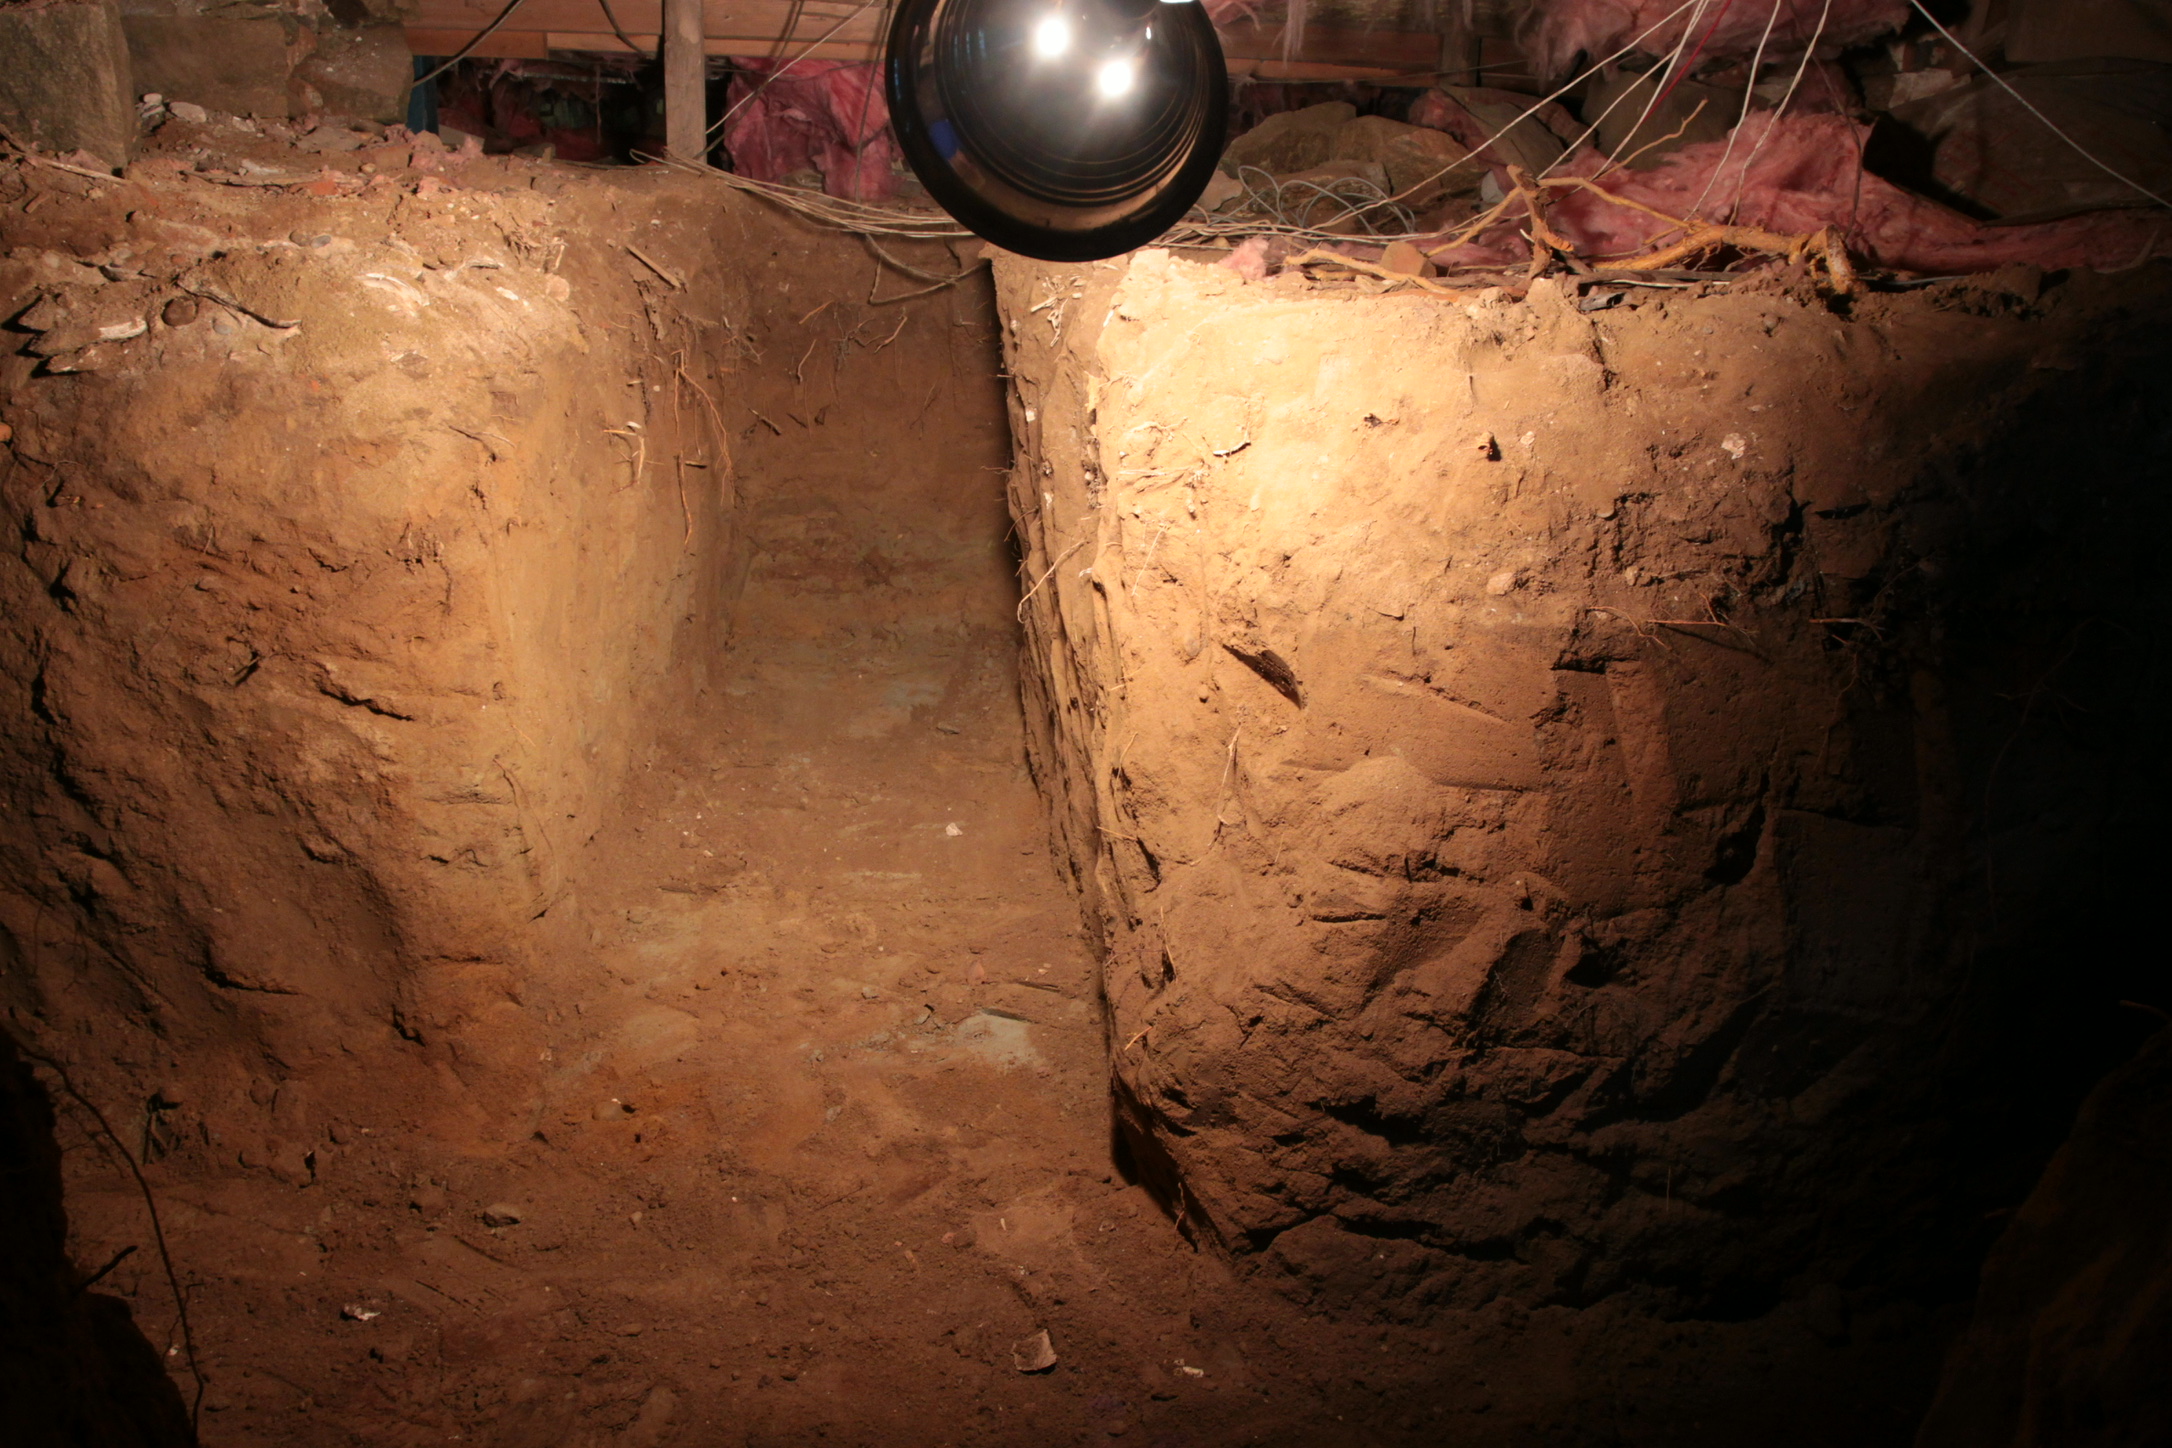
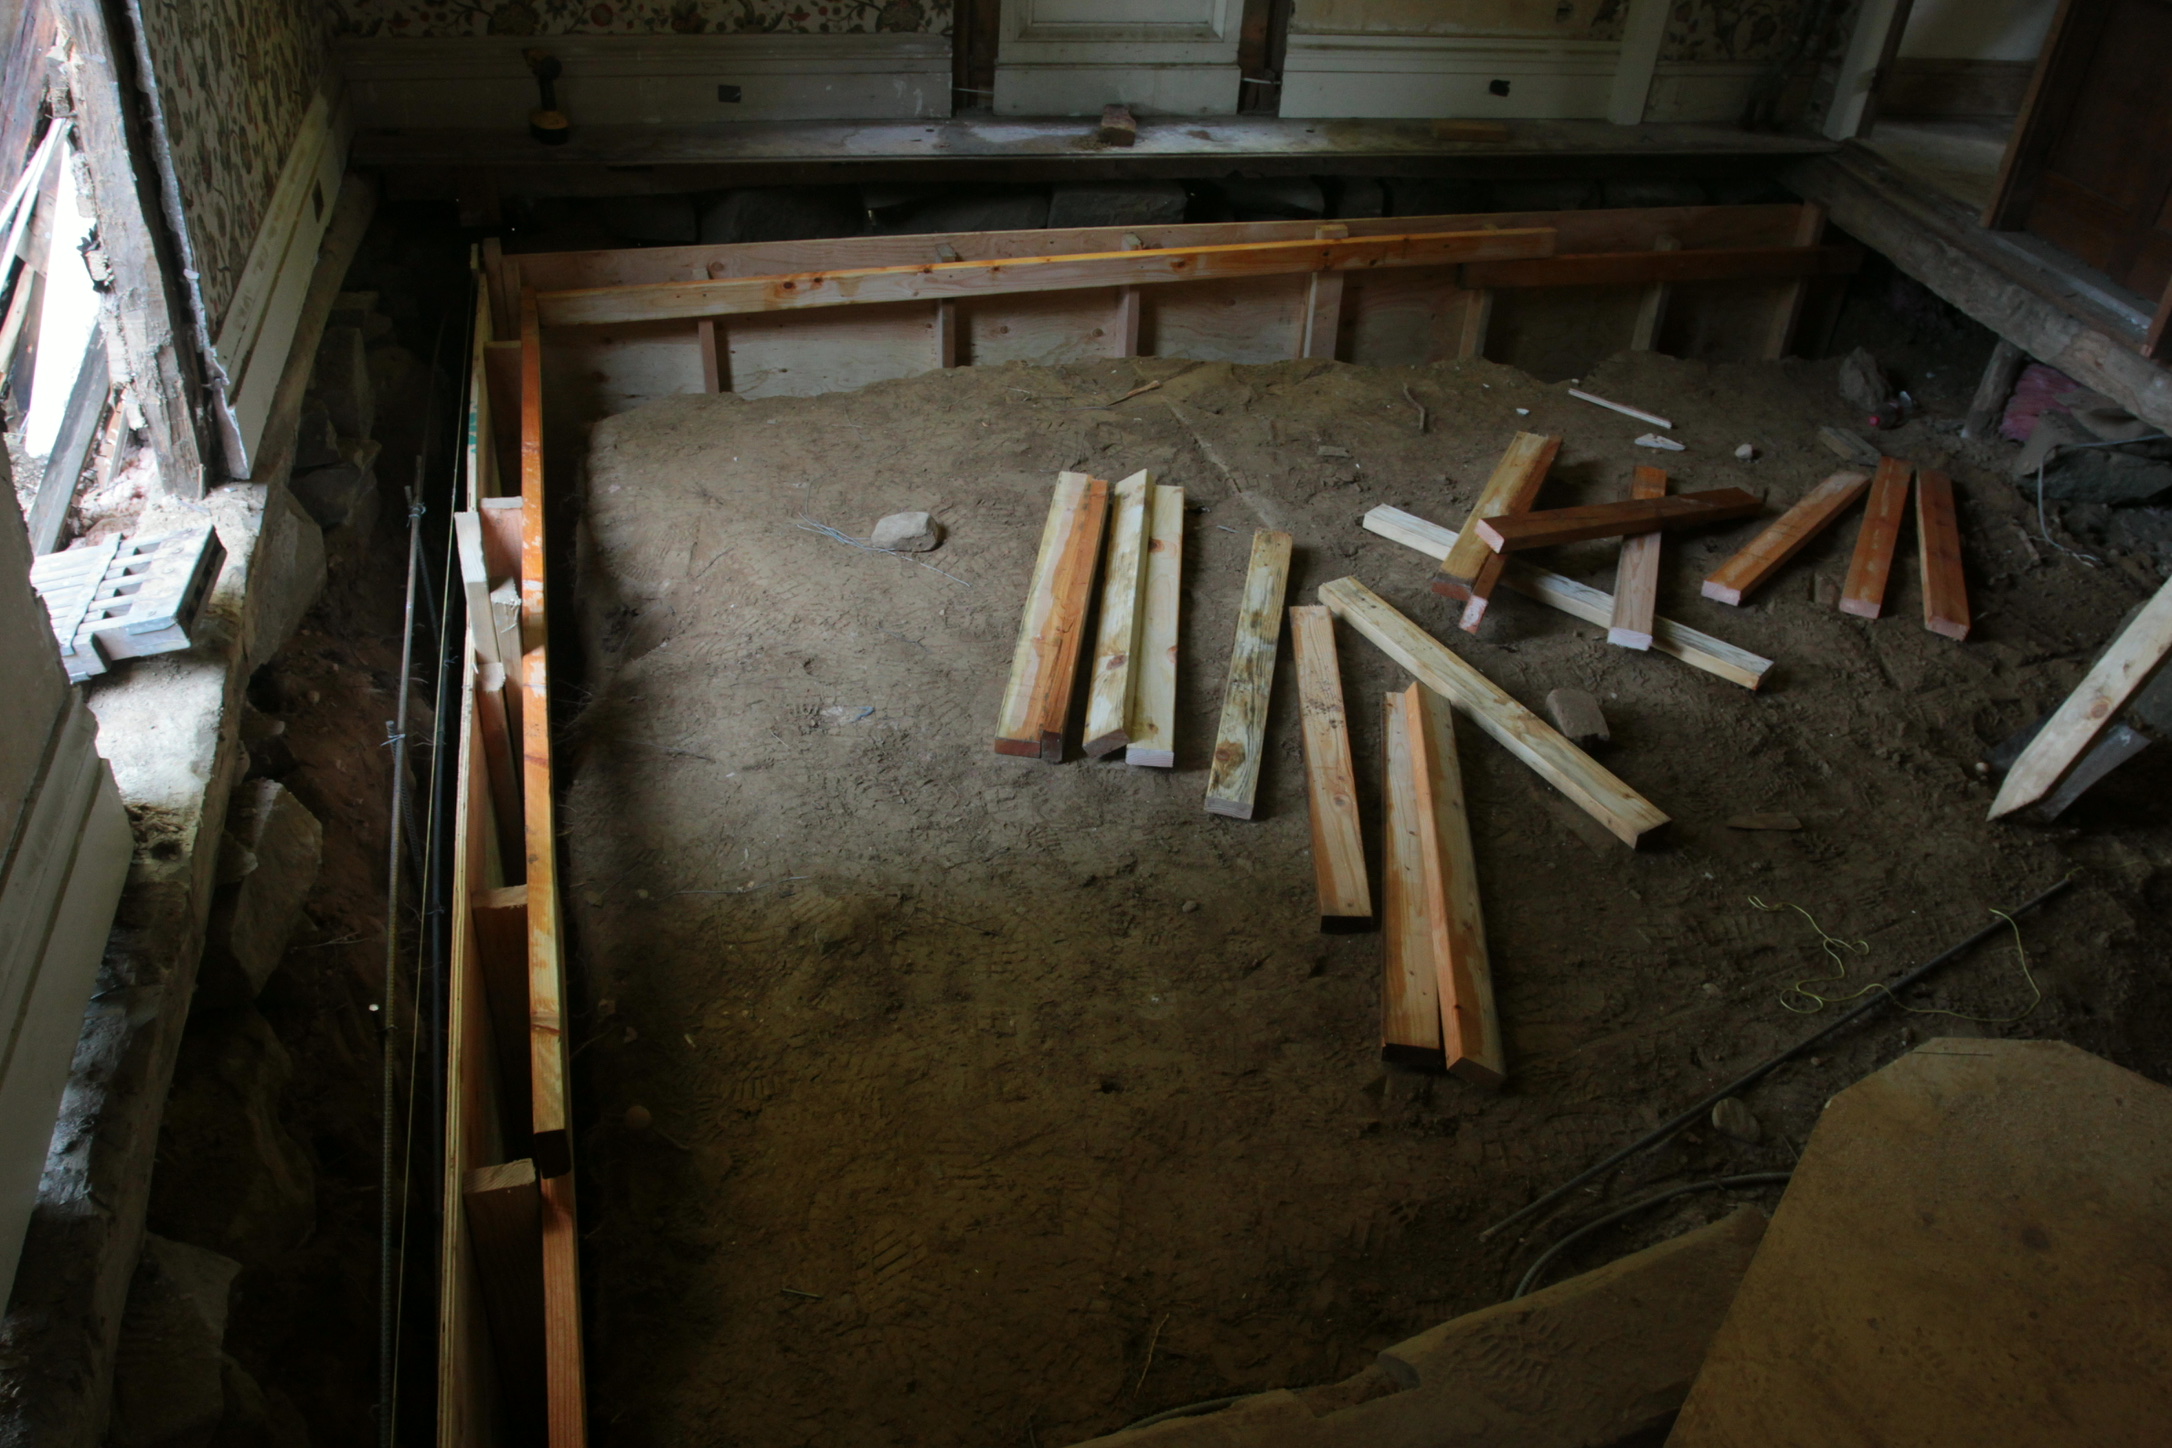
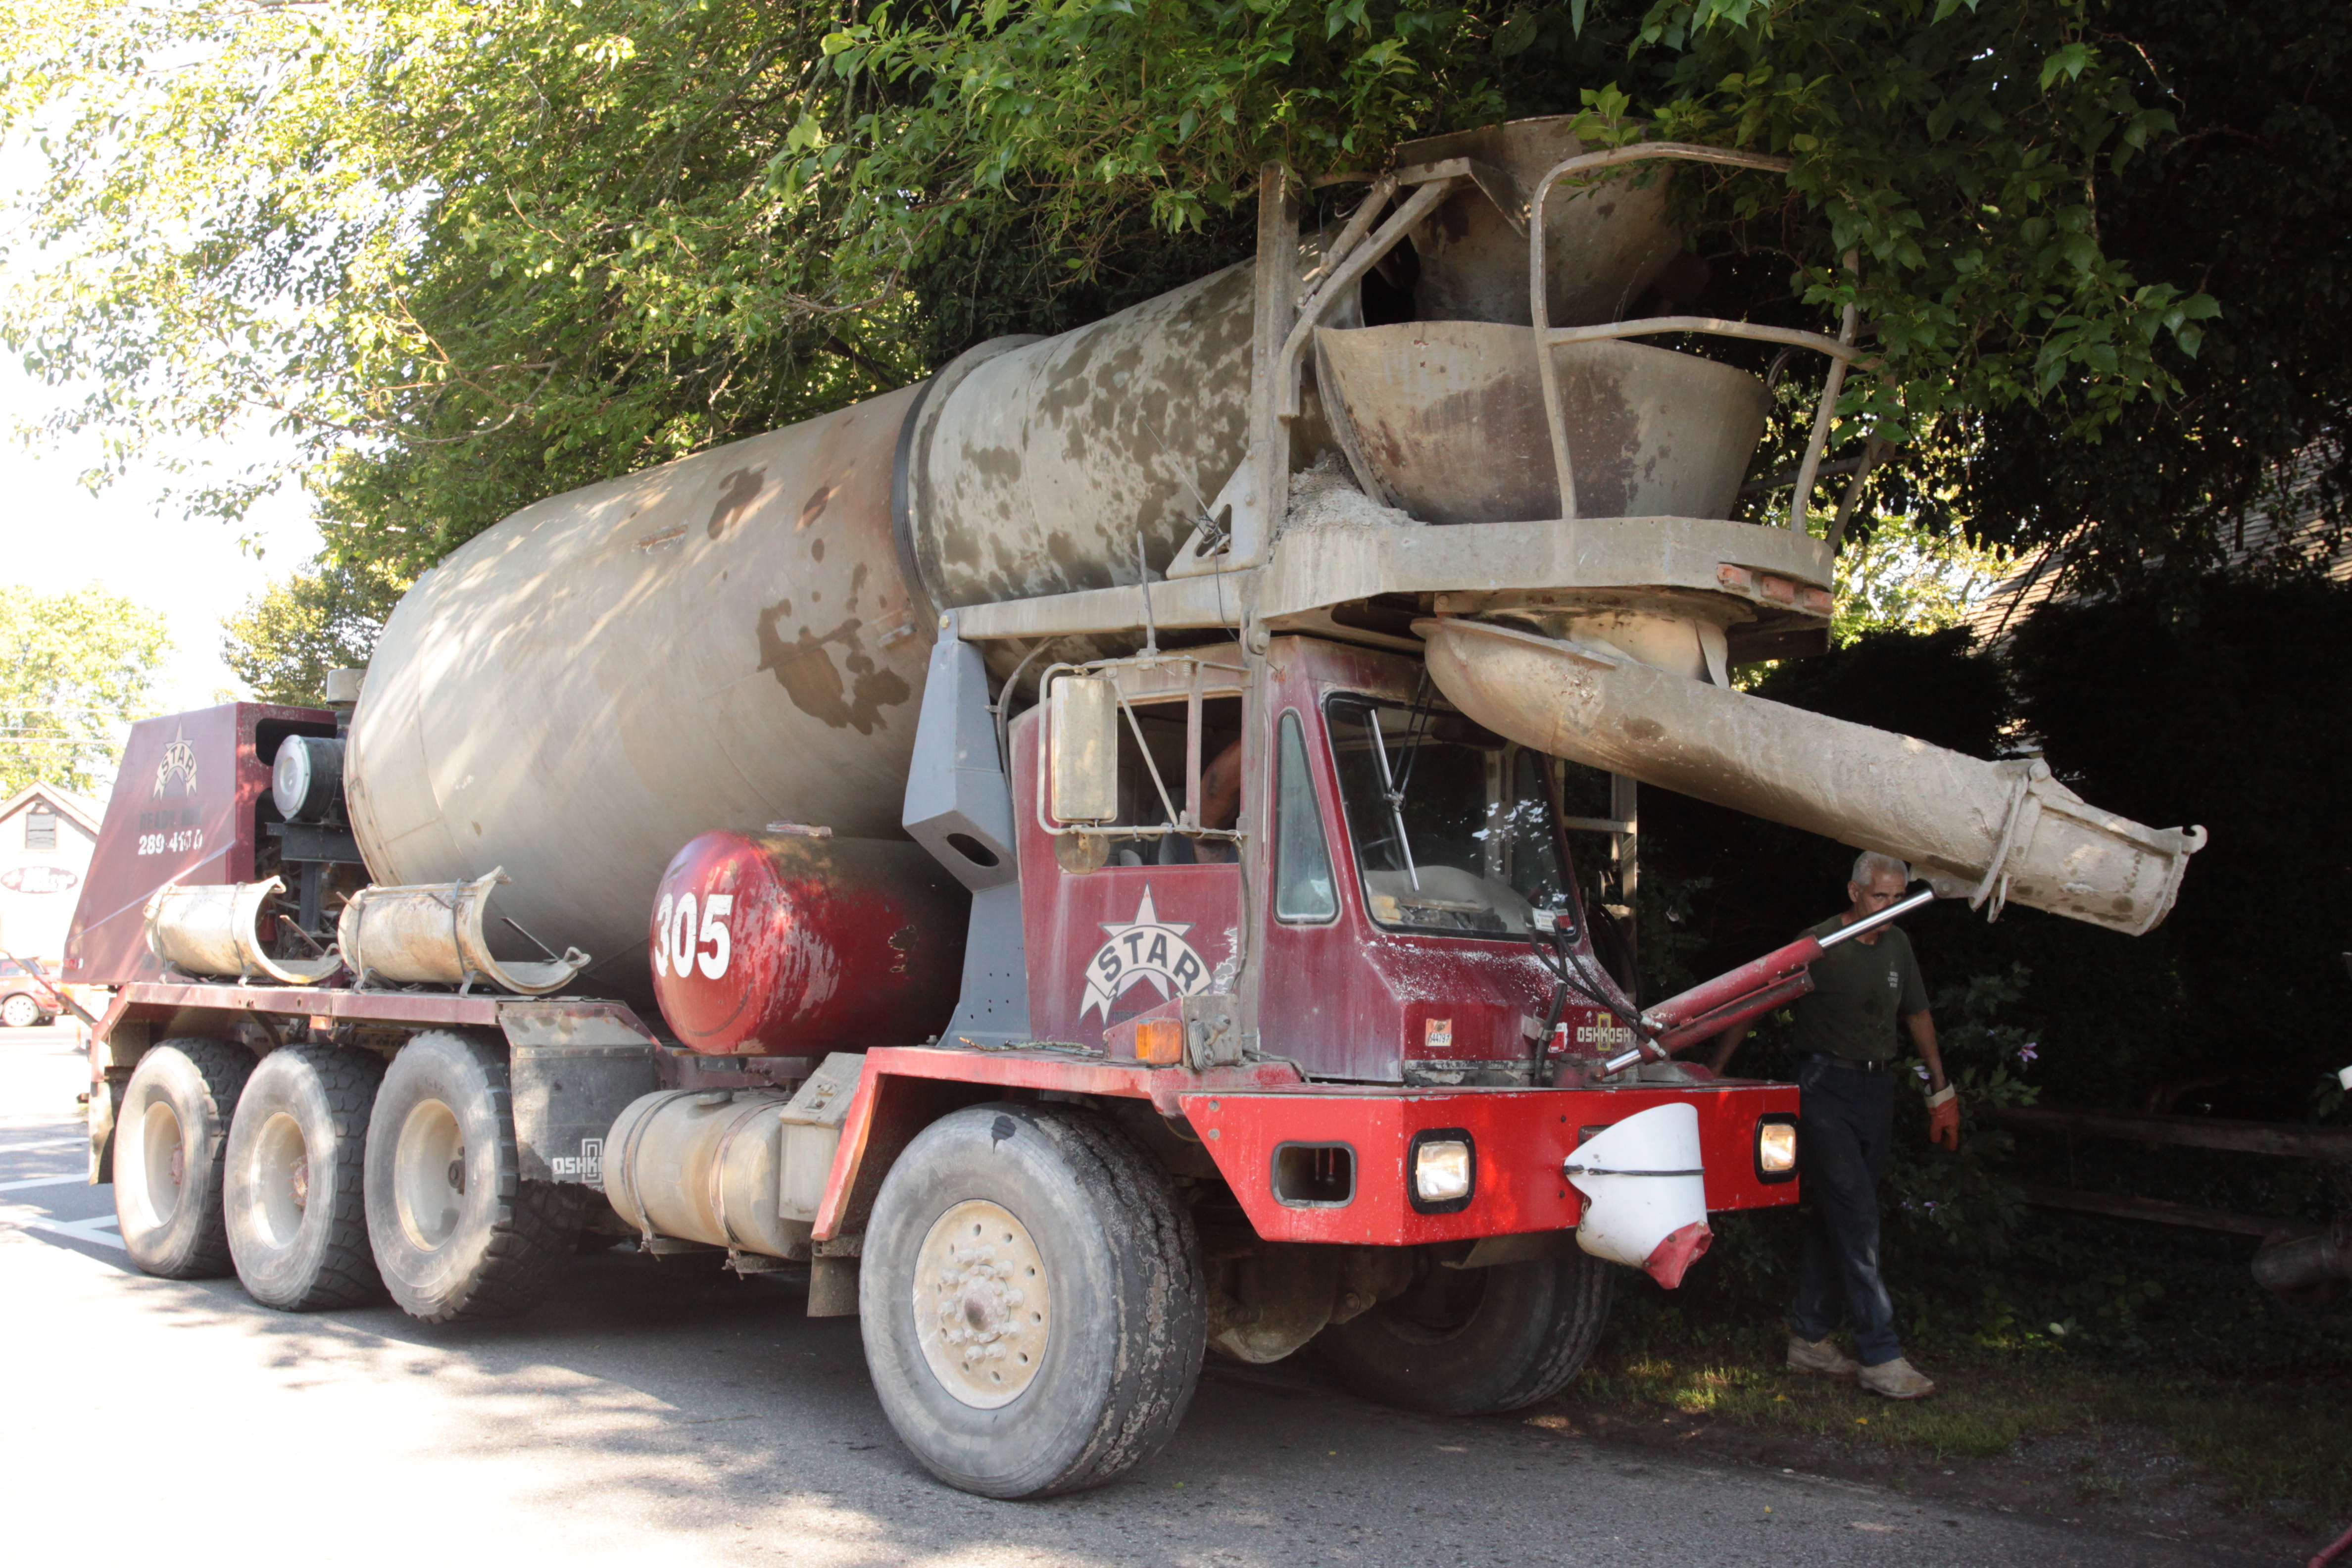
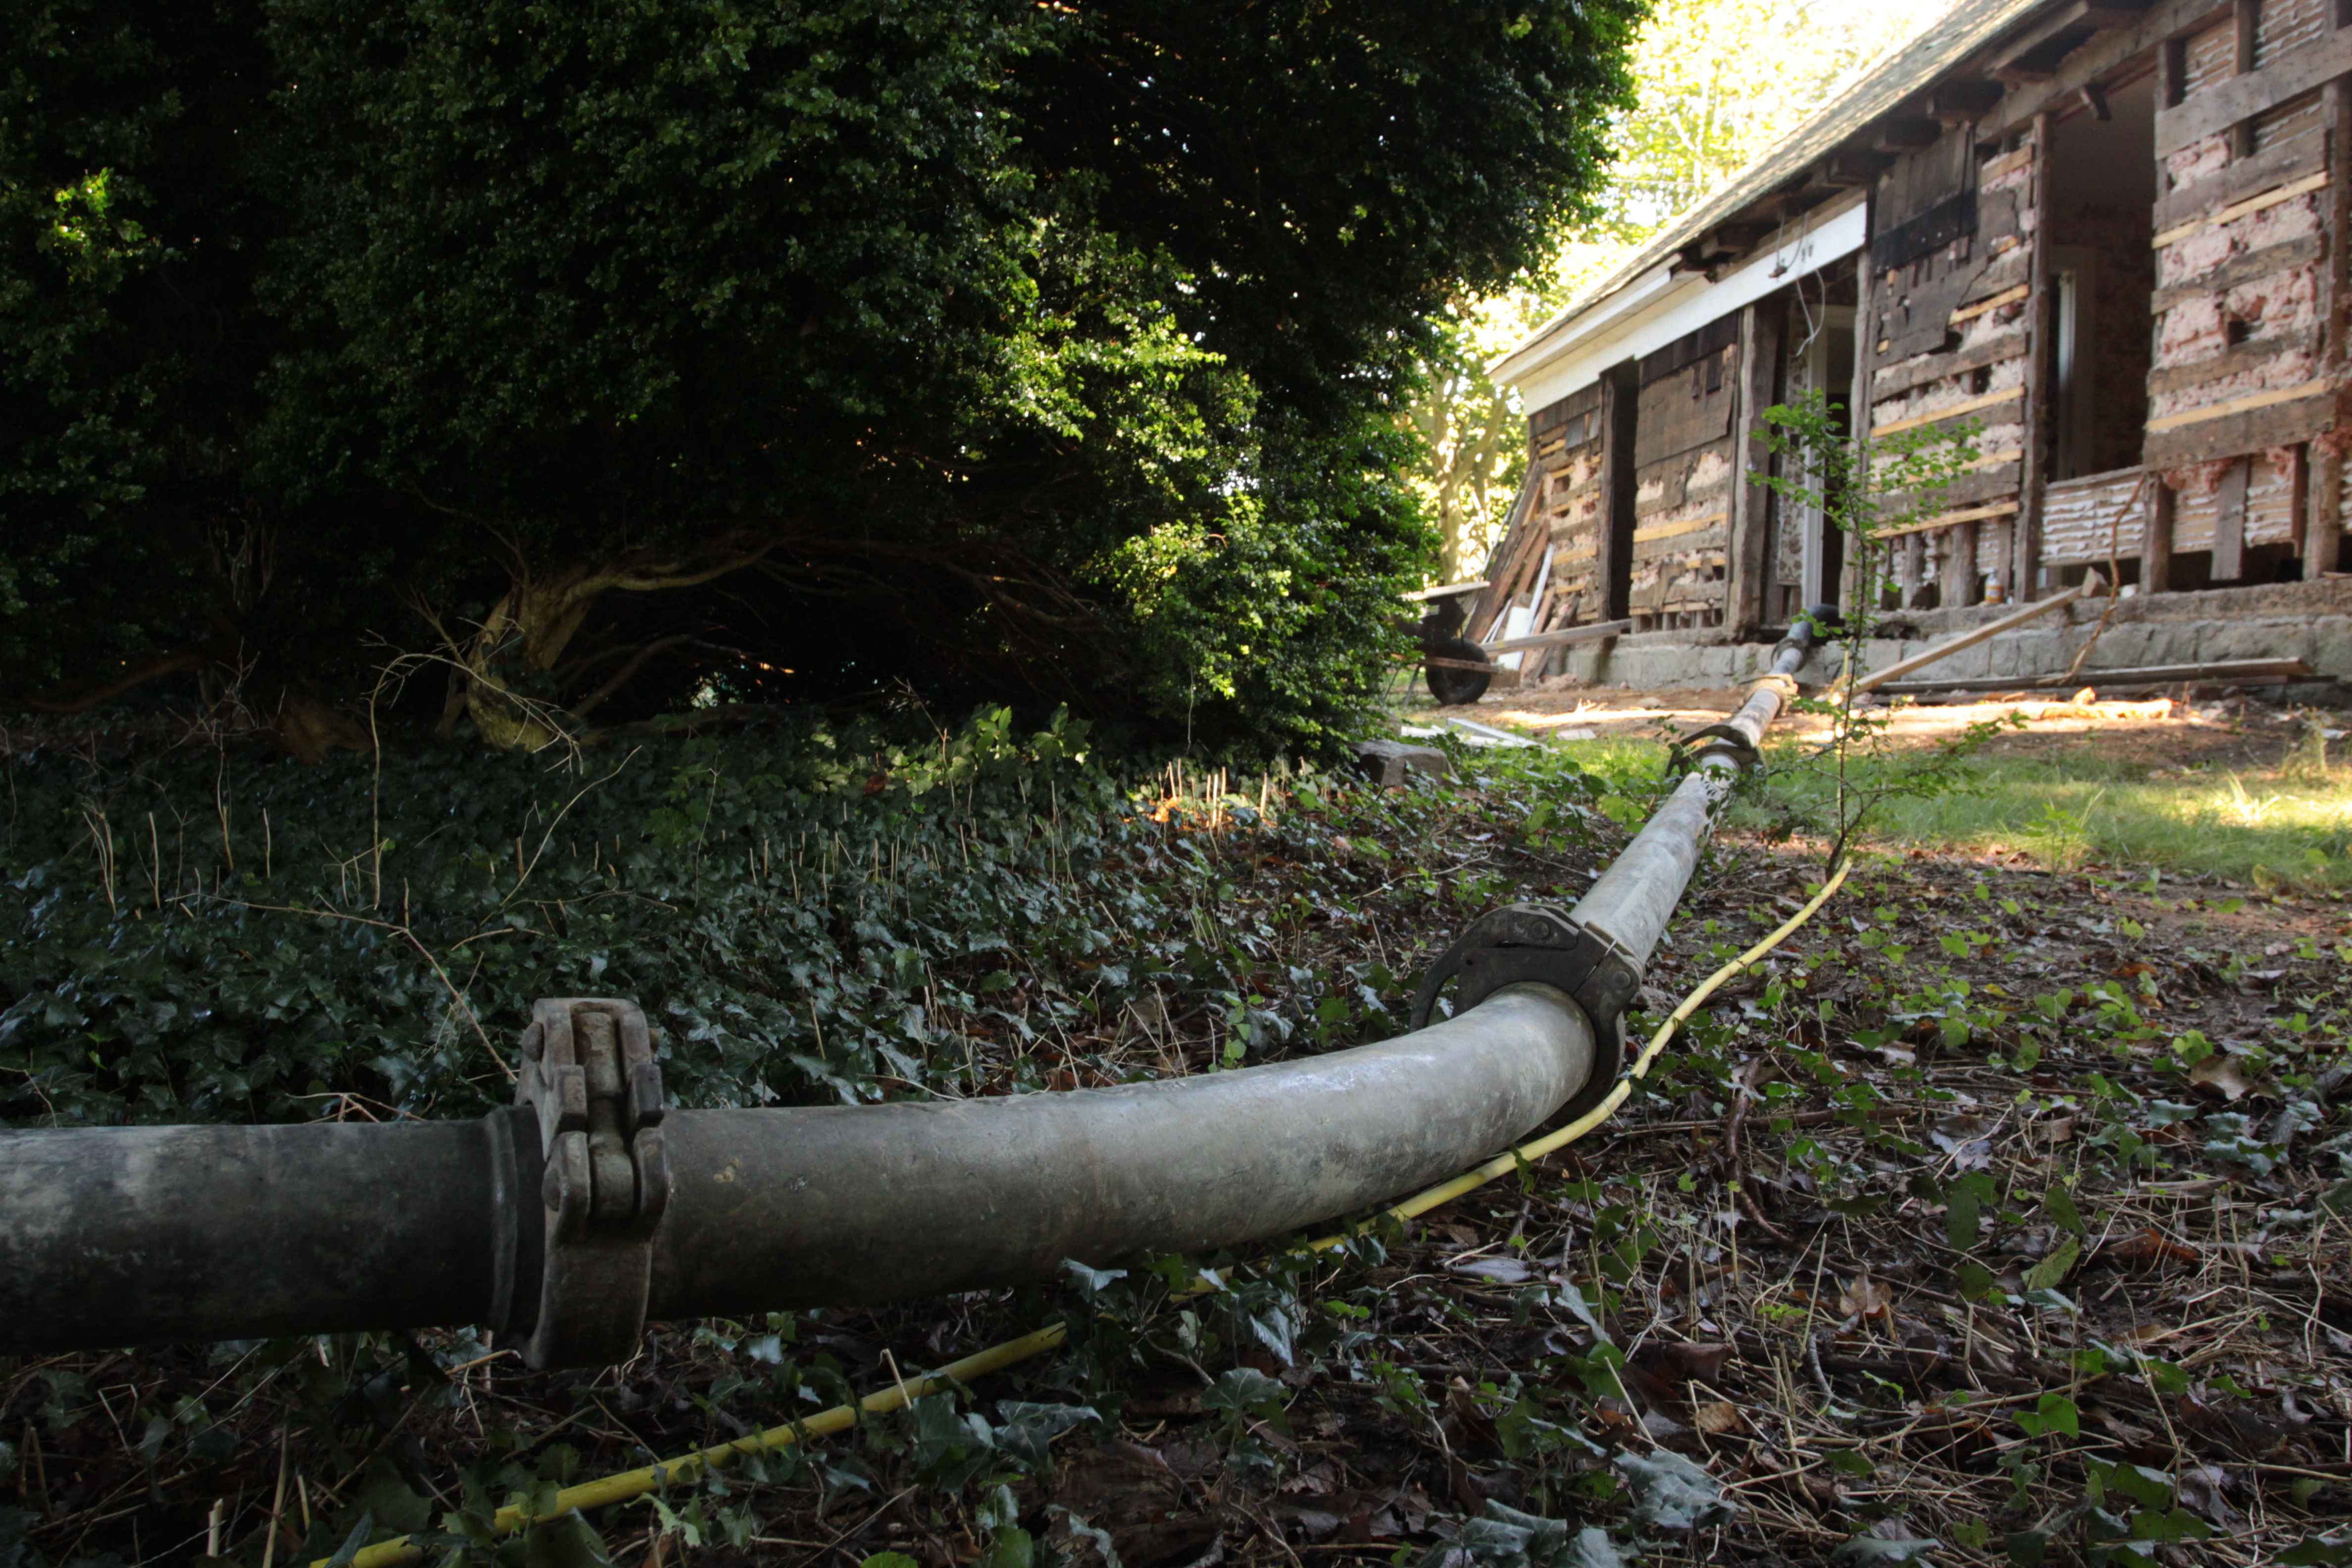
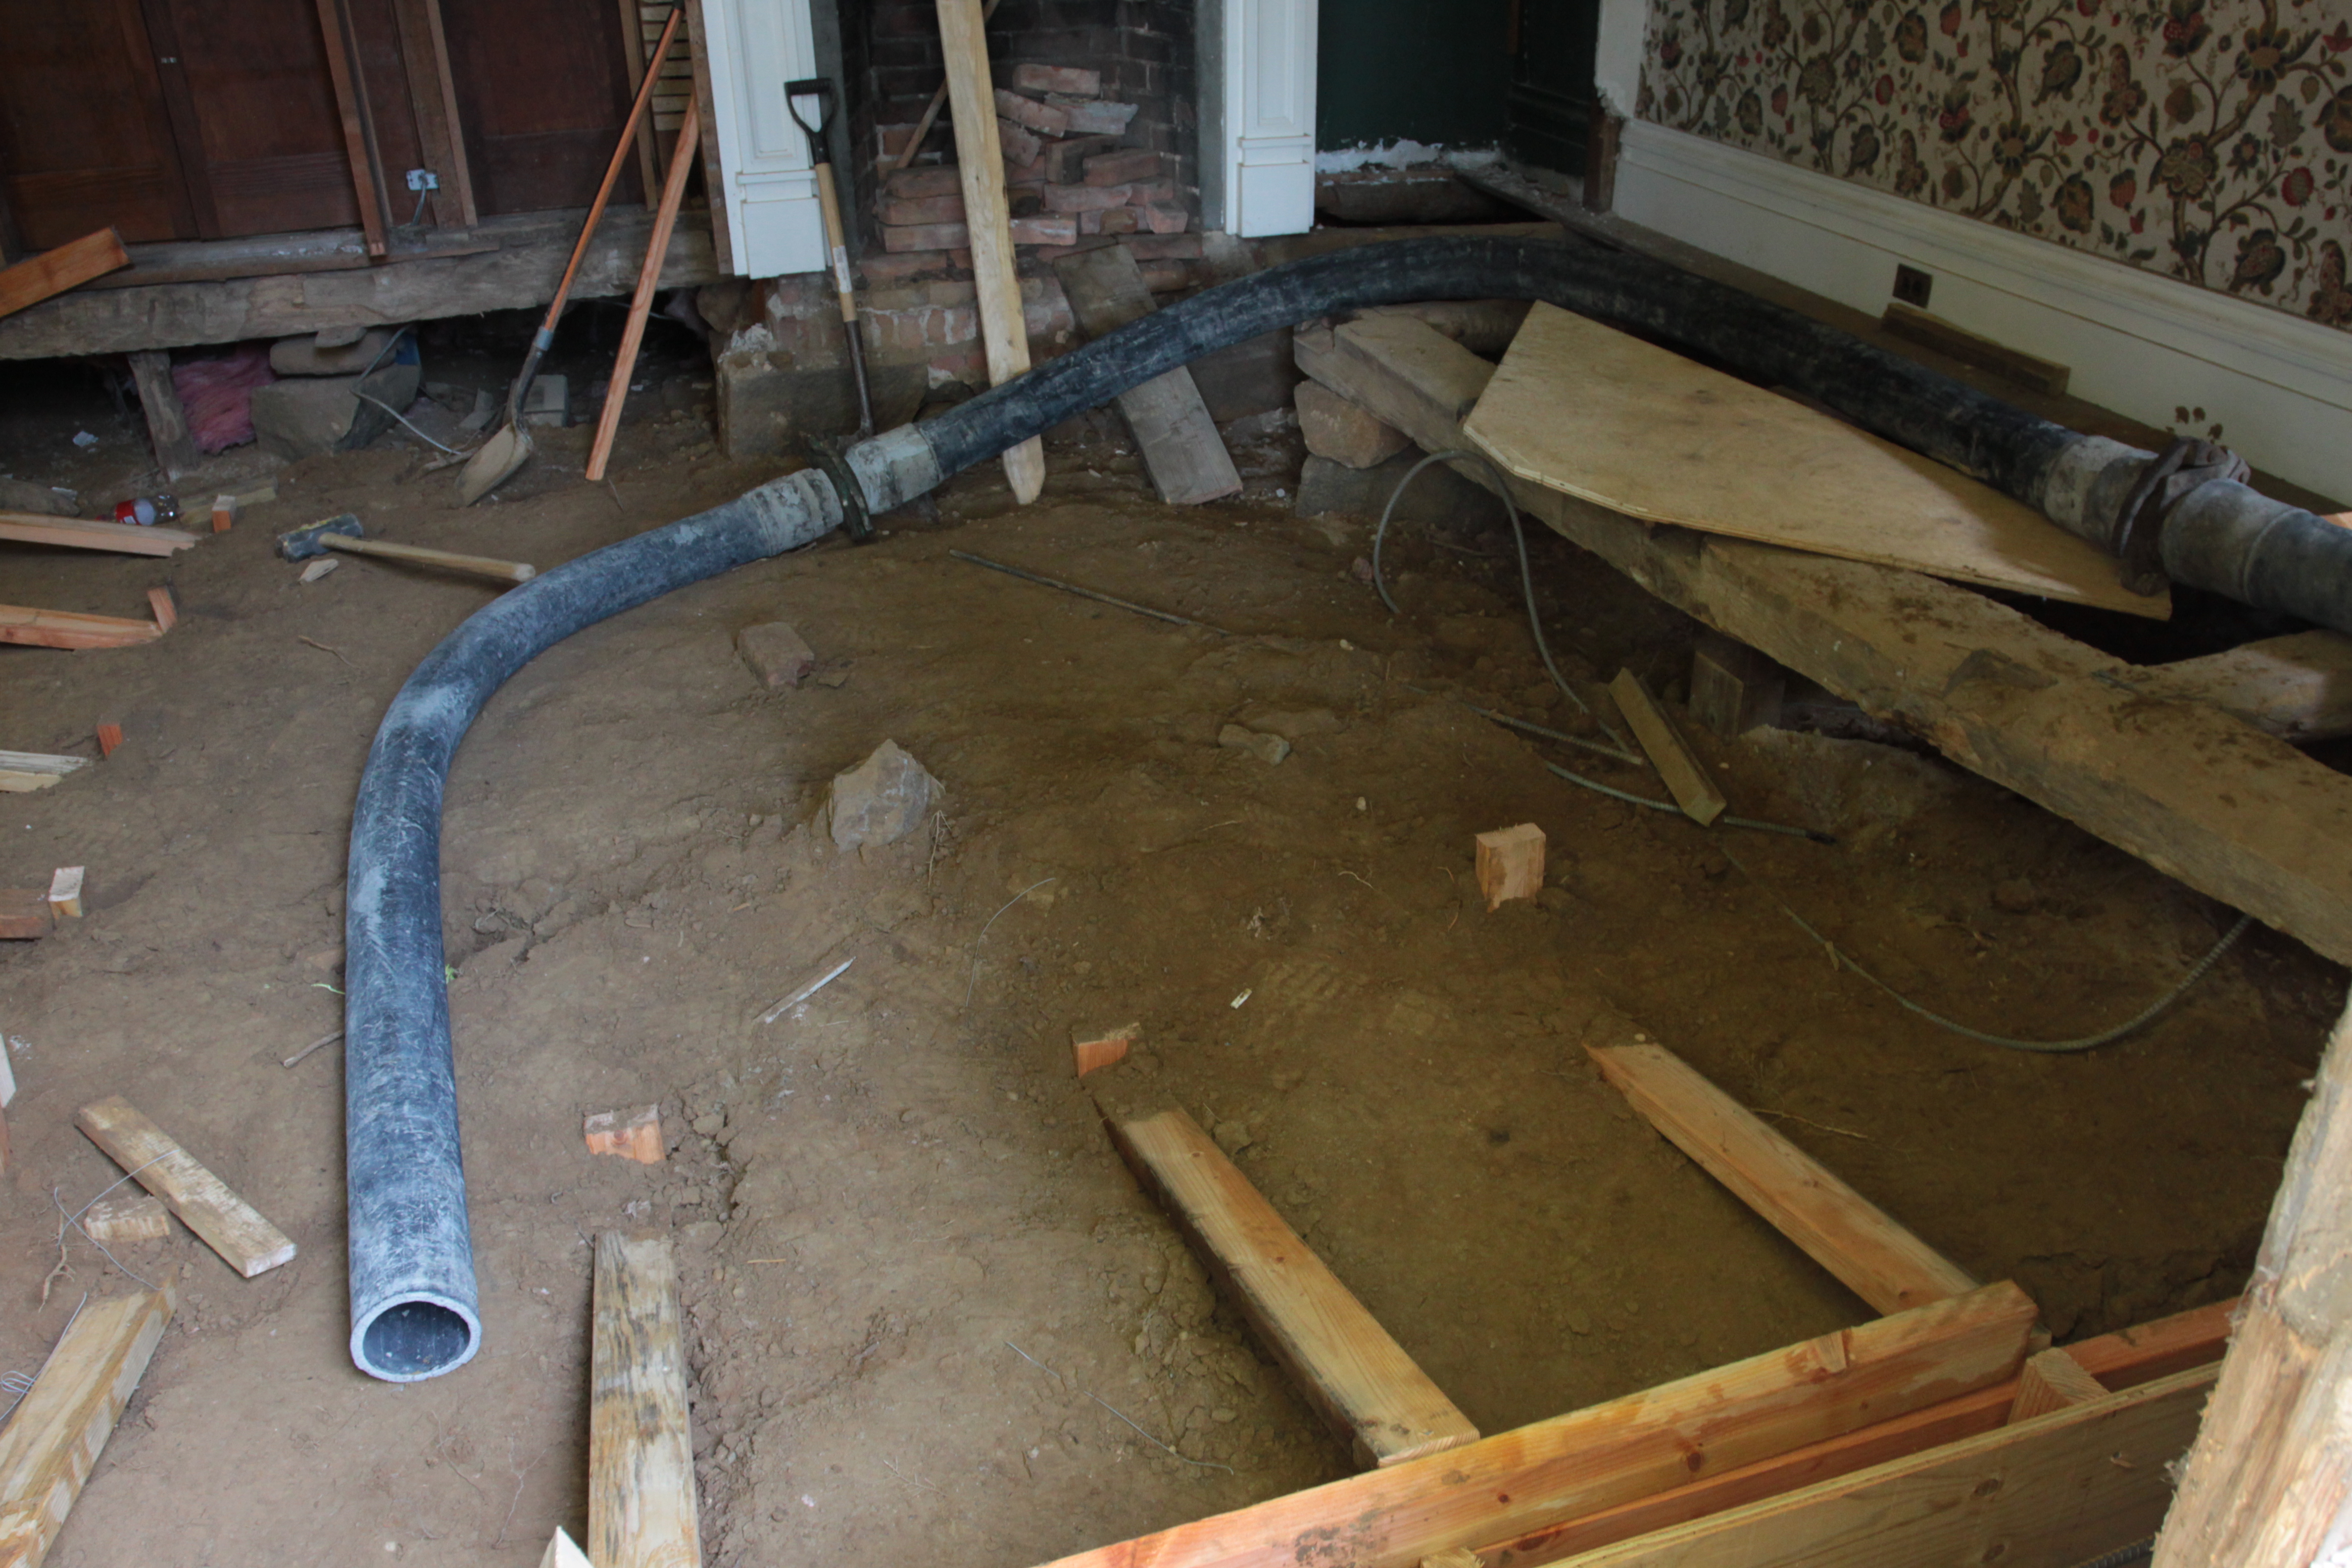
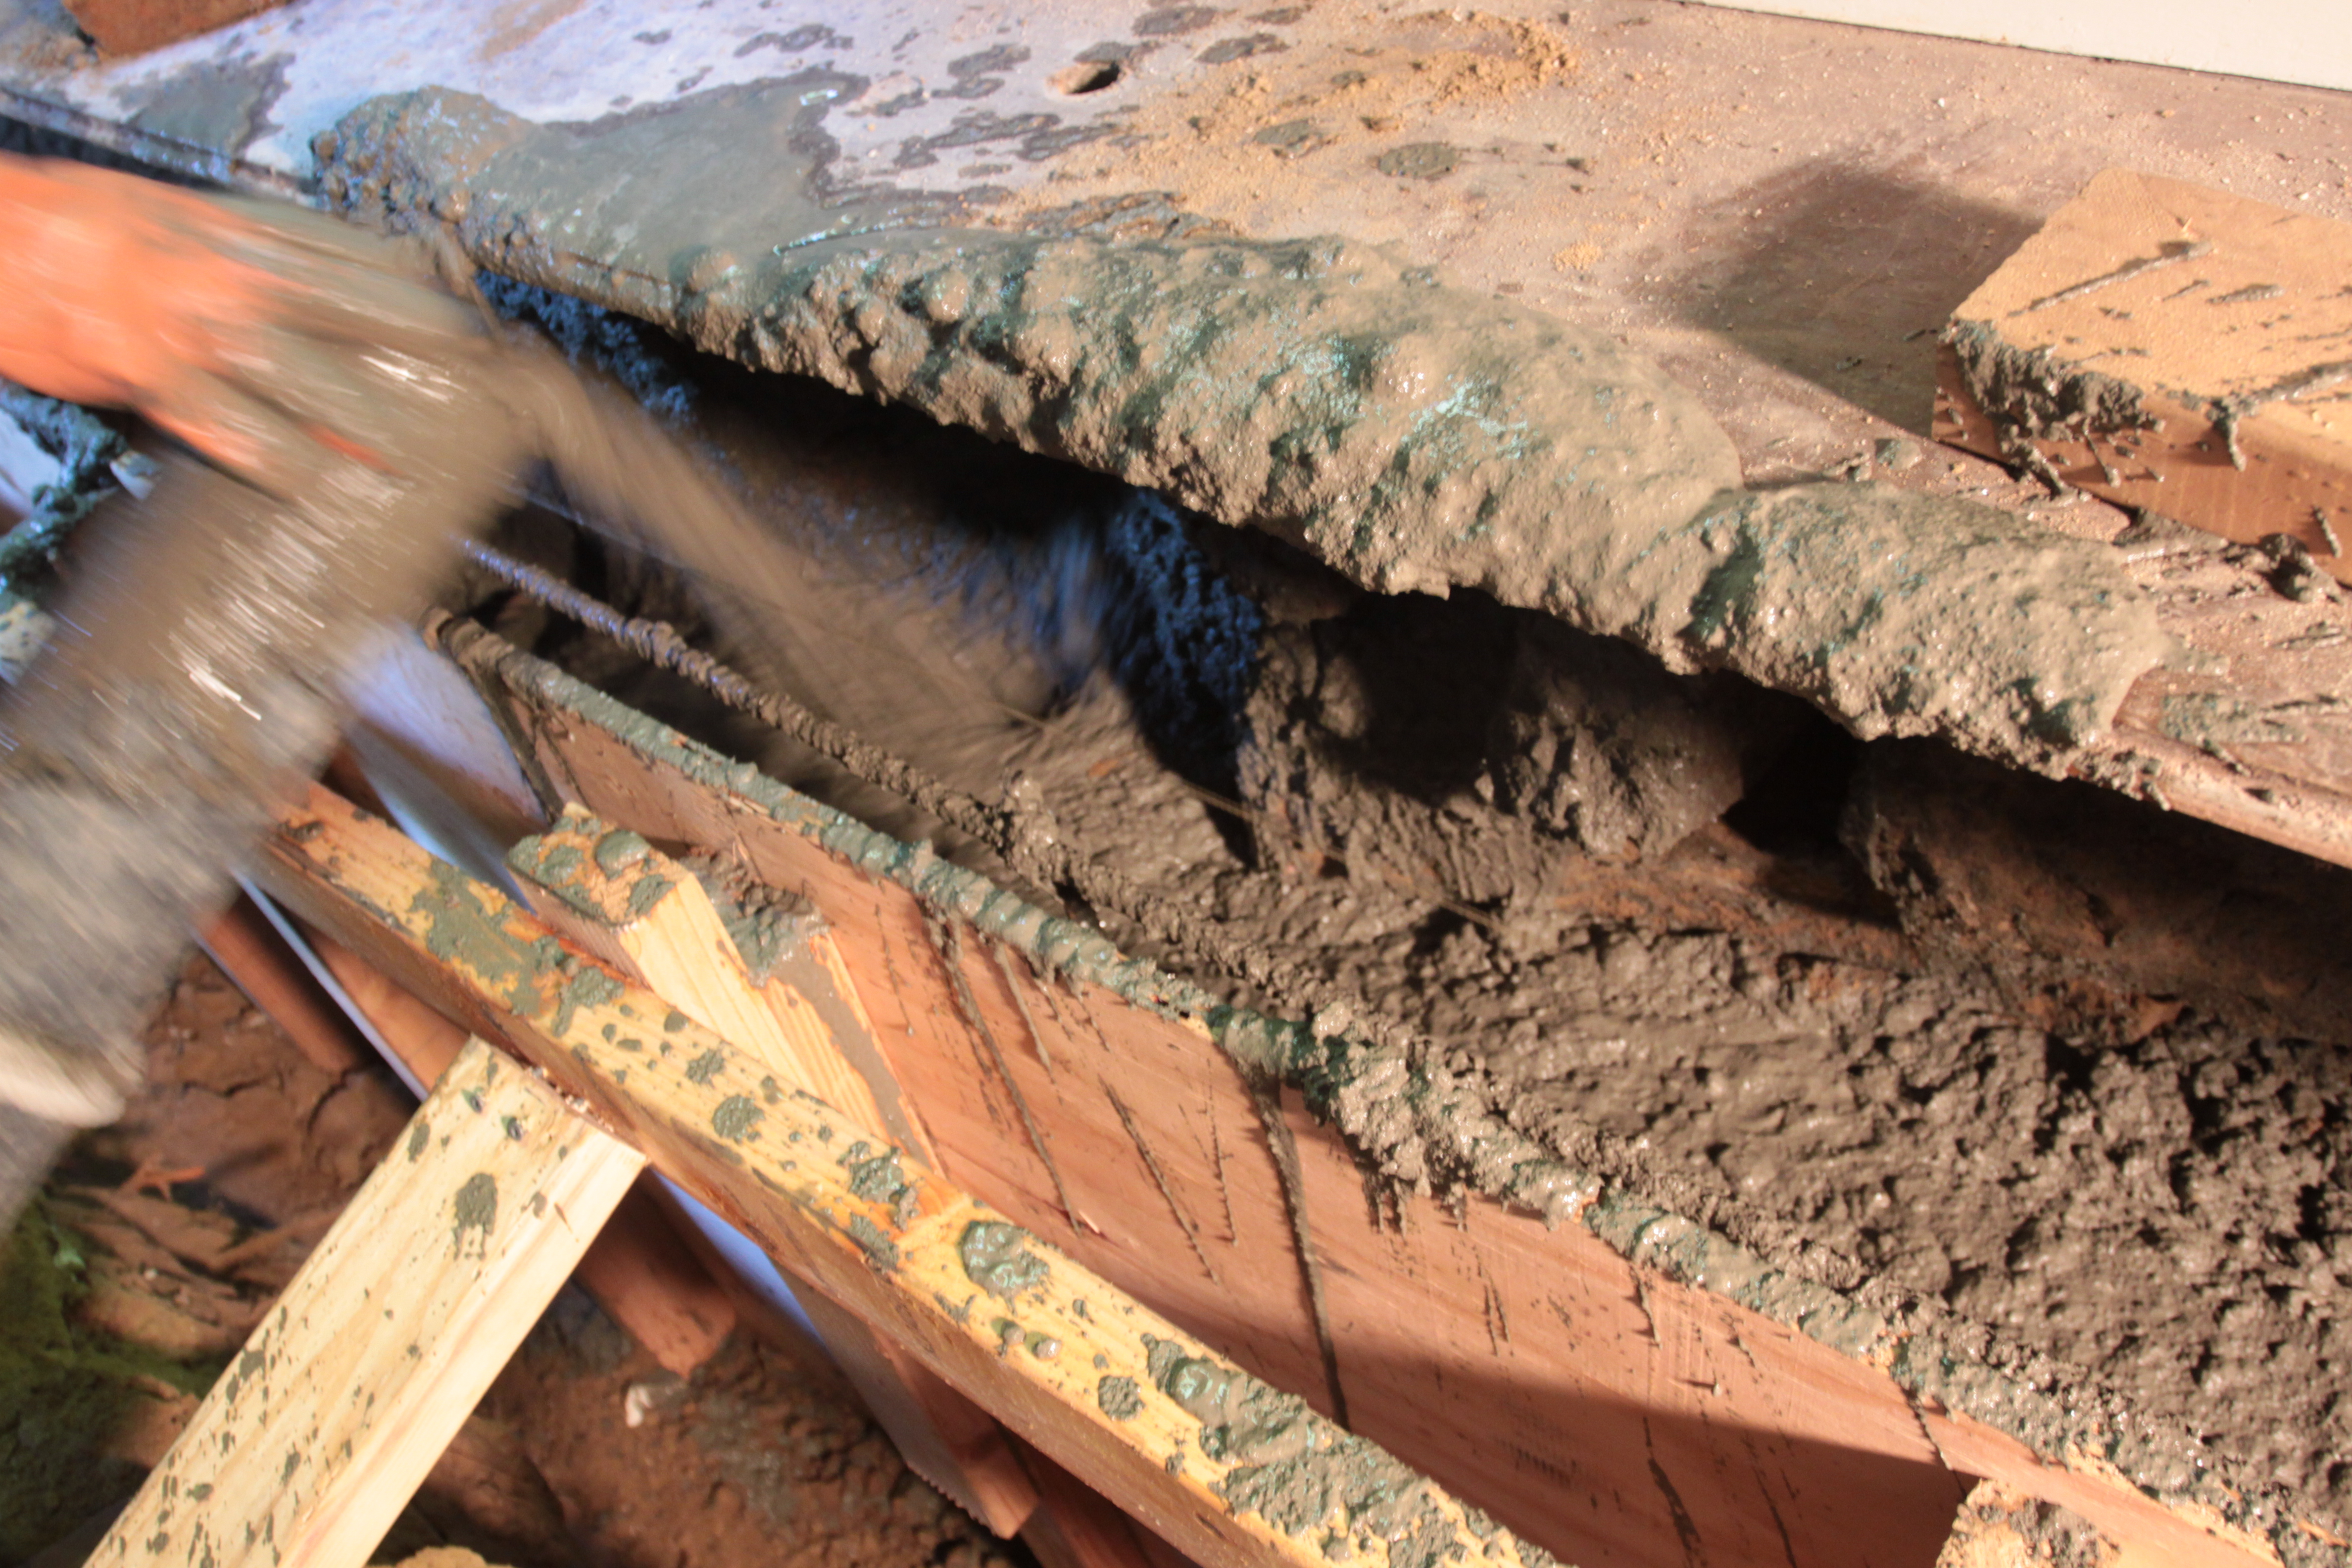
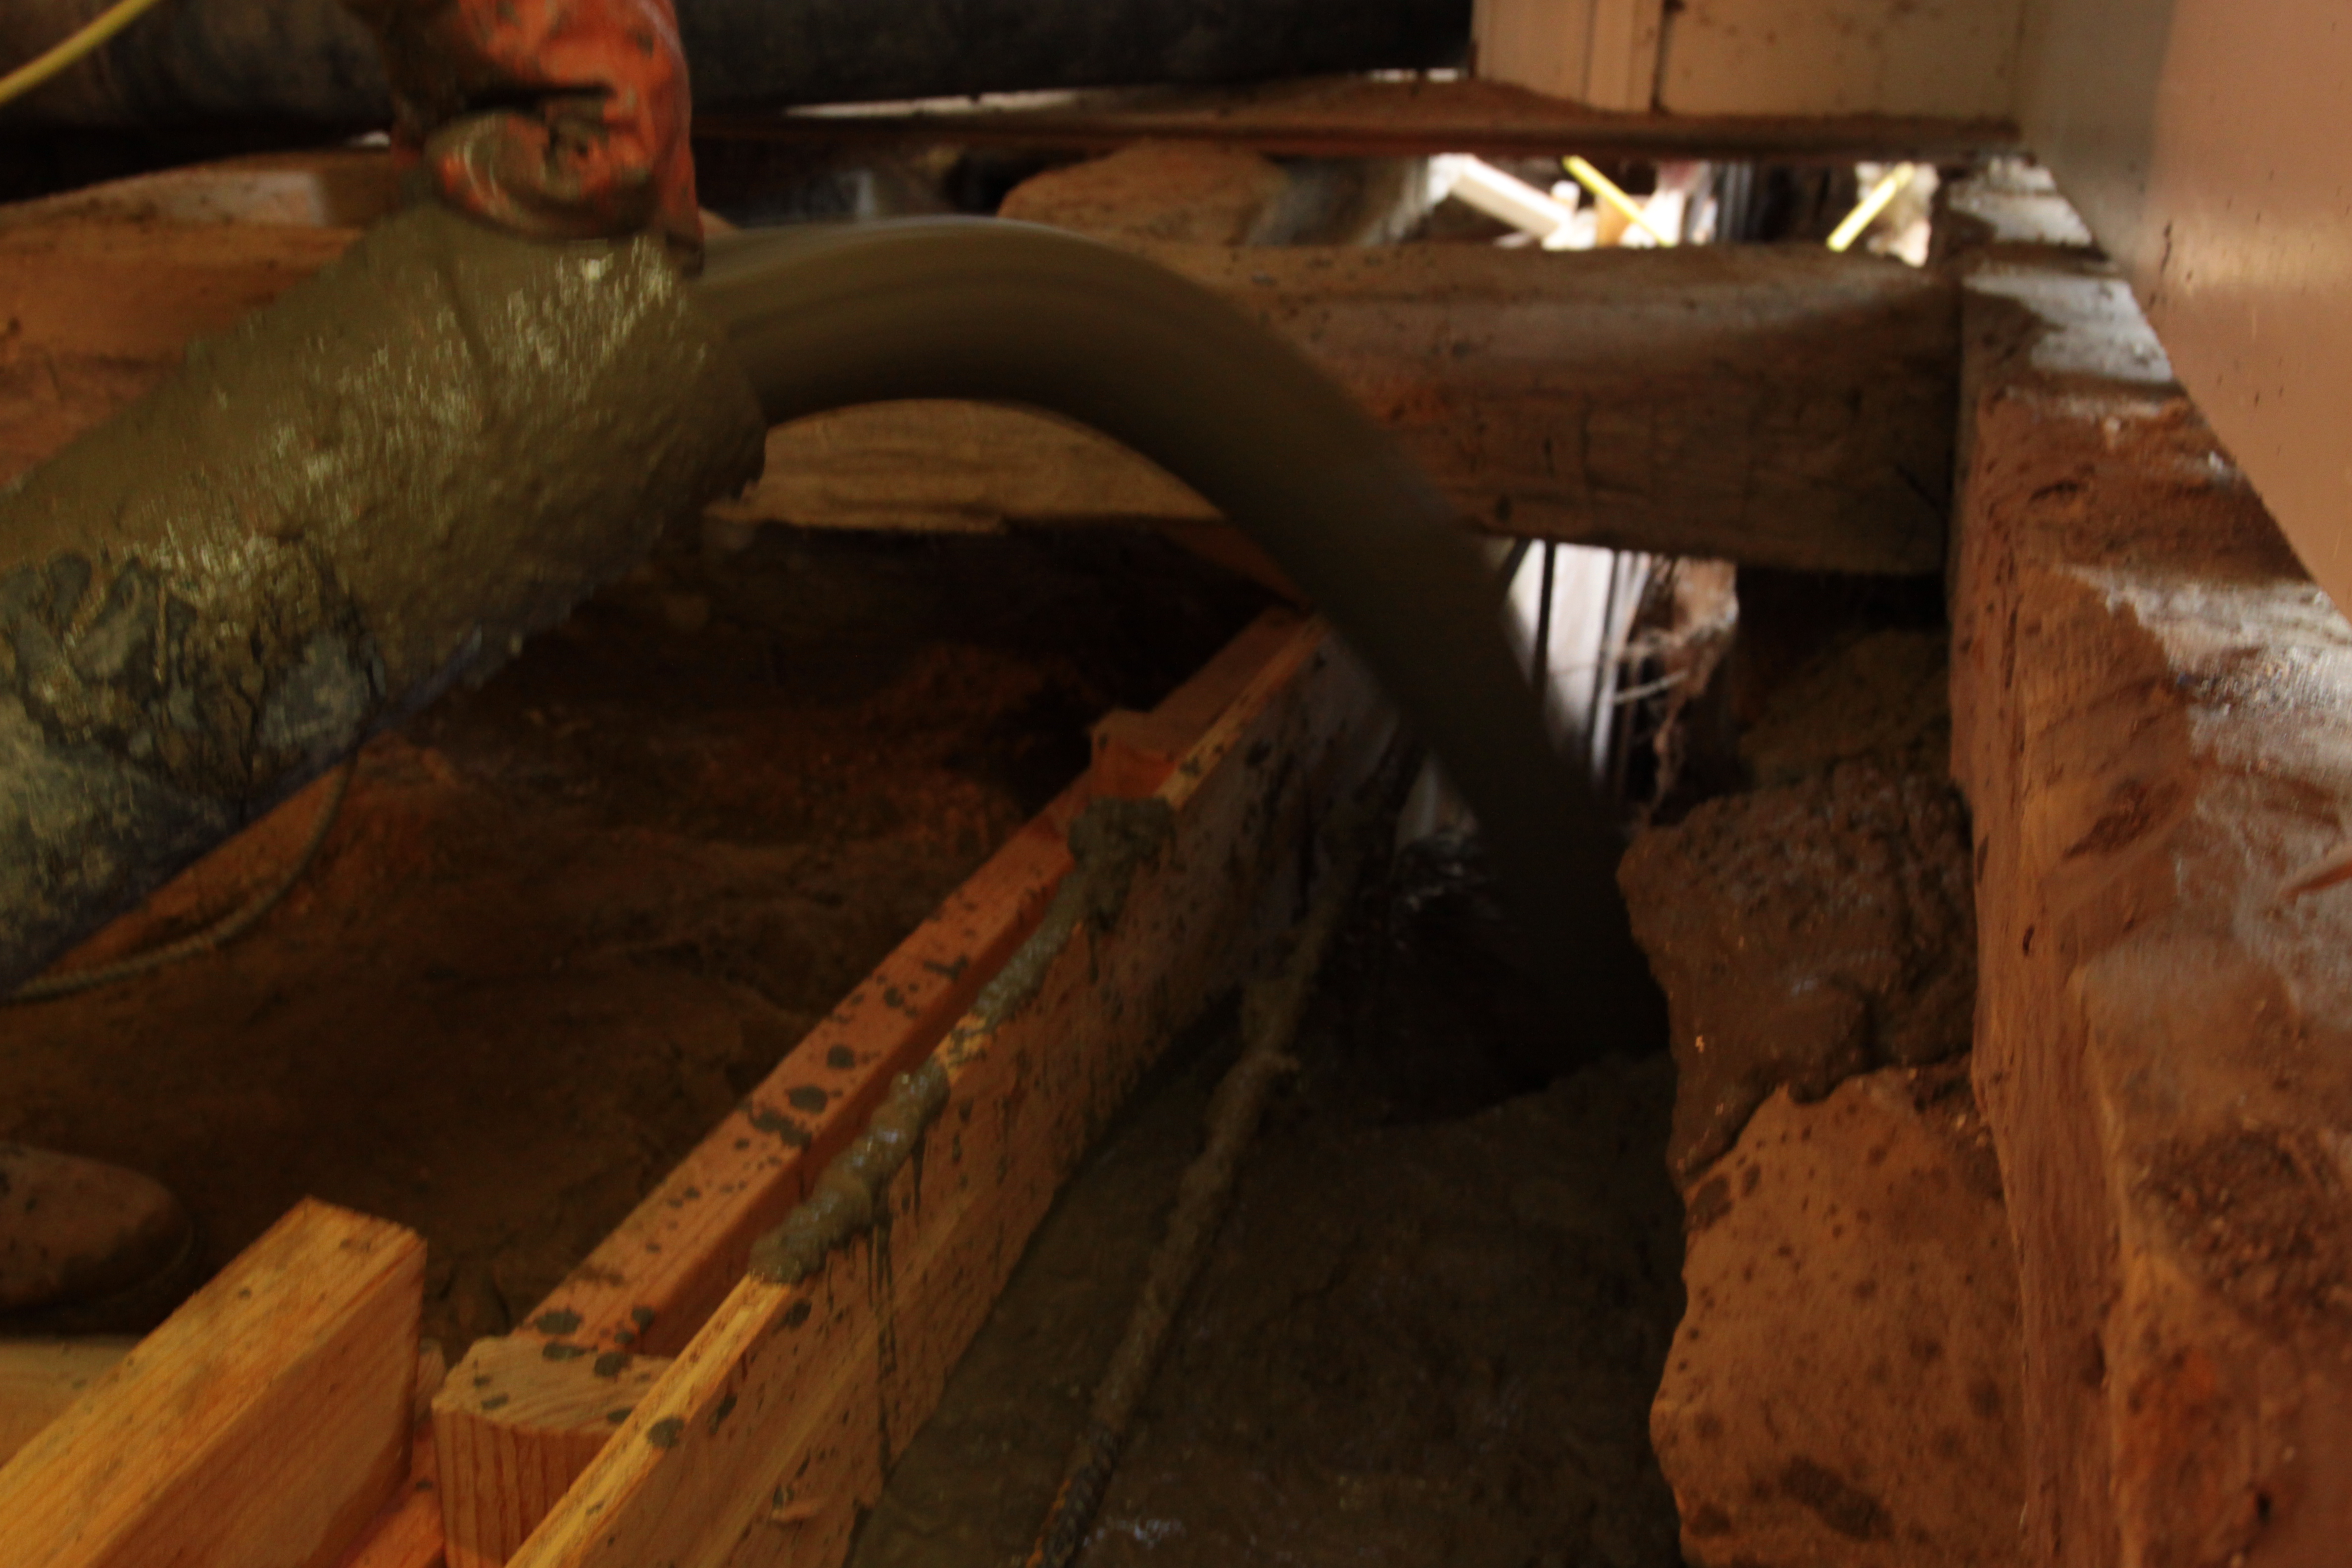
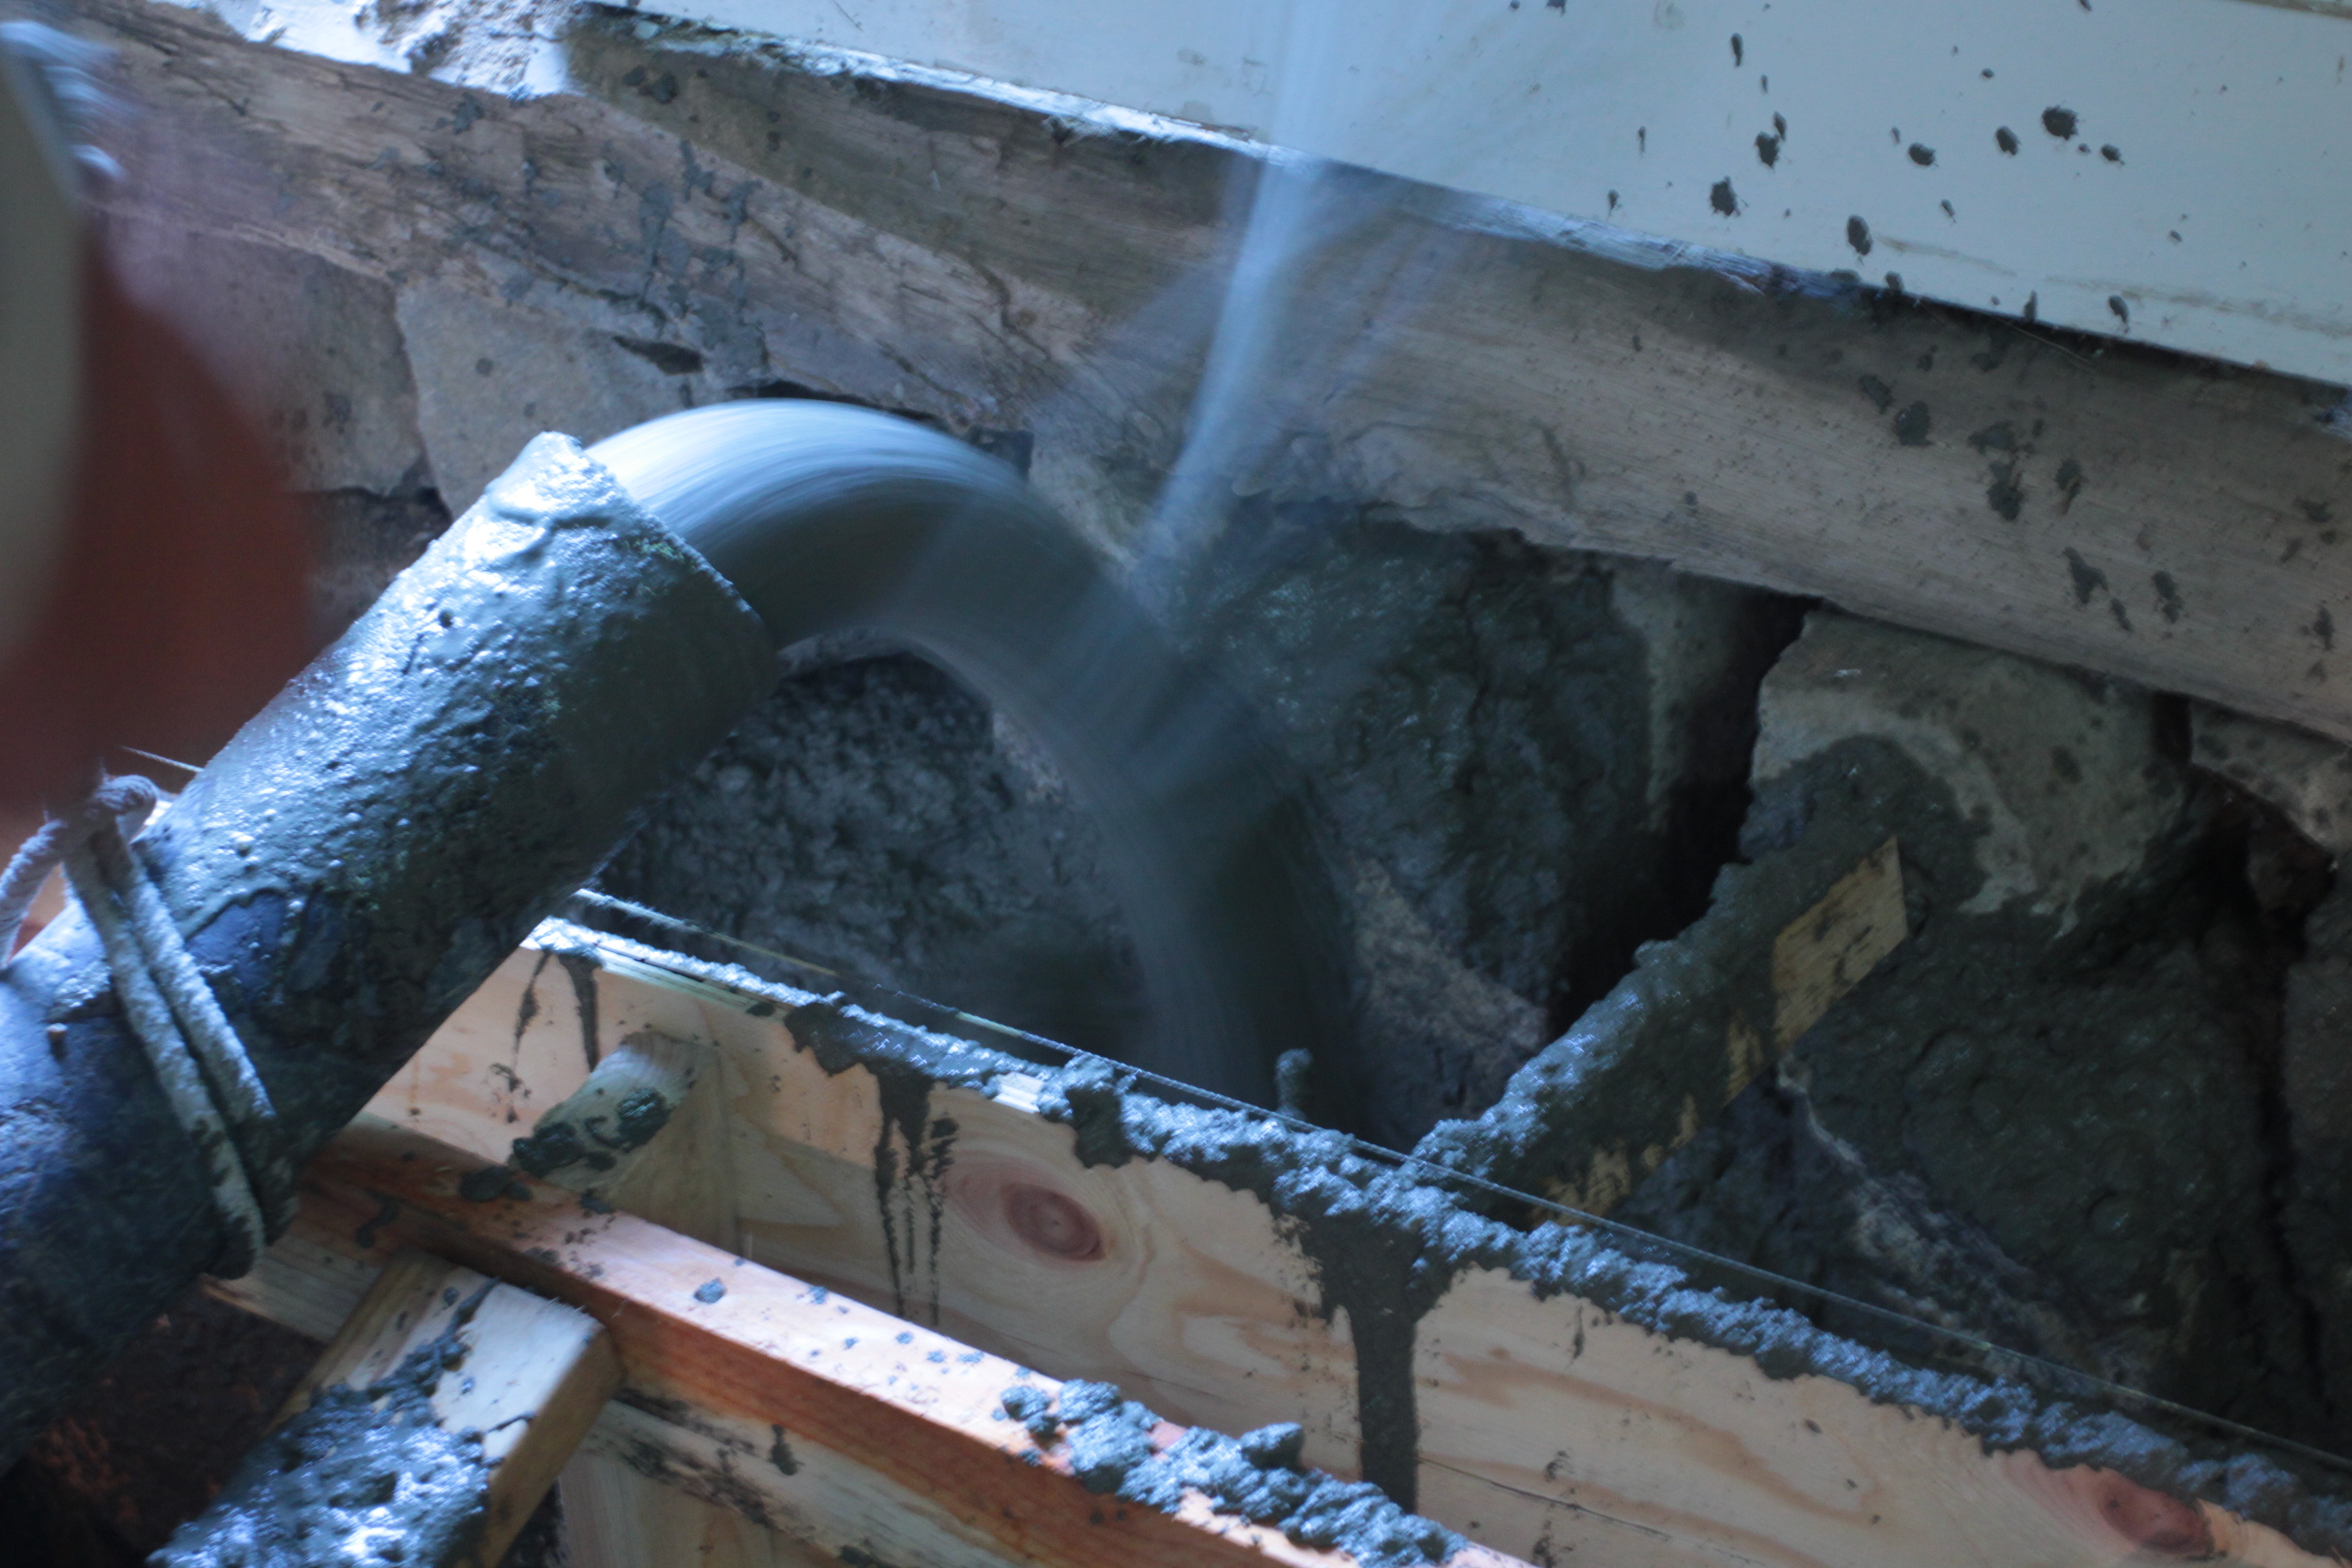
Most masons suggested tearing out one section of the foundation at a time and replacing it with cinder block. That was a non-starter for me. I was determined to preserve as much of the original structure as we could, and I wanted the look of the original foundation. With the front room floor boards and floor joists out, we were able to excavate a channel behind the existing "stacked rubble" granite foundation around the entire perimeter of the house and clean away the dirt and loose mortar from the back of the granite. The team then built forms in place behind the foundation, added re-bar infrastructure, and finally pumped in a cement slurry to form a continuous concrete wall that locked in the existing foundation and the 5 chimney foundations. Once set, we removed the forms and excavated the remaining crawl space area down about 3 feet, and then poured a 4" slab throughout the entire space to block out pests and moisture.
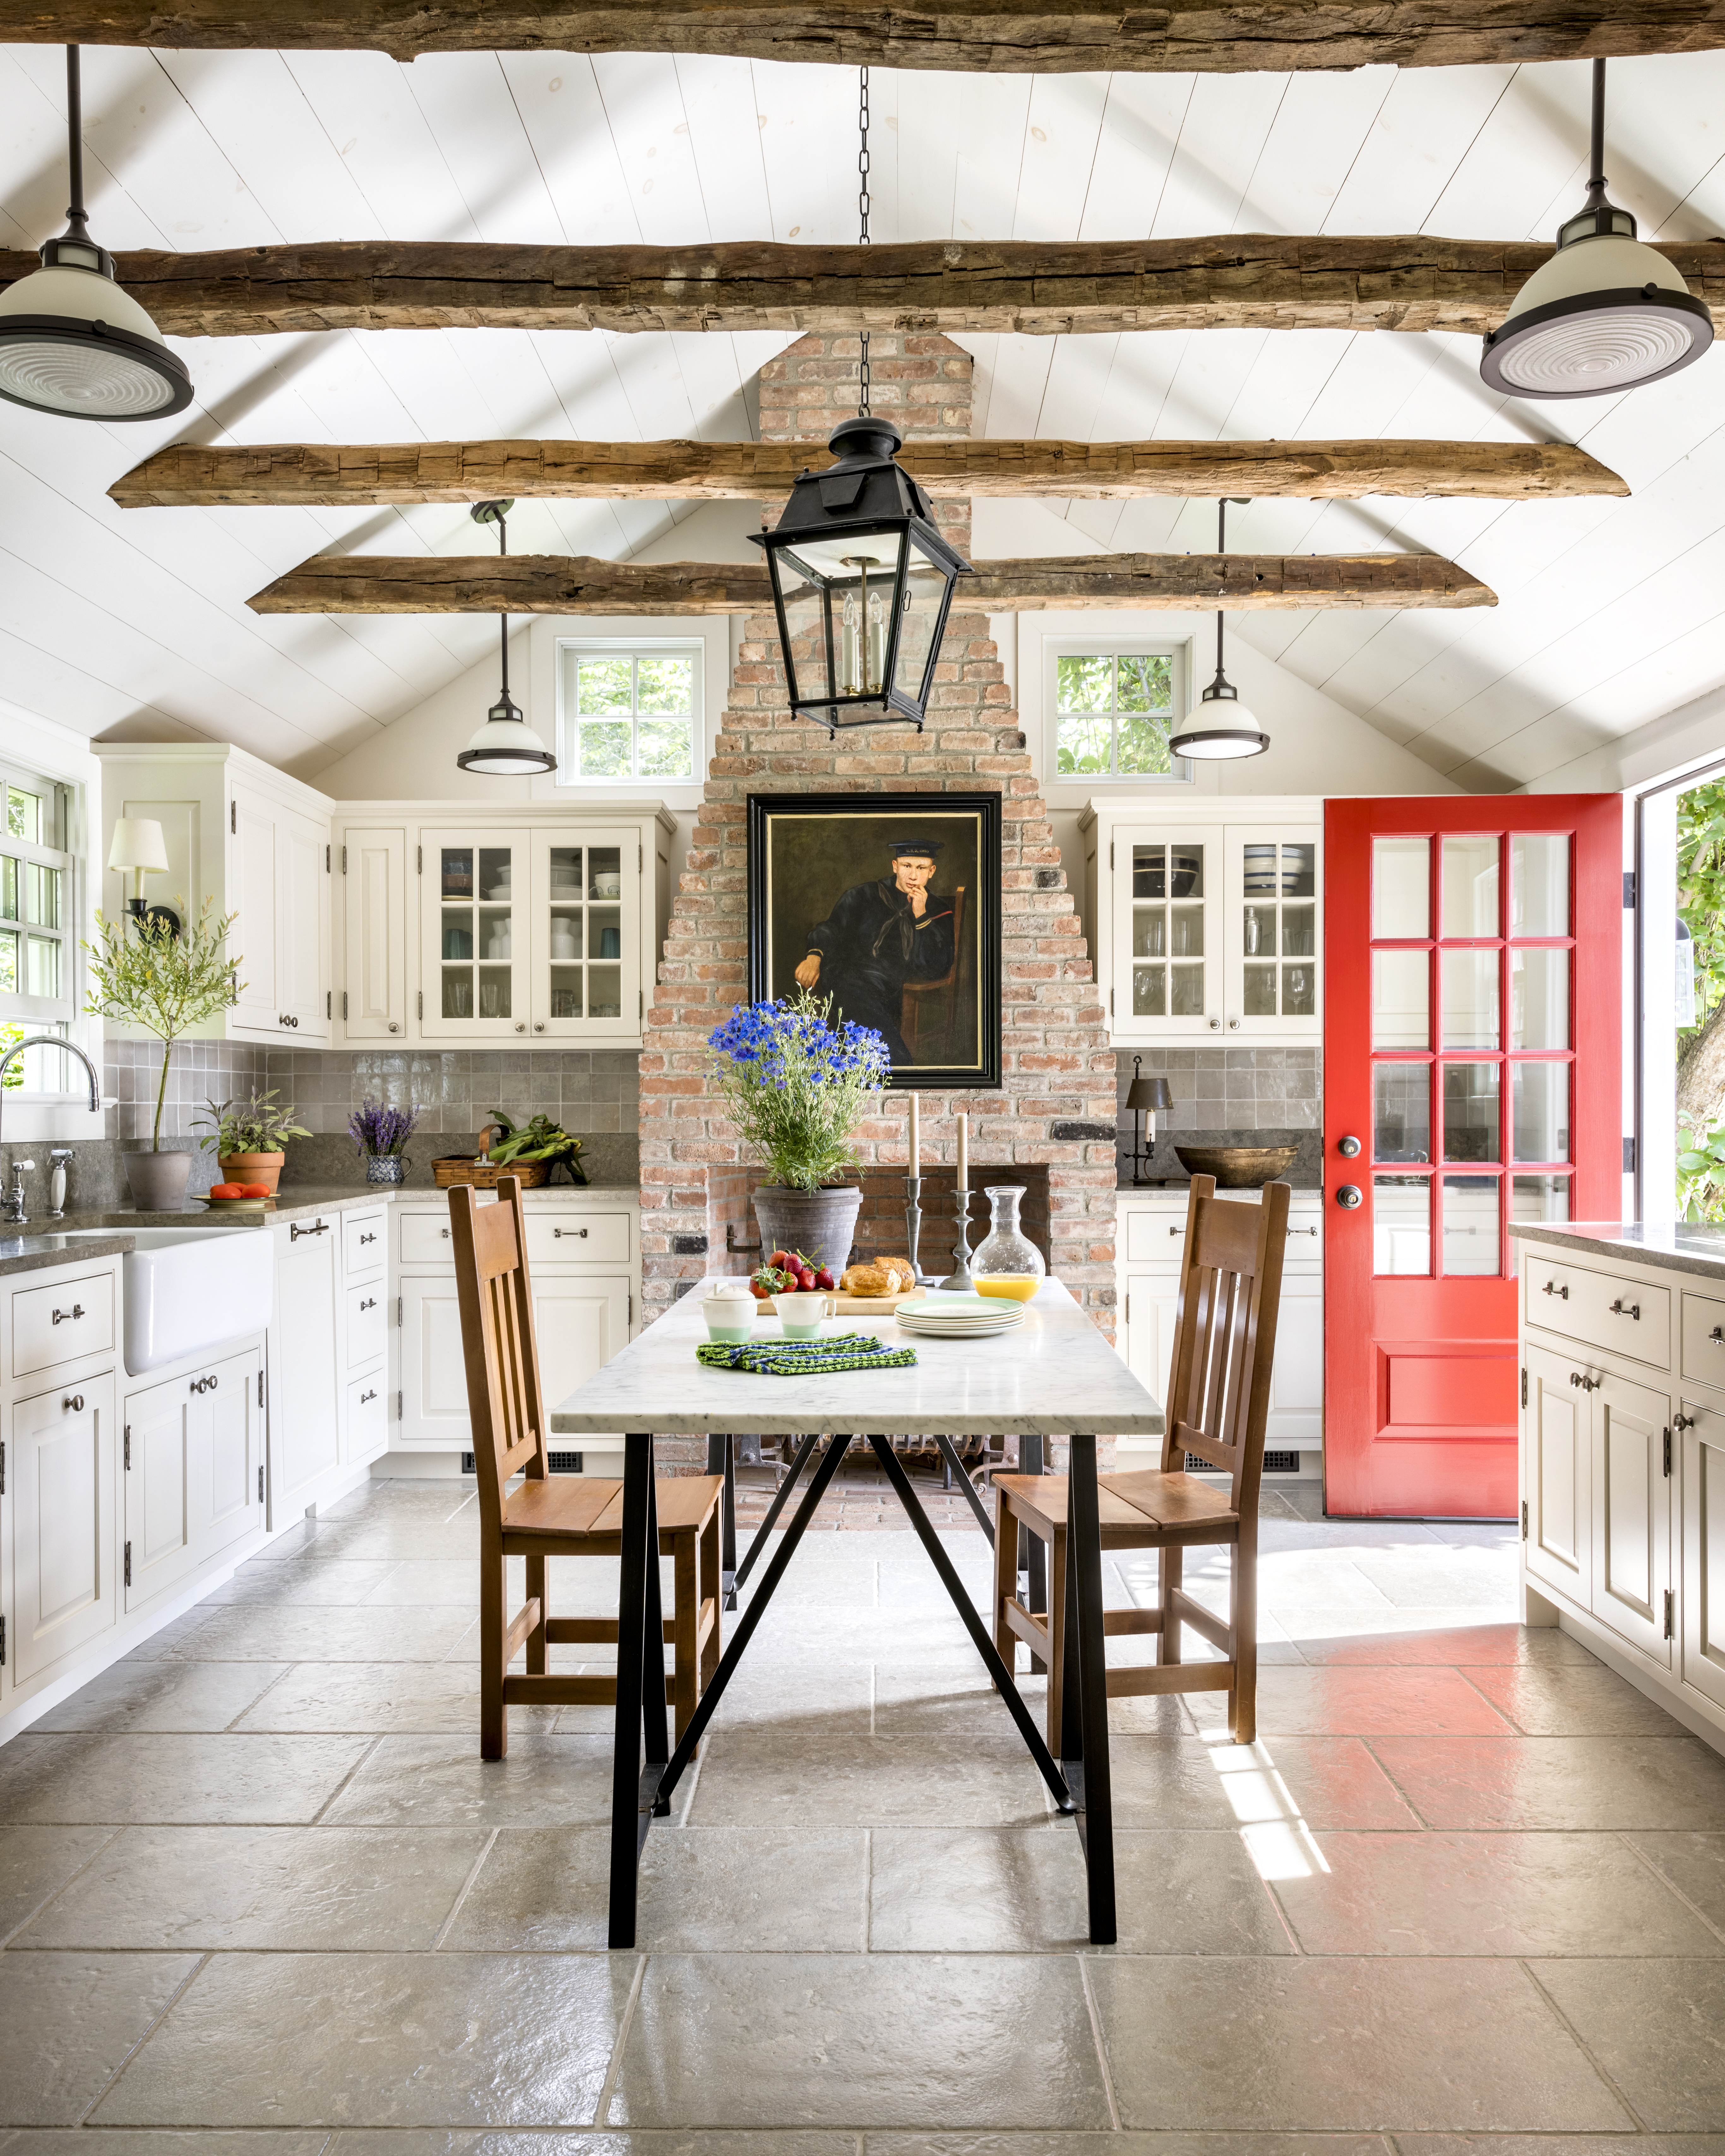
With the foundations shored up, we took the chimneys down to the roof line because they were deteriorated and unstable in their current state, and then rebuilt them with the original brick. The fireplace in the kitchen was a fireplace to no where: there was a firebox, but the chimney didn't penetrate the roof. It had apparently blown down in a hurricane in the mid-1900's and never replaced. Unfortunately, every time the masons removed a course to try to find a stable foundation to build from, the next course came loose as well. So we took it down brick by brick, and rebuilt it in the same shallow Rumford style using the original bricks, and additional ones we salvaged from a pile we found on the property, which no doubt came from the original chimney.
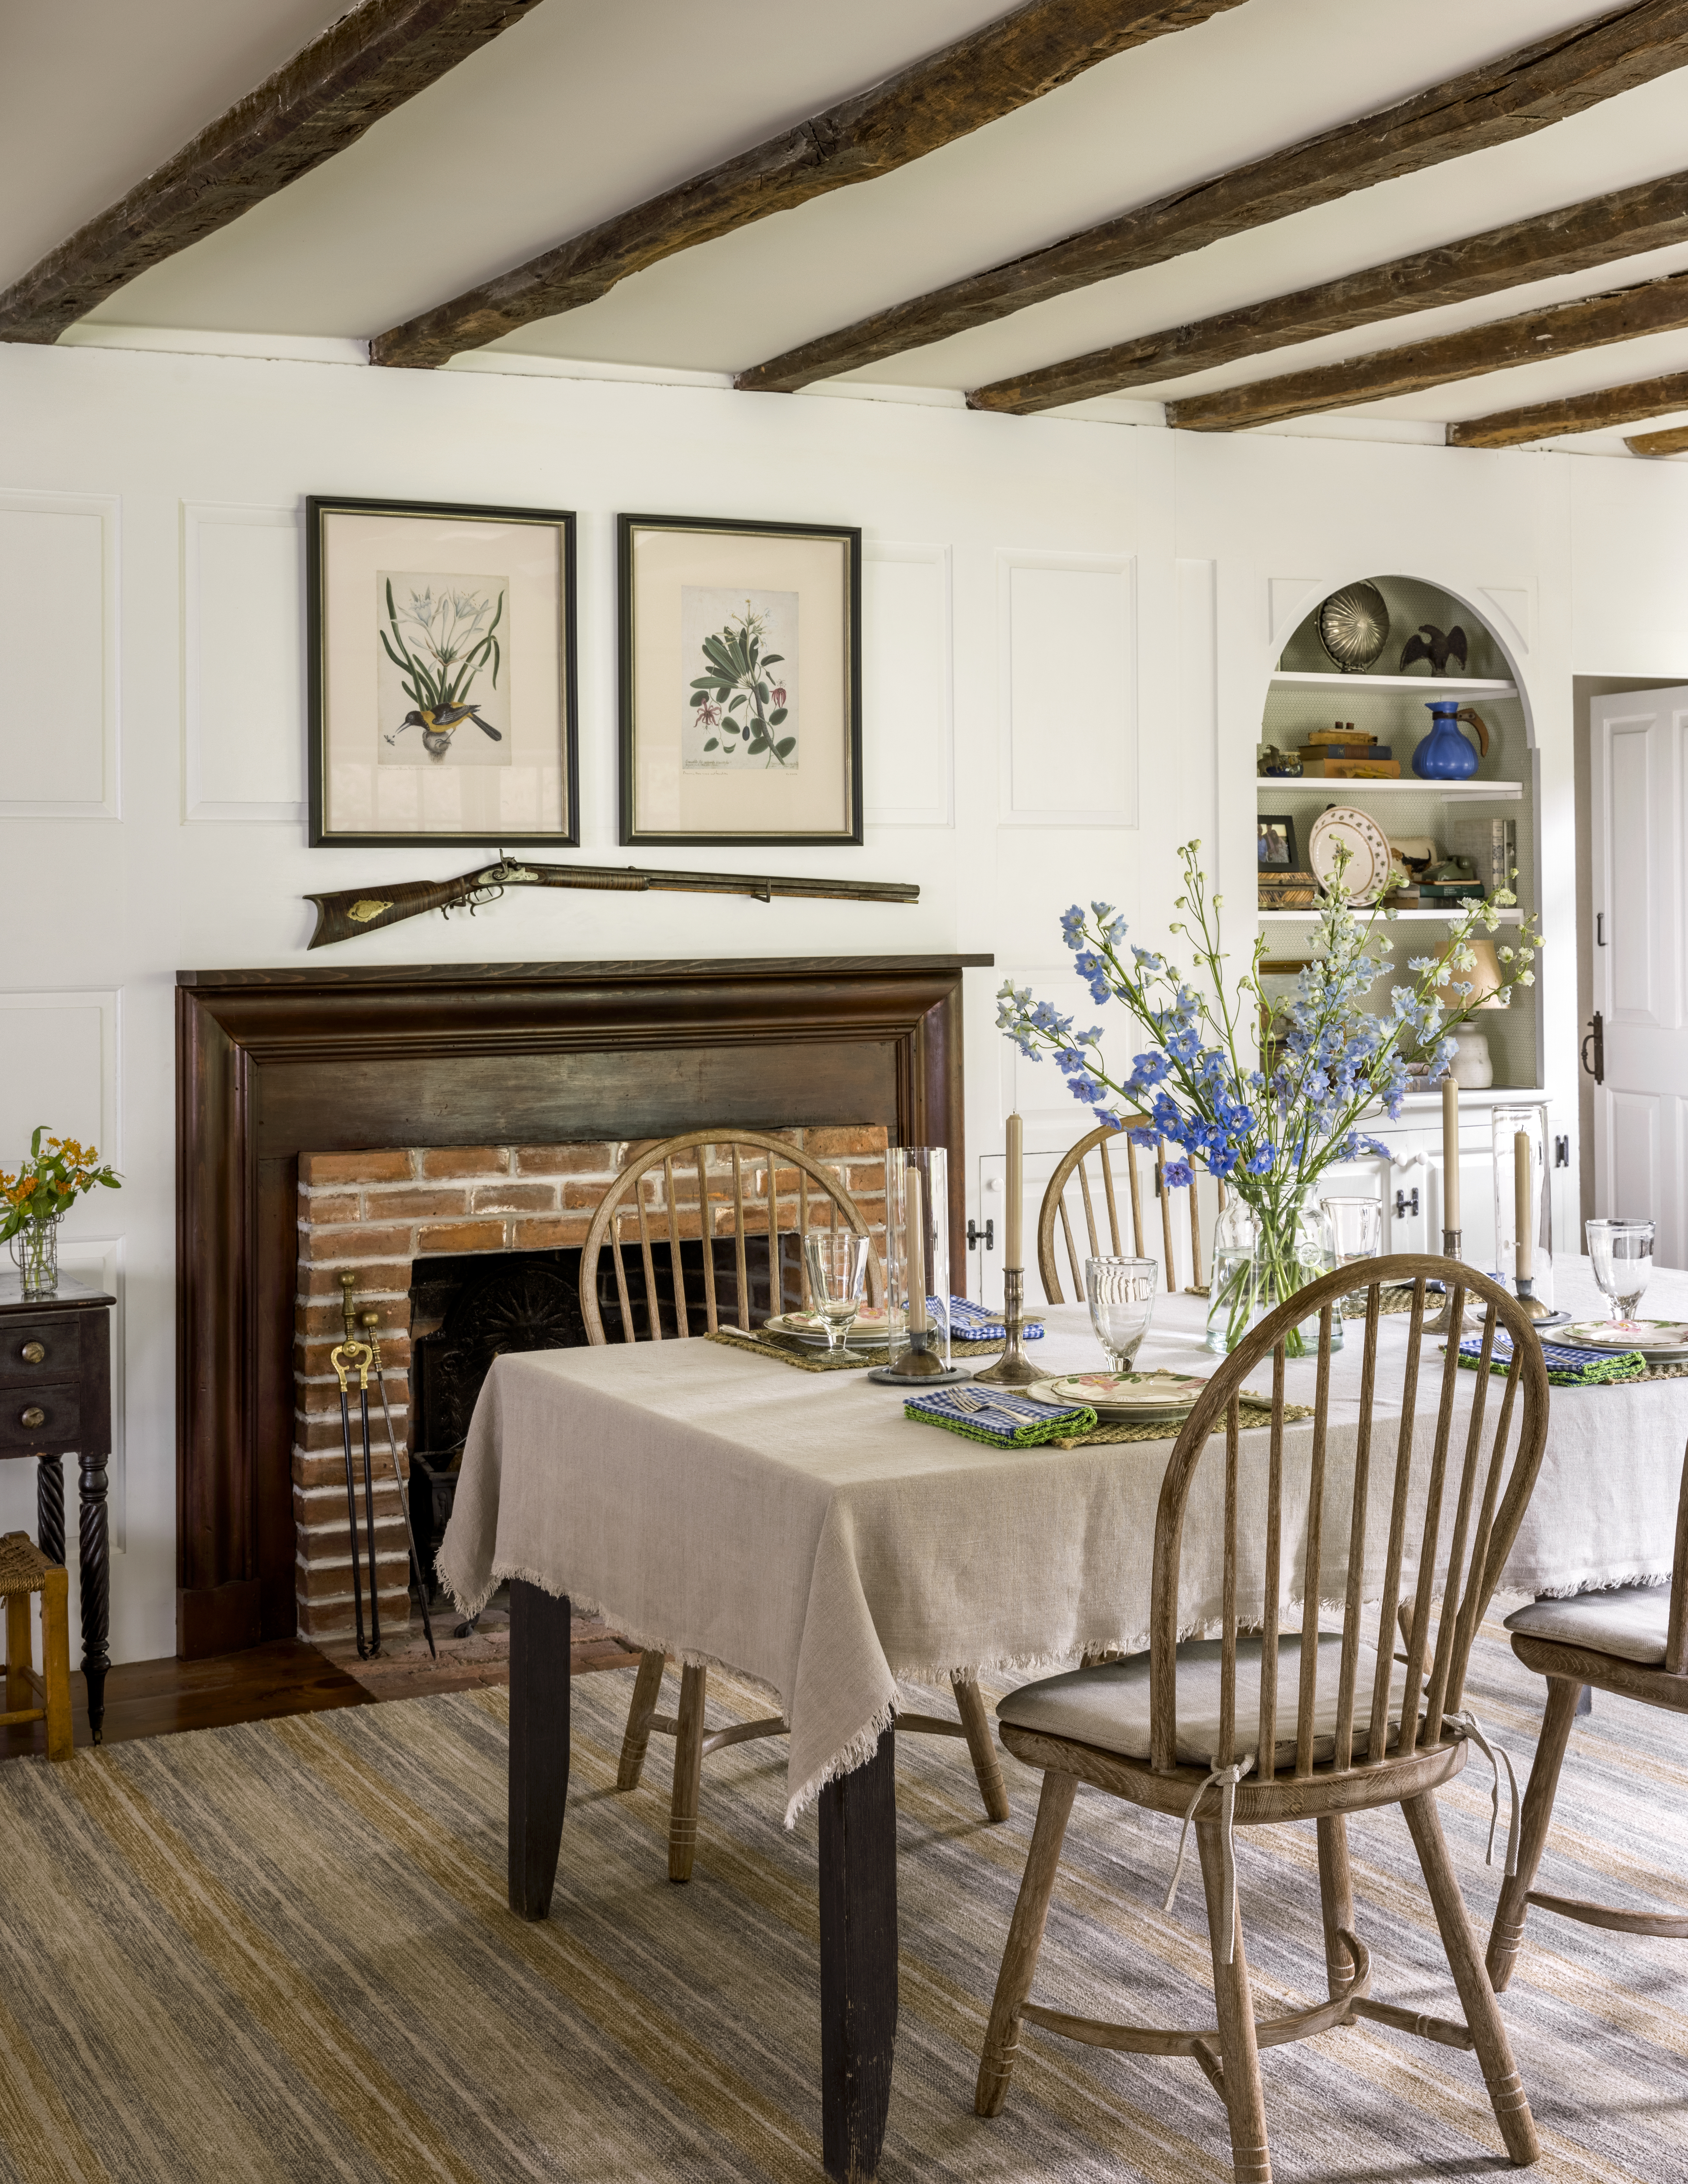
When we moved to interior construction, we had a local expert mason also rebuild all the fireboxes on the other four fireplaces, so all are tight and operational now.







Framing
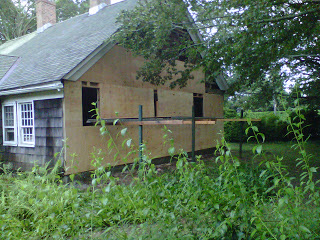
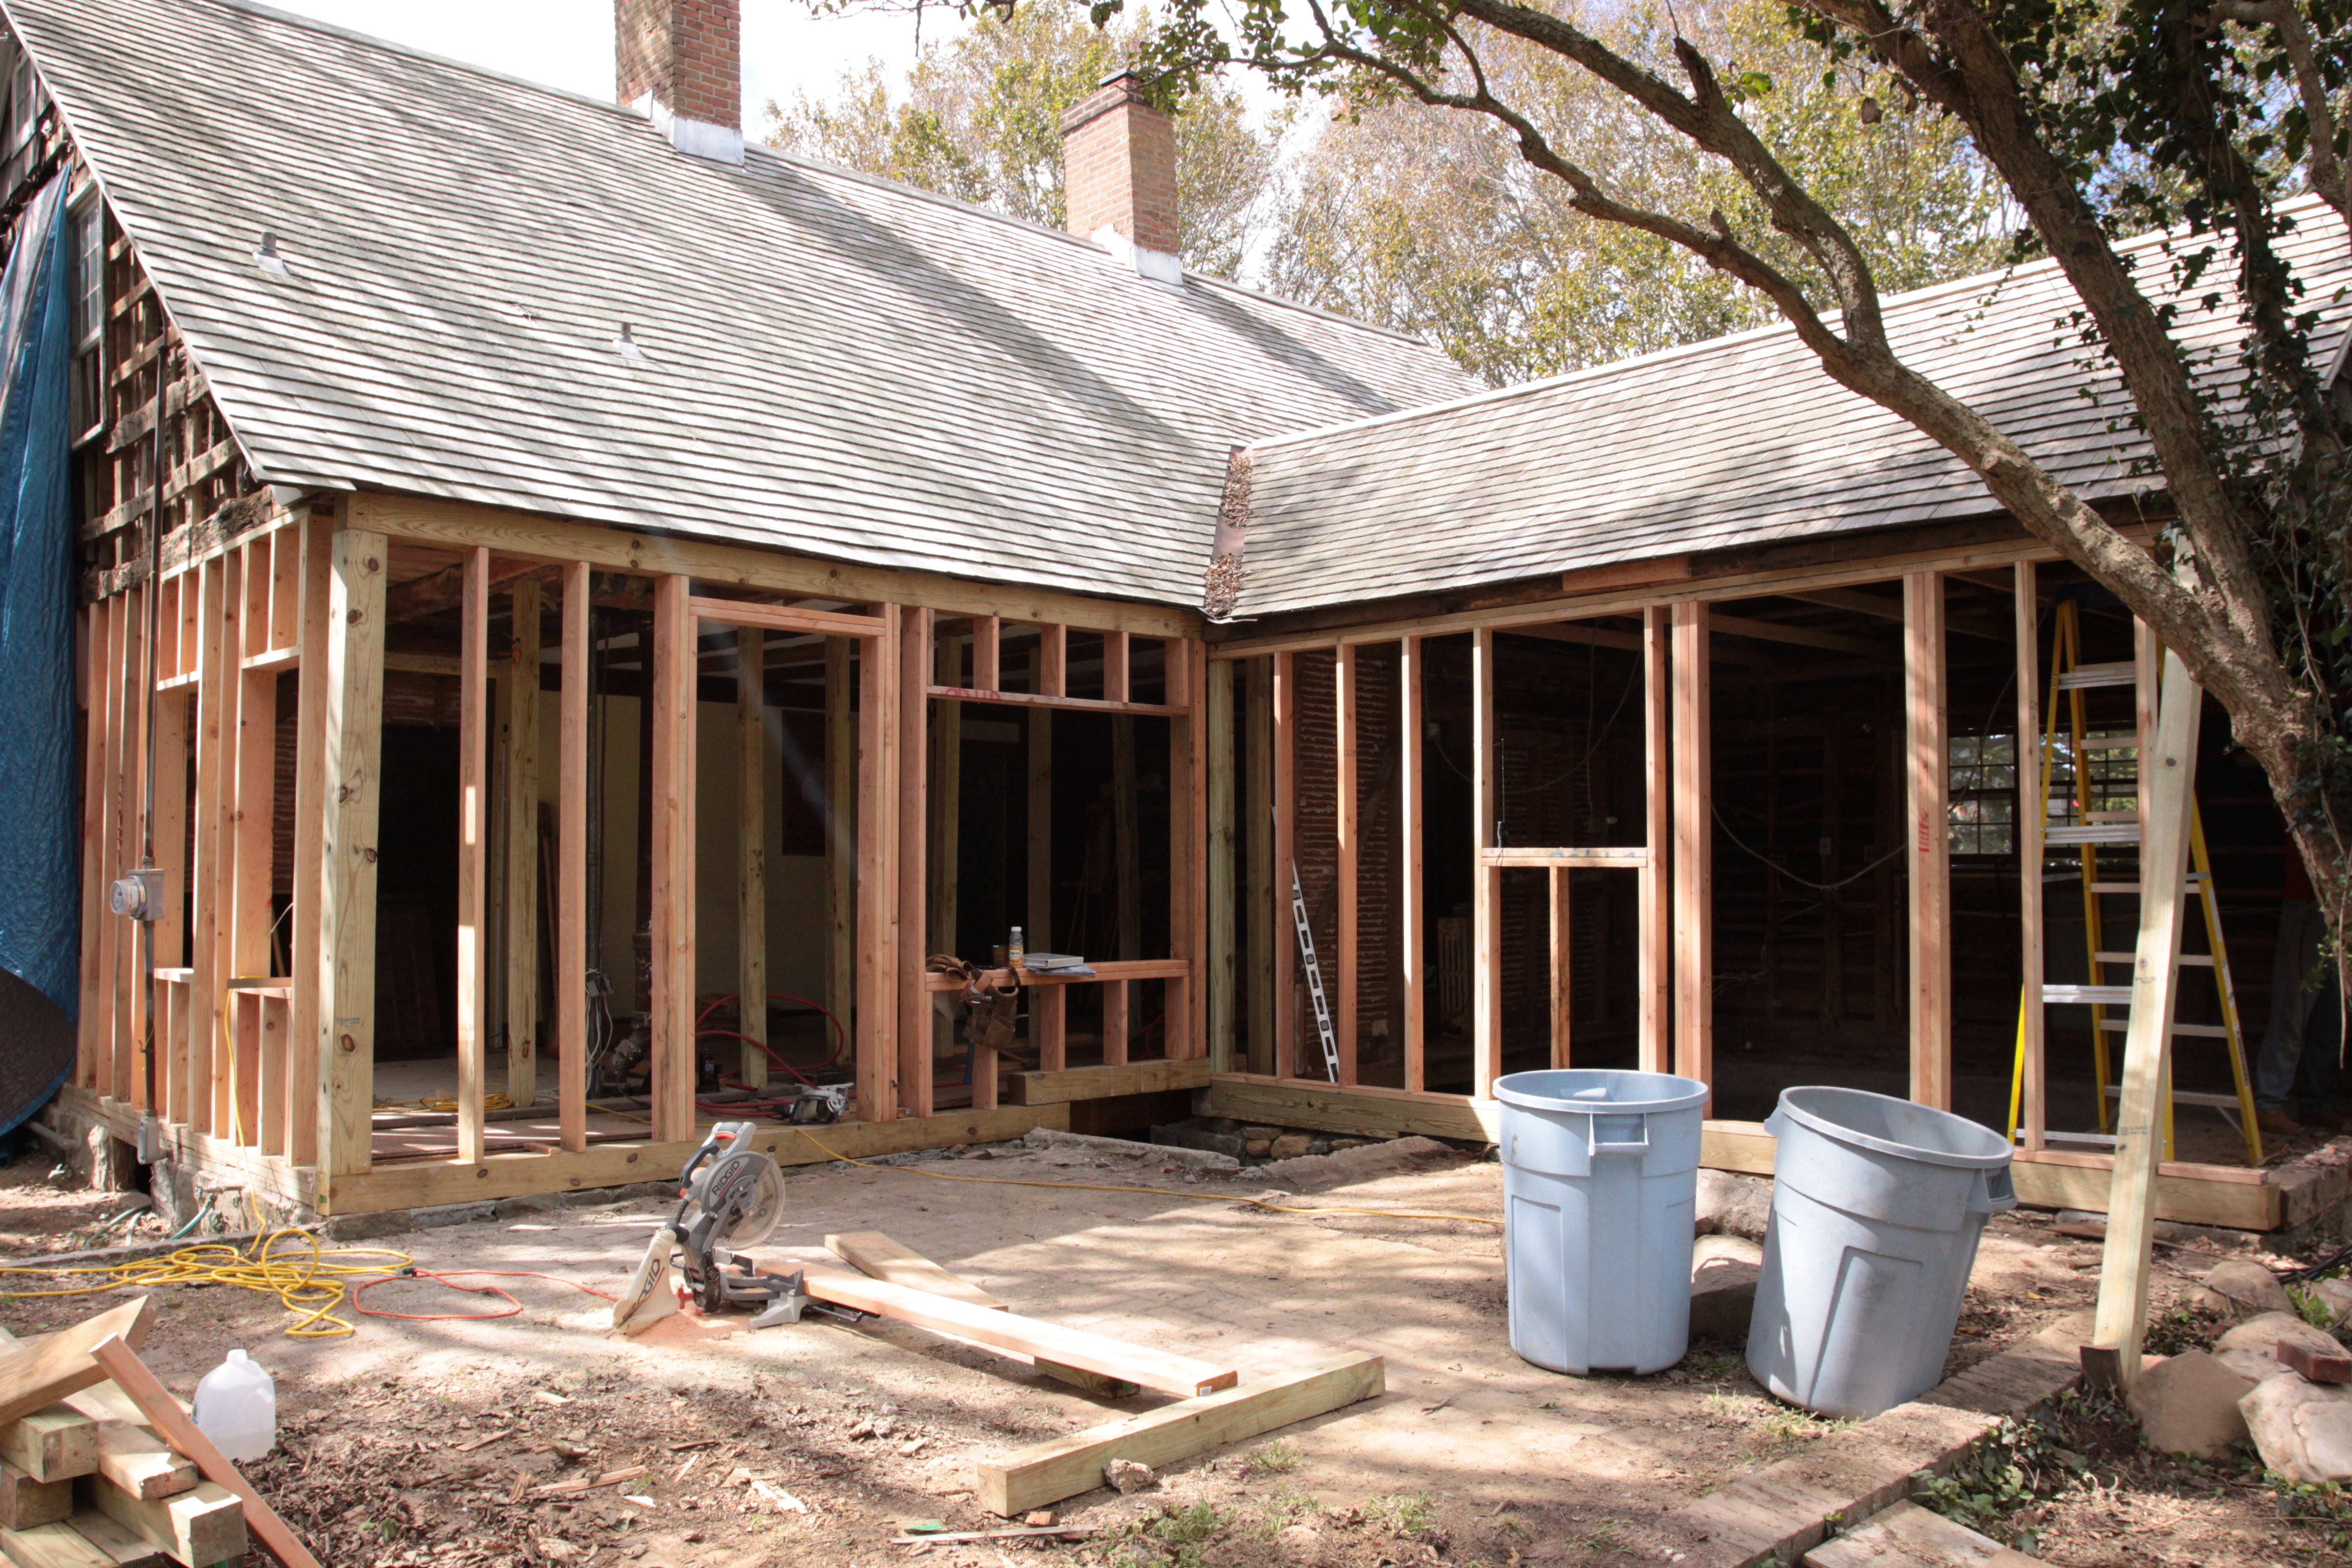
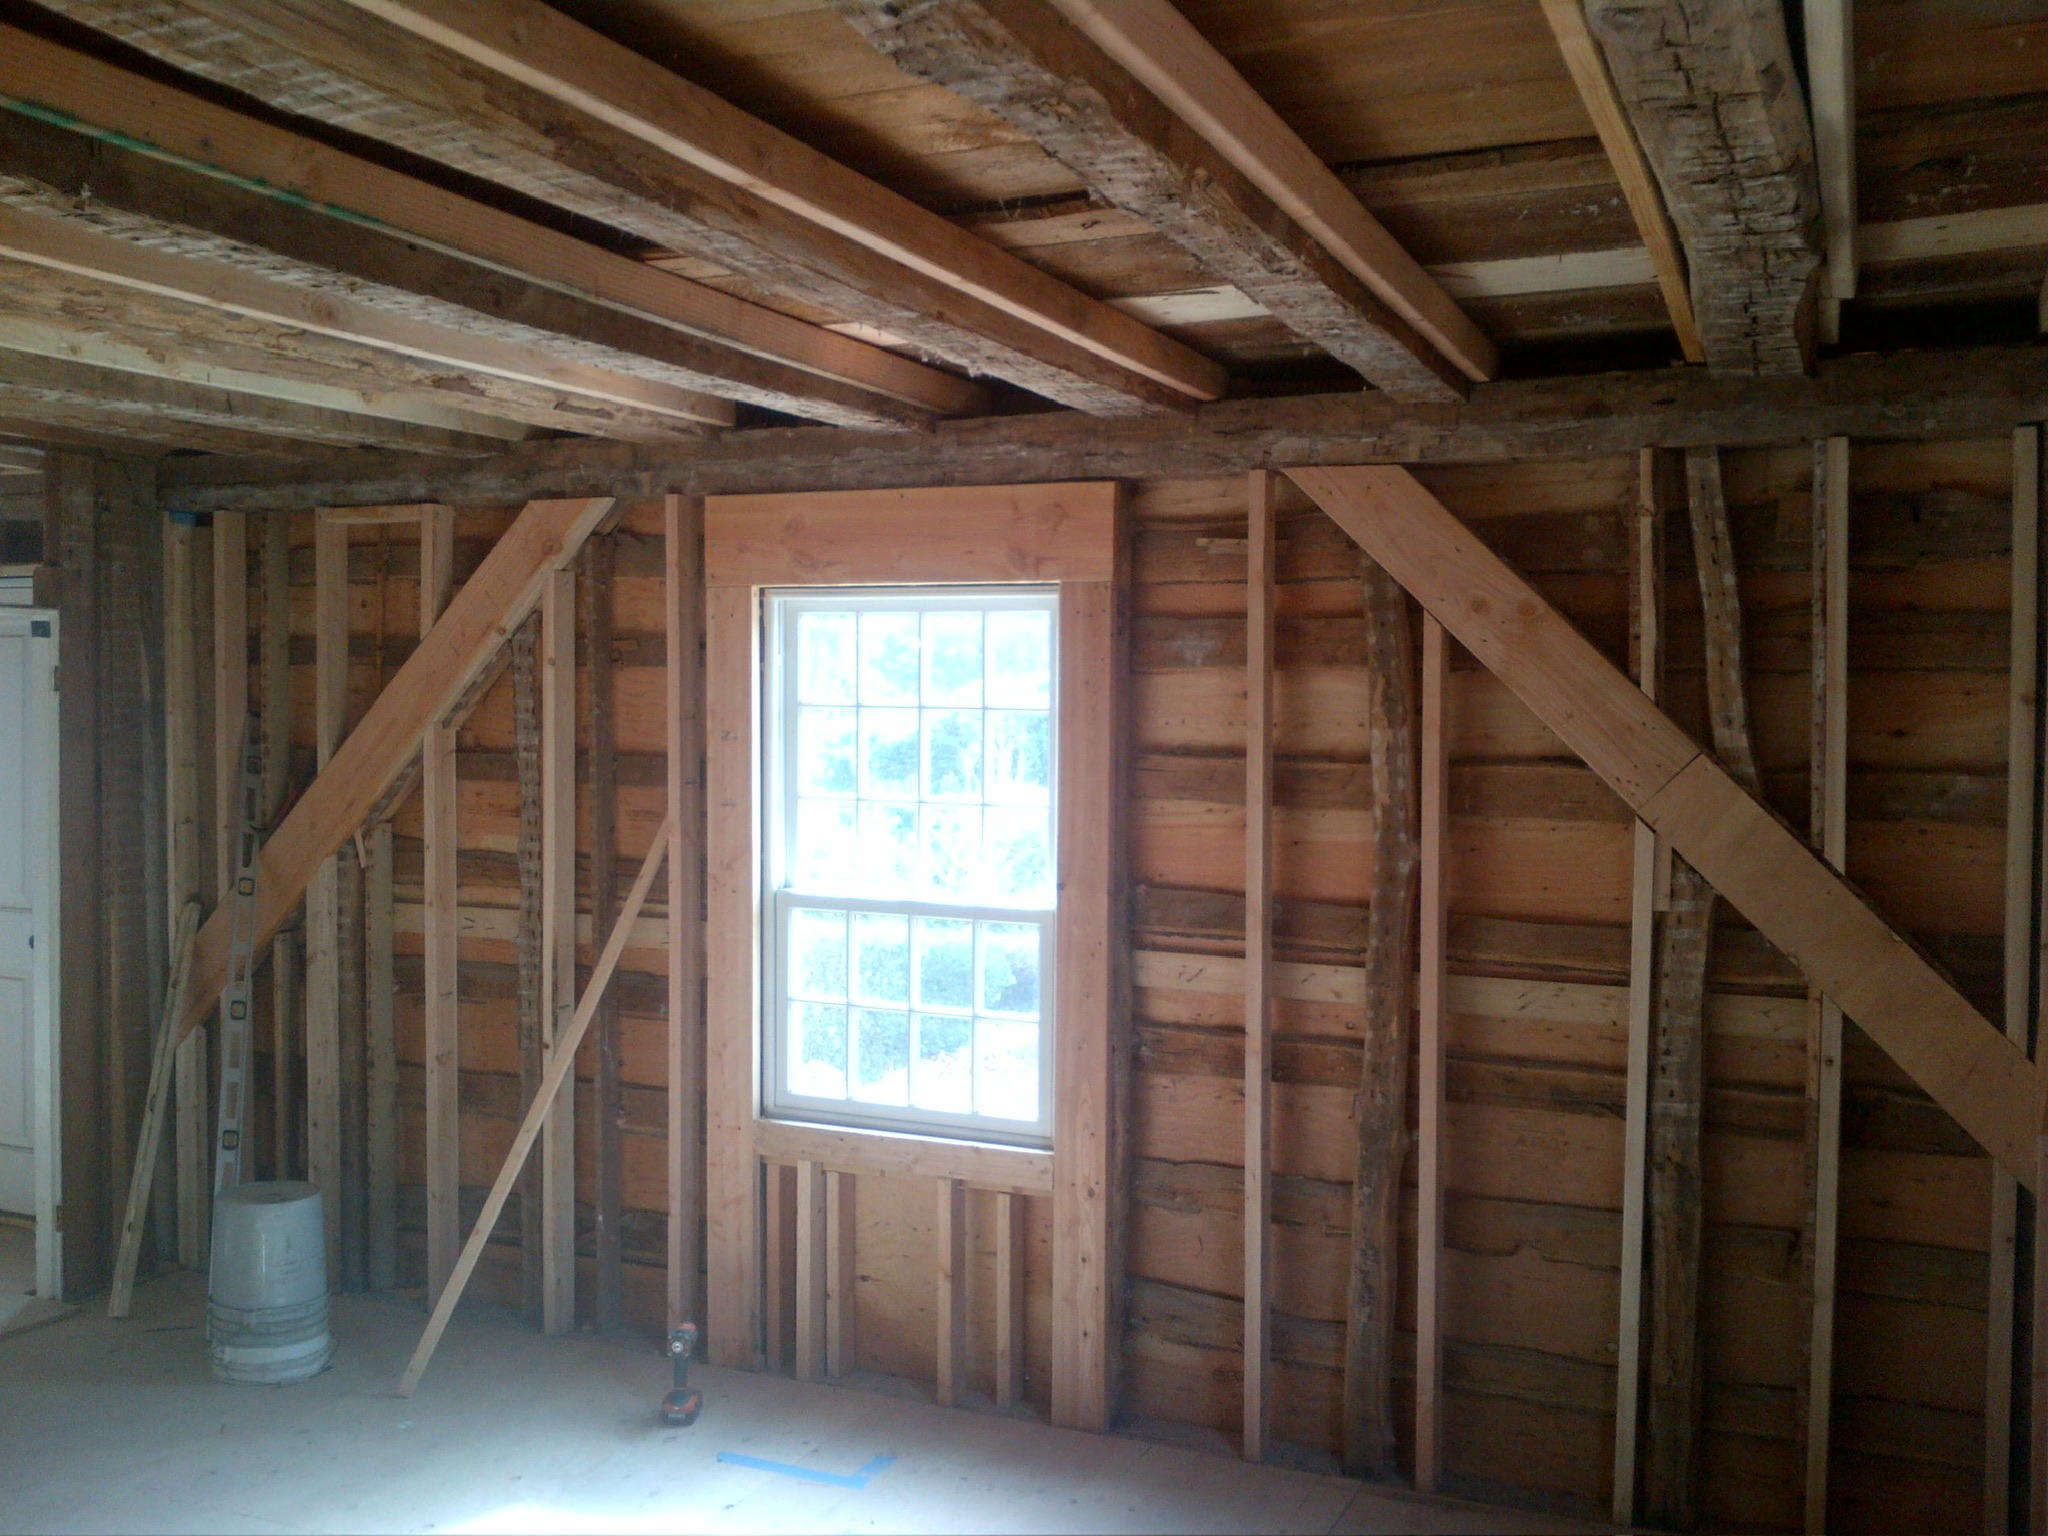
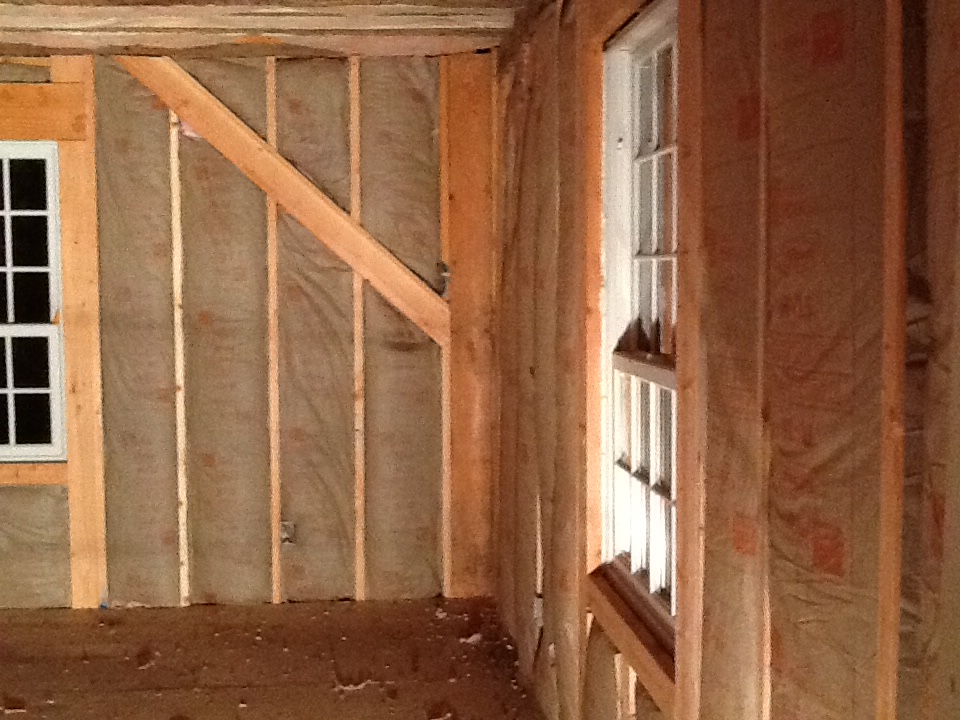
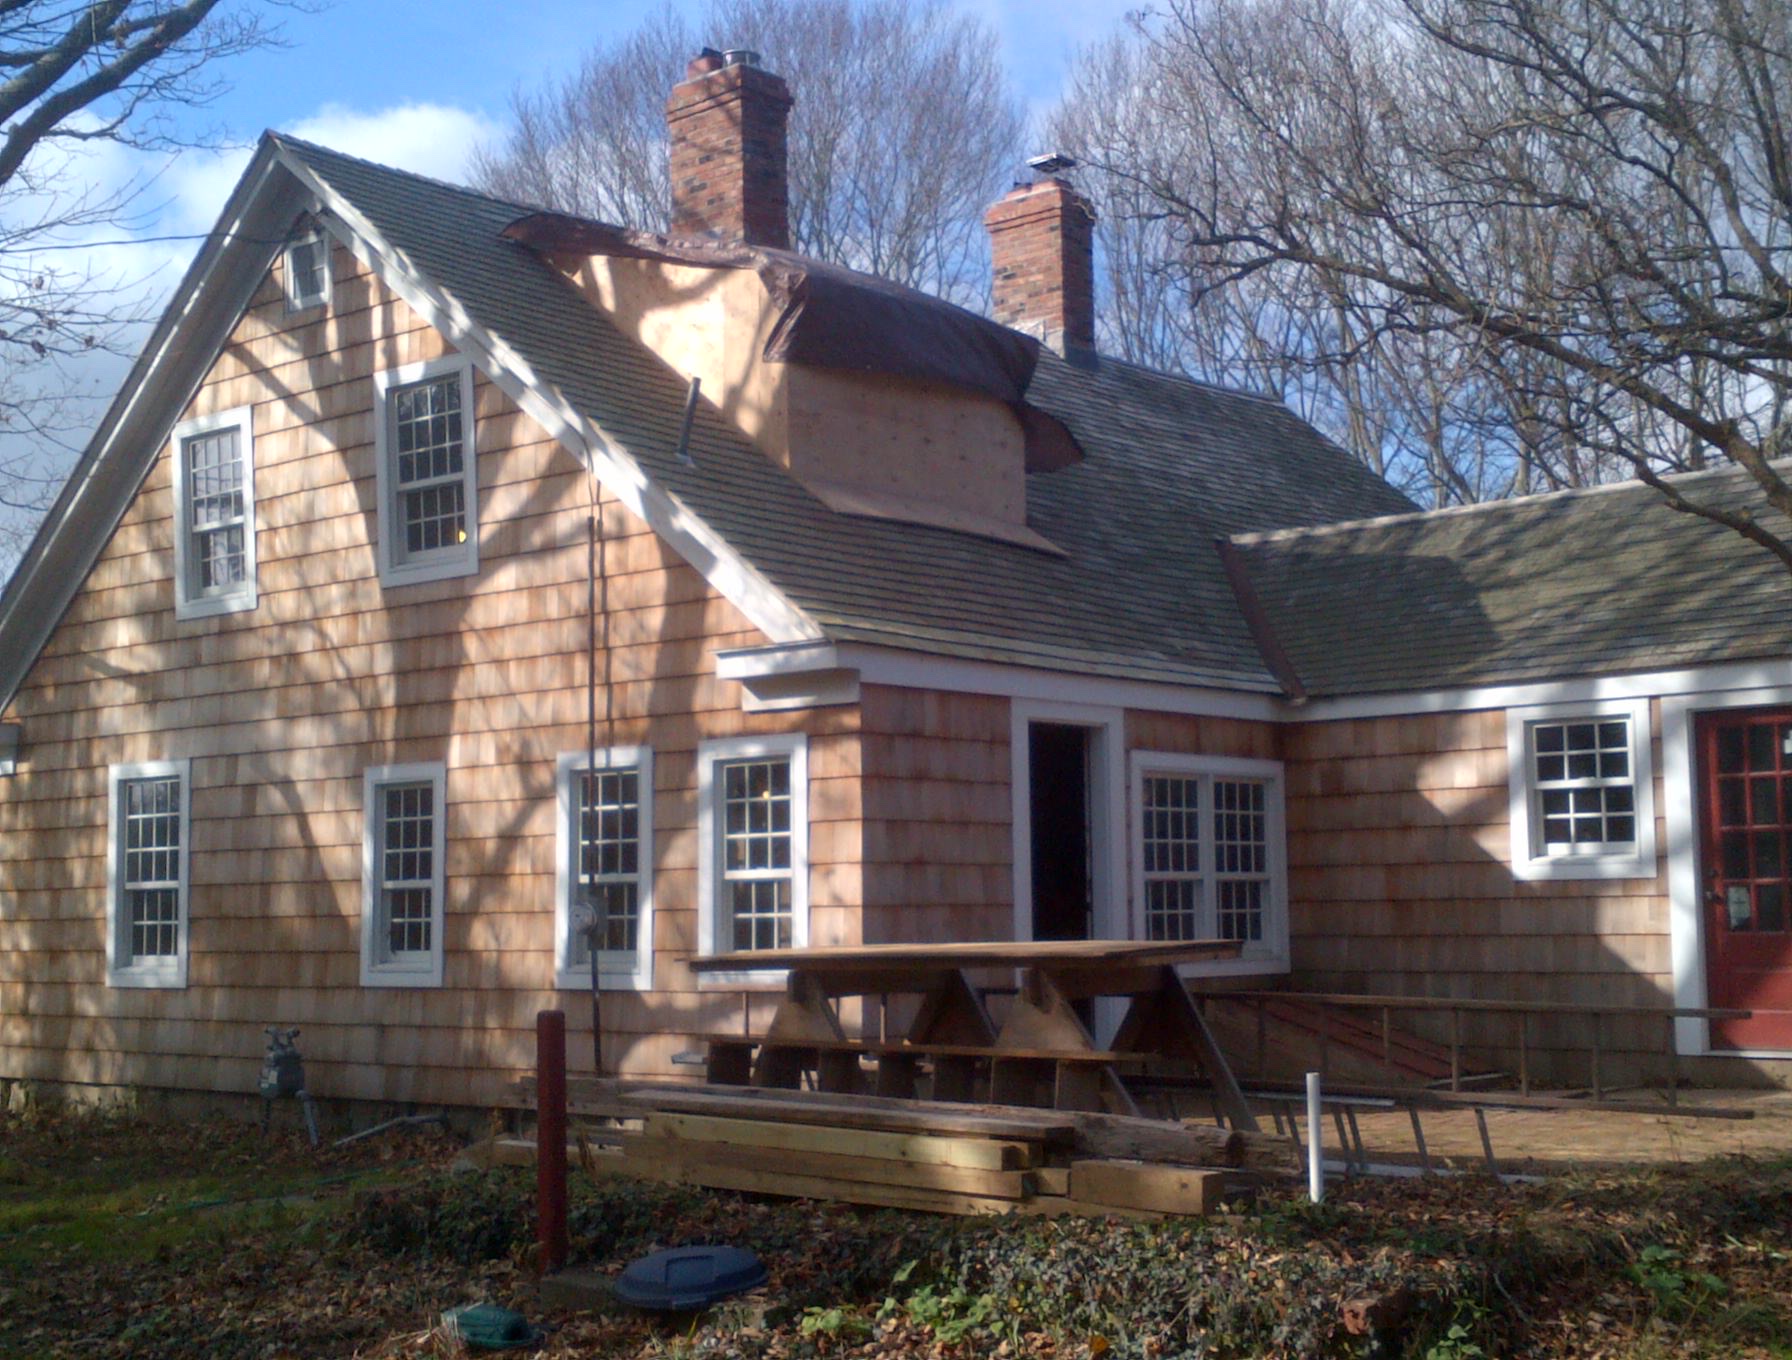
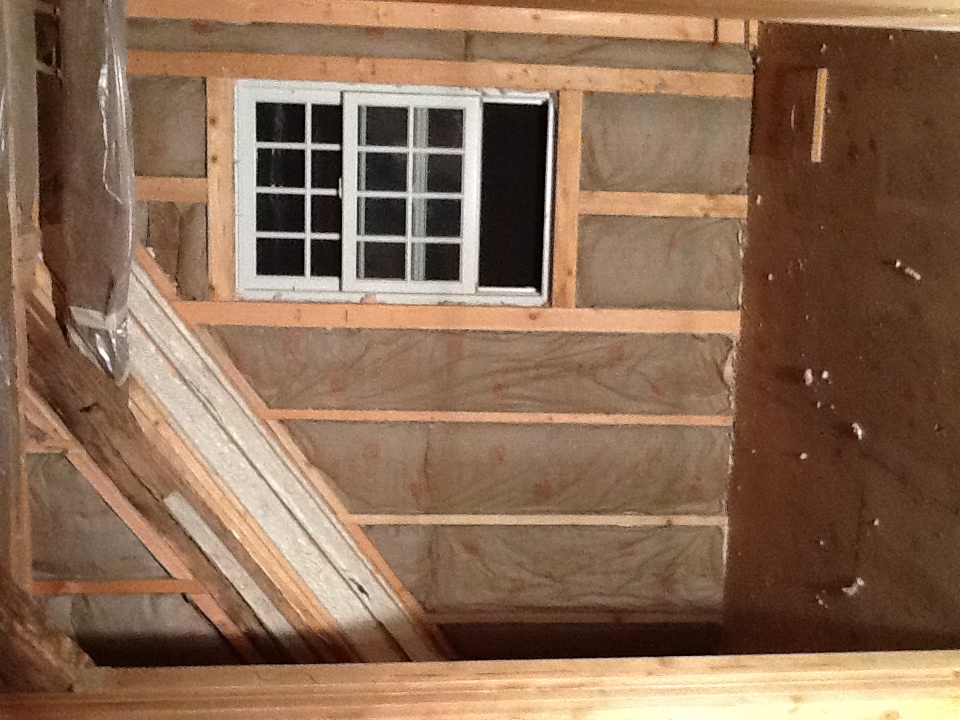
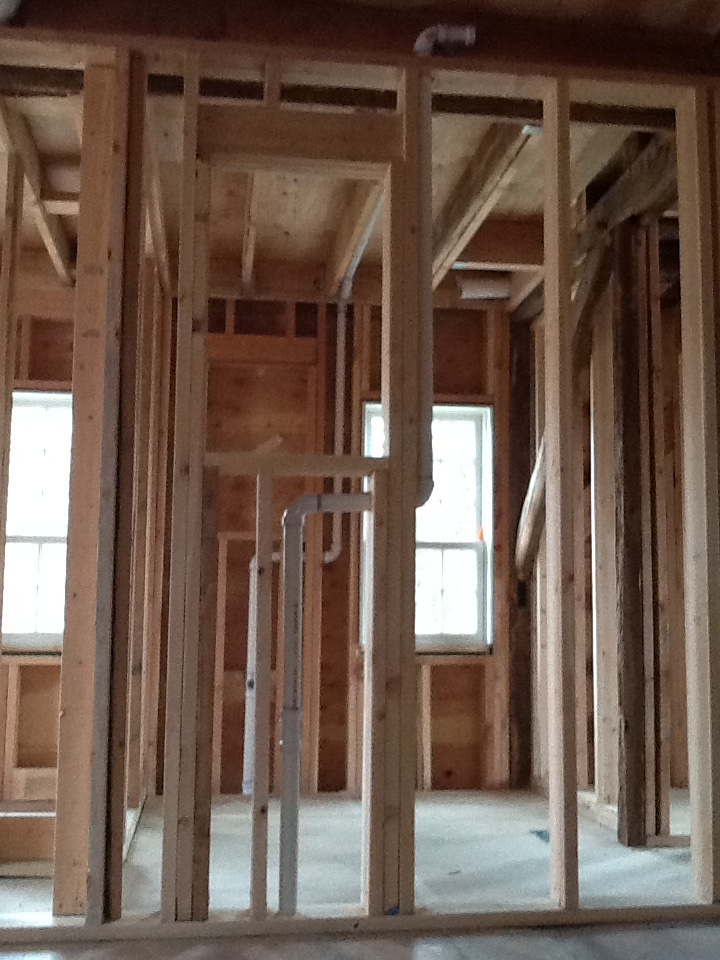
With the foundation and perimeter re-secured, we turned to rebuilding. Working one wall at a time we repaired any compromised timbers, framed out windows and doors as necessary to accommodate new units, then sheathed each exterior wall. The sheathing was a new addition to the house. Previously the cedar shingles were directly nailed to 6" wide rough-hewn lathe boards. The sheathing added additional rigidity to the overall structure, allowed us to add a vapor barrier, and provided a better substrate for the siding crew. Some walls of the house - particularly the back corner and kitchen ell - had to be fully reframed due to rotted timbers and sub-par construction. Portions of the the kitchen walls were obviously patched in with whatever materials were at hand at the time - an old door, a fence post - which weren't sustainable in the renovation, let alone anywhere near code.
On the inside, we re-installed the front floor joists and repaired/replaced floor infrastructure throughout the house. Where we hadn't touched the exterior wall framing studs (most of the house), we still had to "shadow frame" the interior walls to create an as plumb as possible, 16" on center plane for the new sheetrock. This was a tedious process. Some of the exterior walls were out of plumb by 15 degrees or more, particularly on the south side. Levels and lasers helped, but in the end we had to accept some quirkiness and frame and trim as best we could. No one notices today...except me.
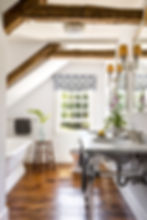
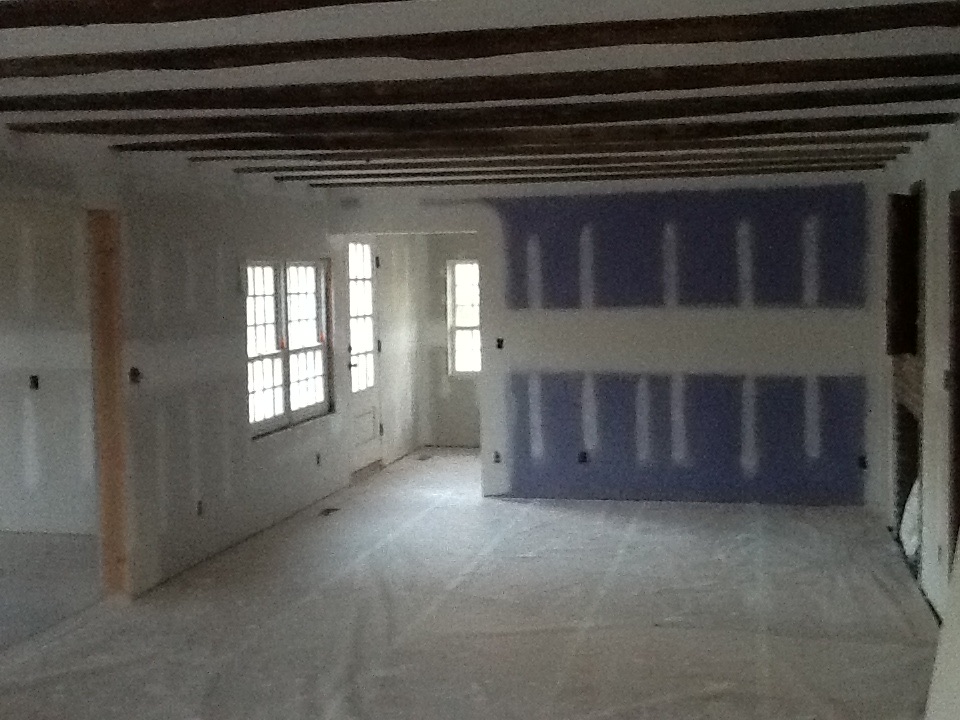
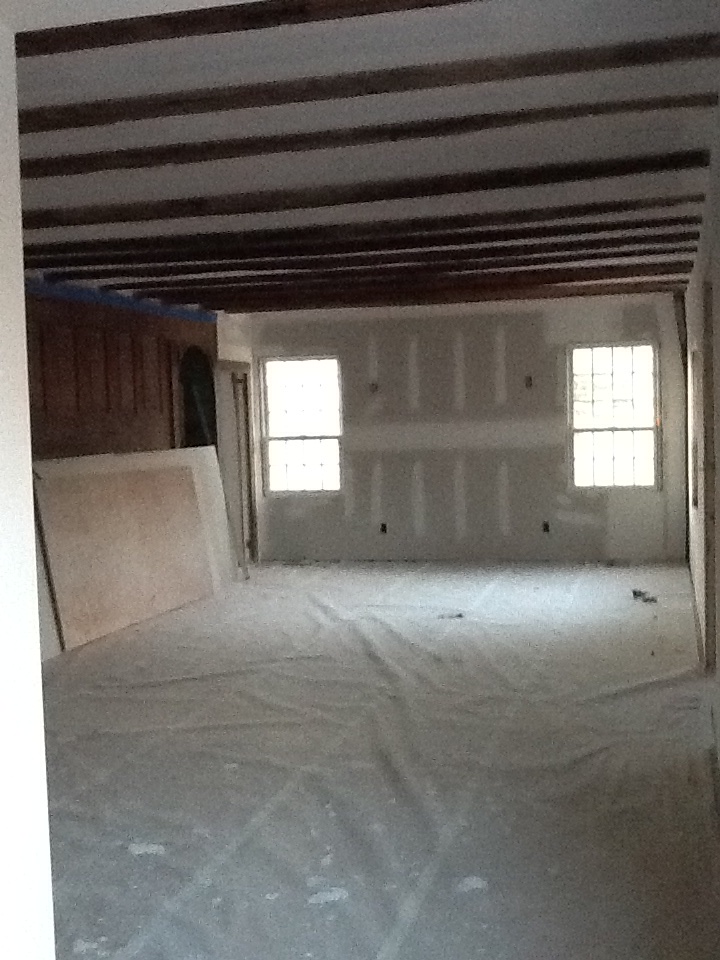
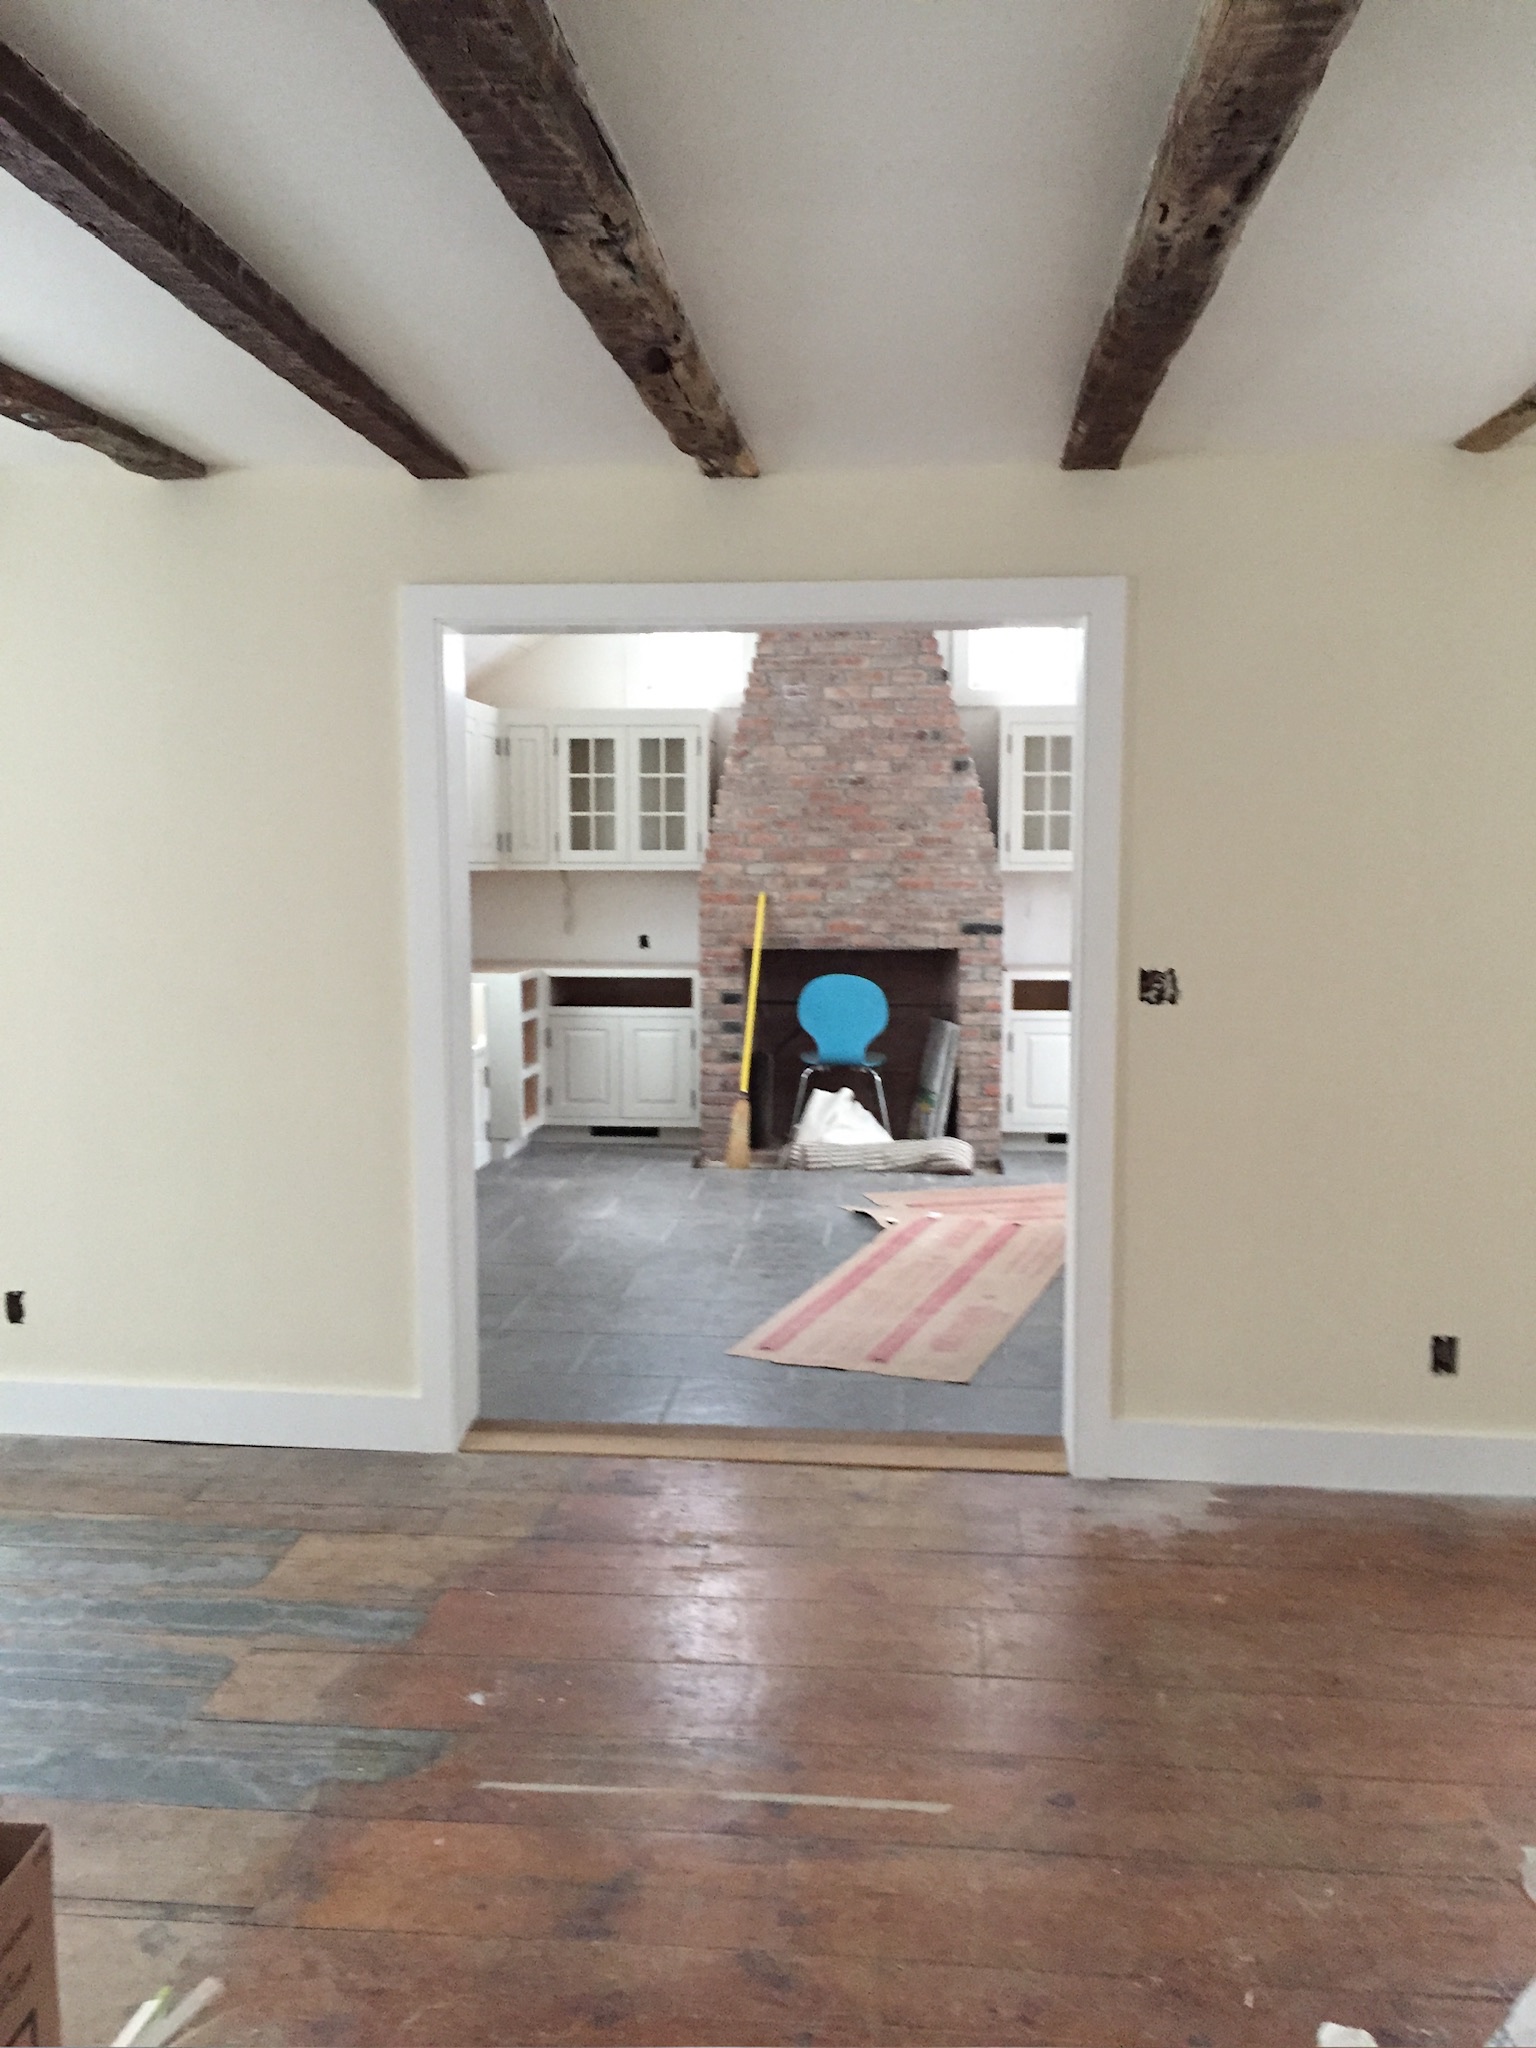
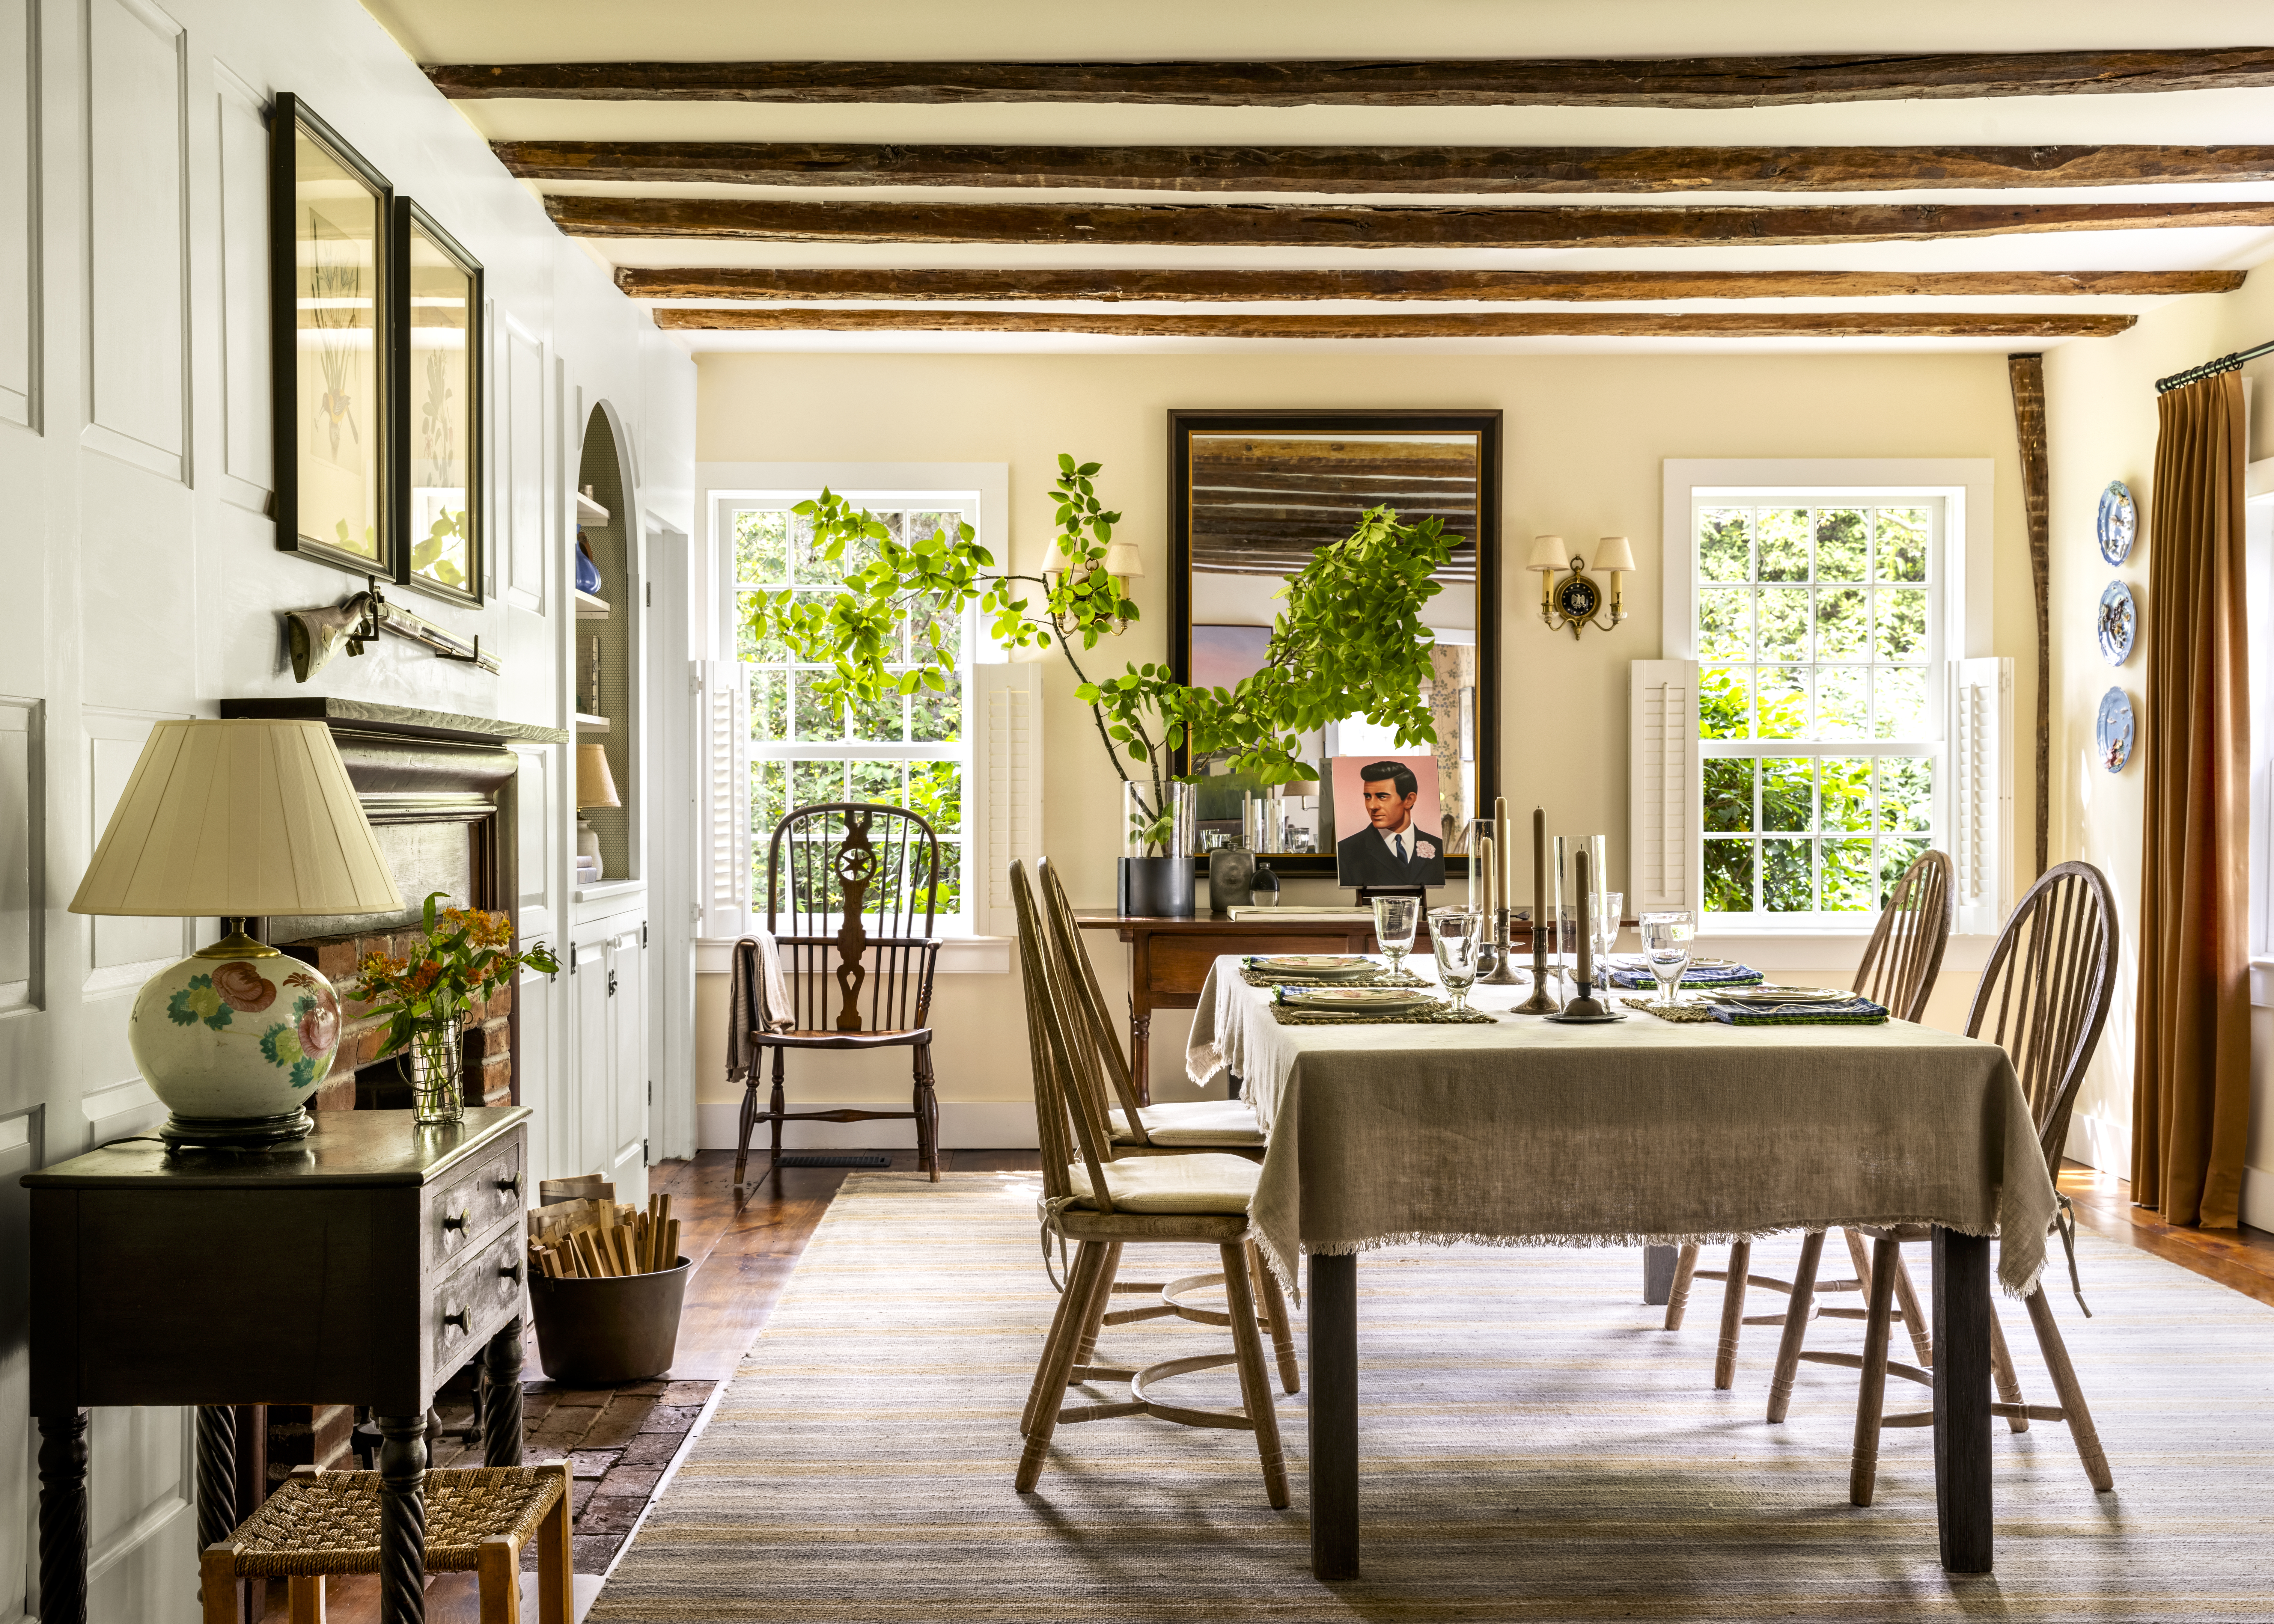
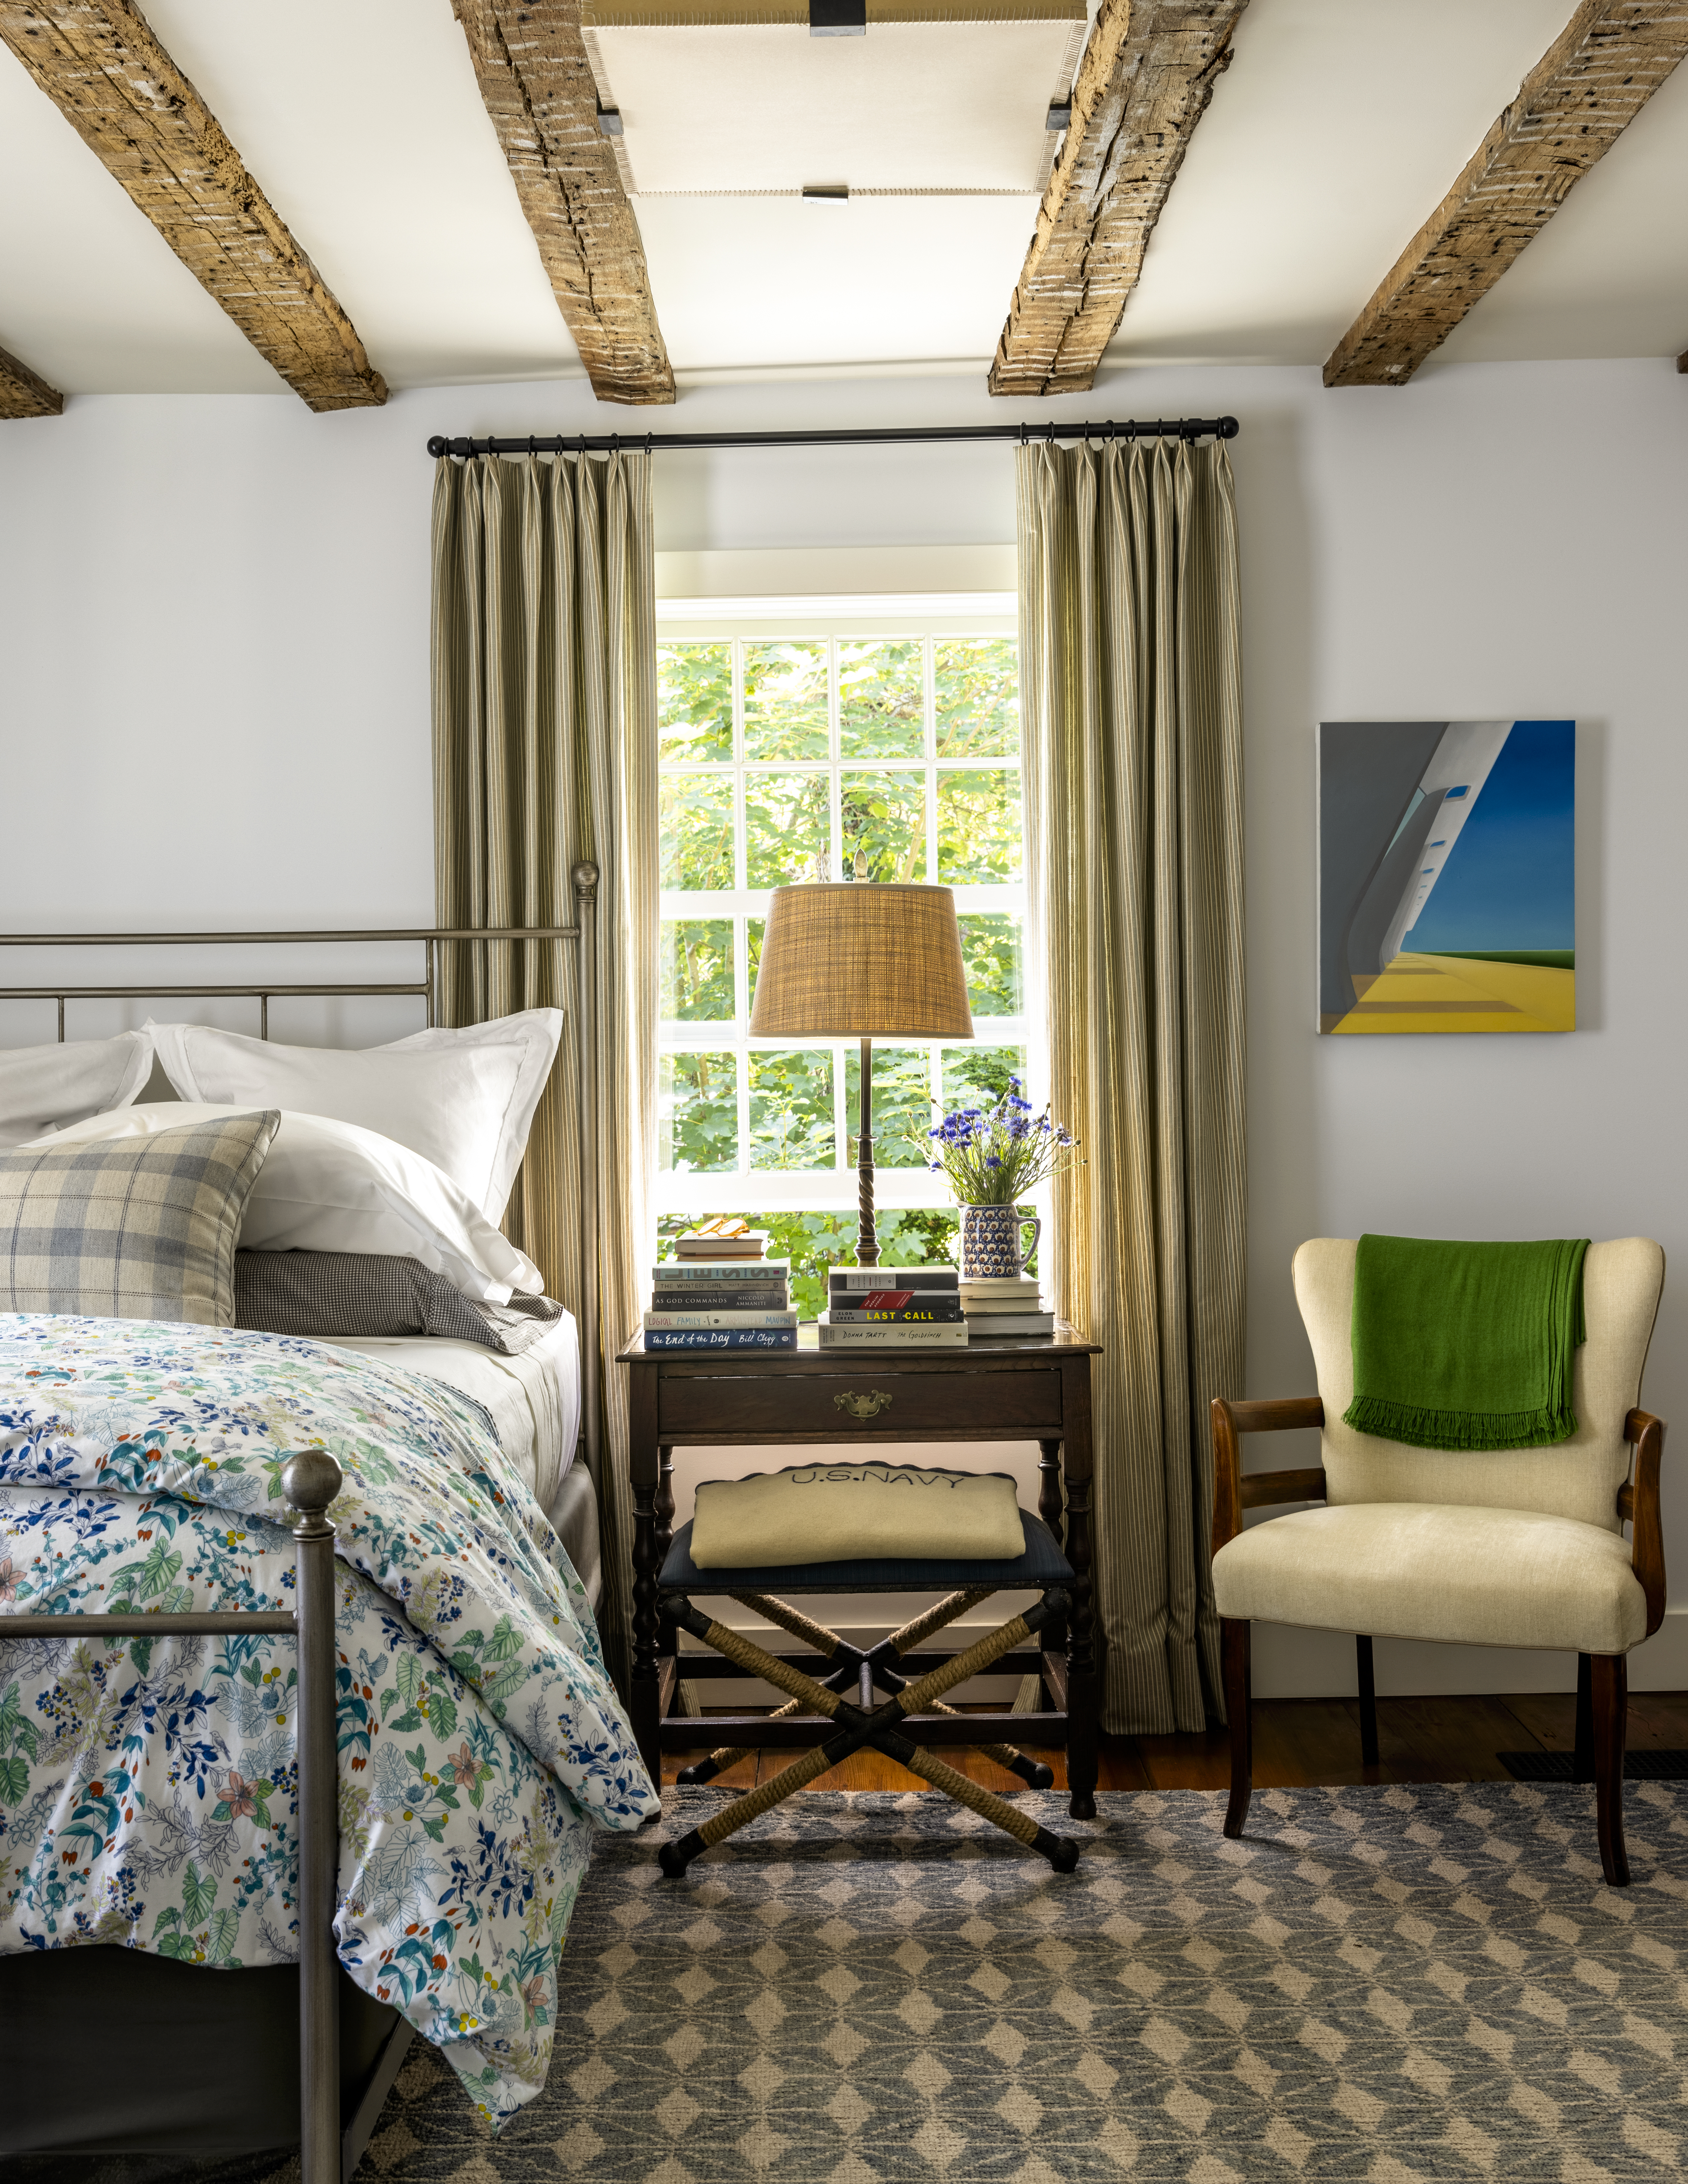
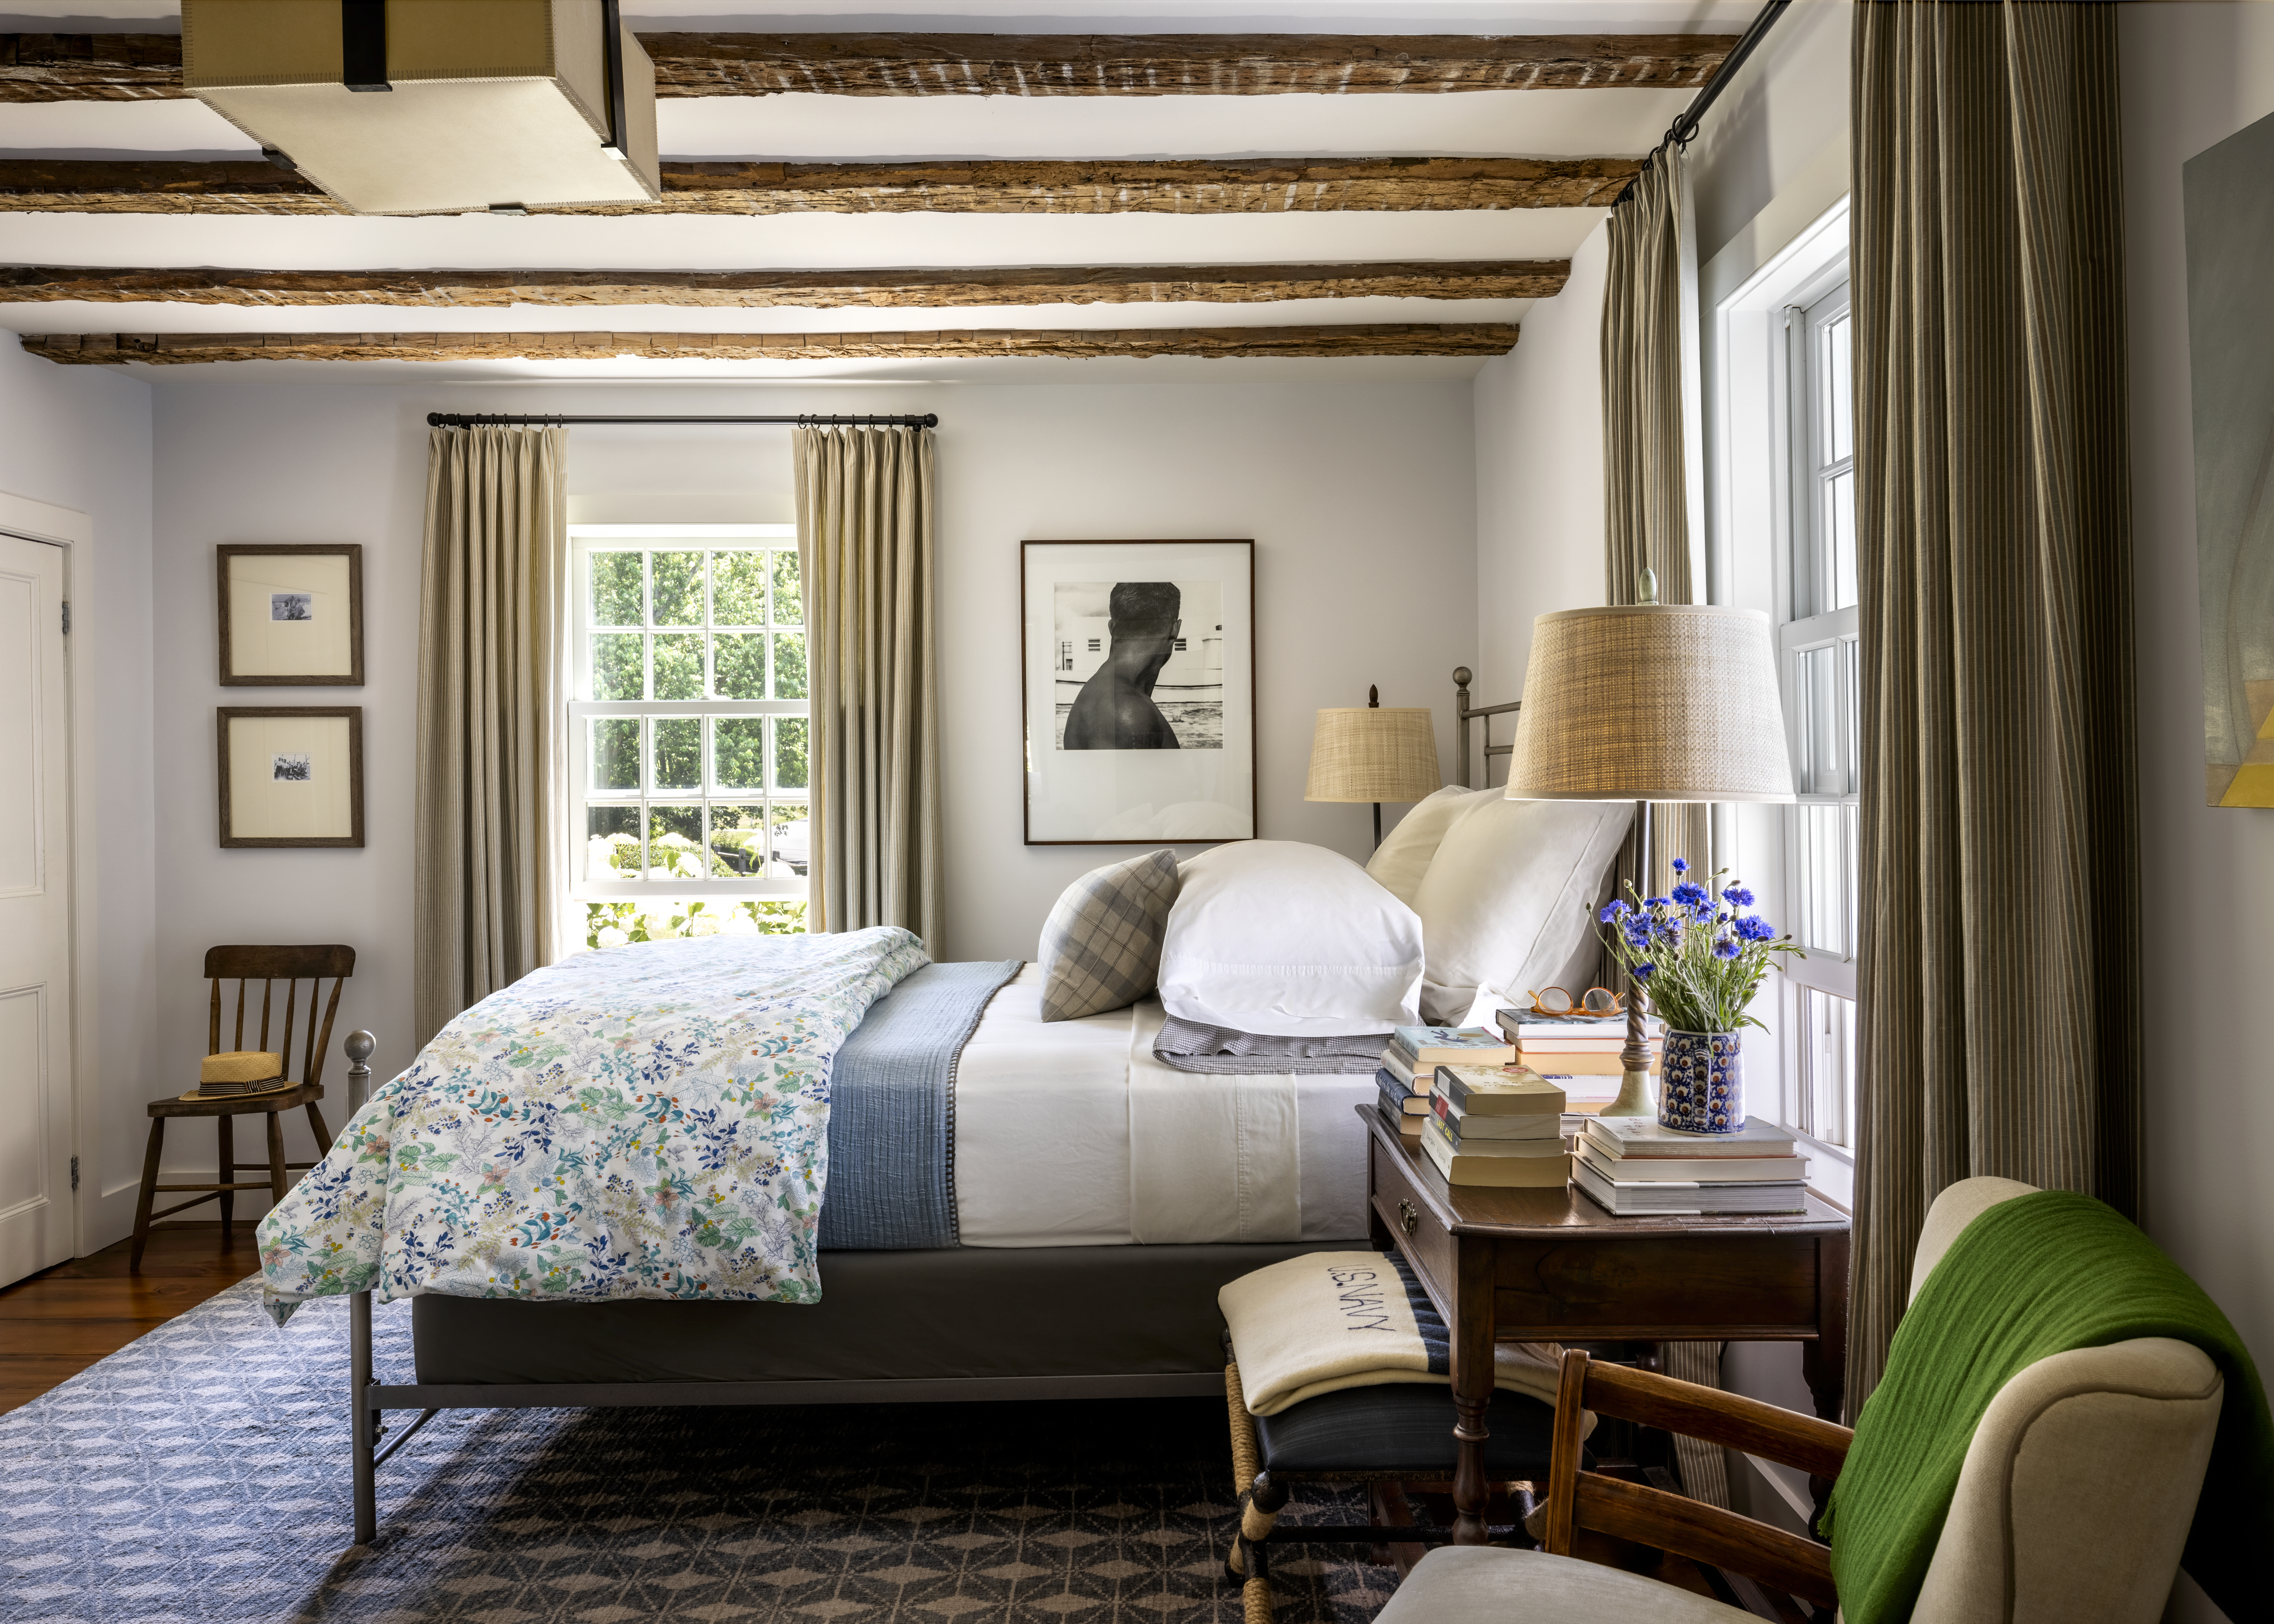
The hand-hewn ceiling beams in the first floor front rooms had been covered in lathe and plaster 100+ years earlier. Once we had exposed them we opted to leave them exposed, which added character and also created the sense of more "head room." You can still see the traces of lime on the beams where the plaster penetrated the lathe. Three of the ceiling joists in the back of the house were compromised due to dry rot and insects, and had to be replaced. I was able to locate antique replacements of the same age, species, and dimensions from a barn in Maryland, and replaced the bad timbers.
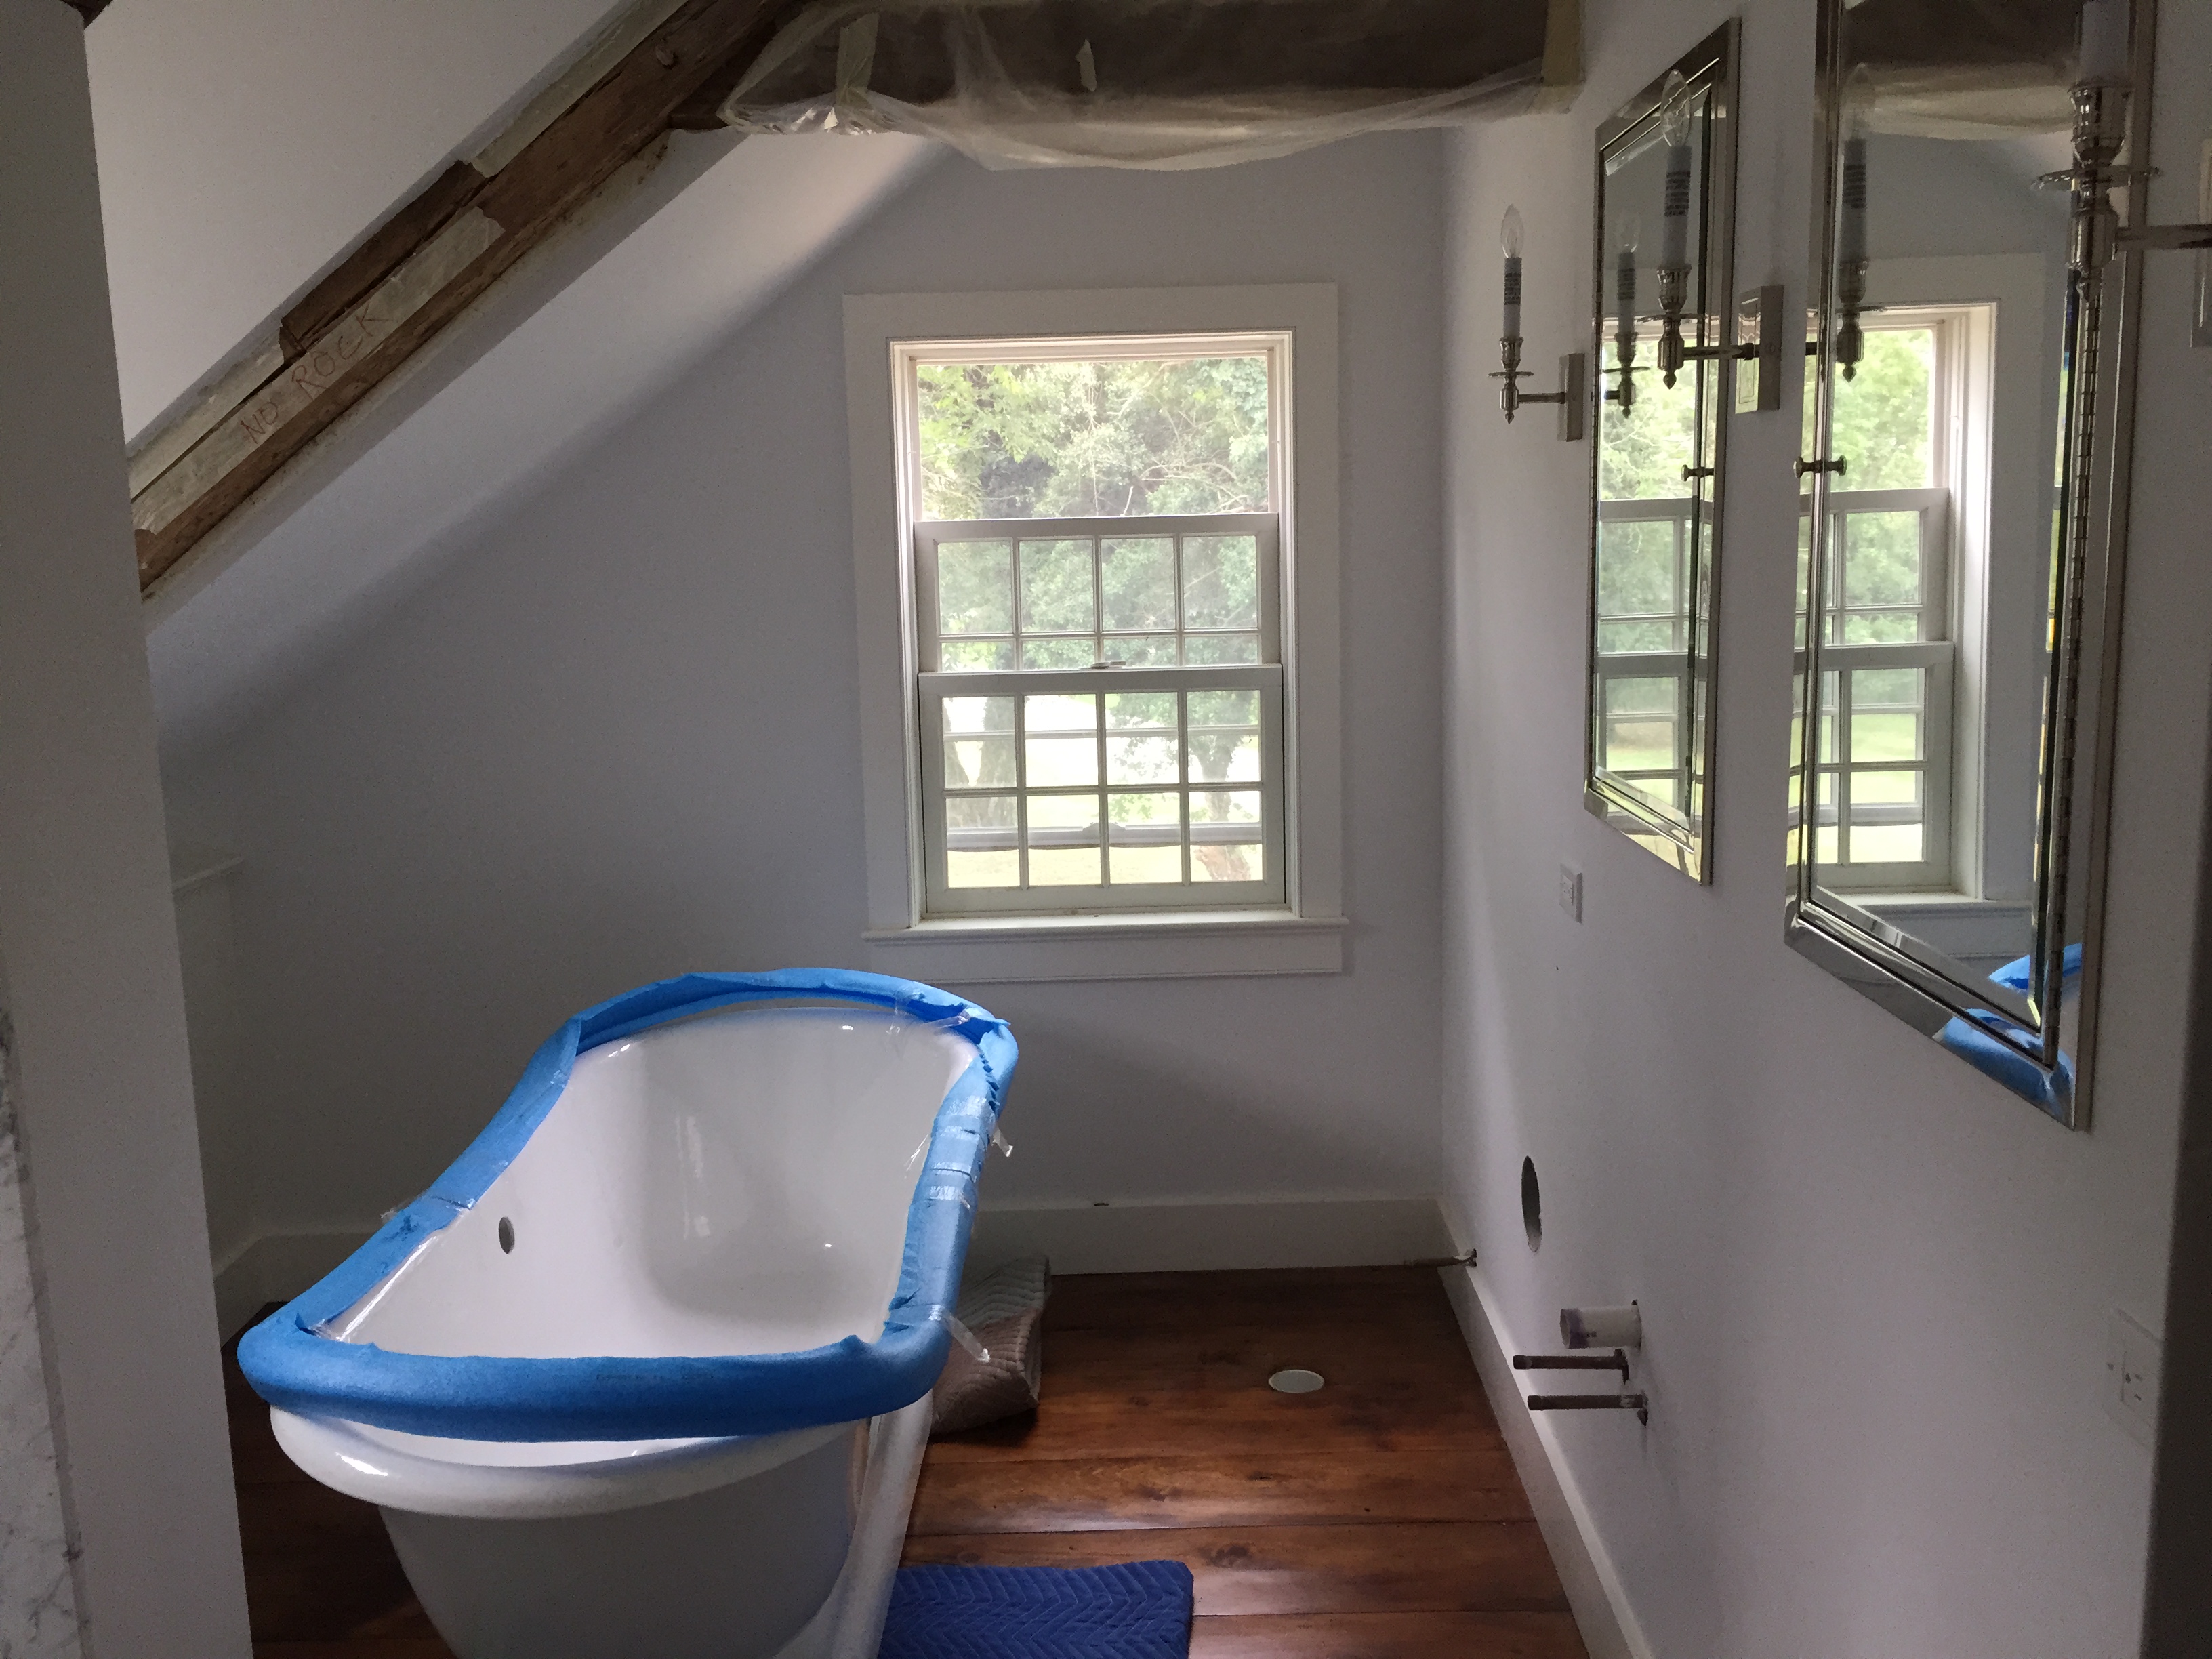
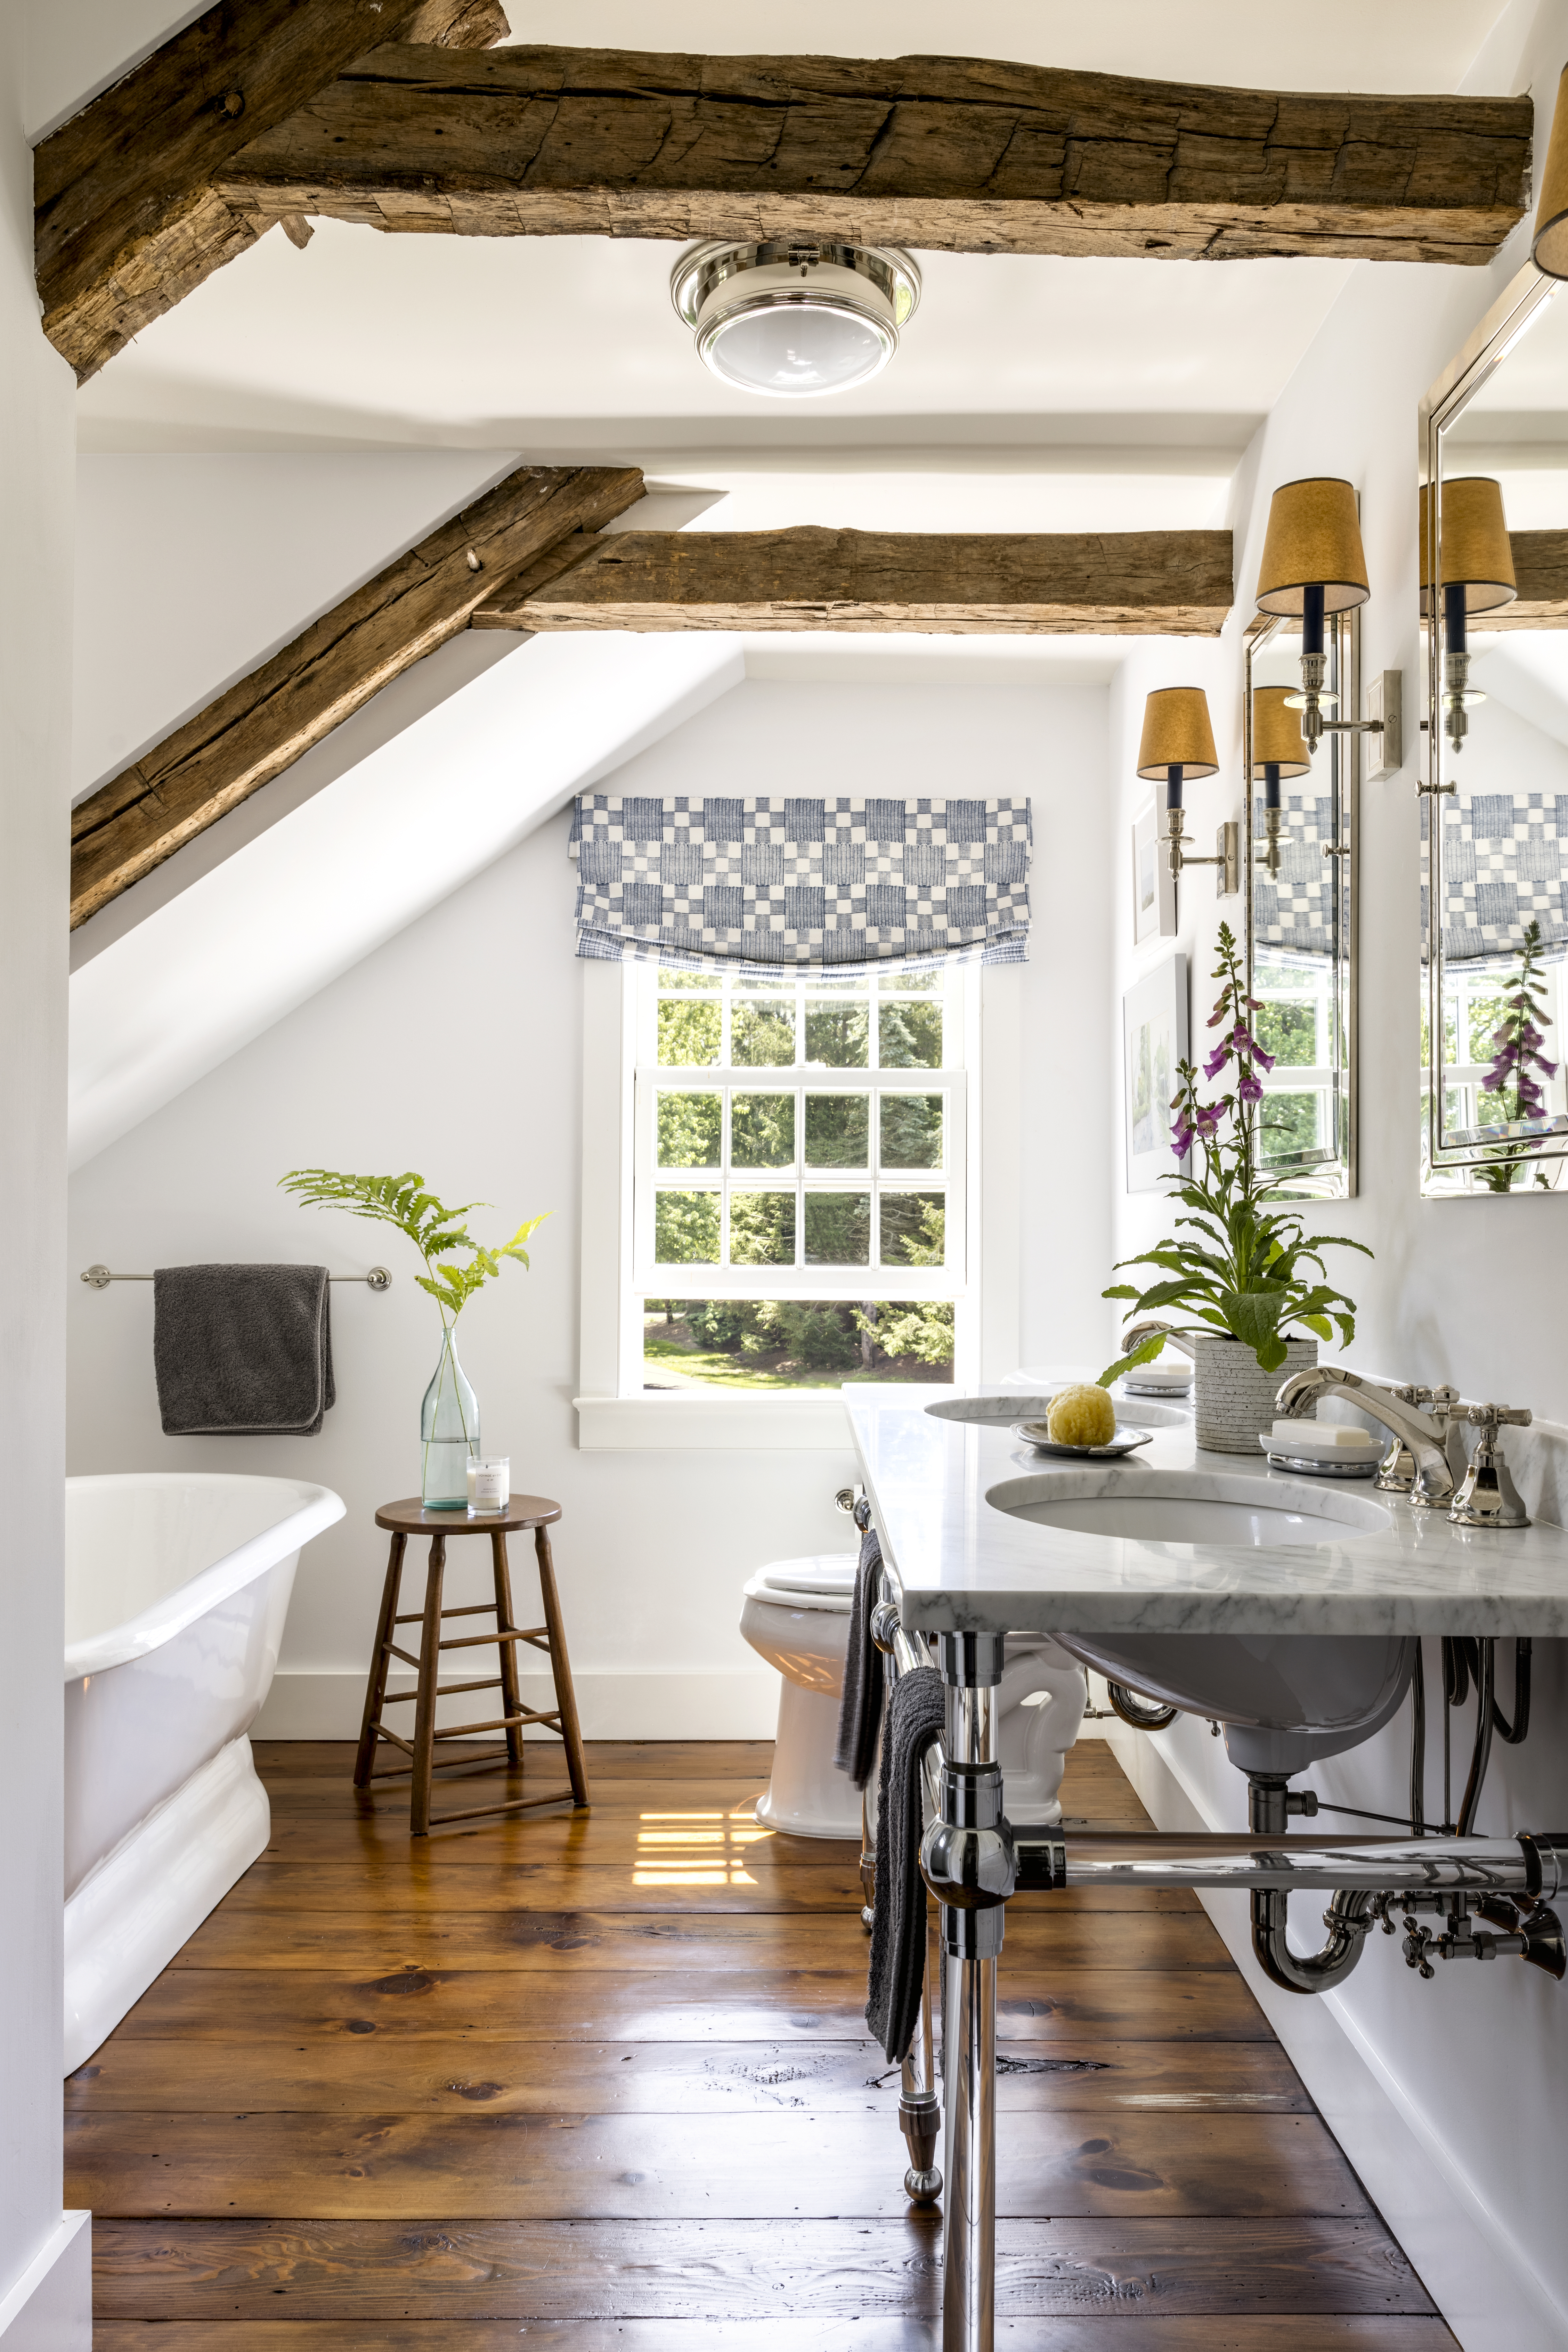
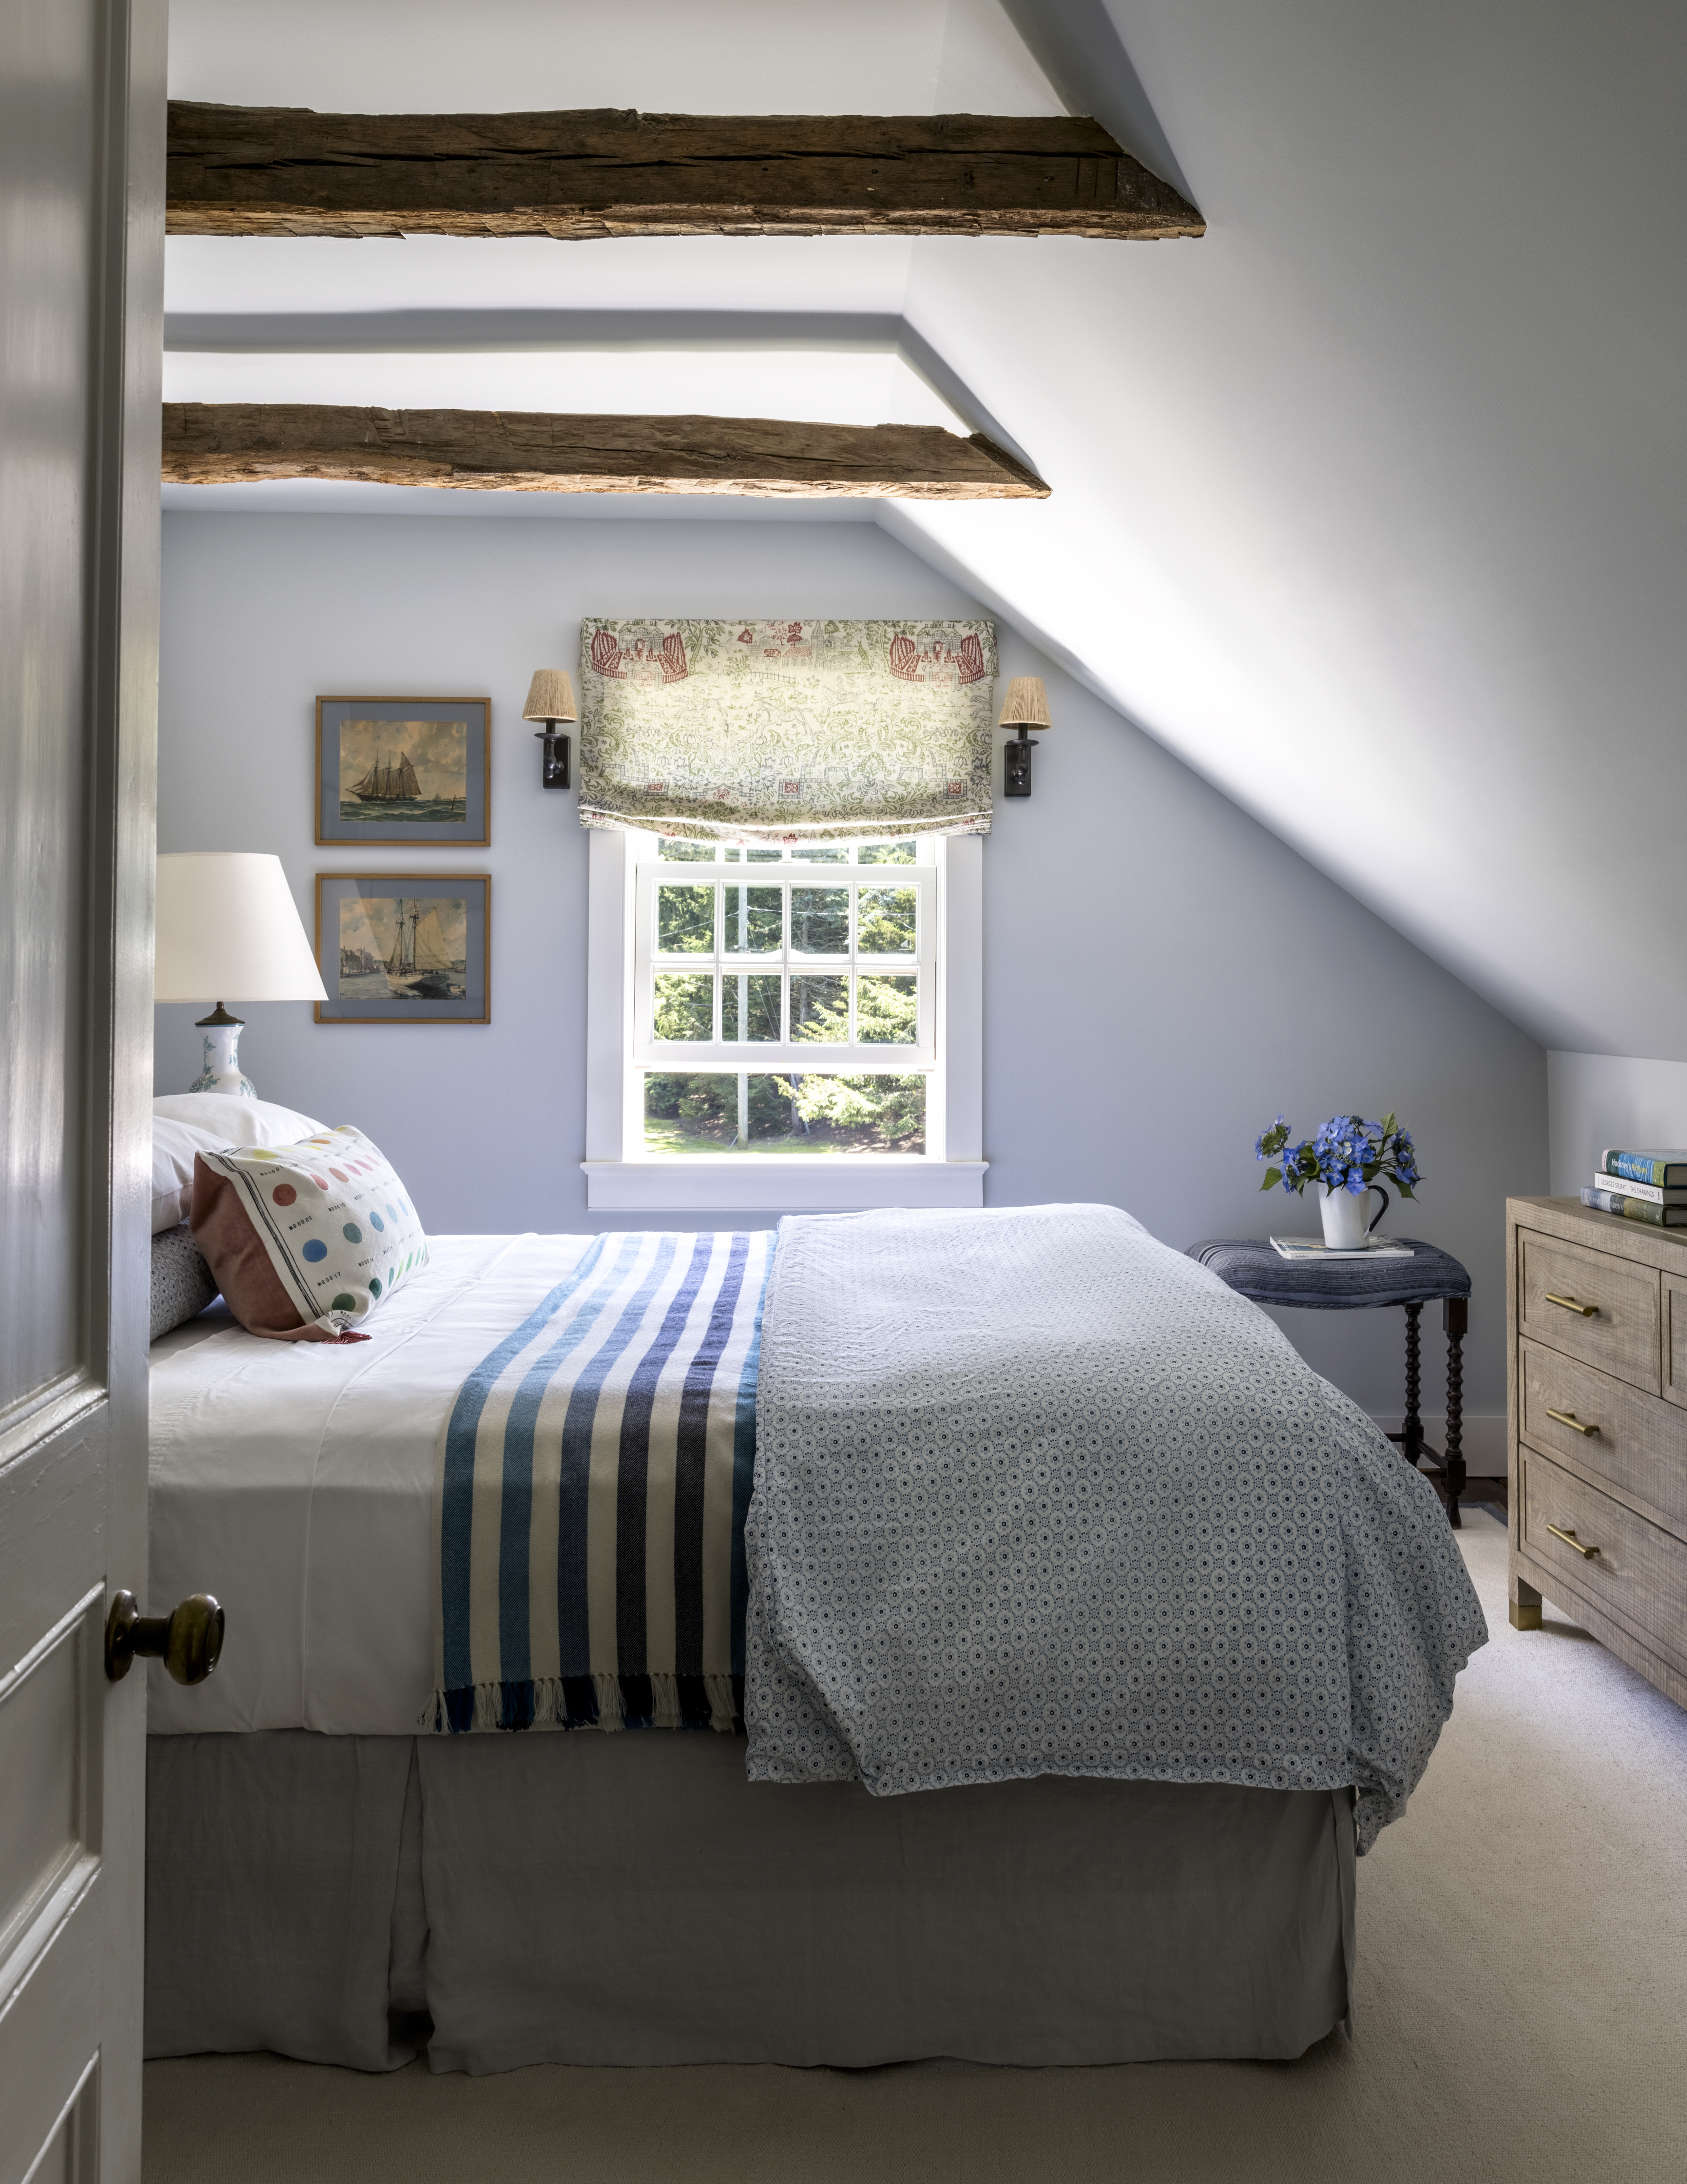
On the back of the house, we had to add a dormer to accommodate the second floor bath. This was a point where the historic lien and current code came head-to-head. The lien said we technically couldn't change the roof line or fenestration. On the other hand, current building code required a minimum ceiling clearance in baths and living spaces. In the end, everyone was satisfied.





Windows, Doors, and Siding
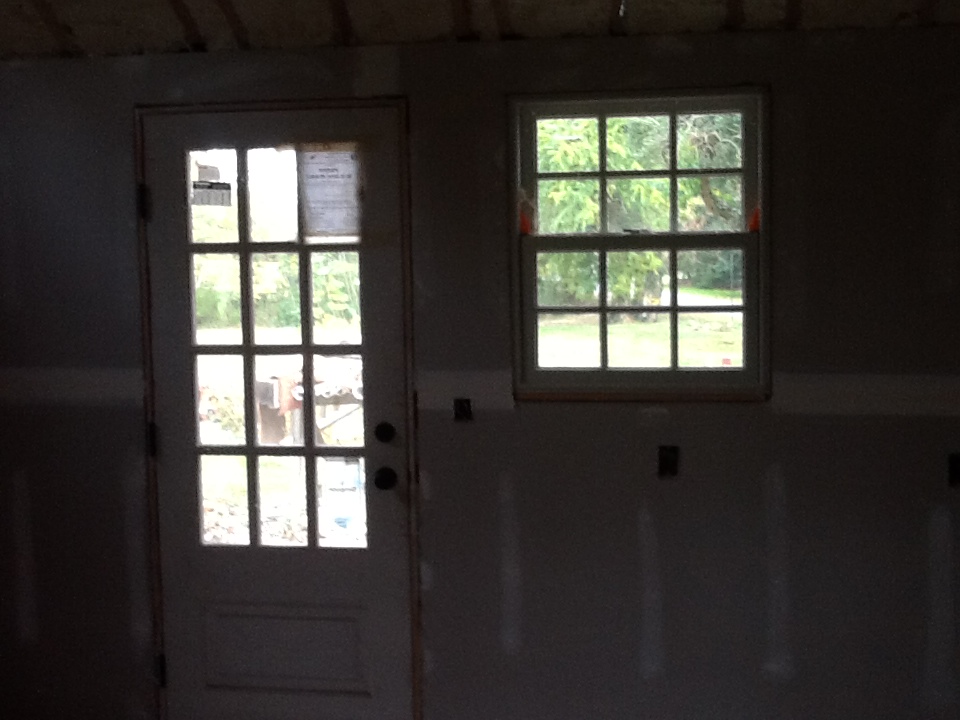
We replaced all the windows and exterior doors with modern materials and weatherproofing, but hueing in all cases to the historical precedent we found in place on the house. The windows were a collection of different layouts and vintages as you went from one room to the next. We copied the "twelve over eight" sash layout of the the oldest double hung windows that were in place when we bought the house. And we chose to restore the same general trim patterns that were in place on the house when we bought it.

Mechanicals - modern upgrades
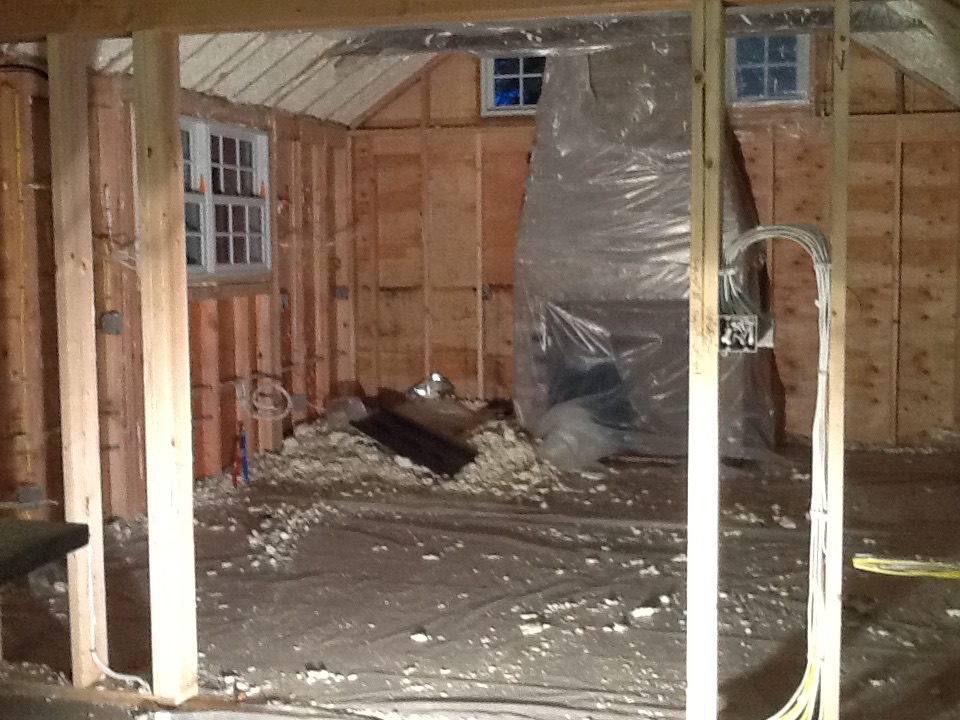
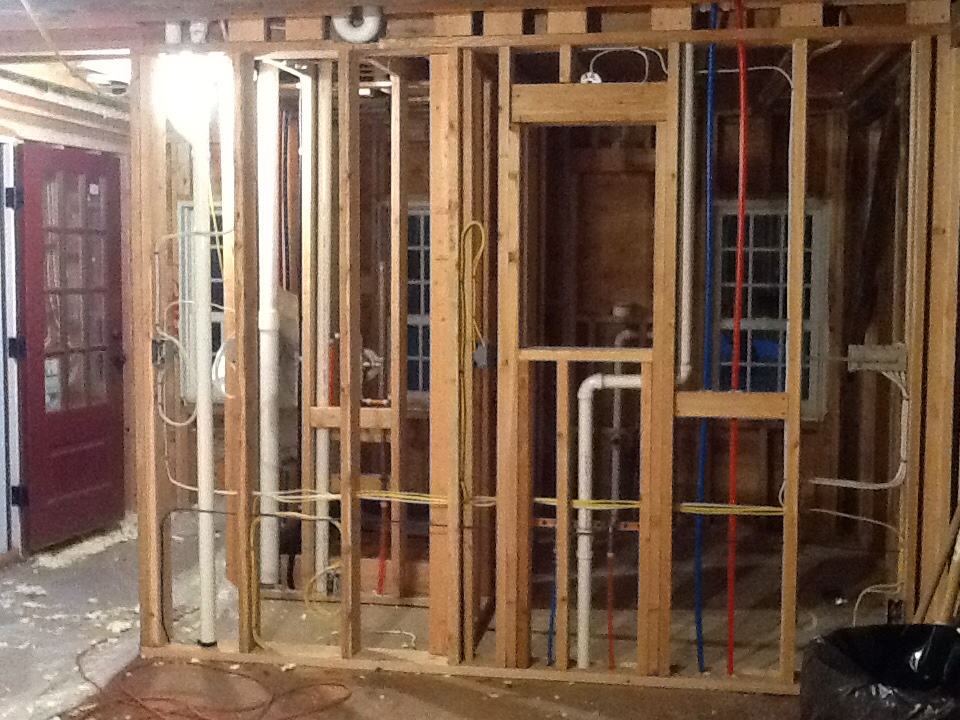
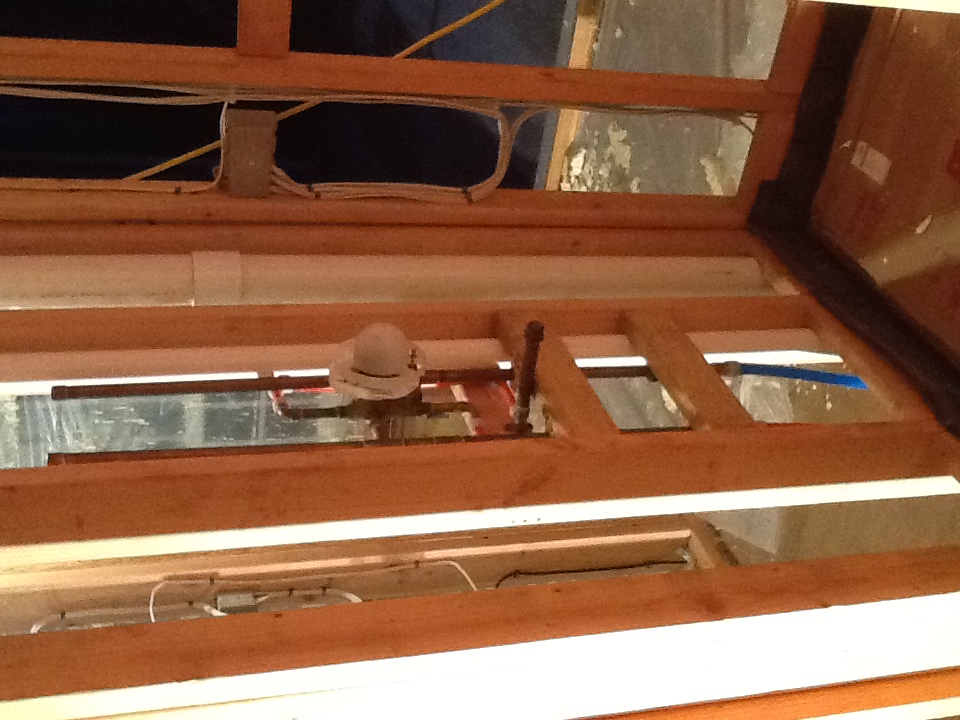
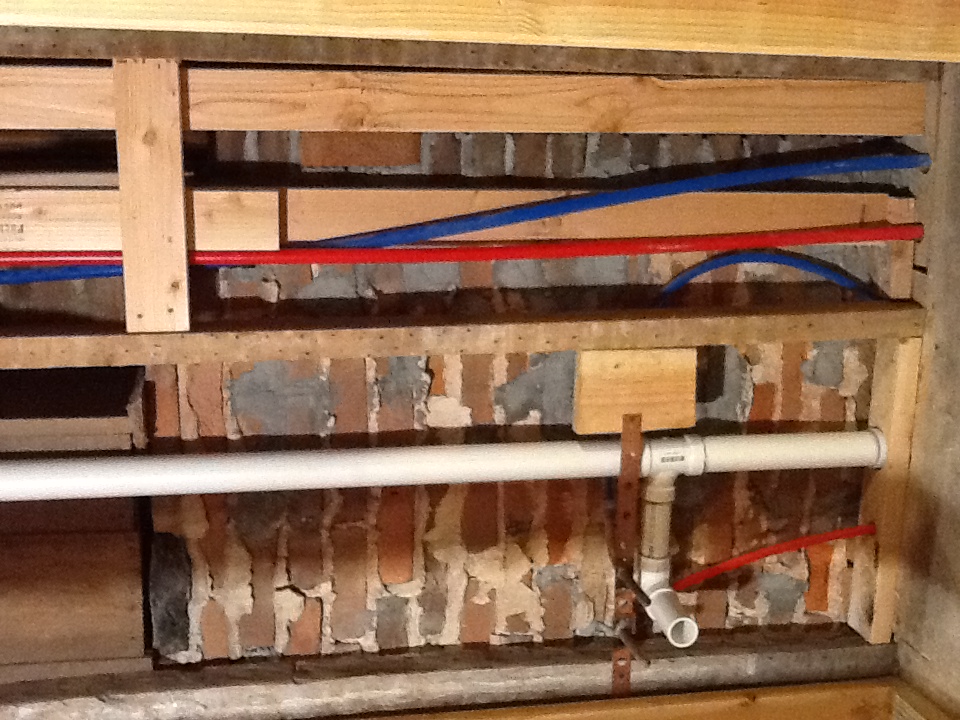
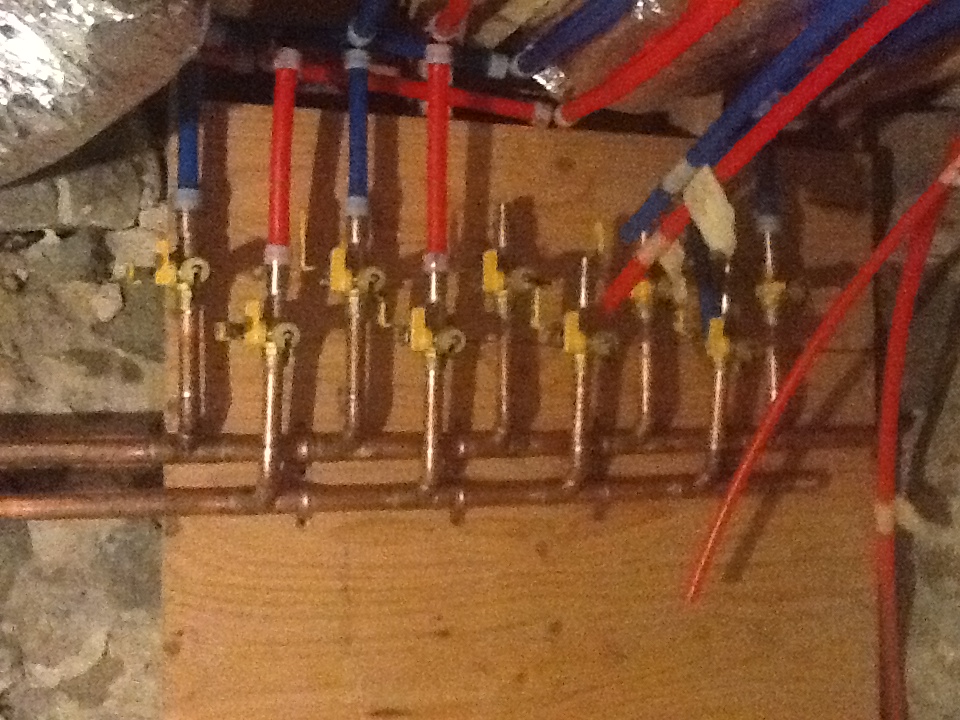
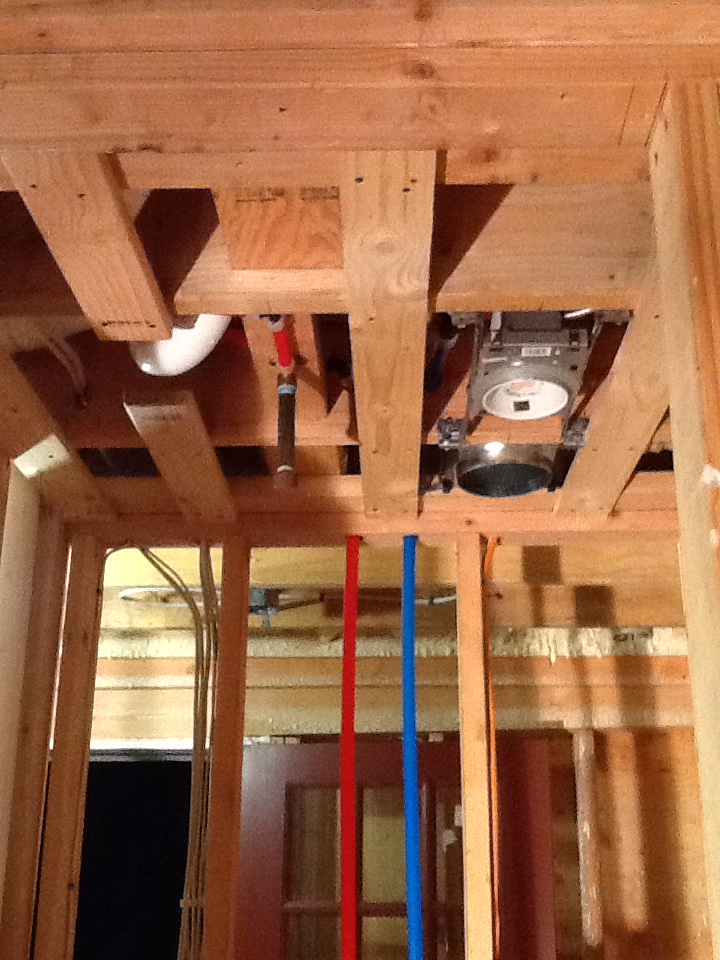
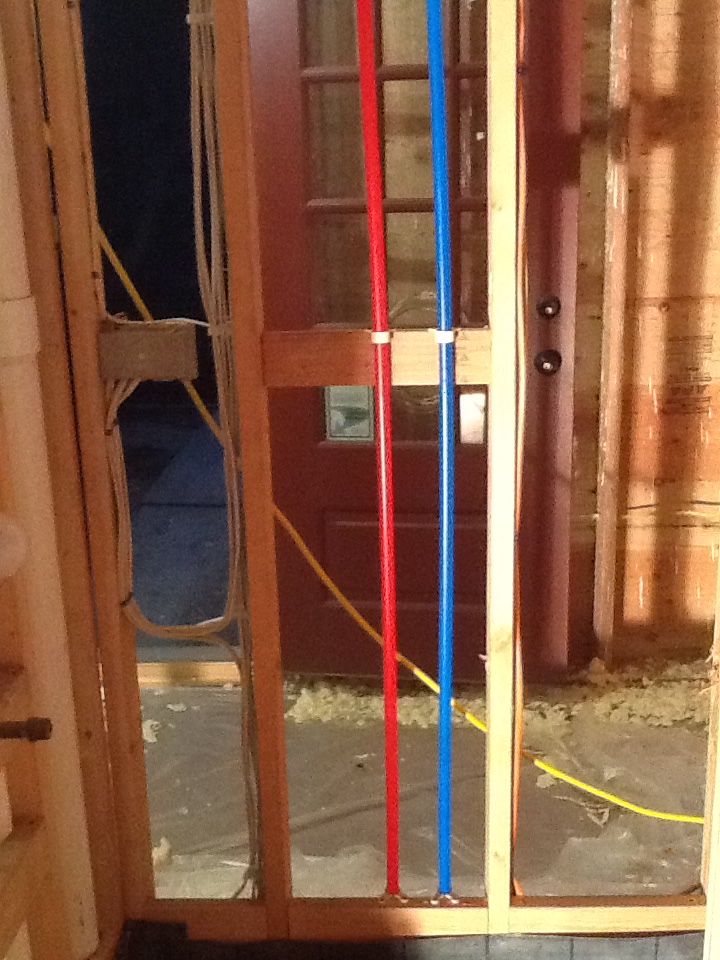
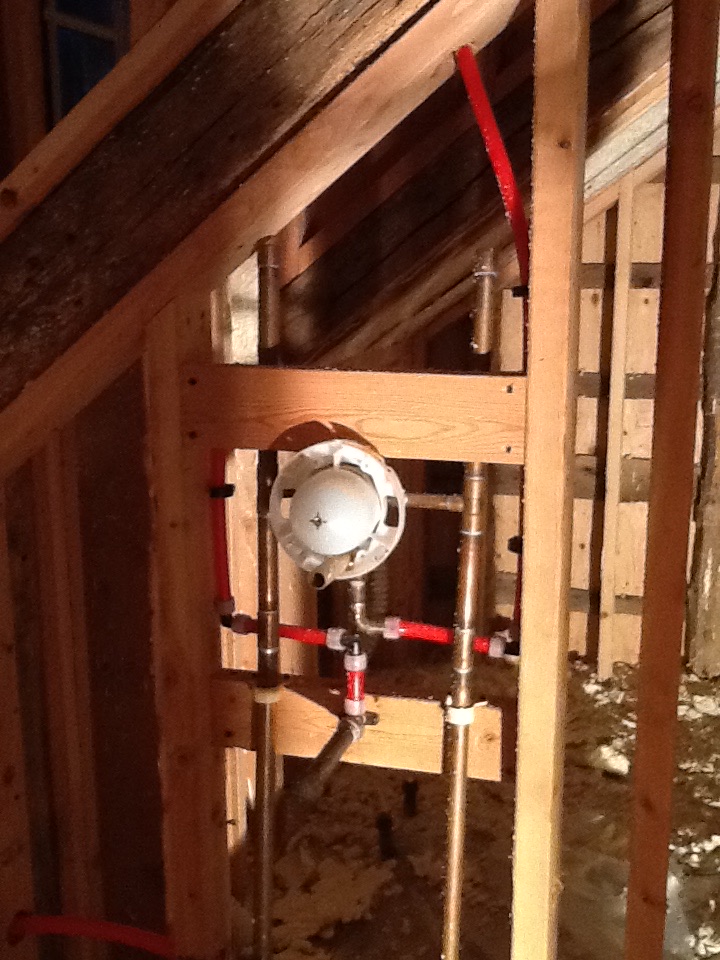
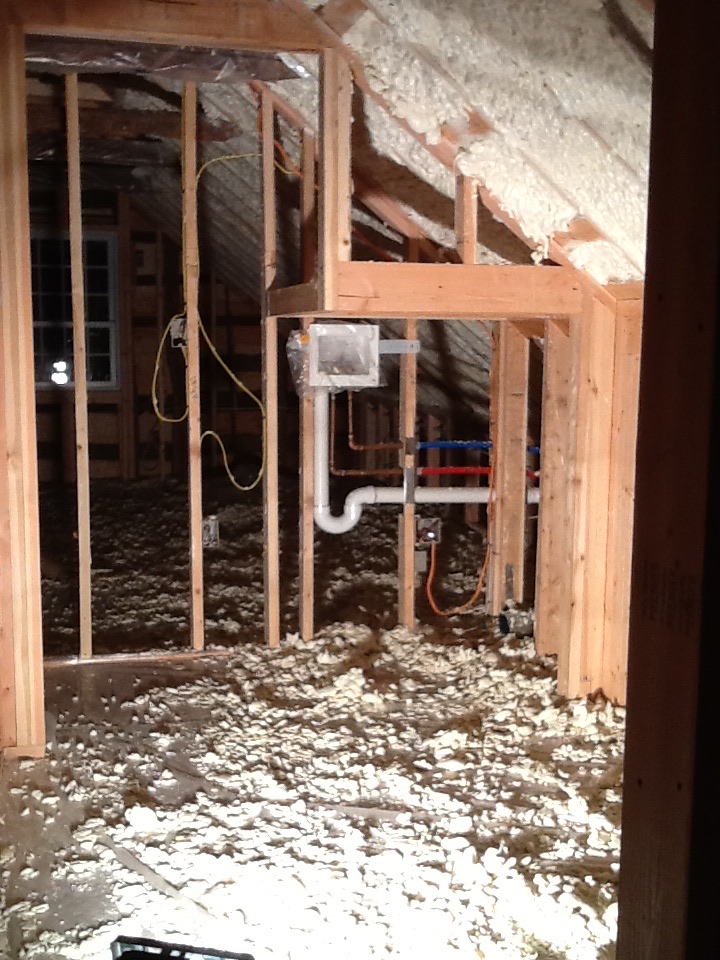
With the house secured and closed in we added all new plumbing, electric, and HVAC. We chose Pex "A" for the core supply plumbing due its flexibility given the challenges timber frame construction can create, and also its expansion abilities in the event of a "freeze." We repurposed the original root cellar - the only full height portion of the basement - like the owners before us, to house all the mechanical systems, adding a new furnace, a/c, and power vent hot water heater.


Interior Walls, Floors, and Trim - heading into the home stretch
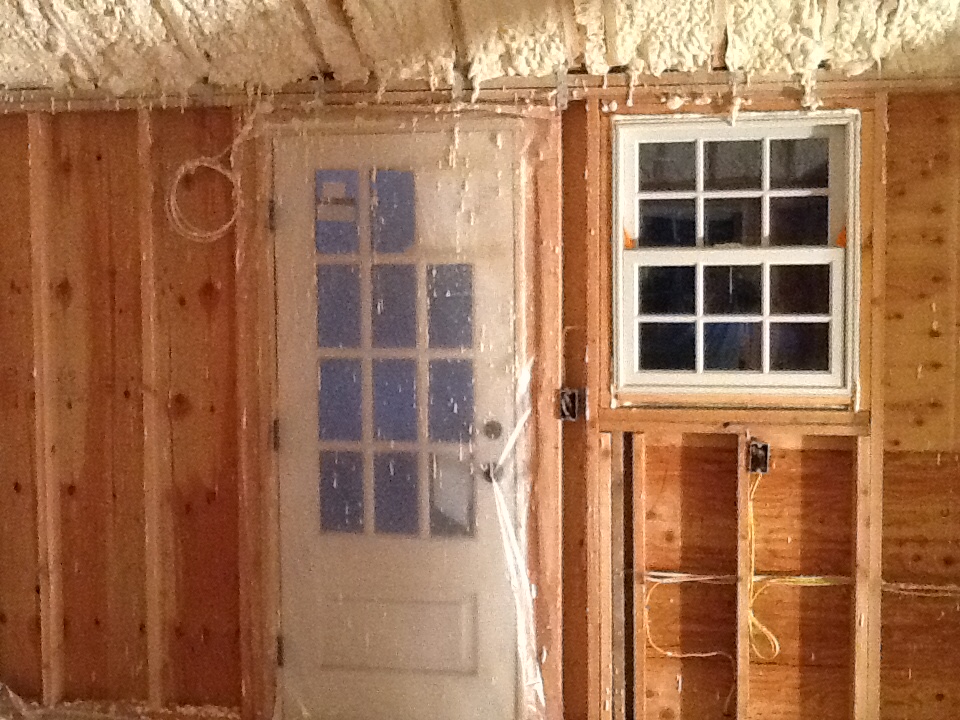
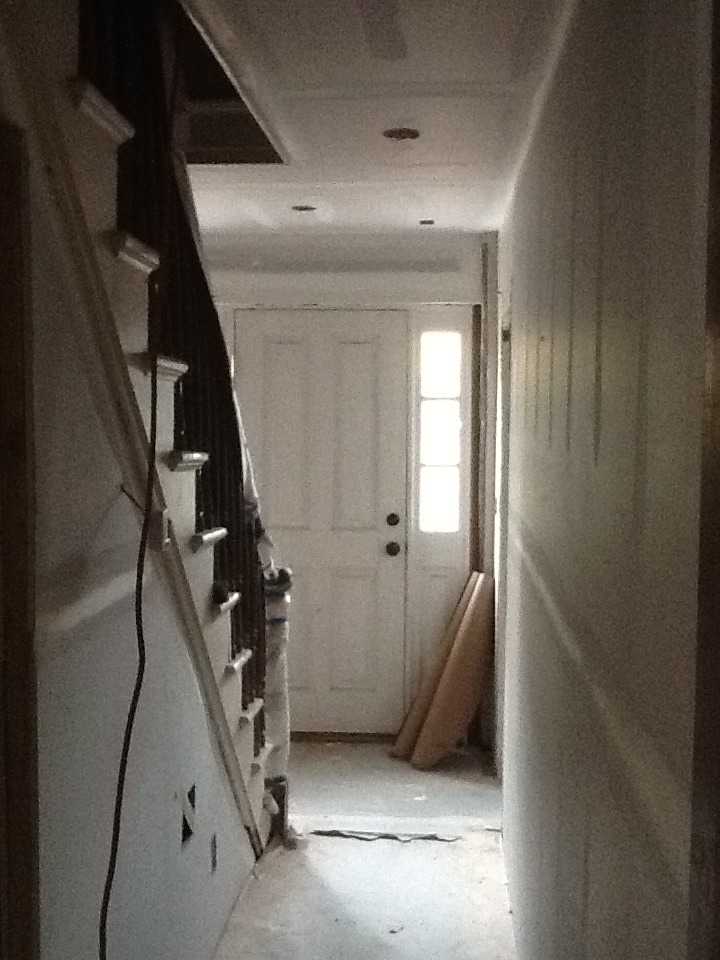
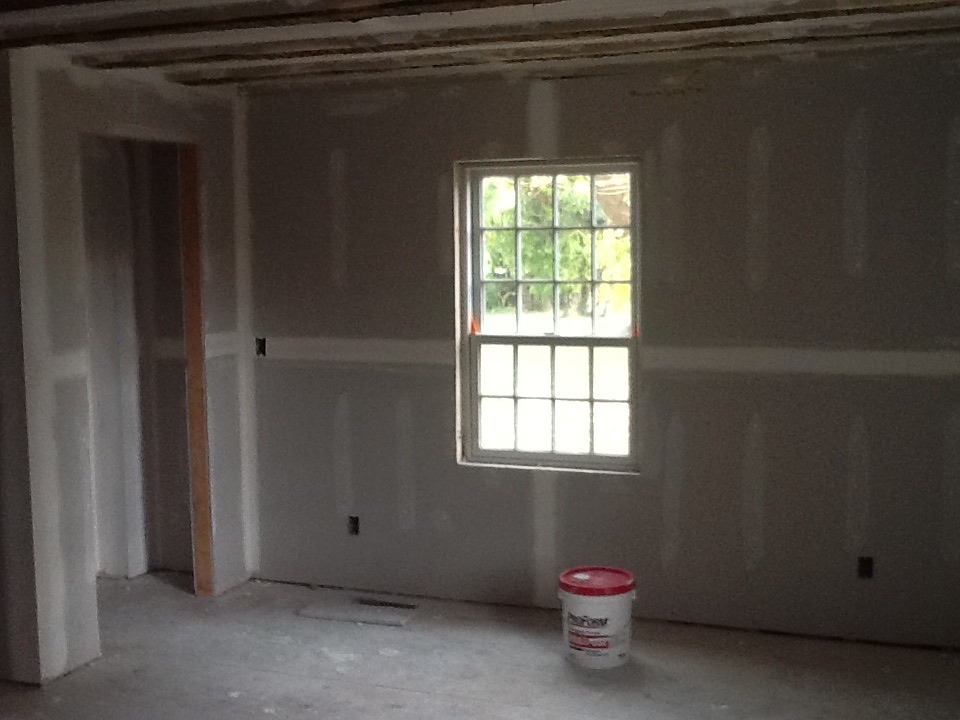
For sheetrock, we let the professionals take over and knock it out. We not only insulated exterior walls and ceilings, but also insulated between rooms and used sound deadening sheetrock where appropriate. Even though the house is close to the road - as was common 200 years ago - it is a quiet cocoon inside.
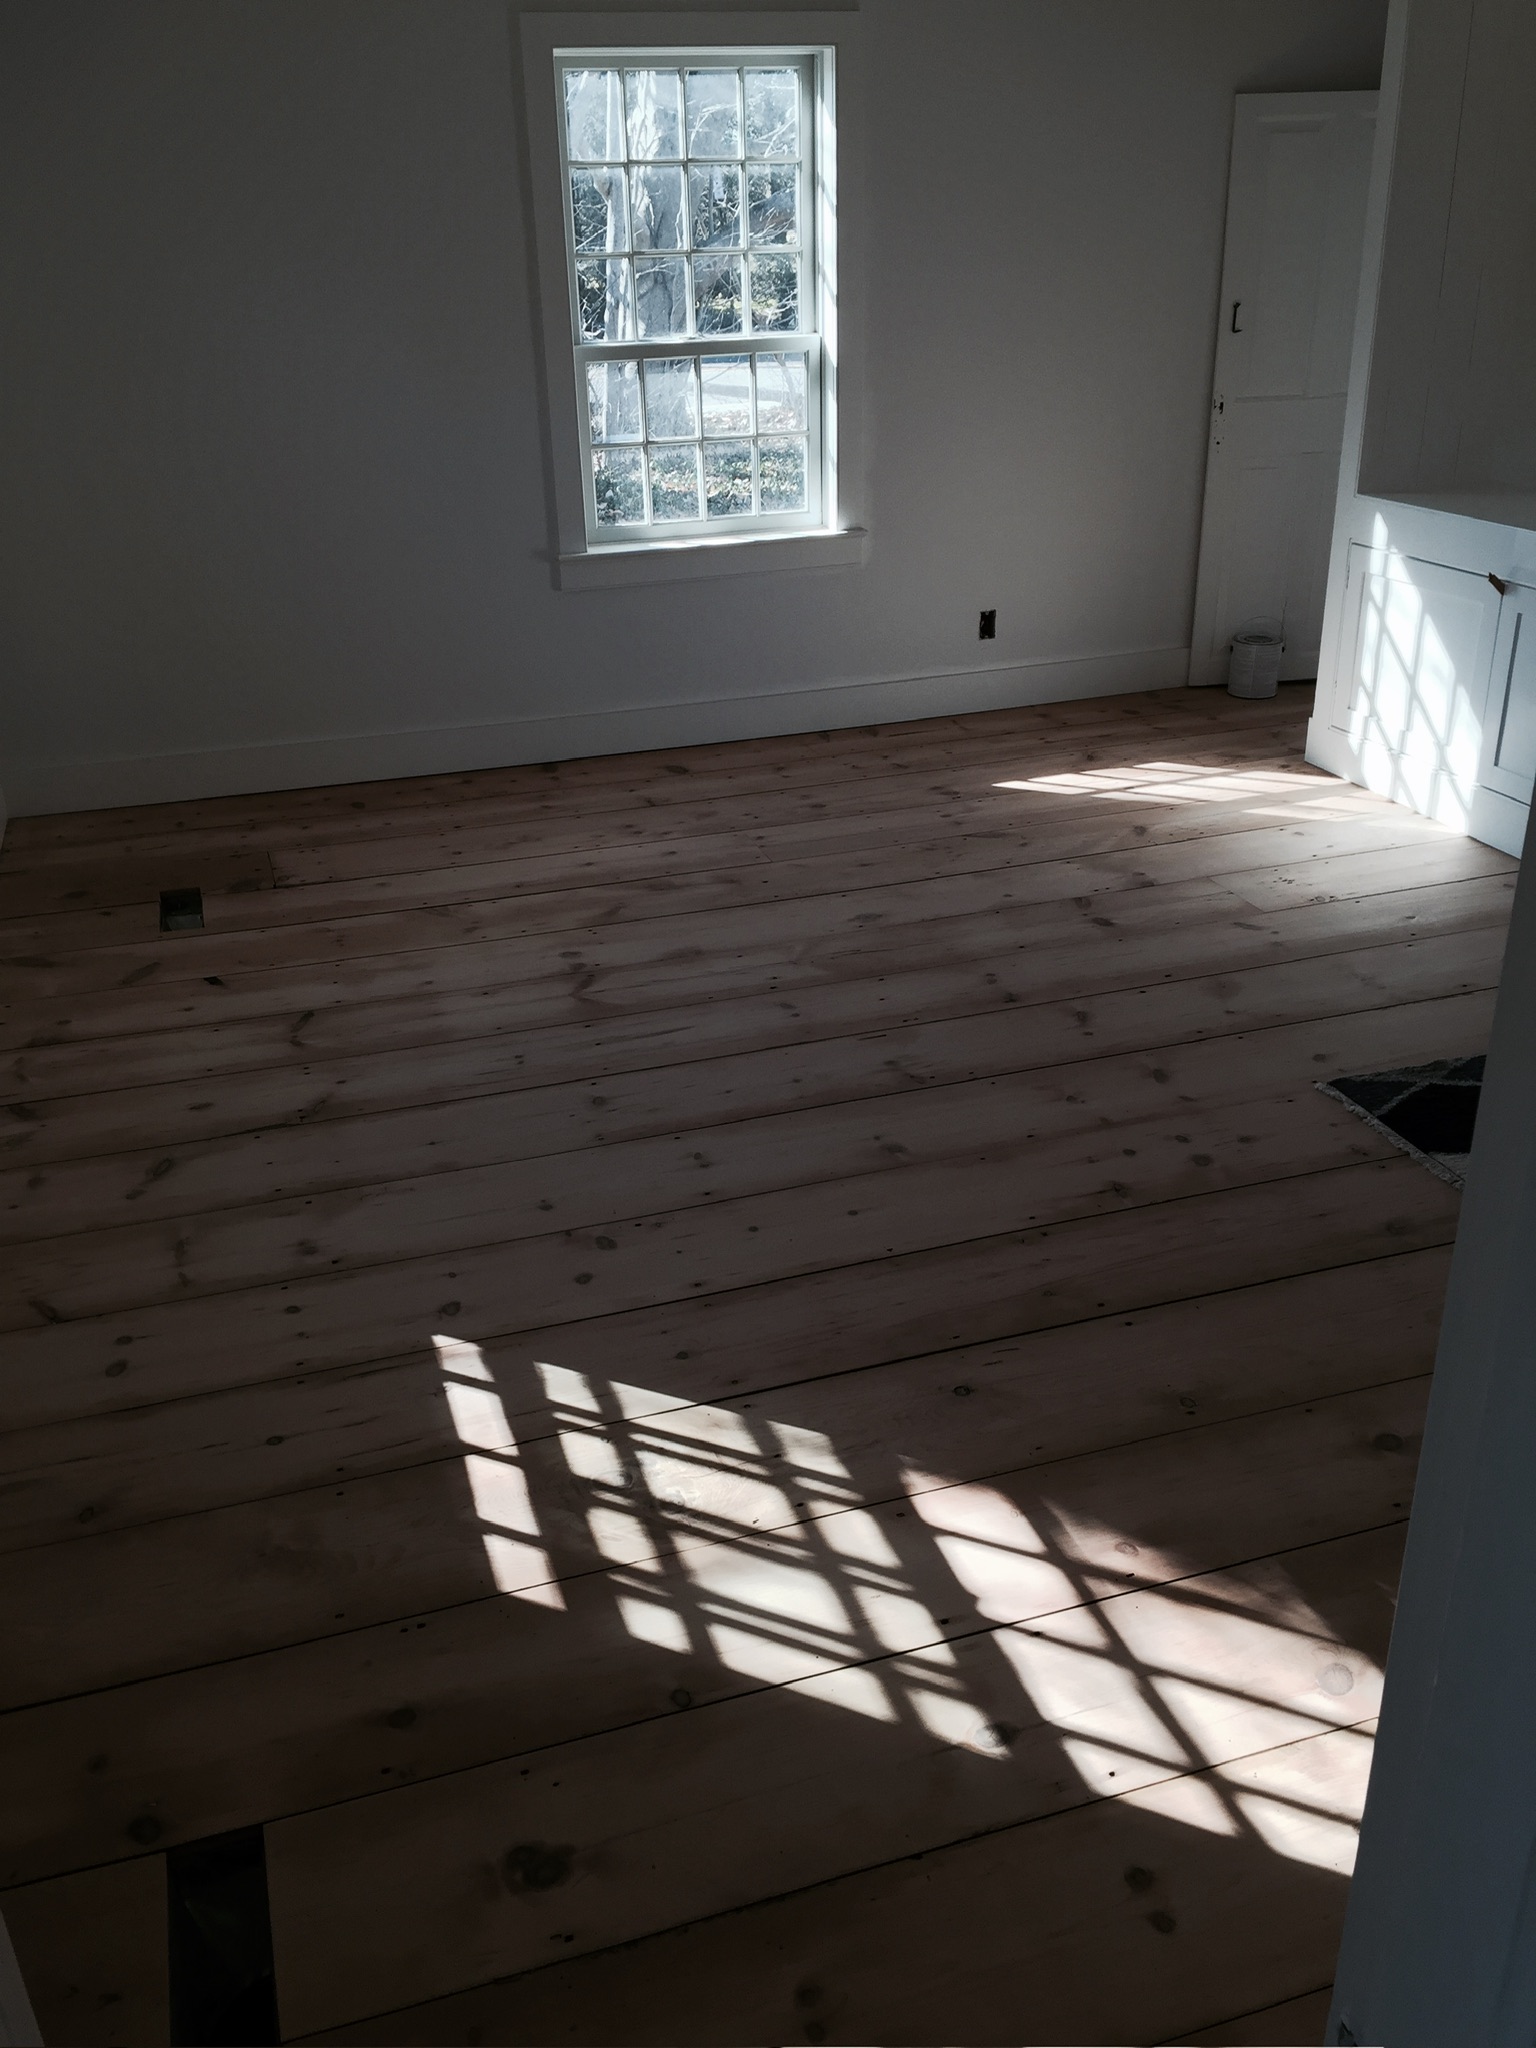
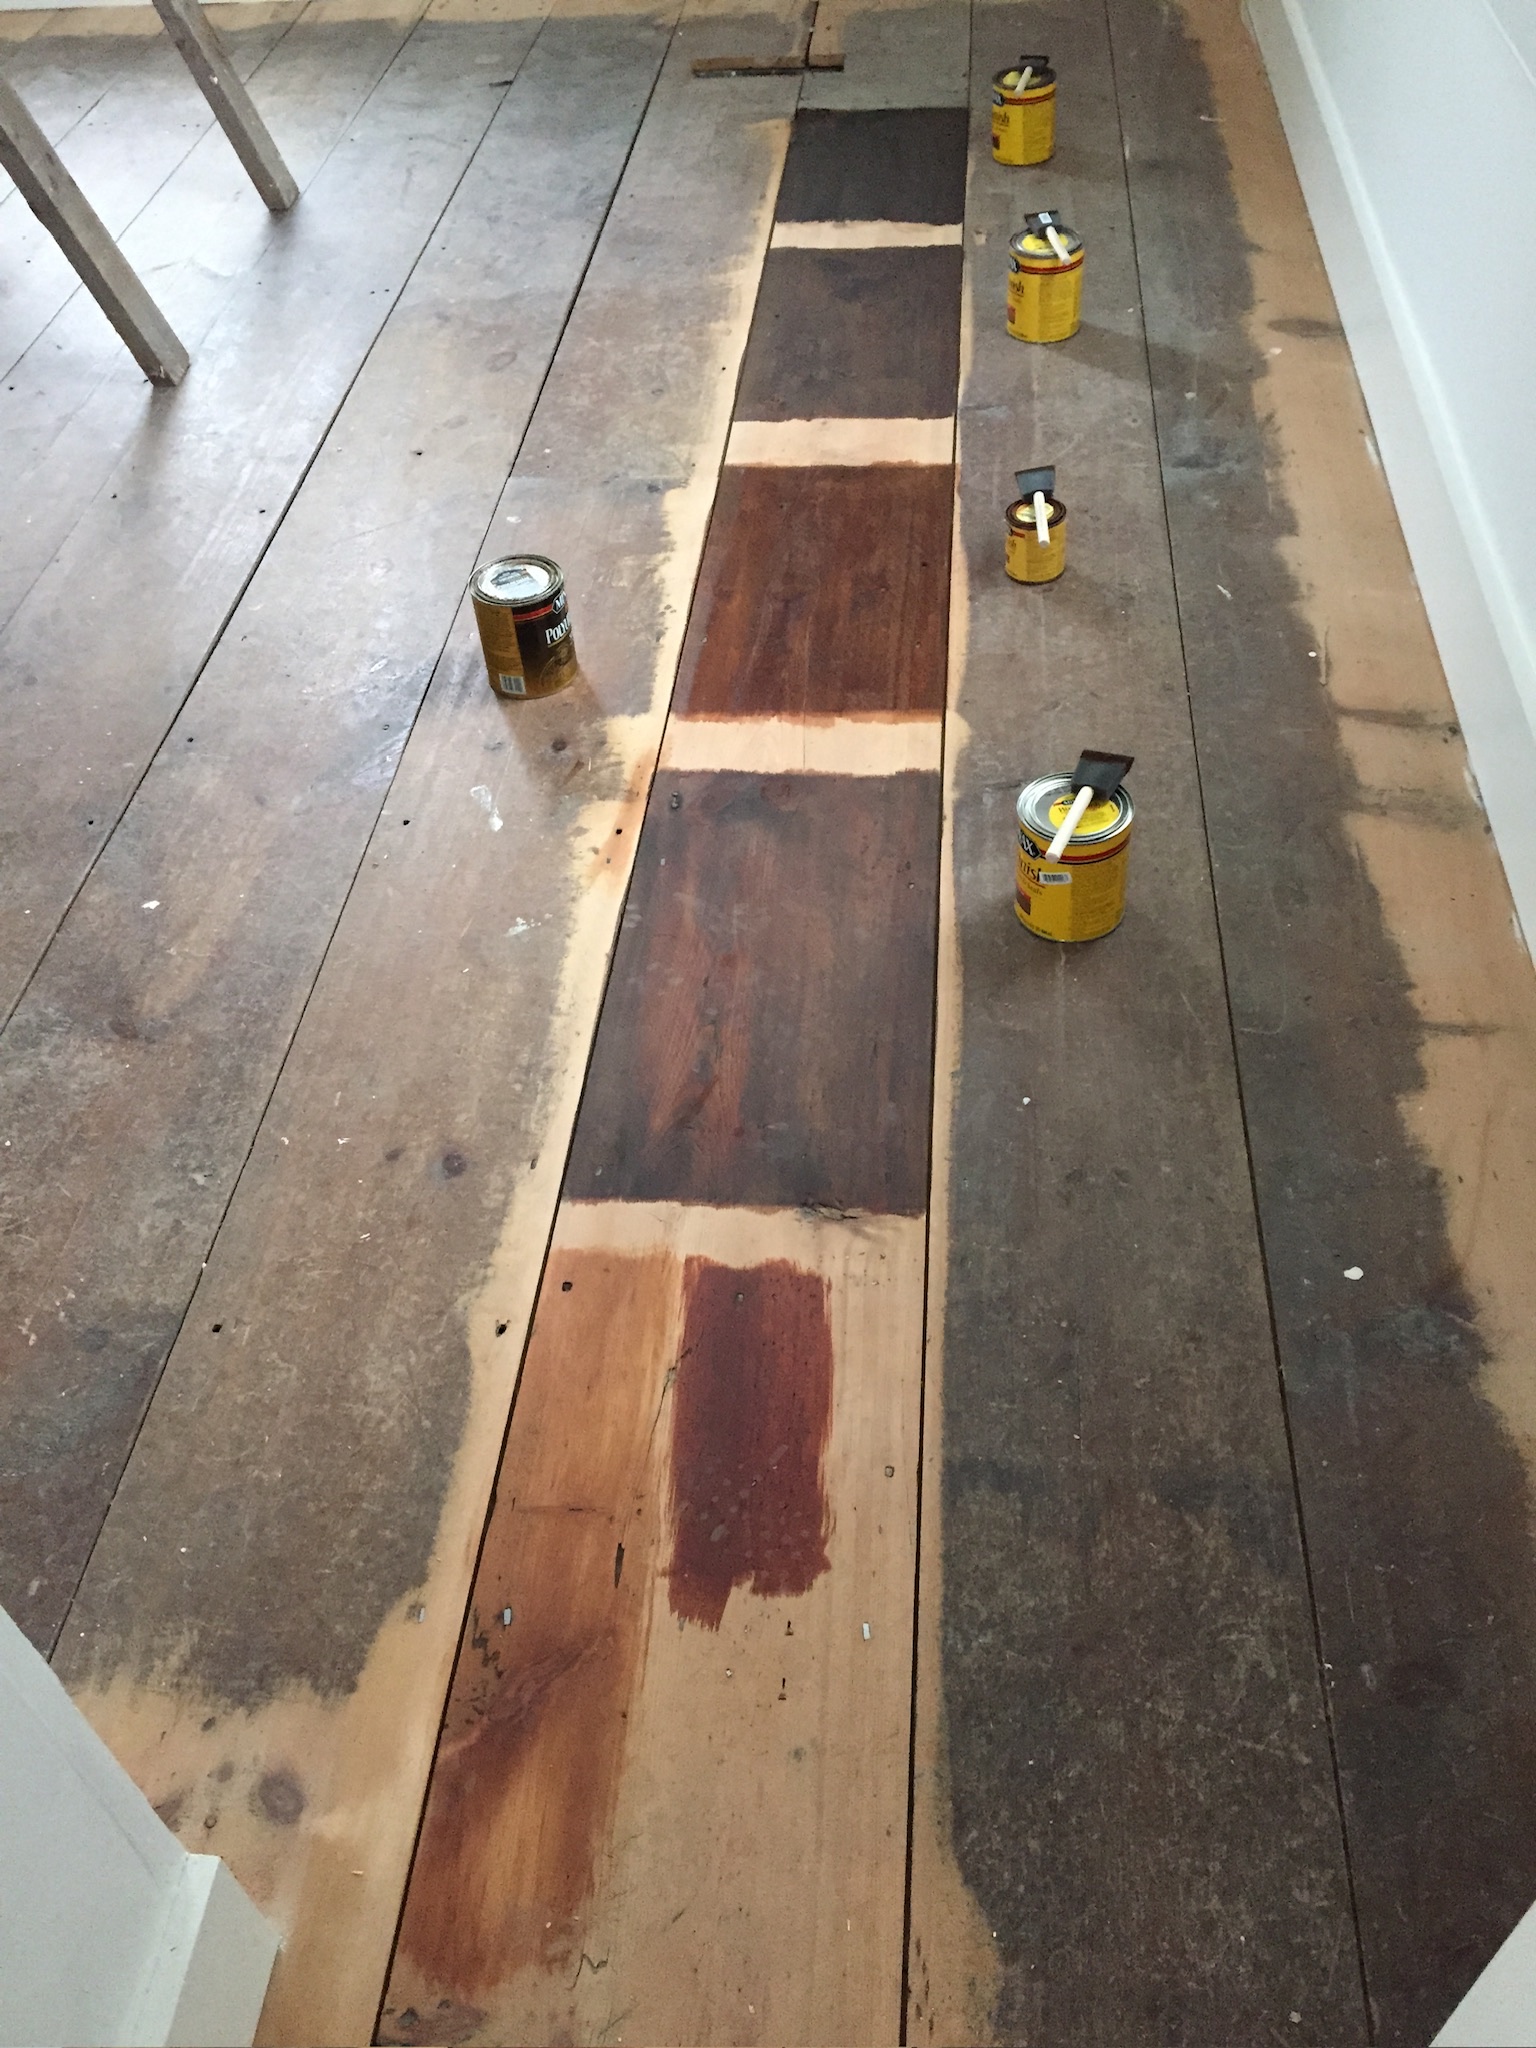
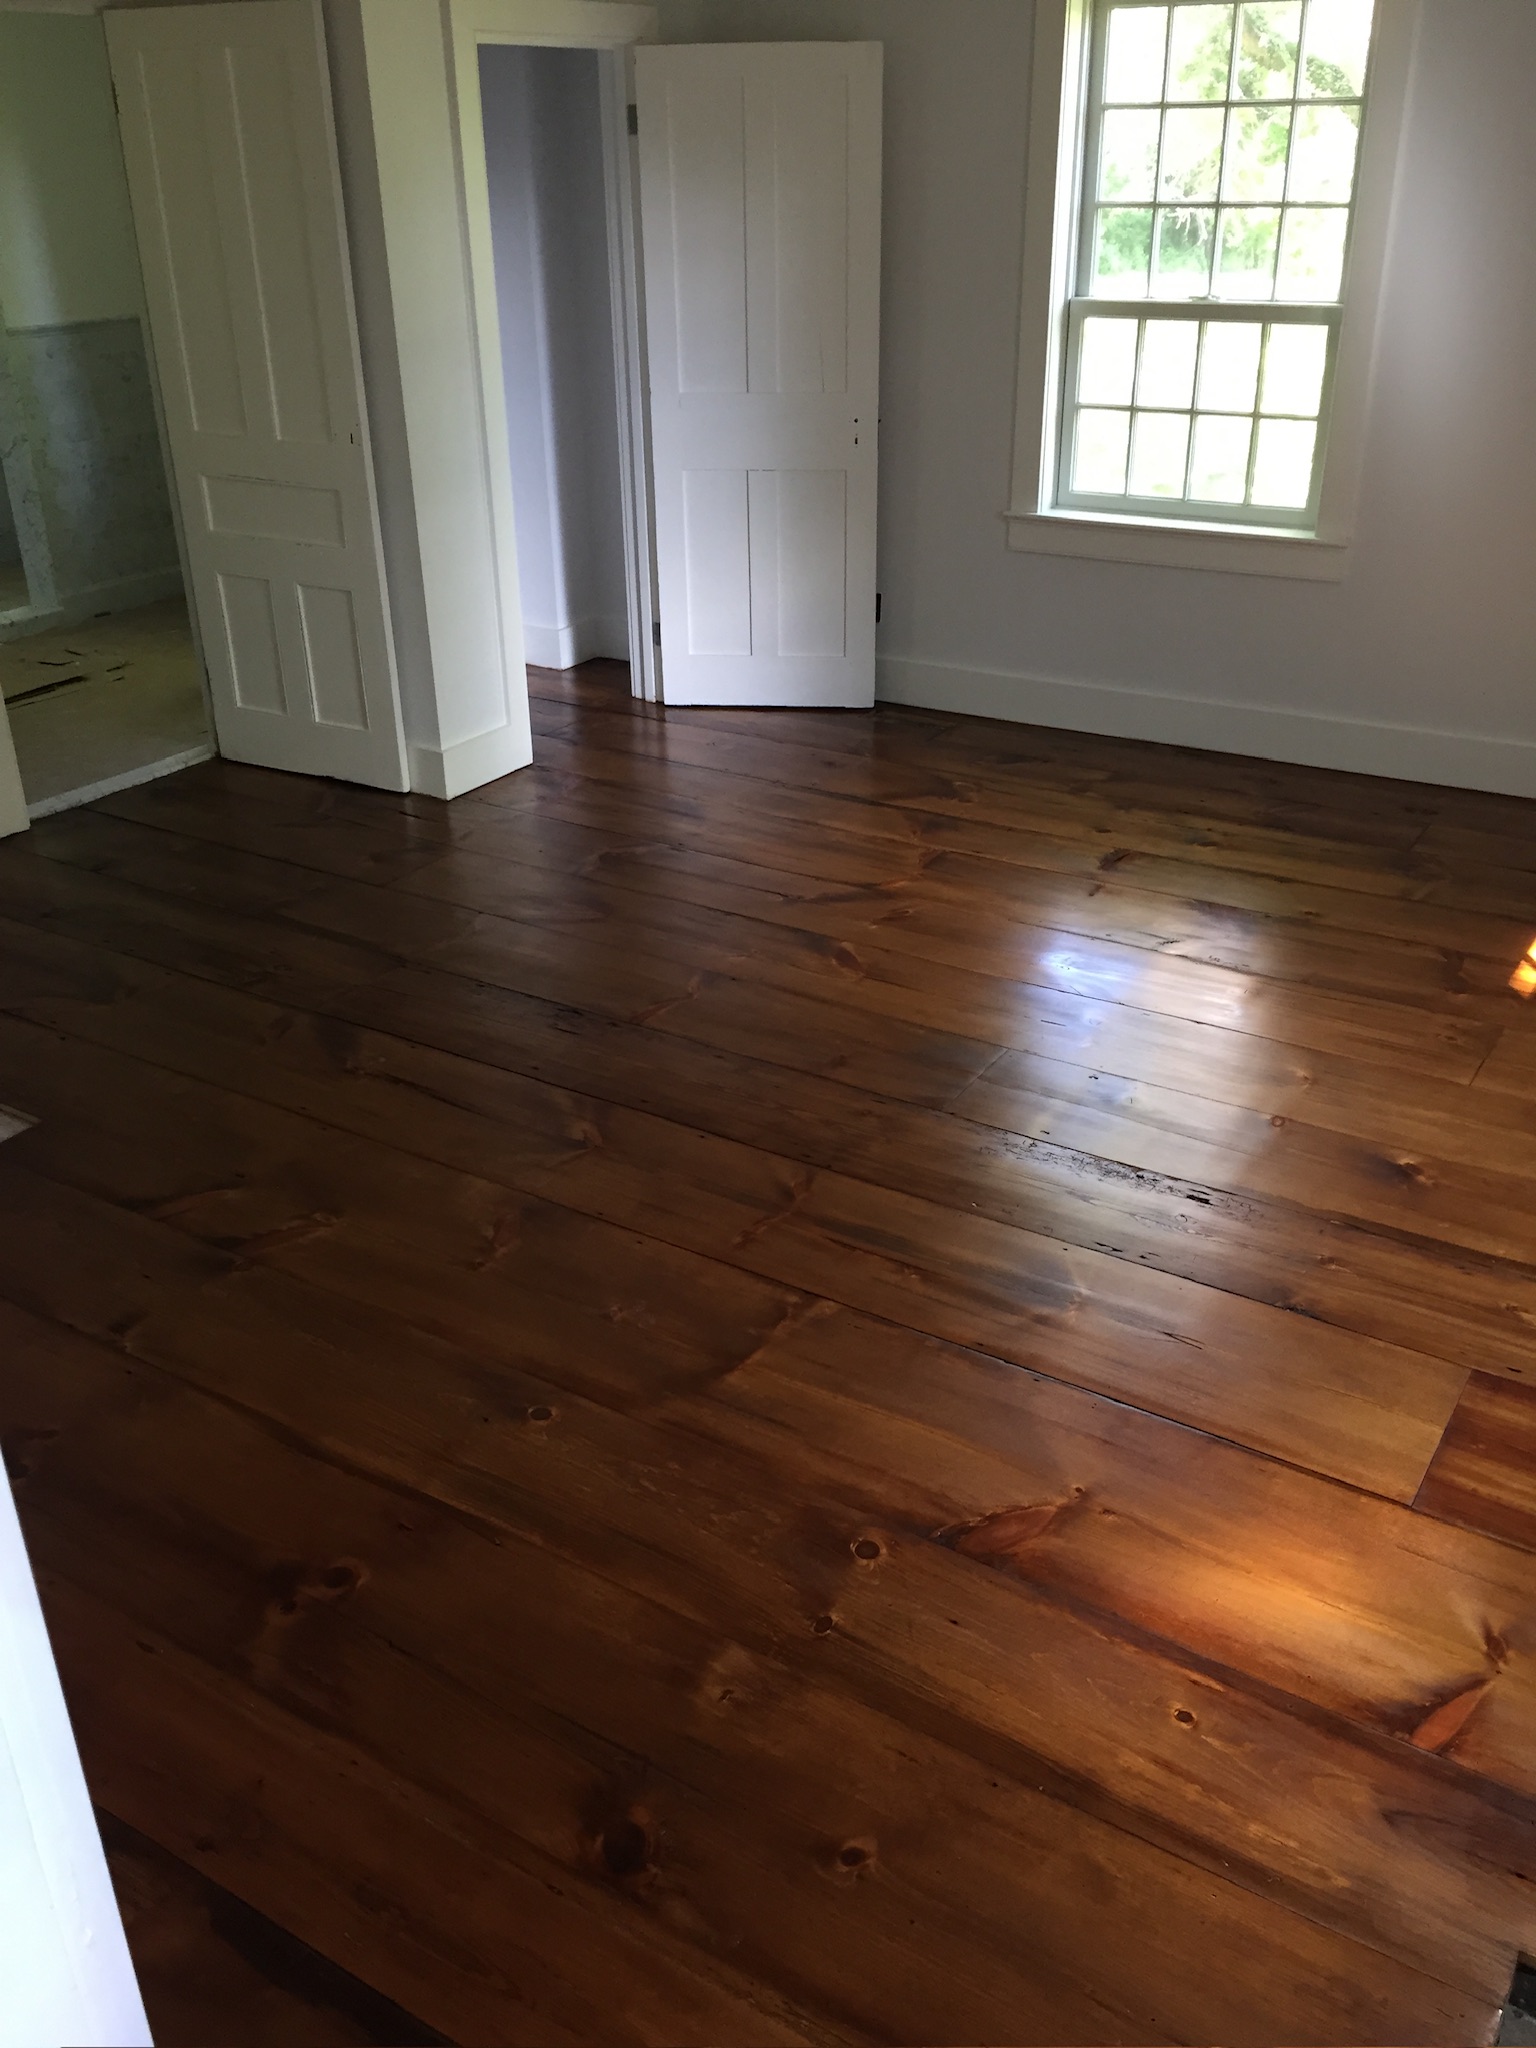
The wood floors provided a couple of new challenges. First, despite very careful efforts to preserve all the flooring from the front of the house, we came up a few boards short. And when we stripped the floor in the back great room, we discovered sections that had been pieced in with very modern pine which didn't match the grain or color. Through some internet sleuthing I was able to find a stash of 200 year old wide planks a builder had salvaged from a house in Western Massachusetts, which he had intended to install in his own home, but never got the chance. So I flew to Boston, rented a U-Haul, and drove West, then back to NY with the boards, which were enough to finish the first floors, with enough leftover to also do the second floor bath. Our flooring guy patiently used different combinations of stains and applicators to achieve a cohesive color and rich finish.
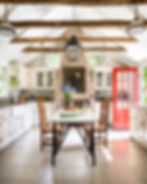
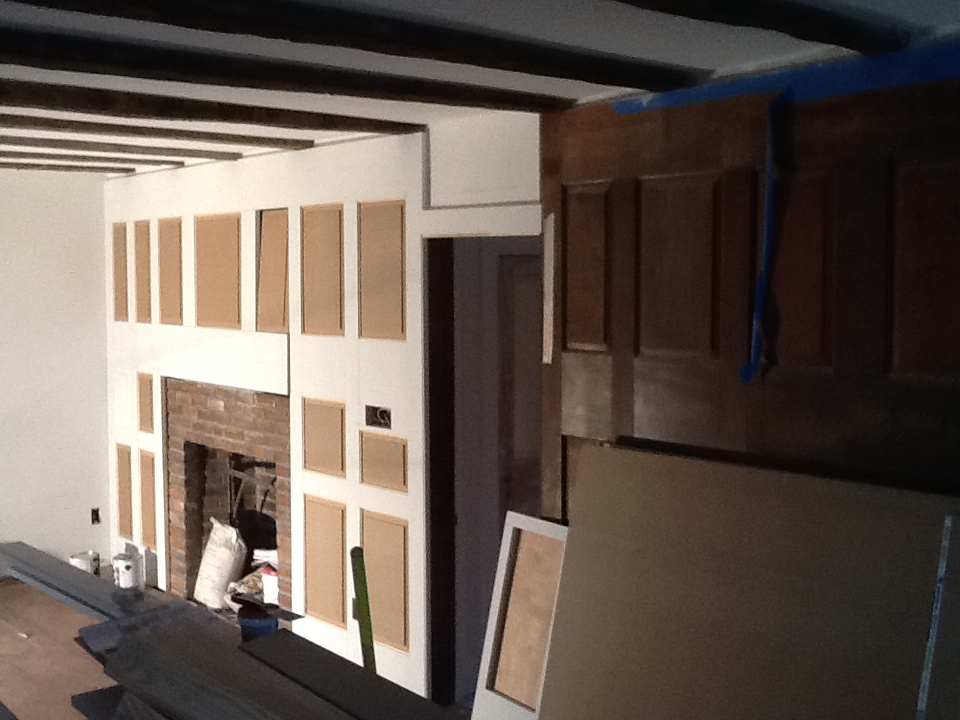
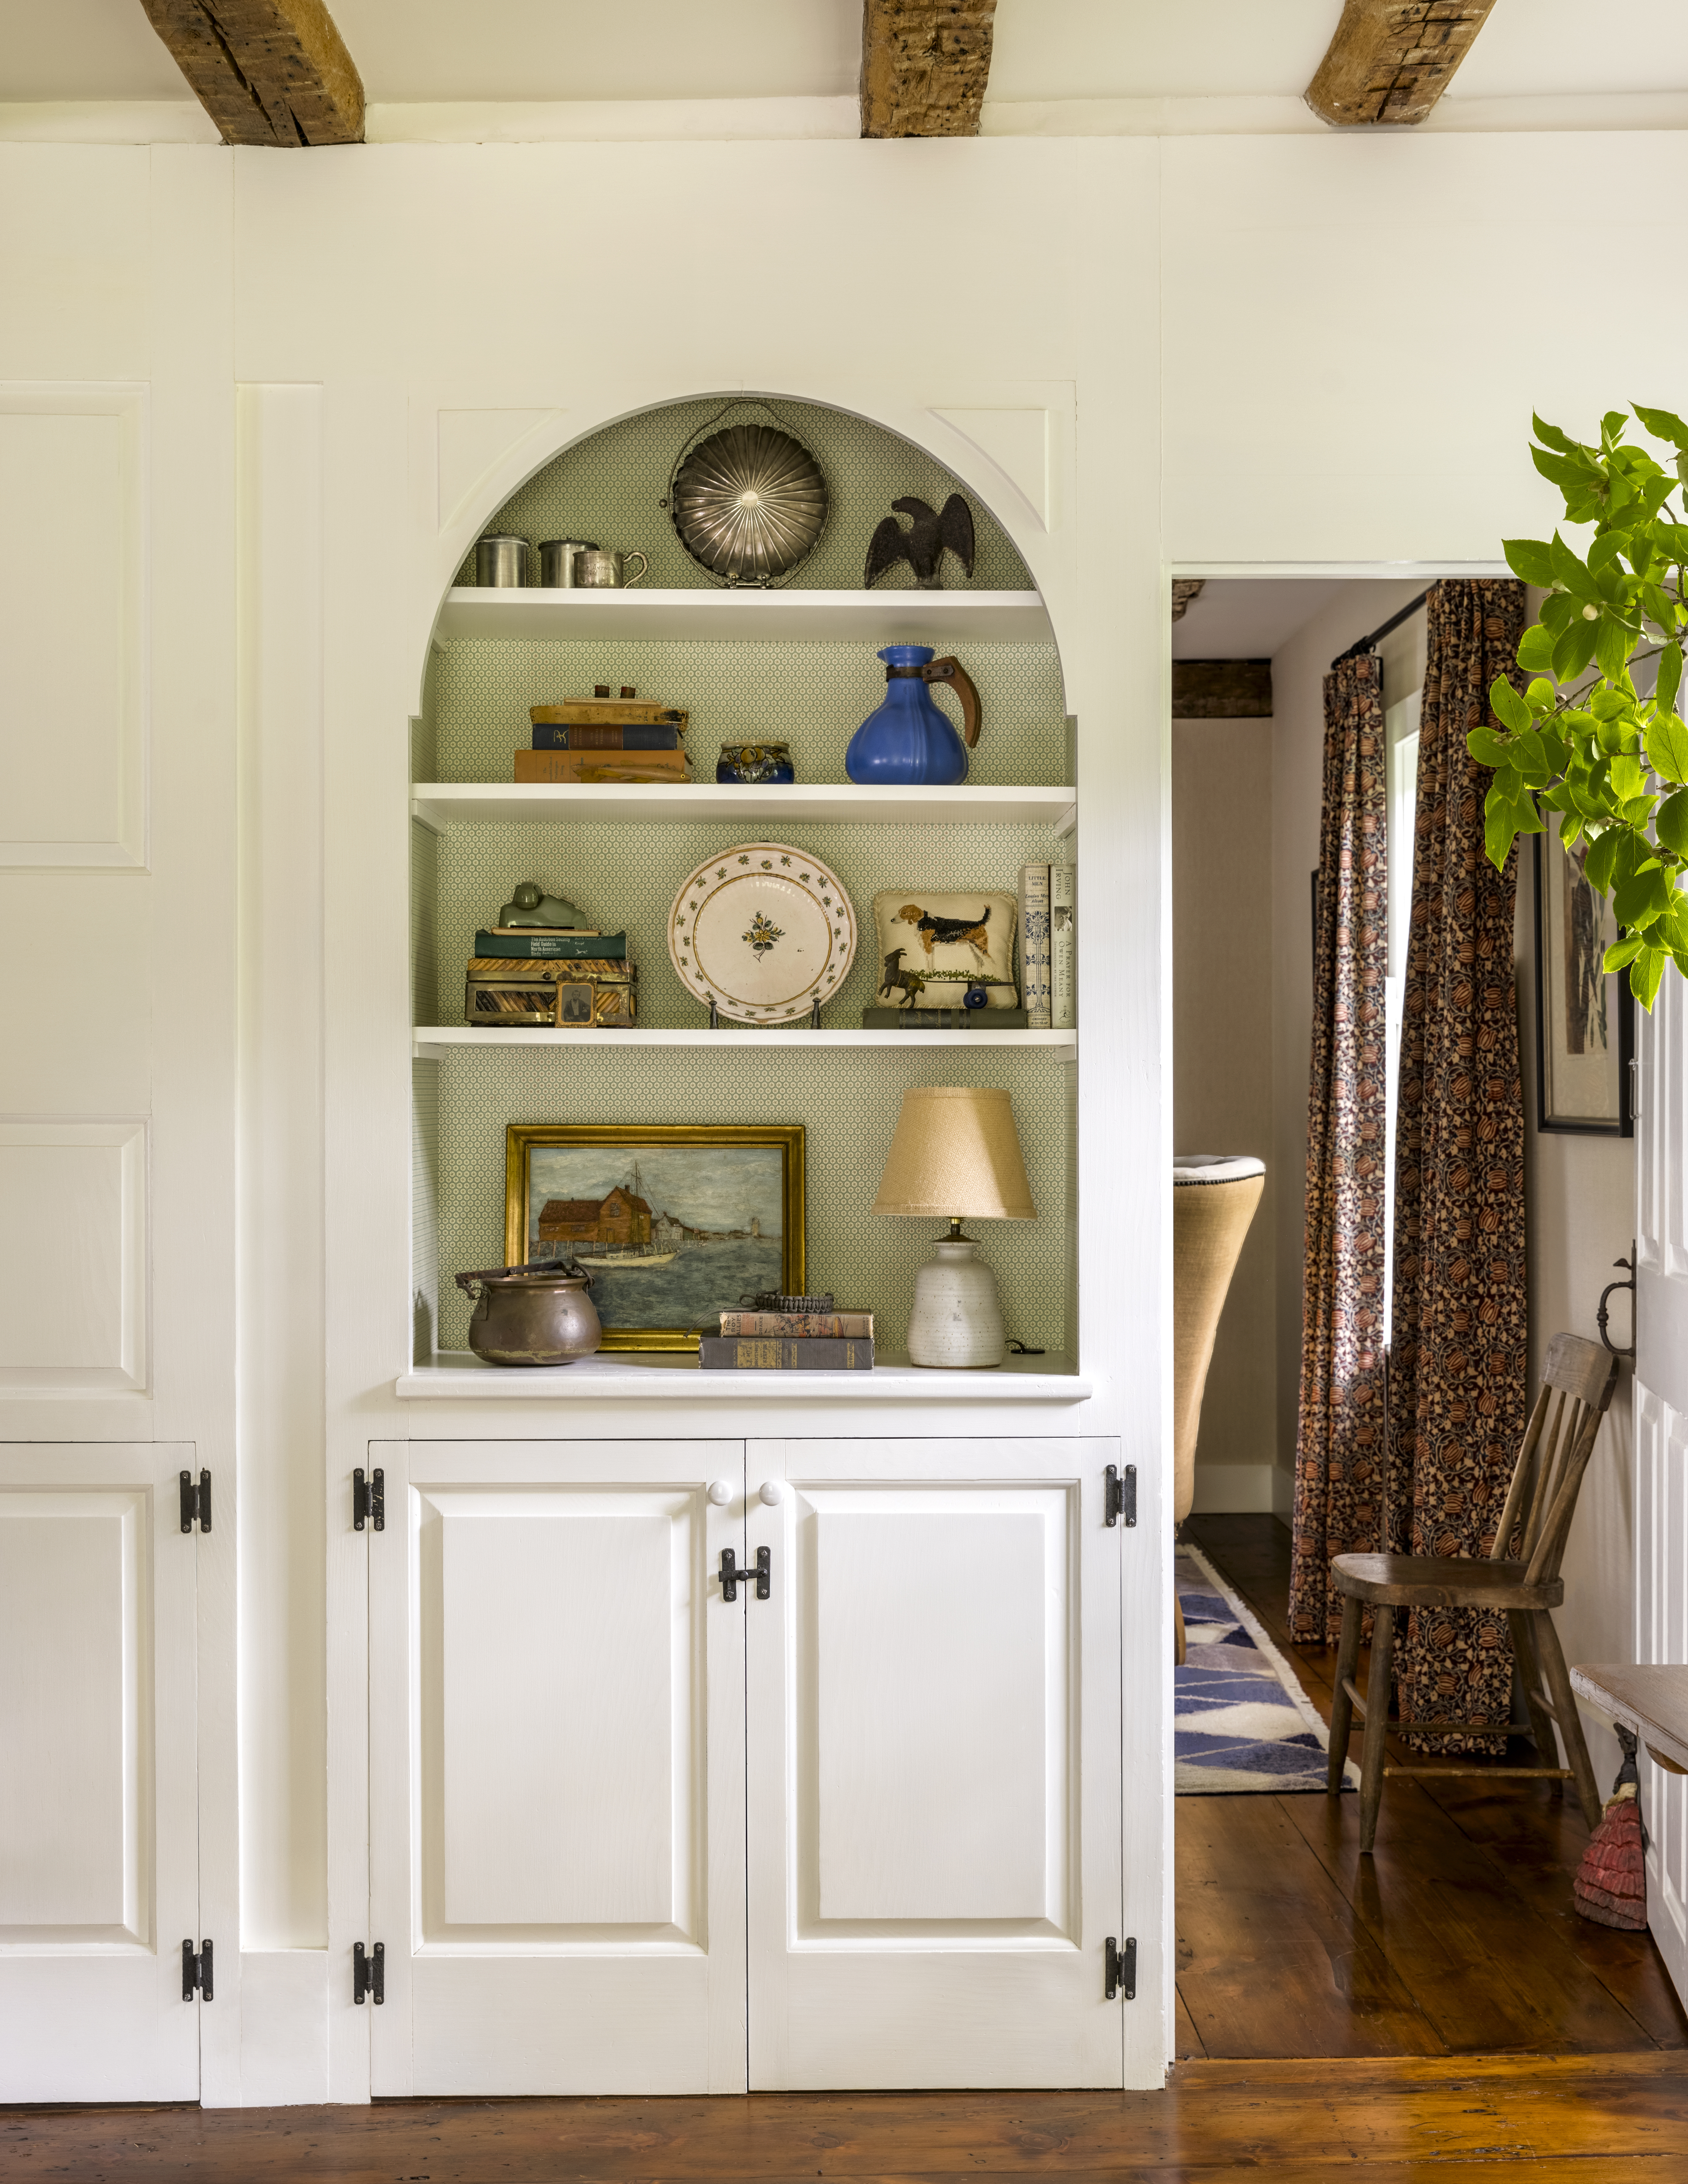
In the great room we extended the paneled wall from the dining area into the living room area to create cohesiveness, and re-finished it in white versus the brown wood stain to lighten up the whole area. Otherwise, we kept the trim simple square stock with a bead detail throughout the house, to maintain clean and simple lines befitting the house. The interior doors and hardware were all re-purposed and re-installed as we found them originally.





Tiles, Cabintes, and Fixtures
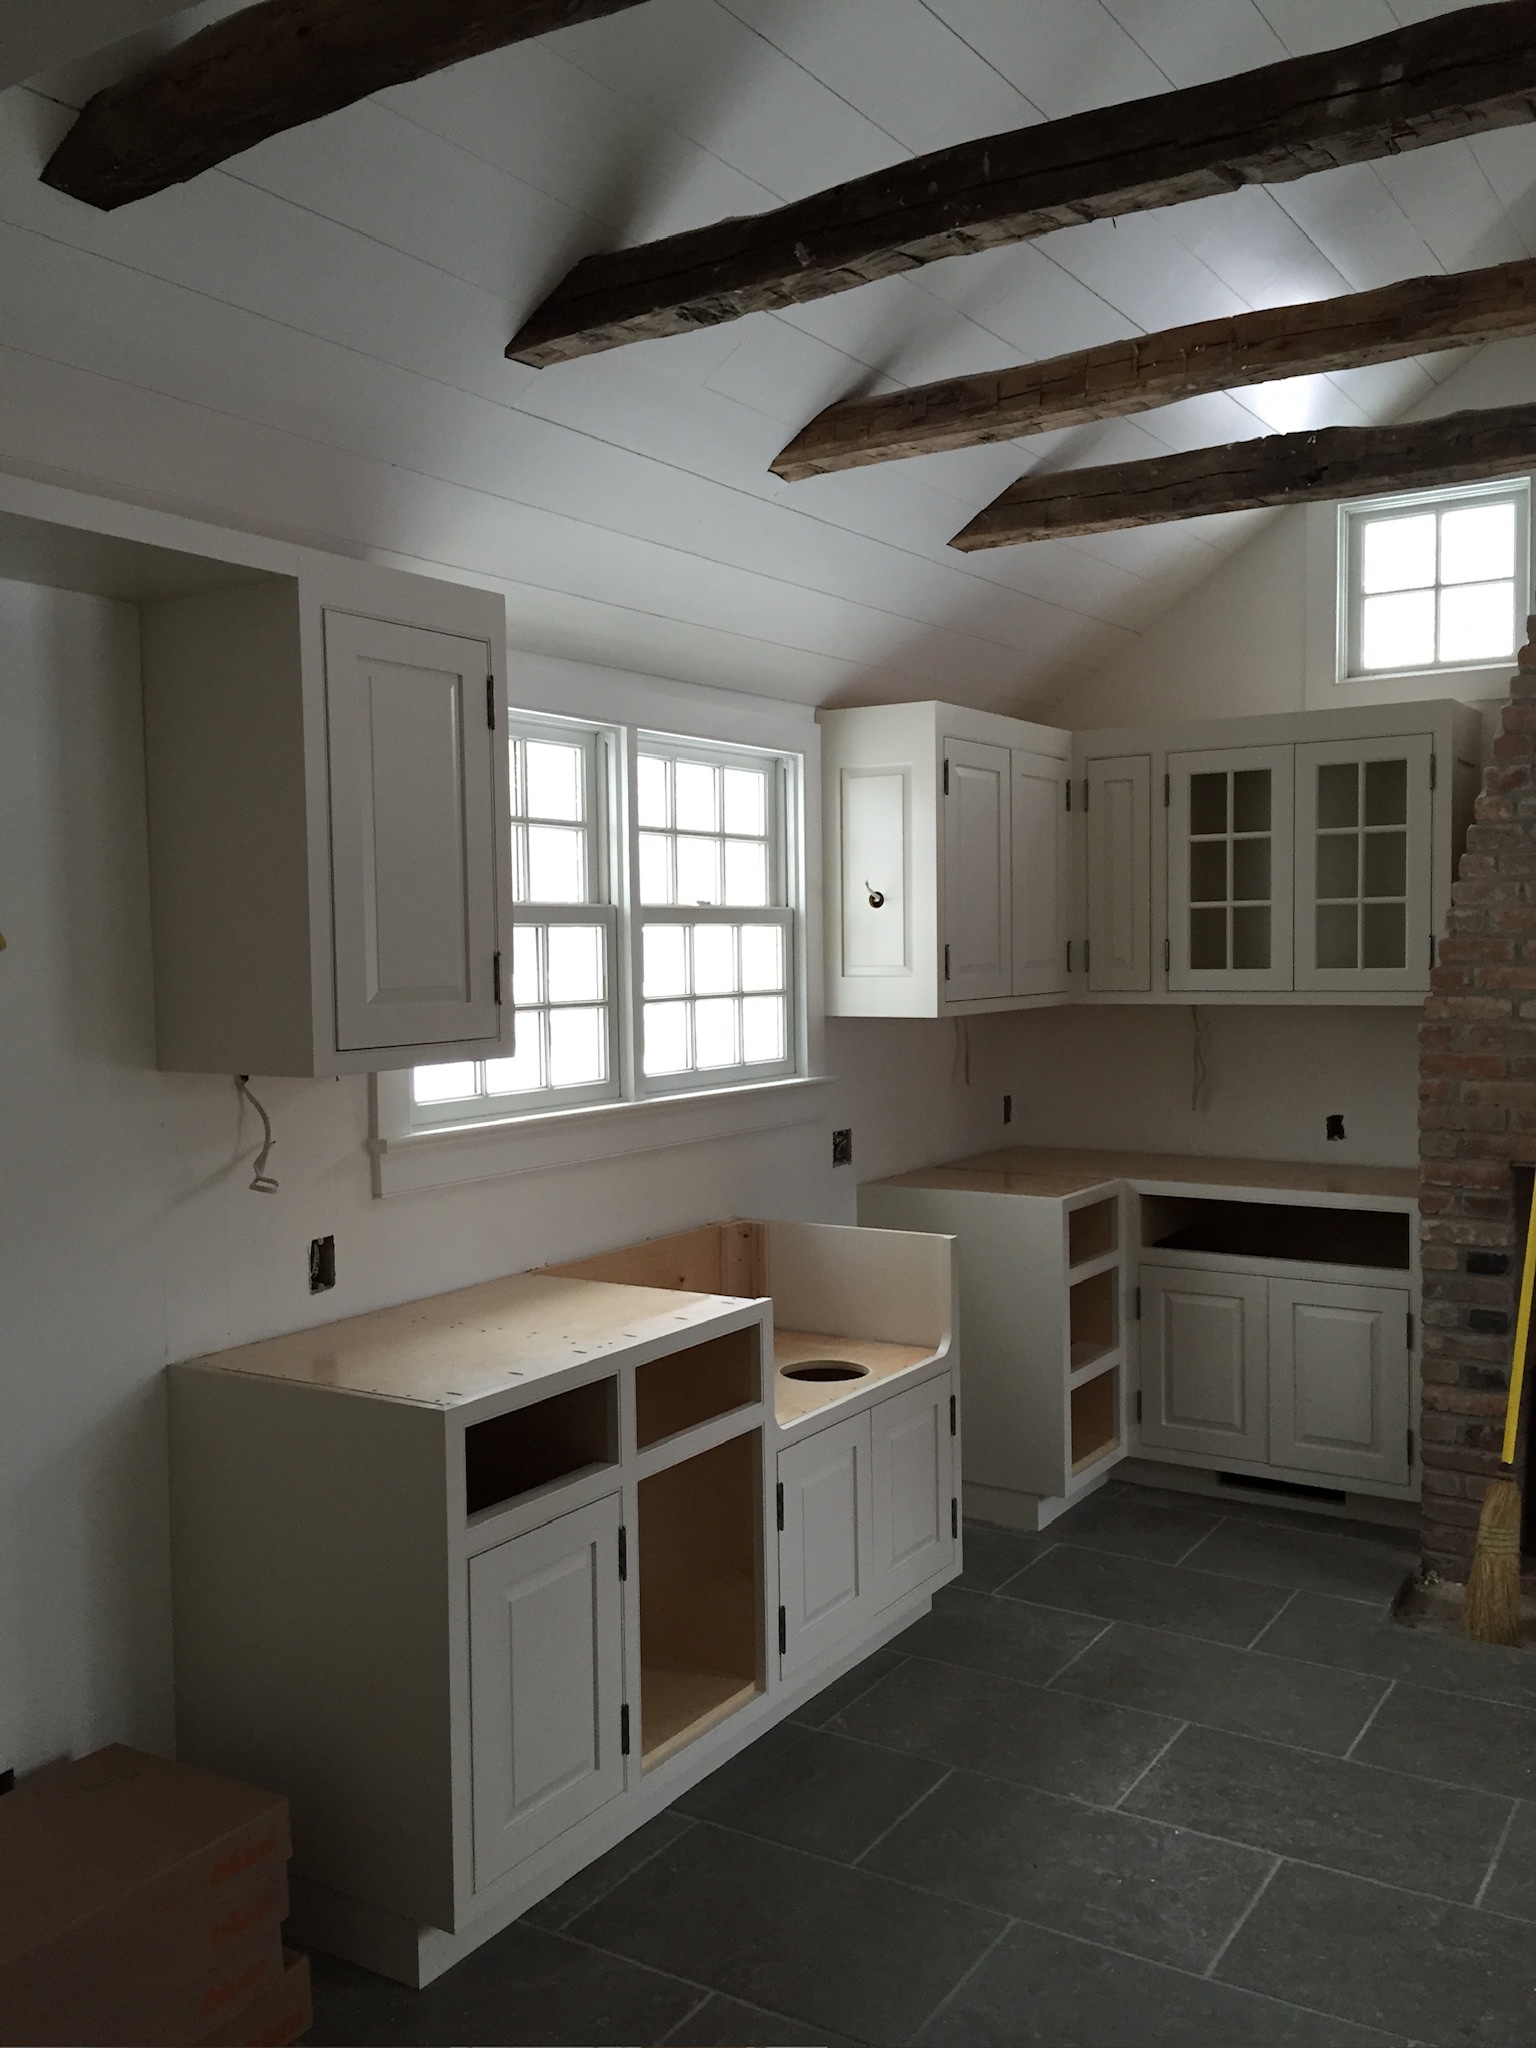
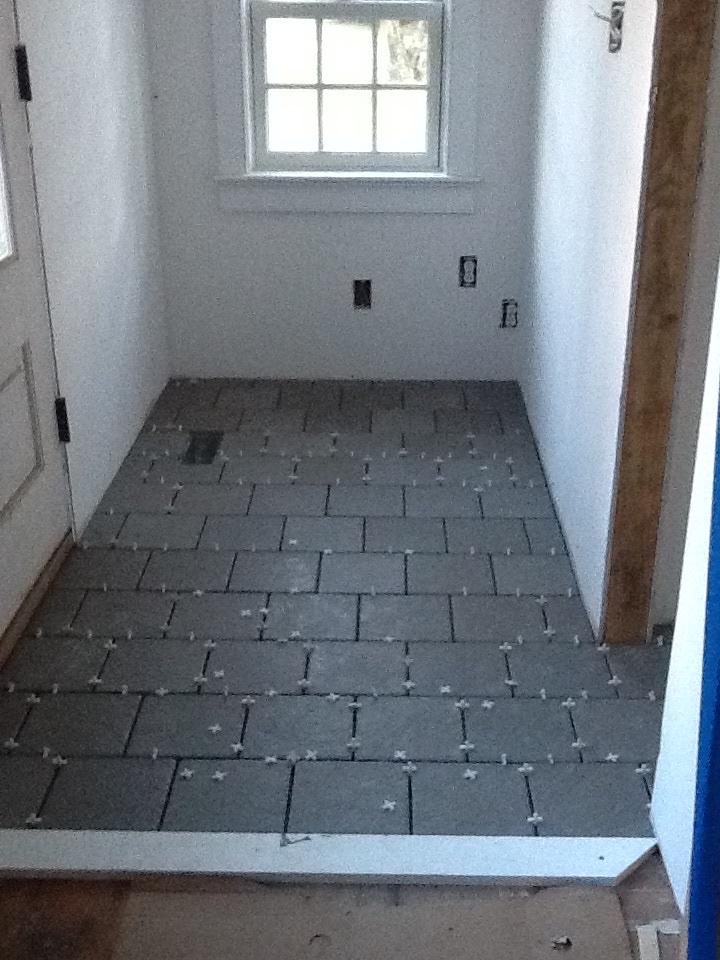
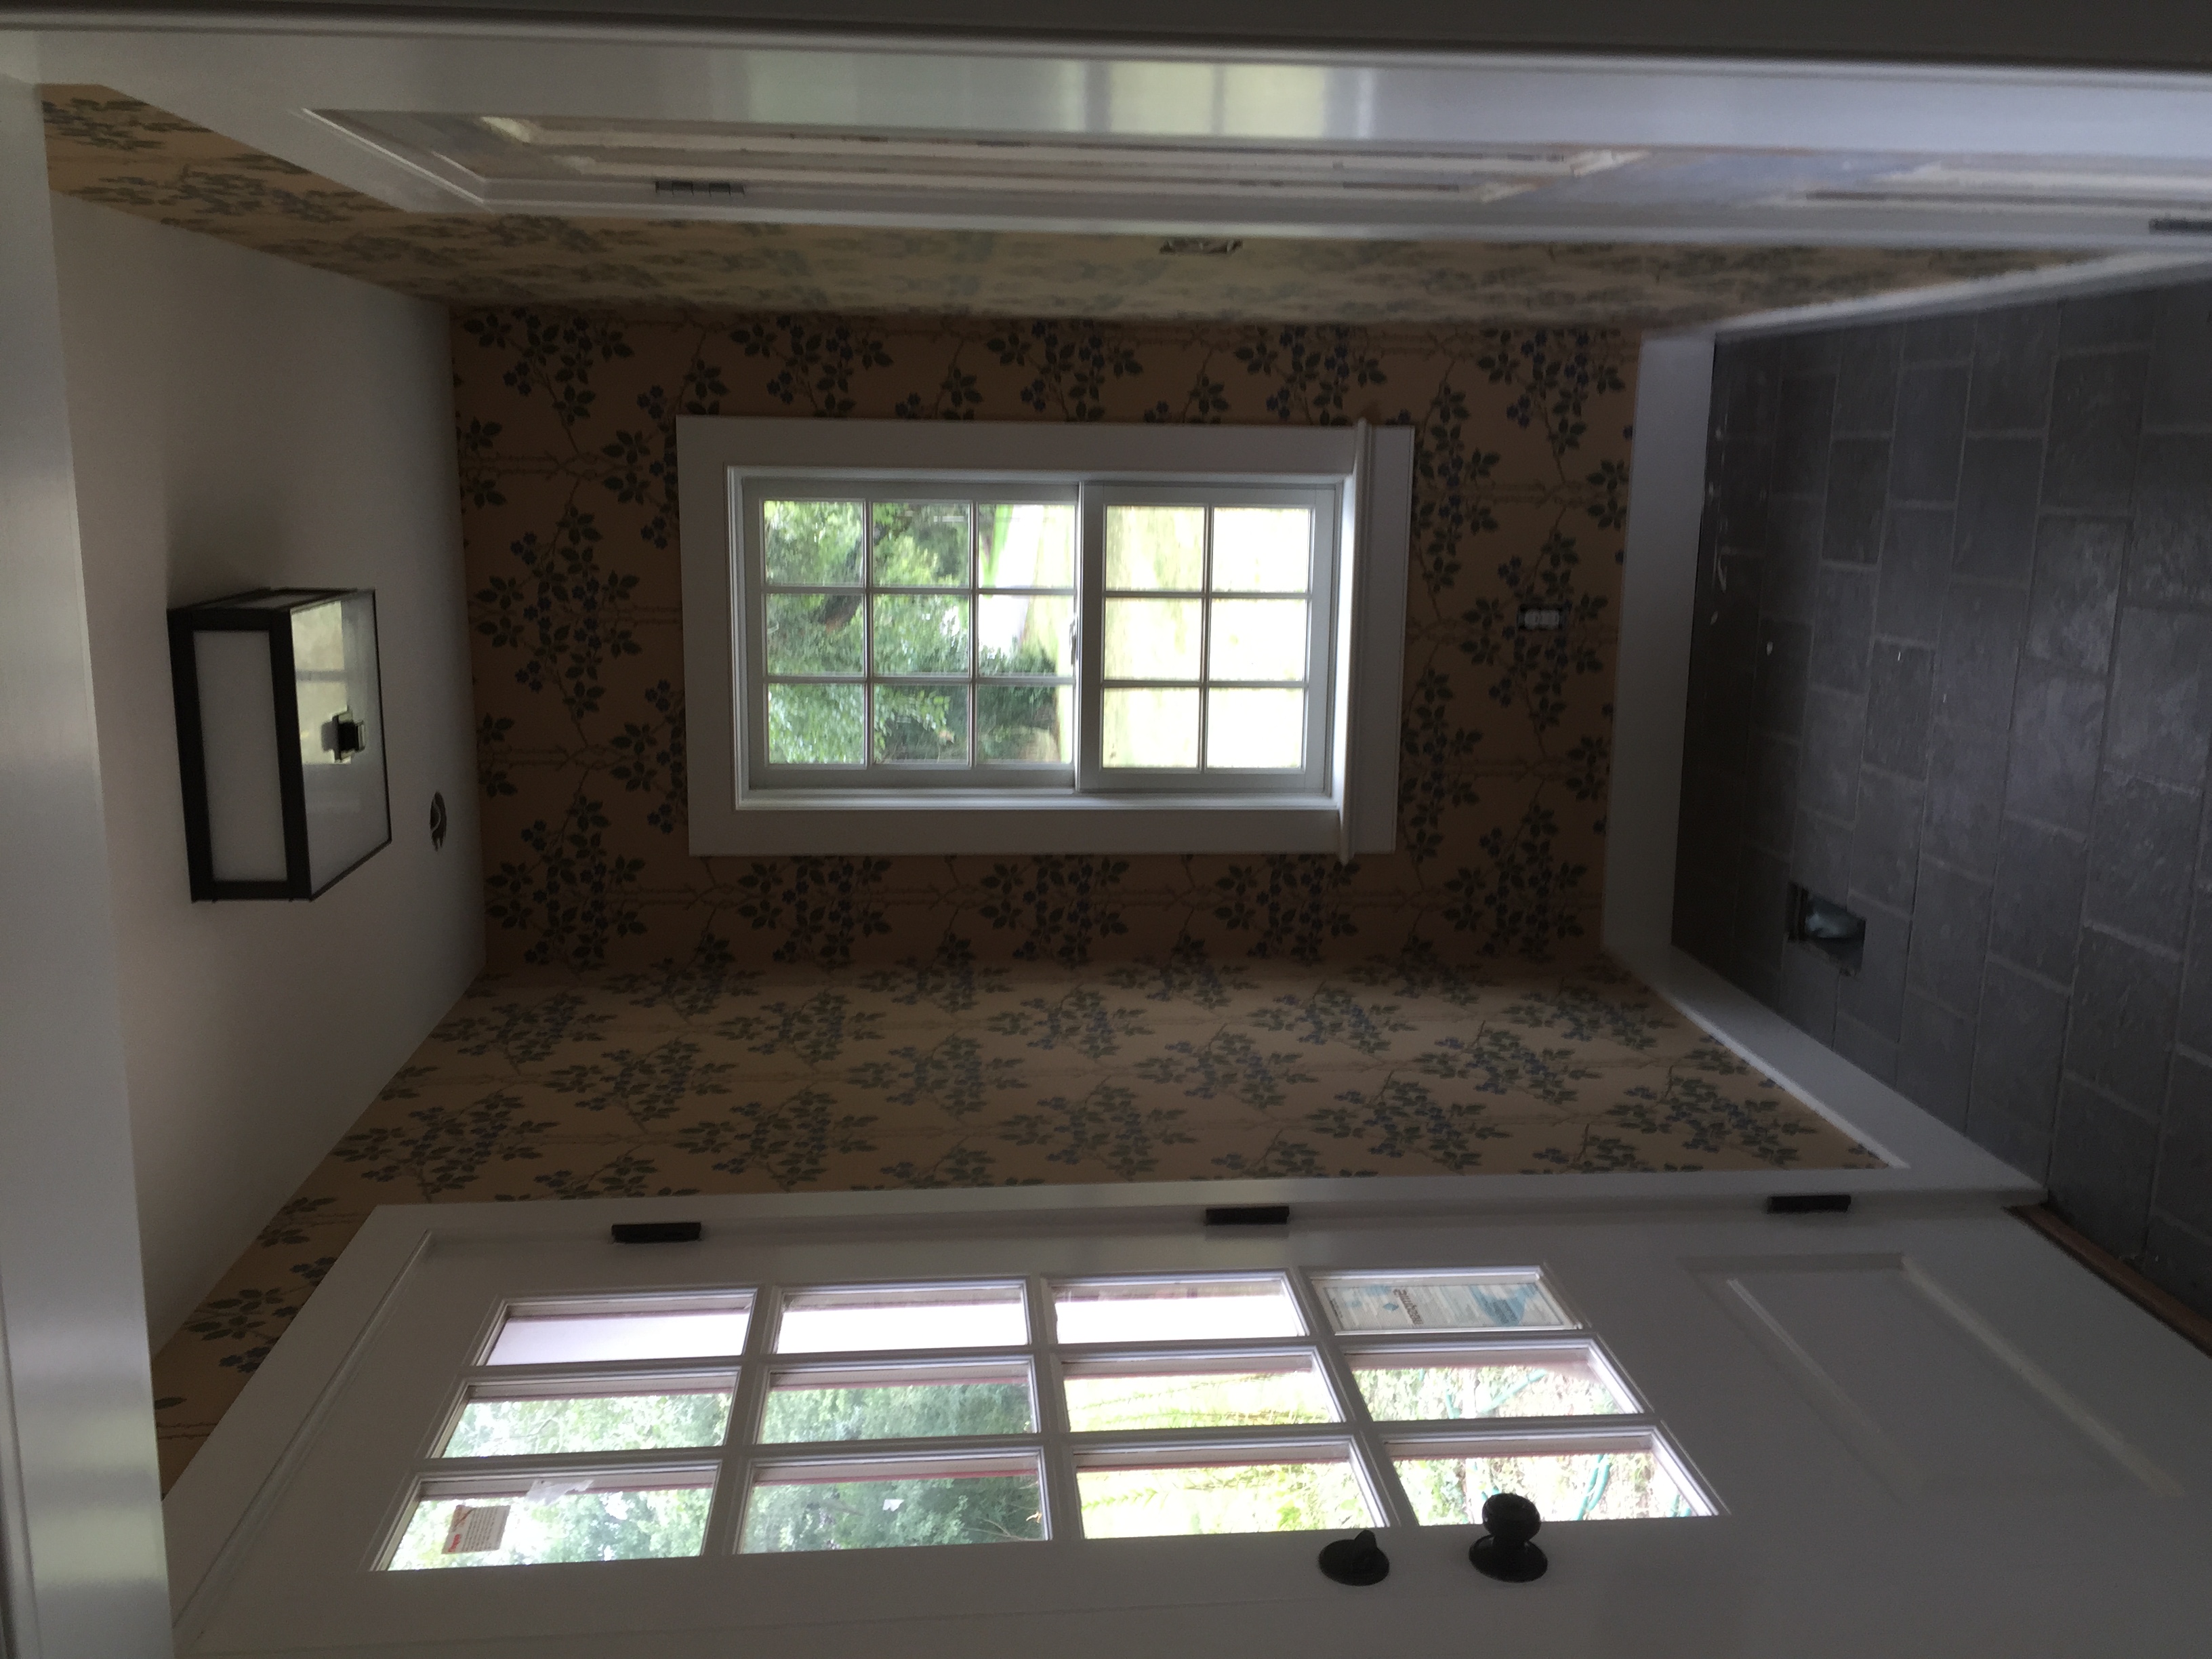
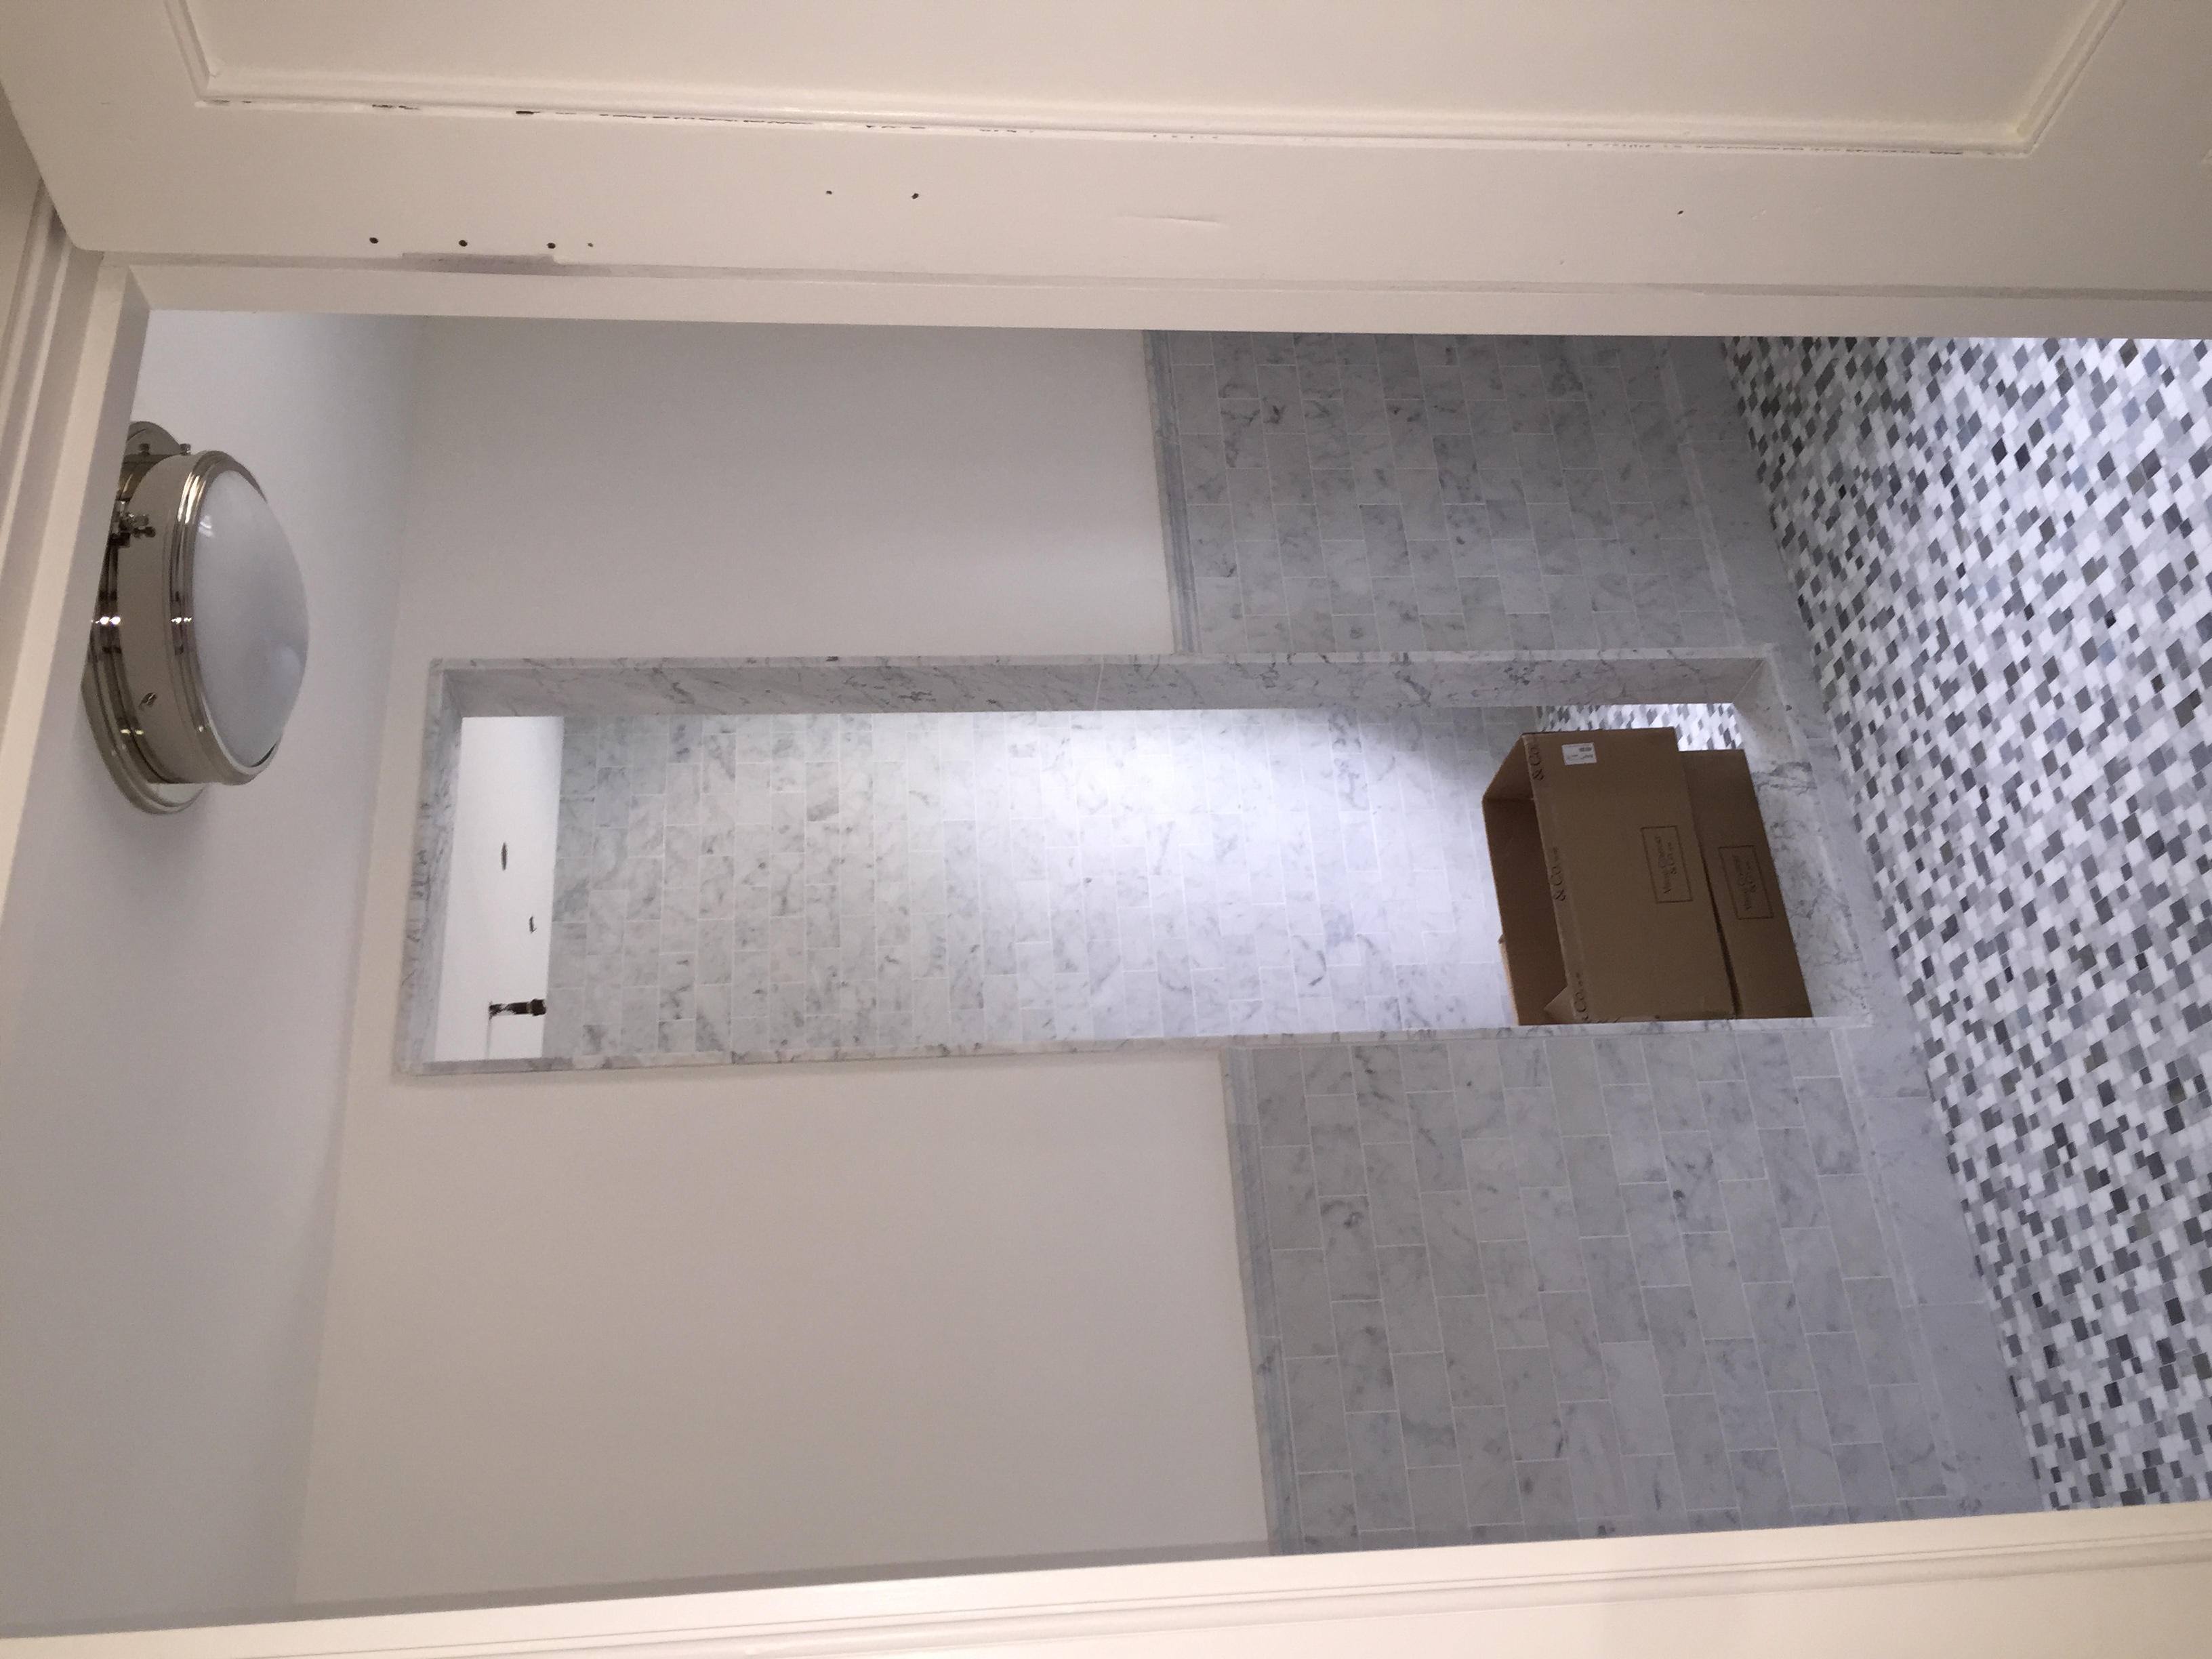
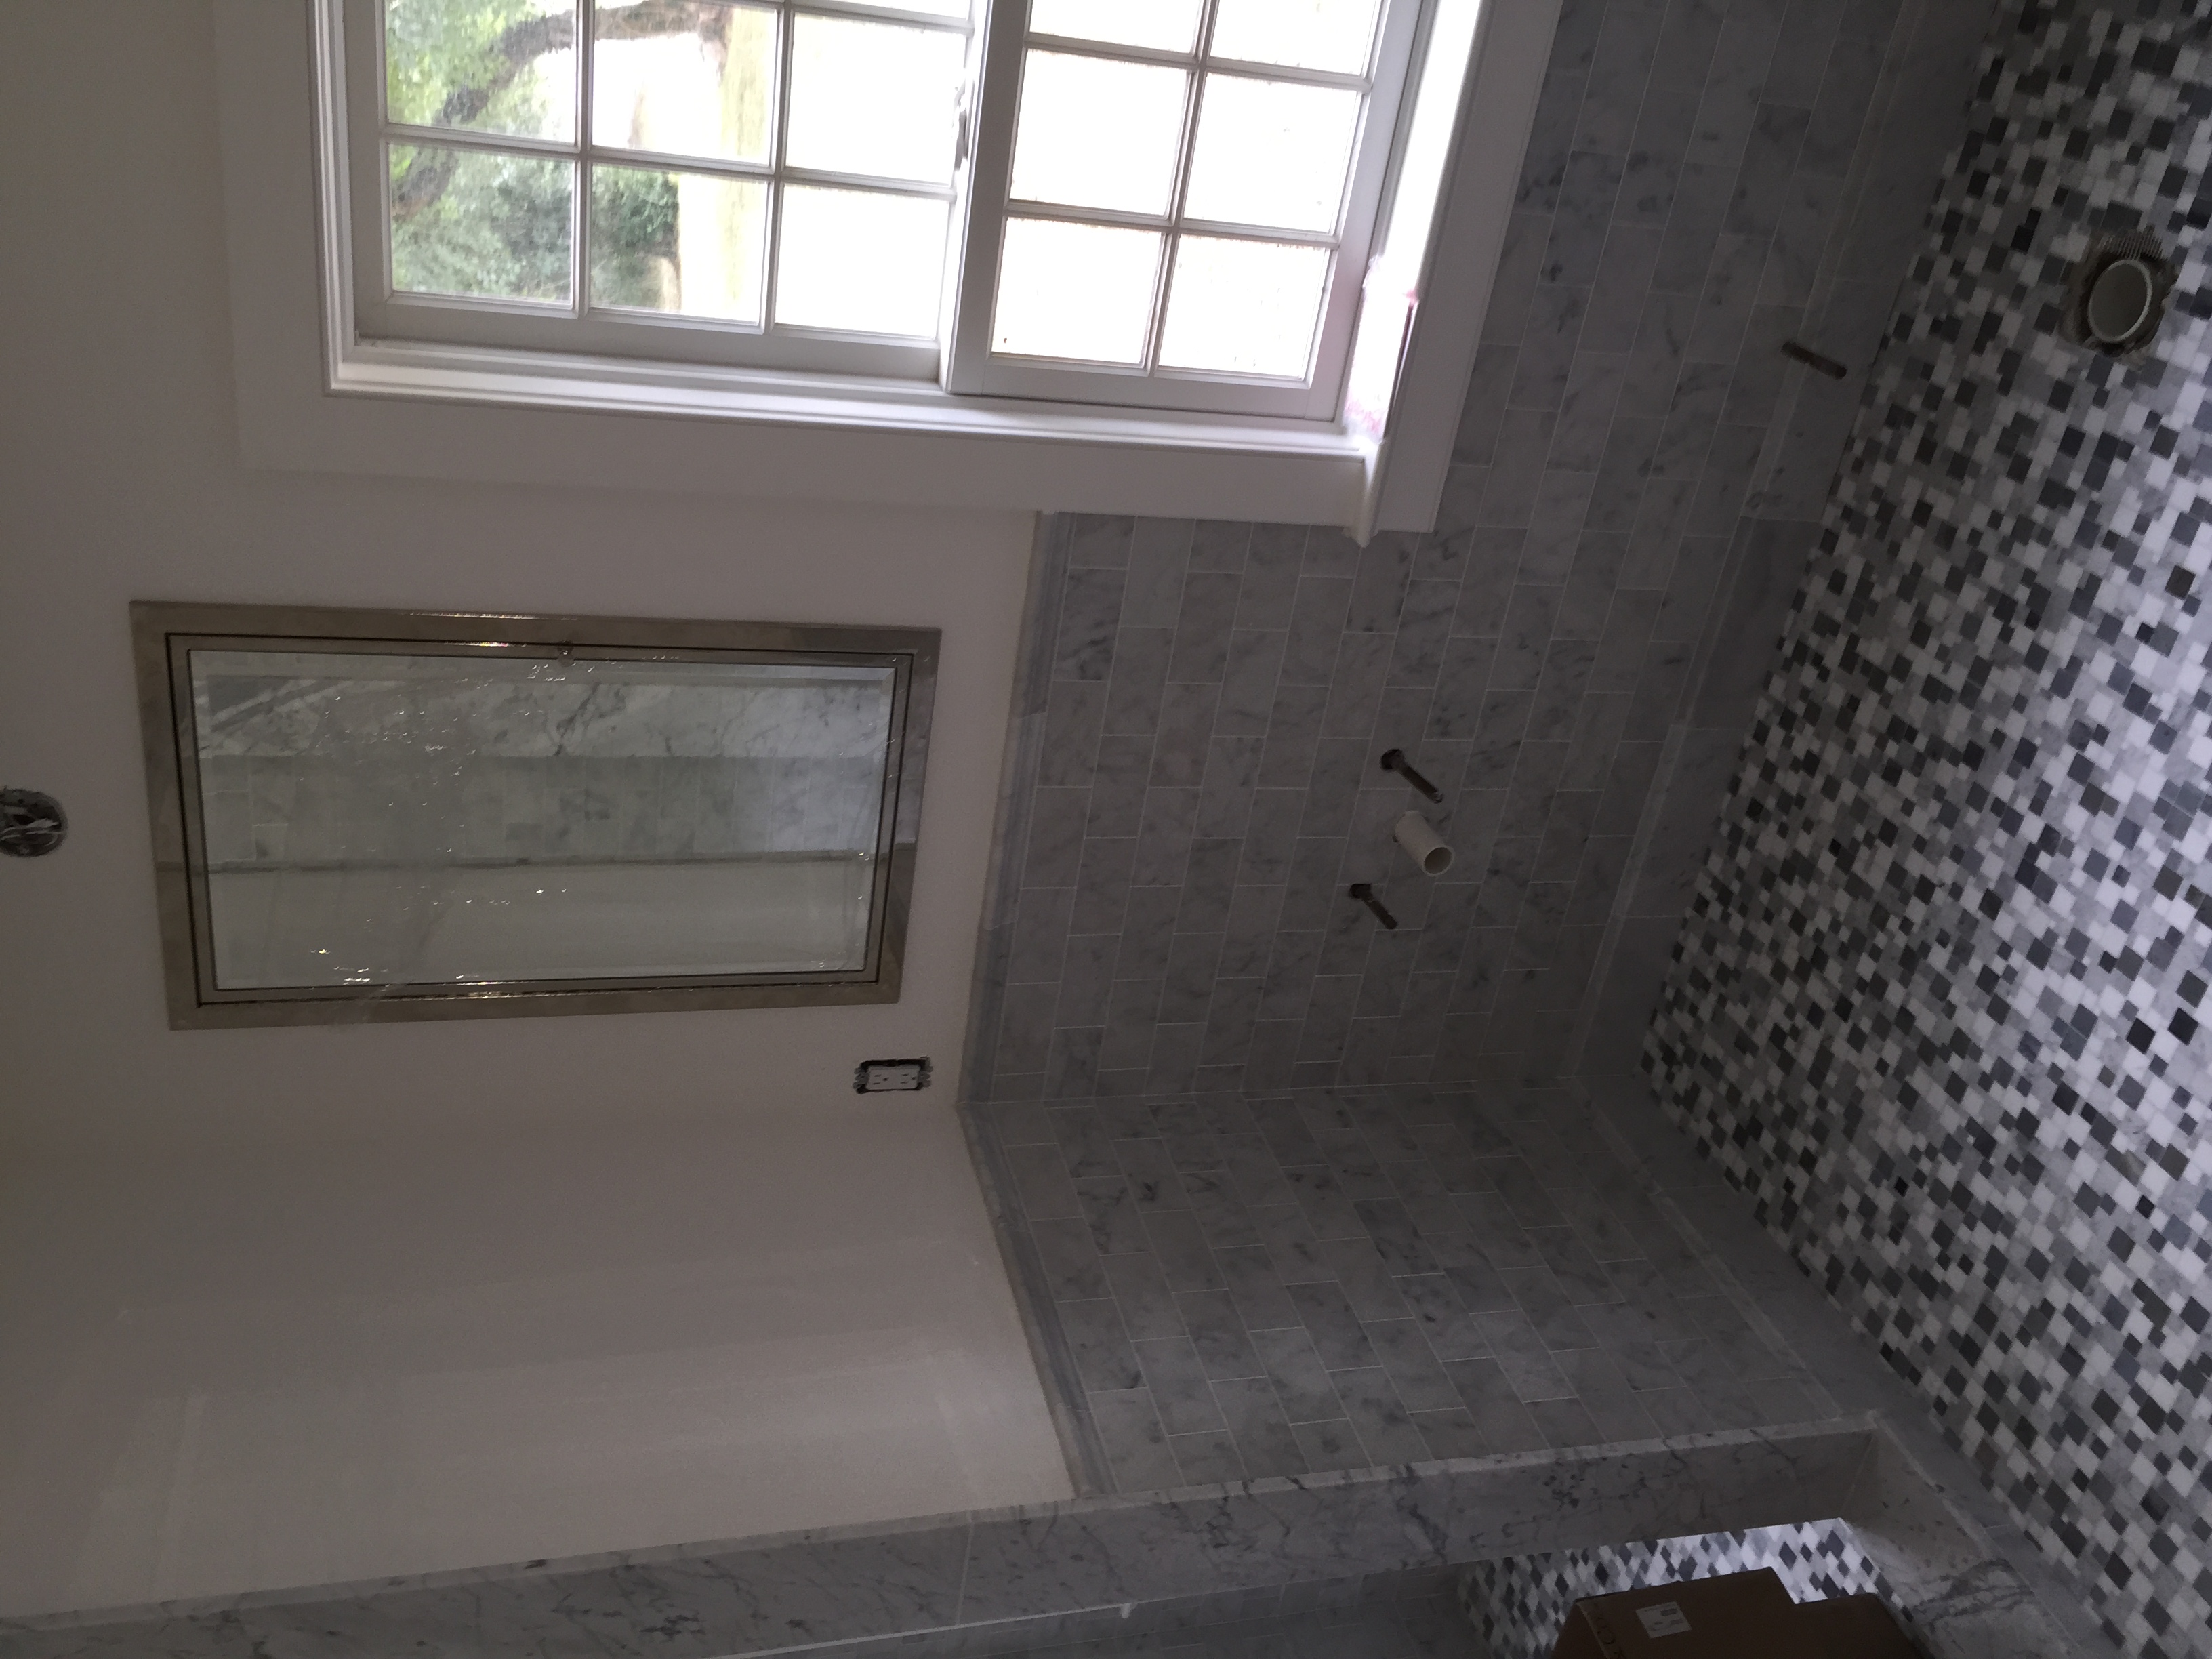
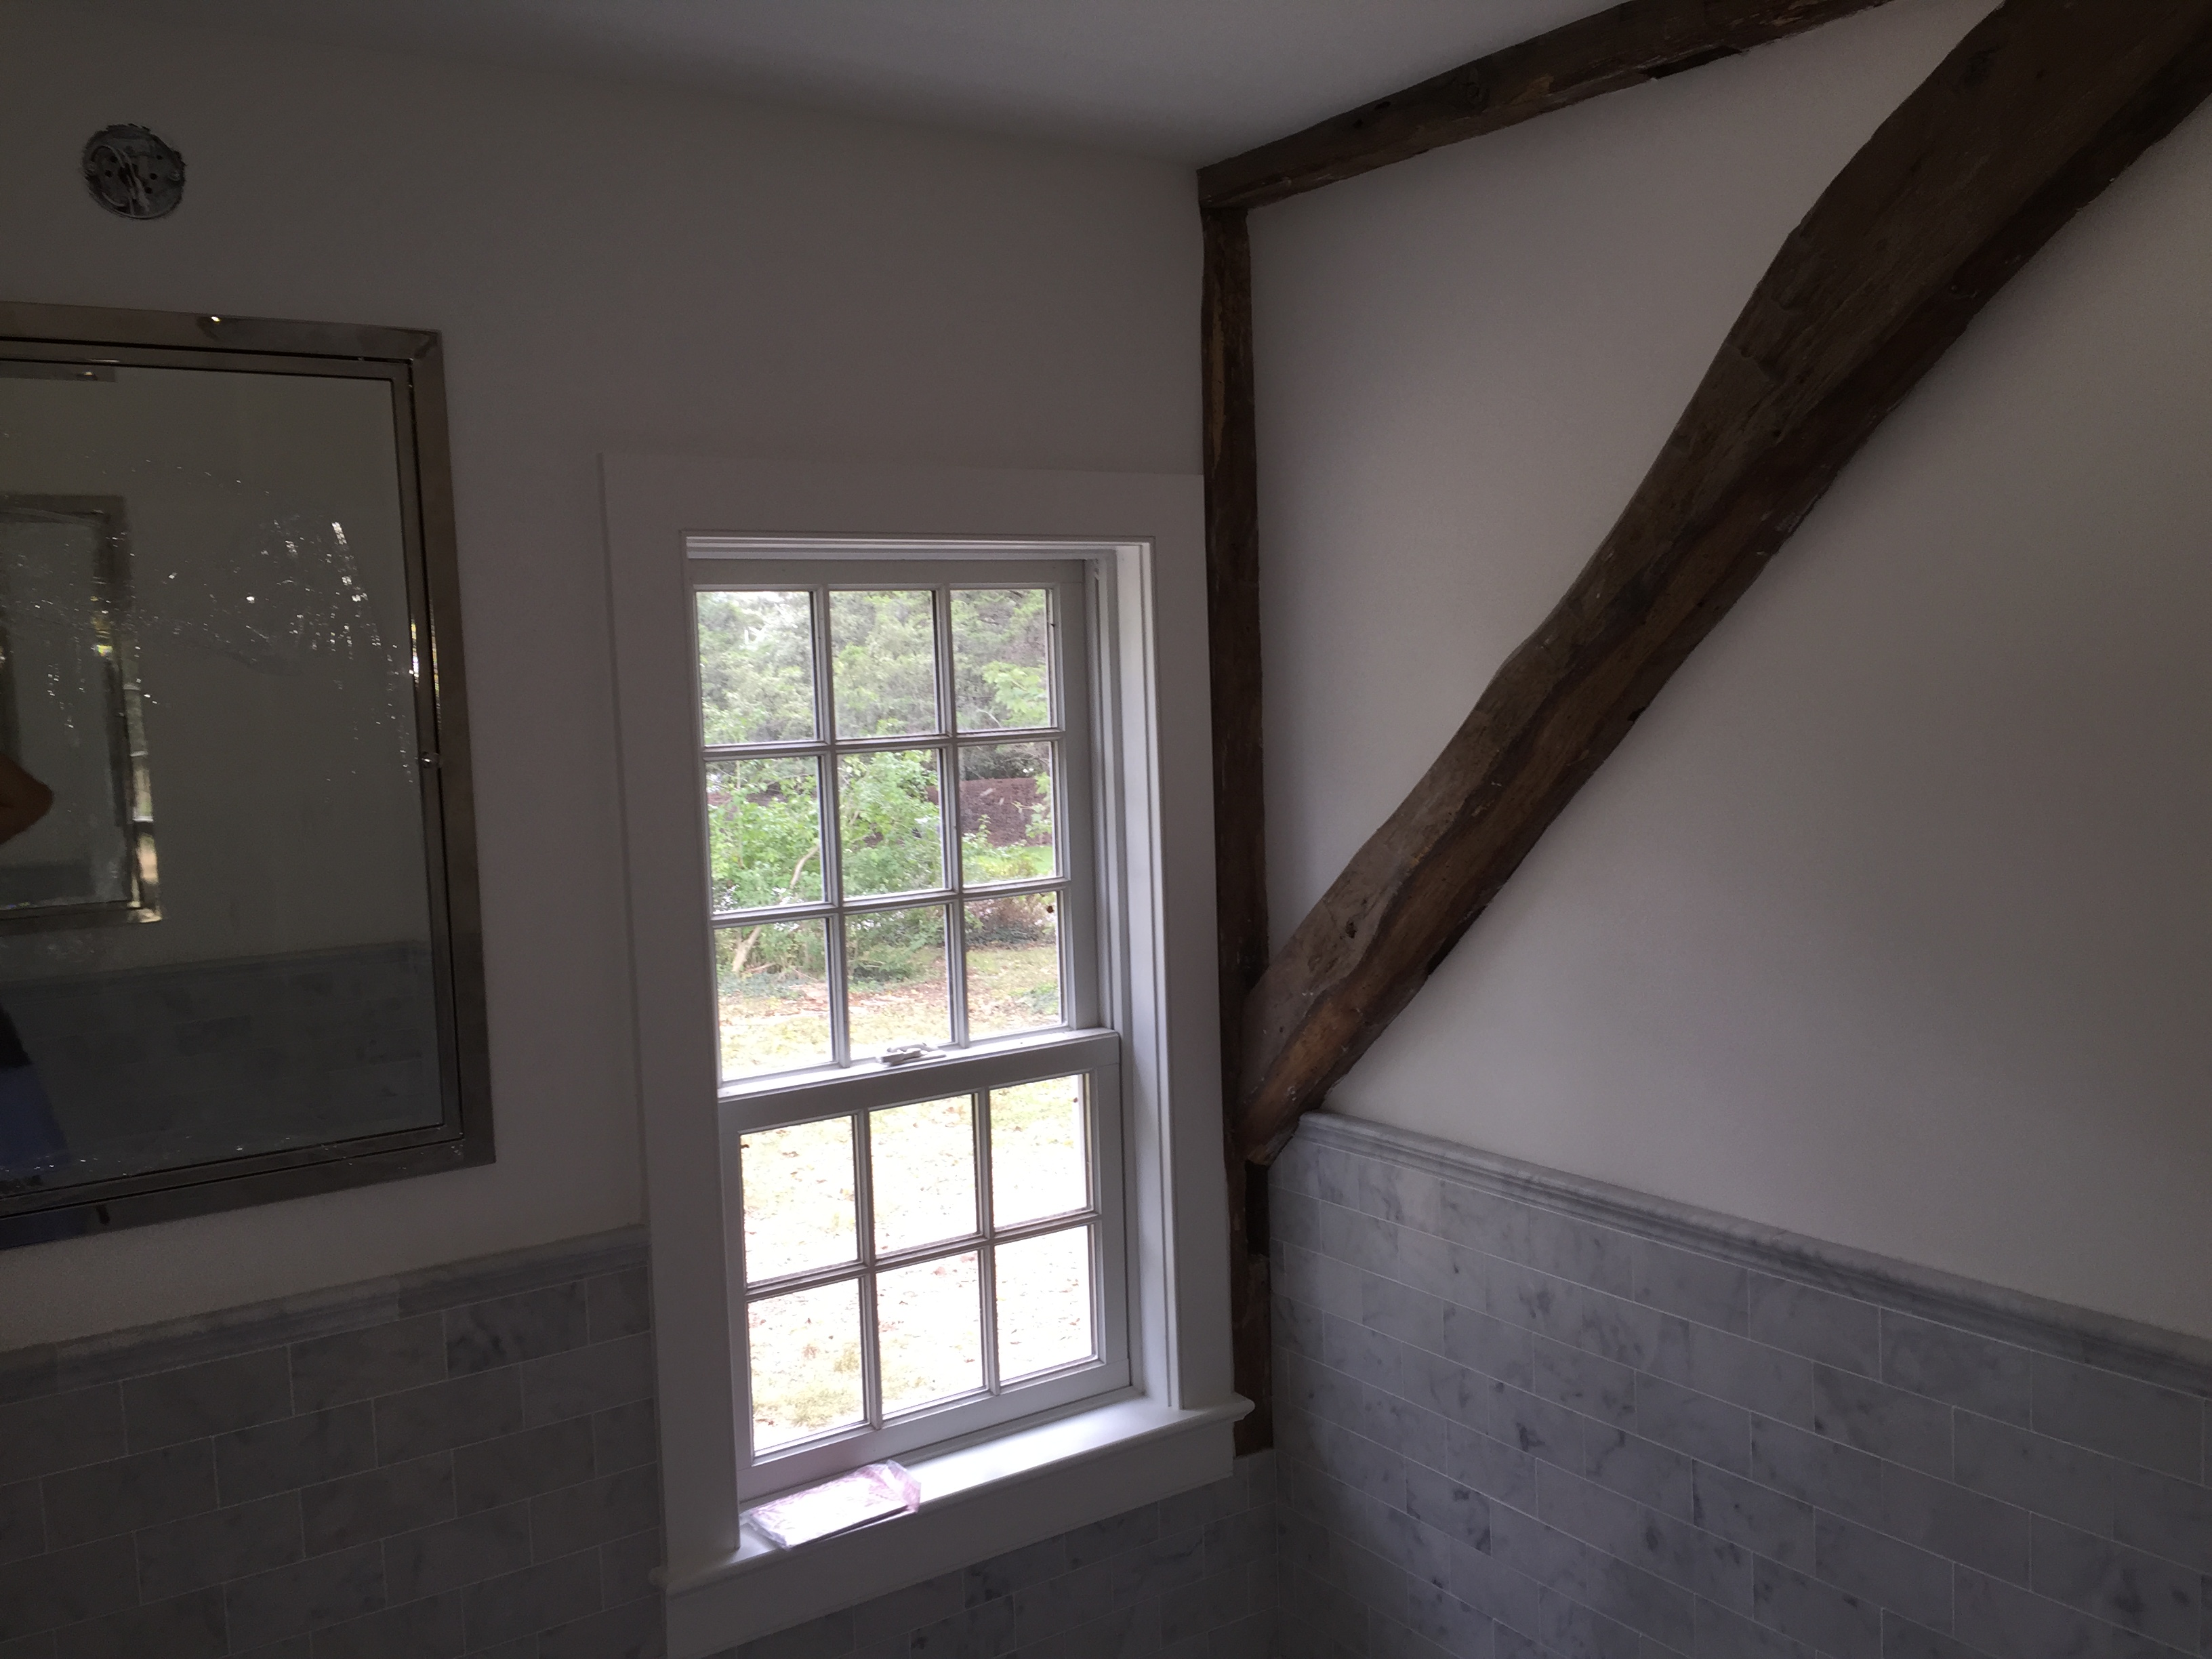
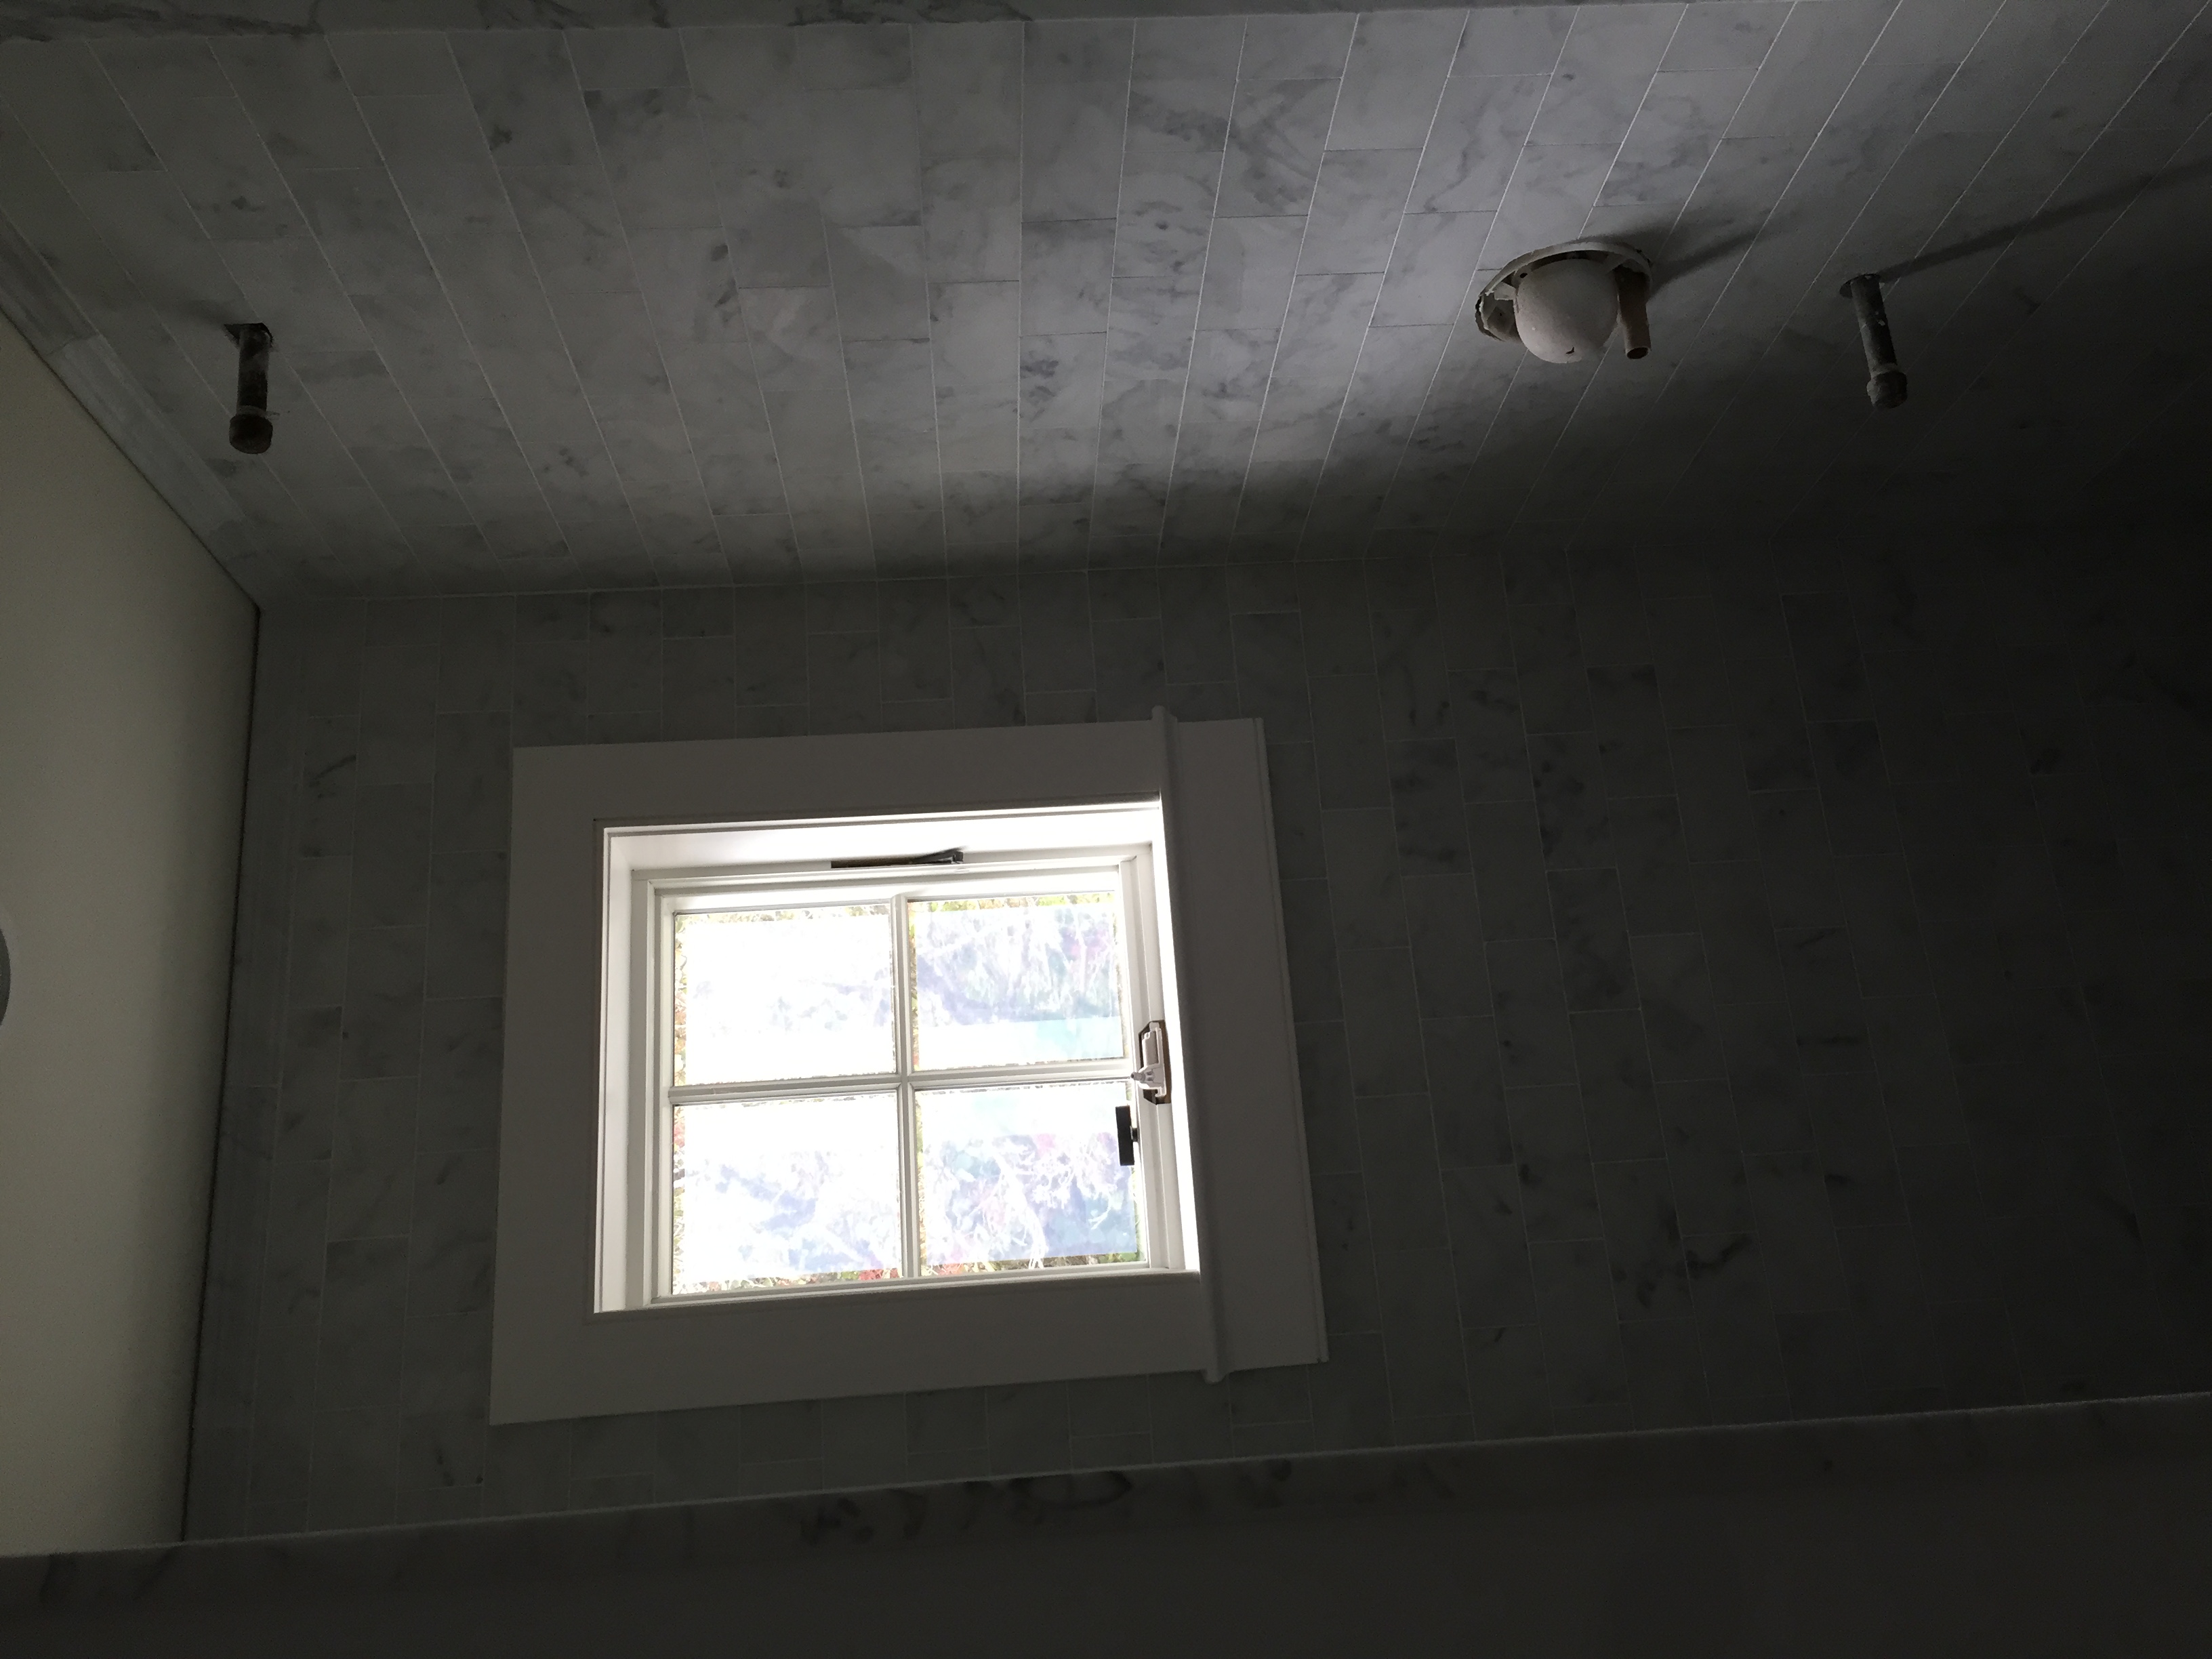
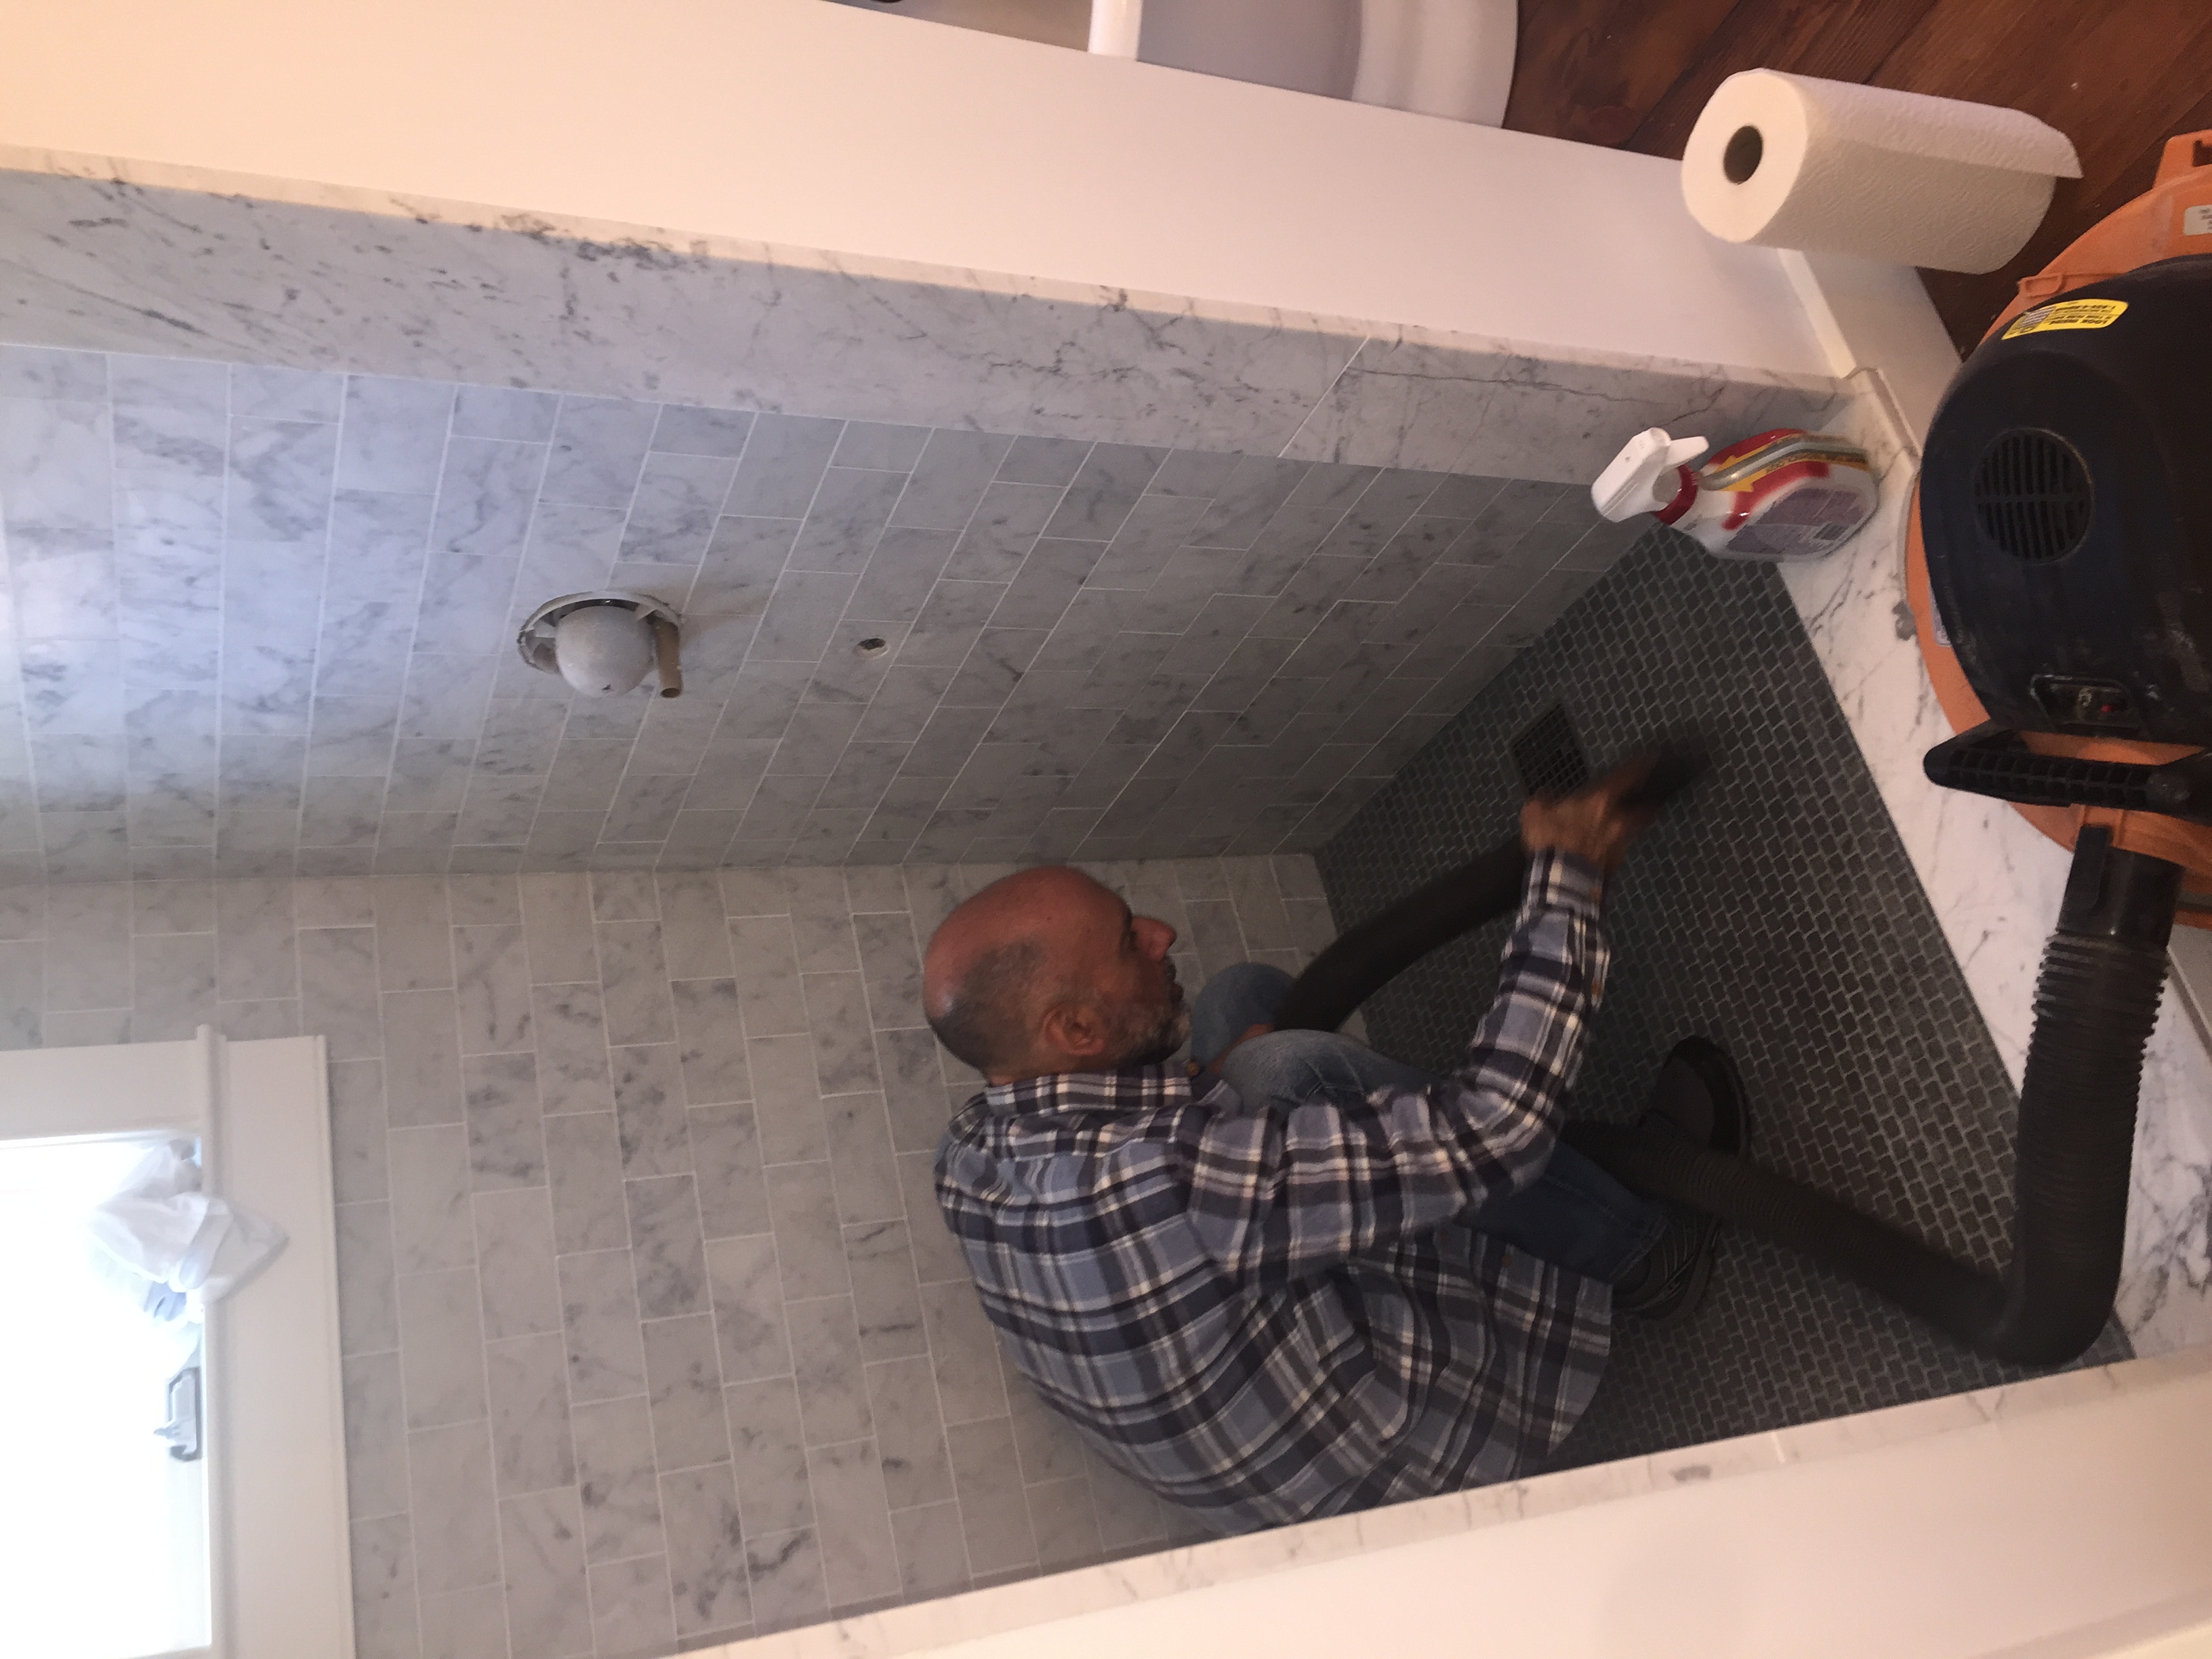
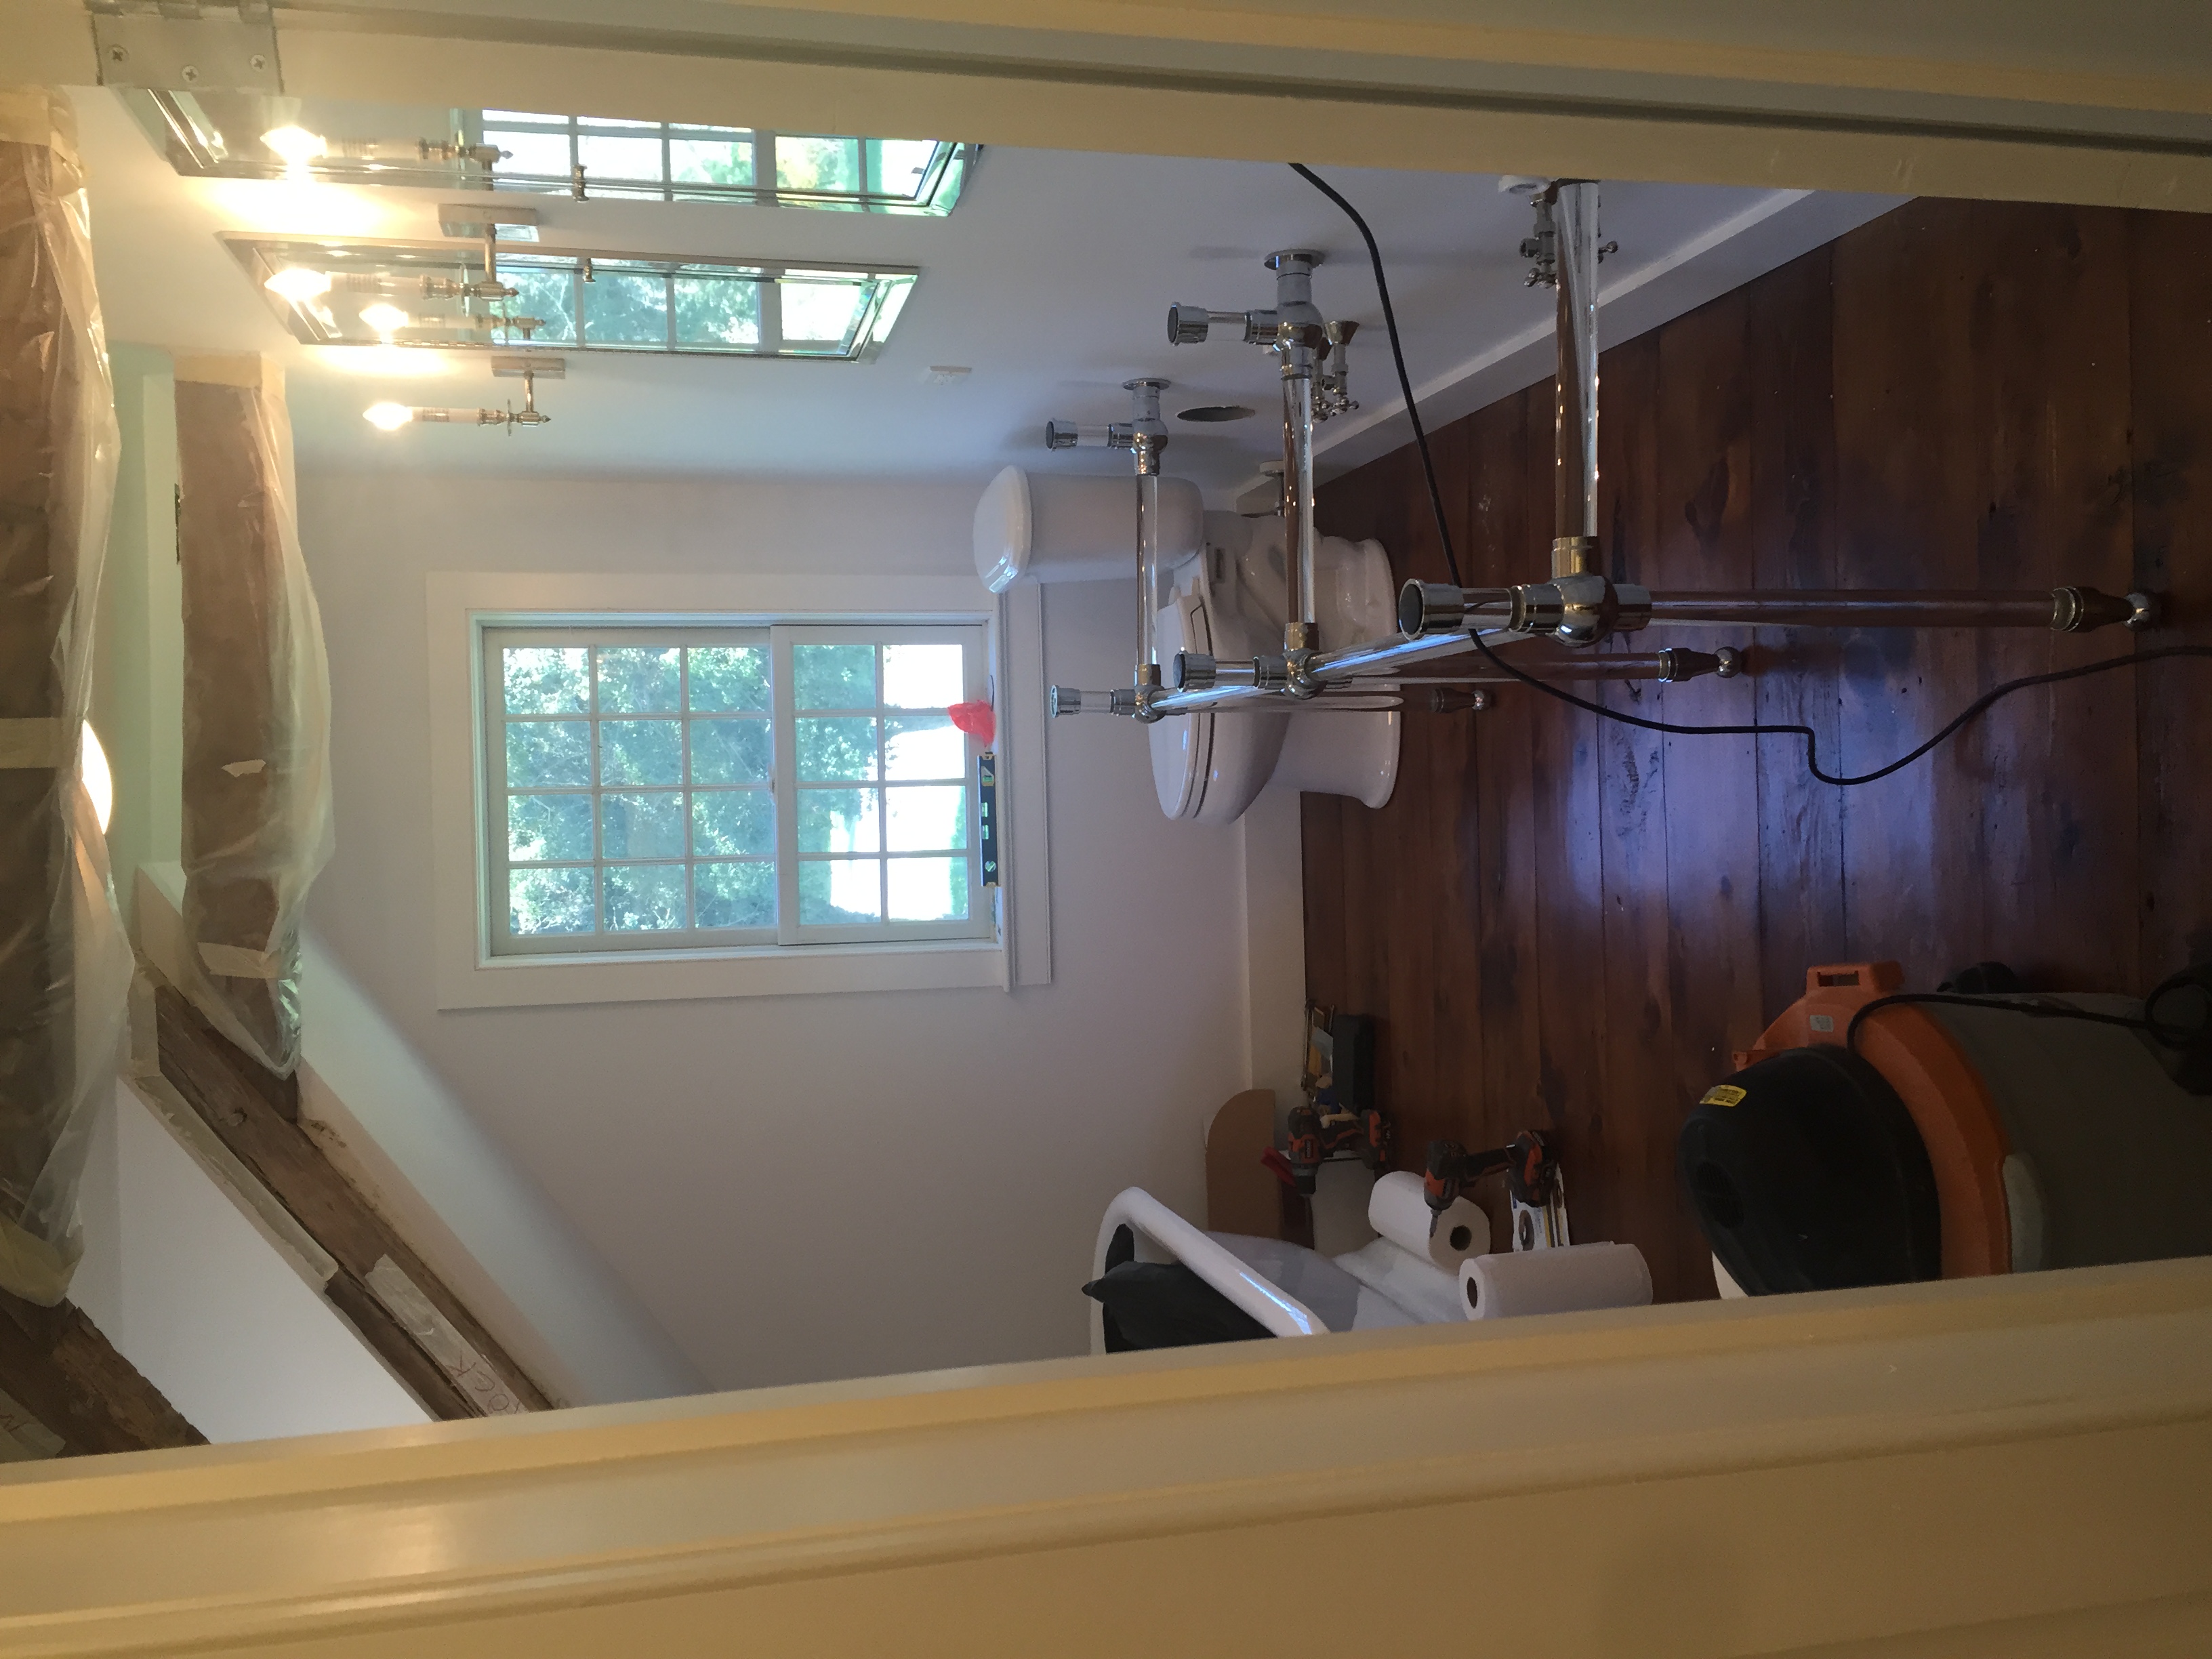
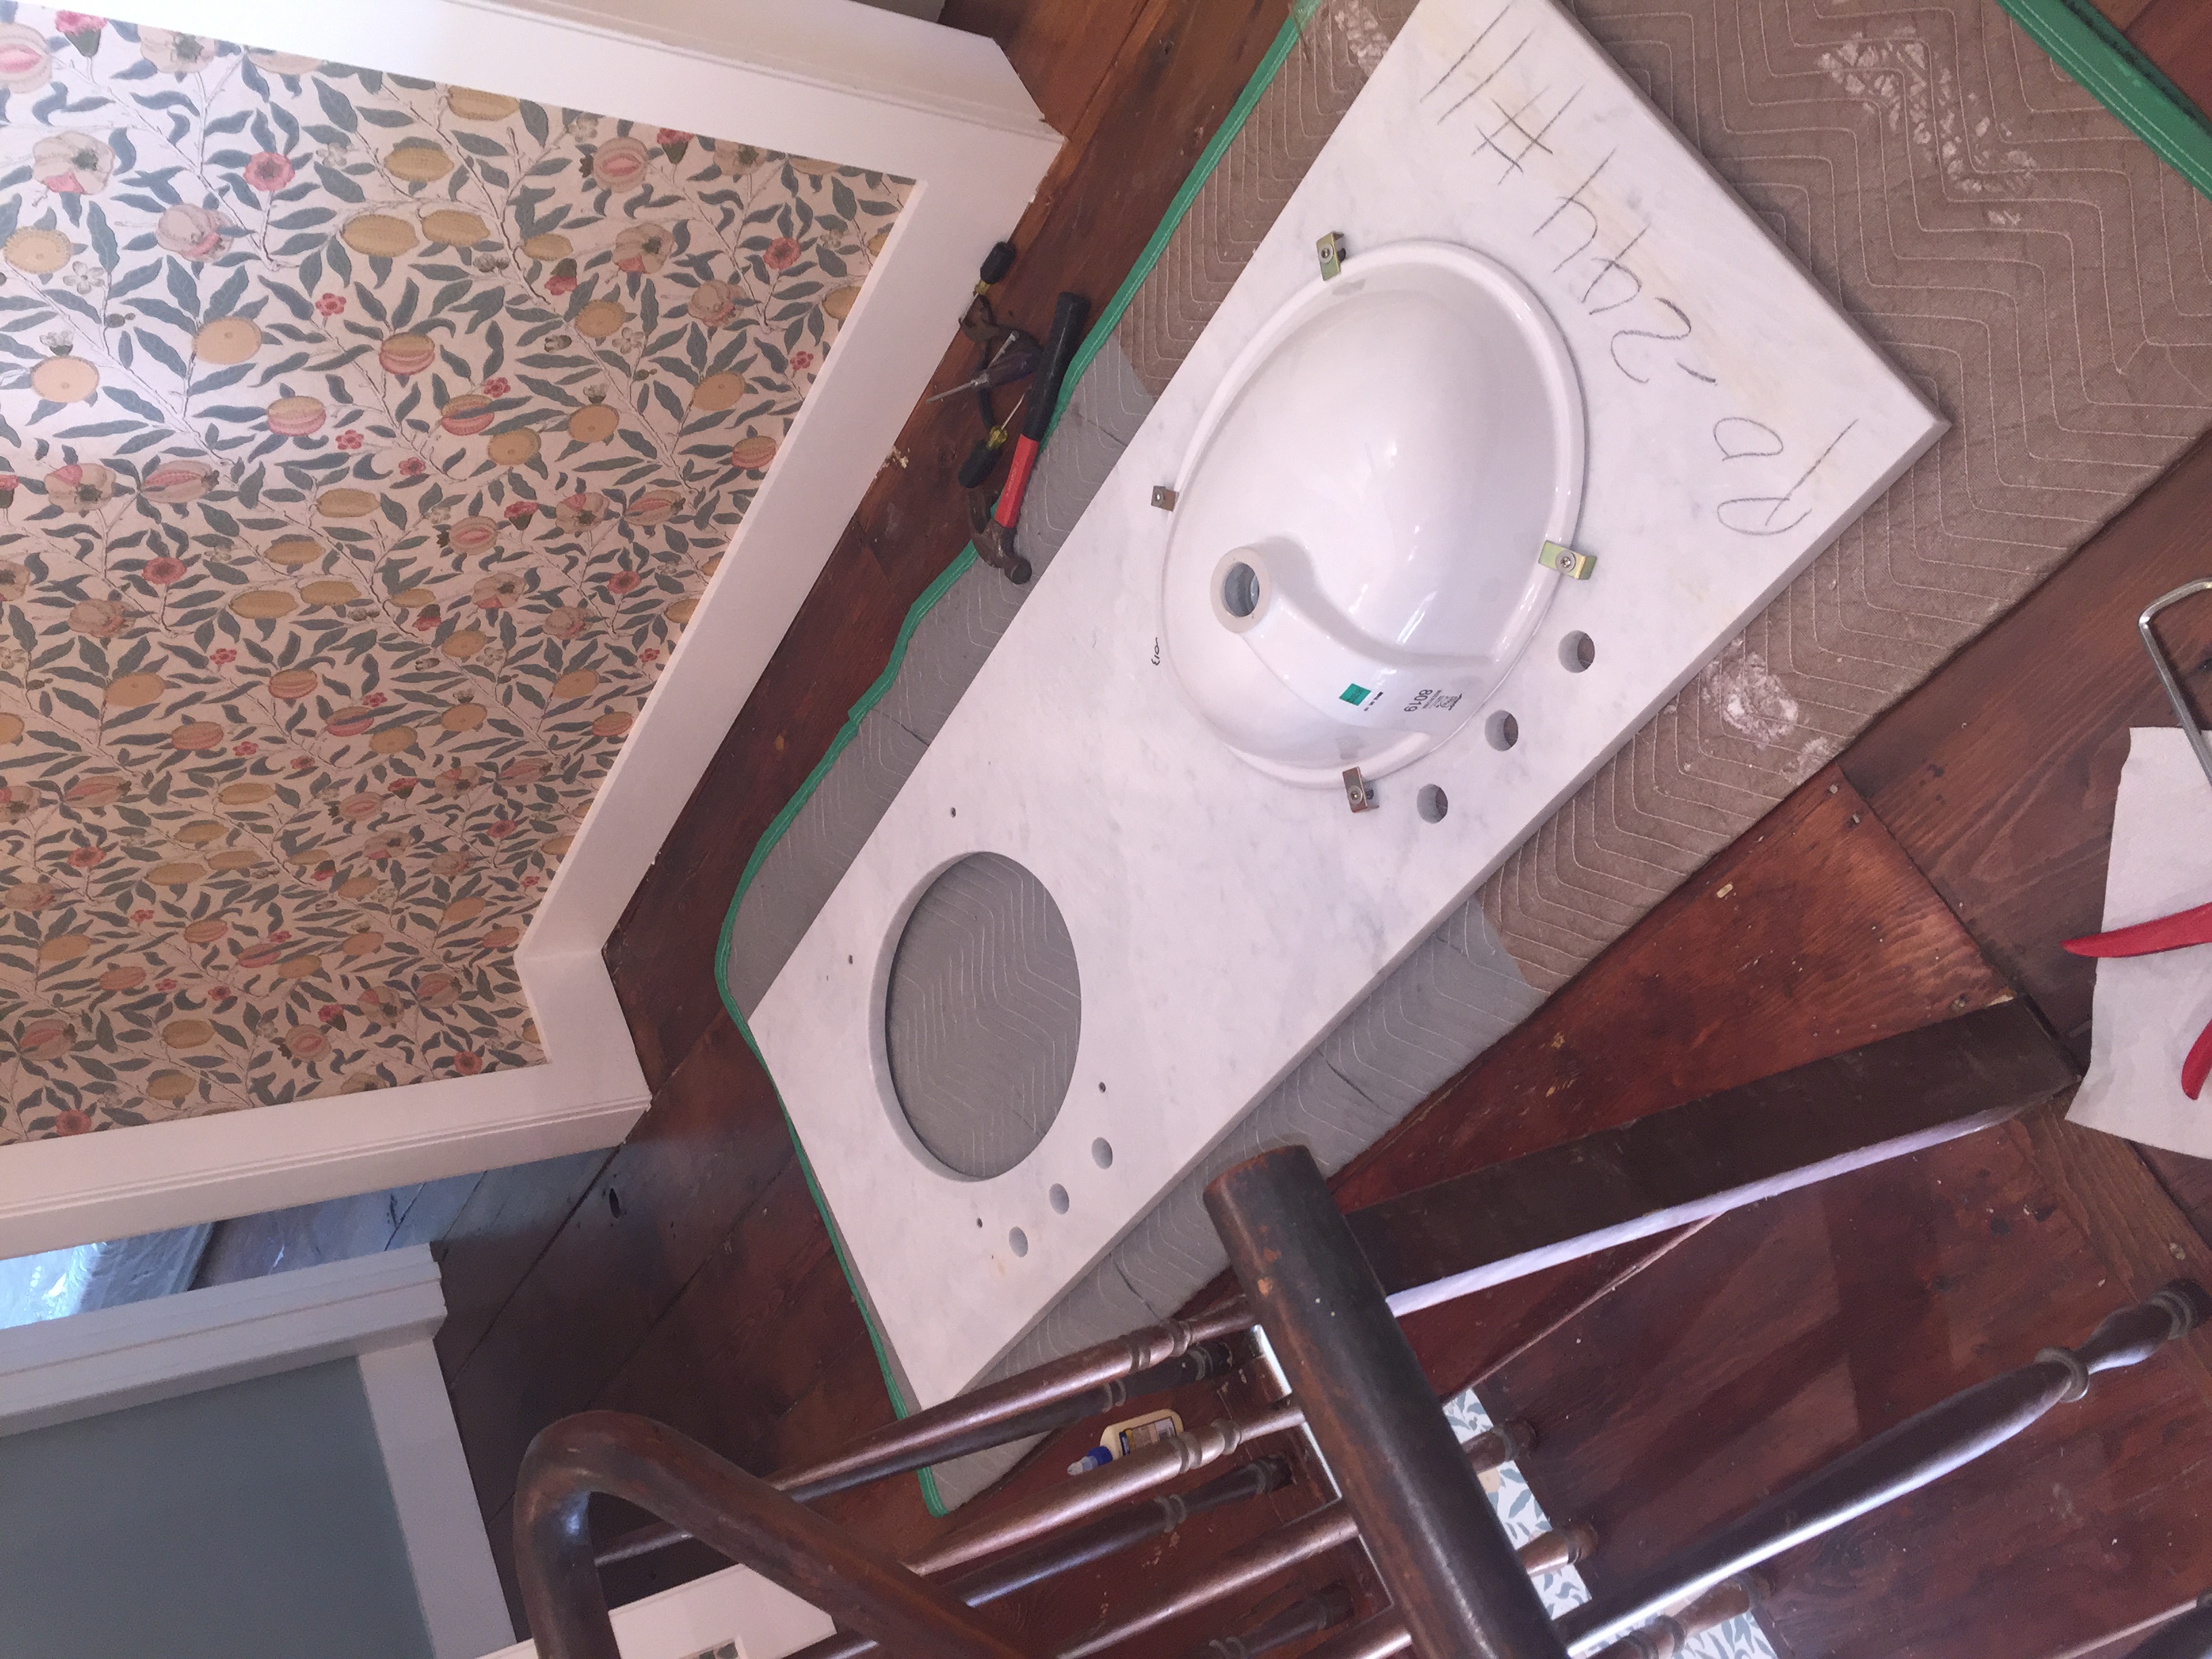
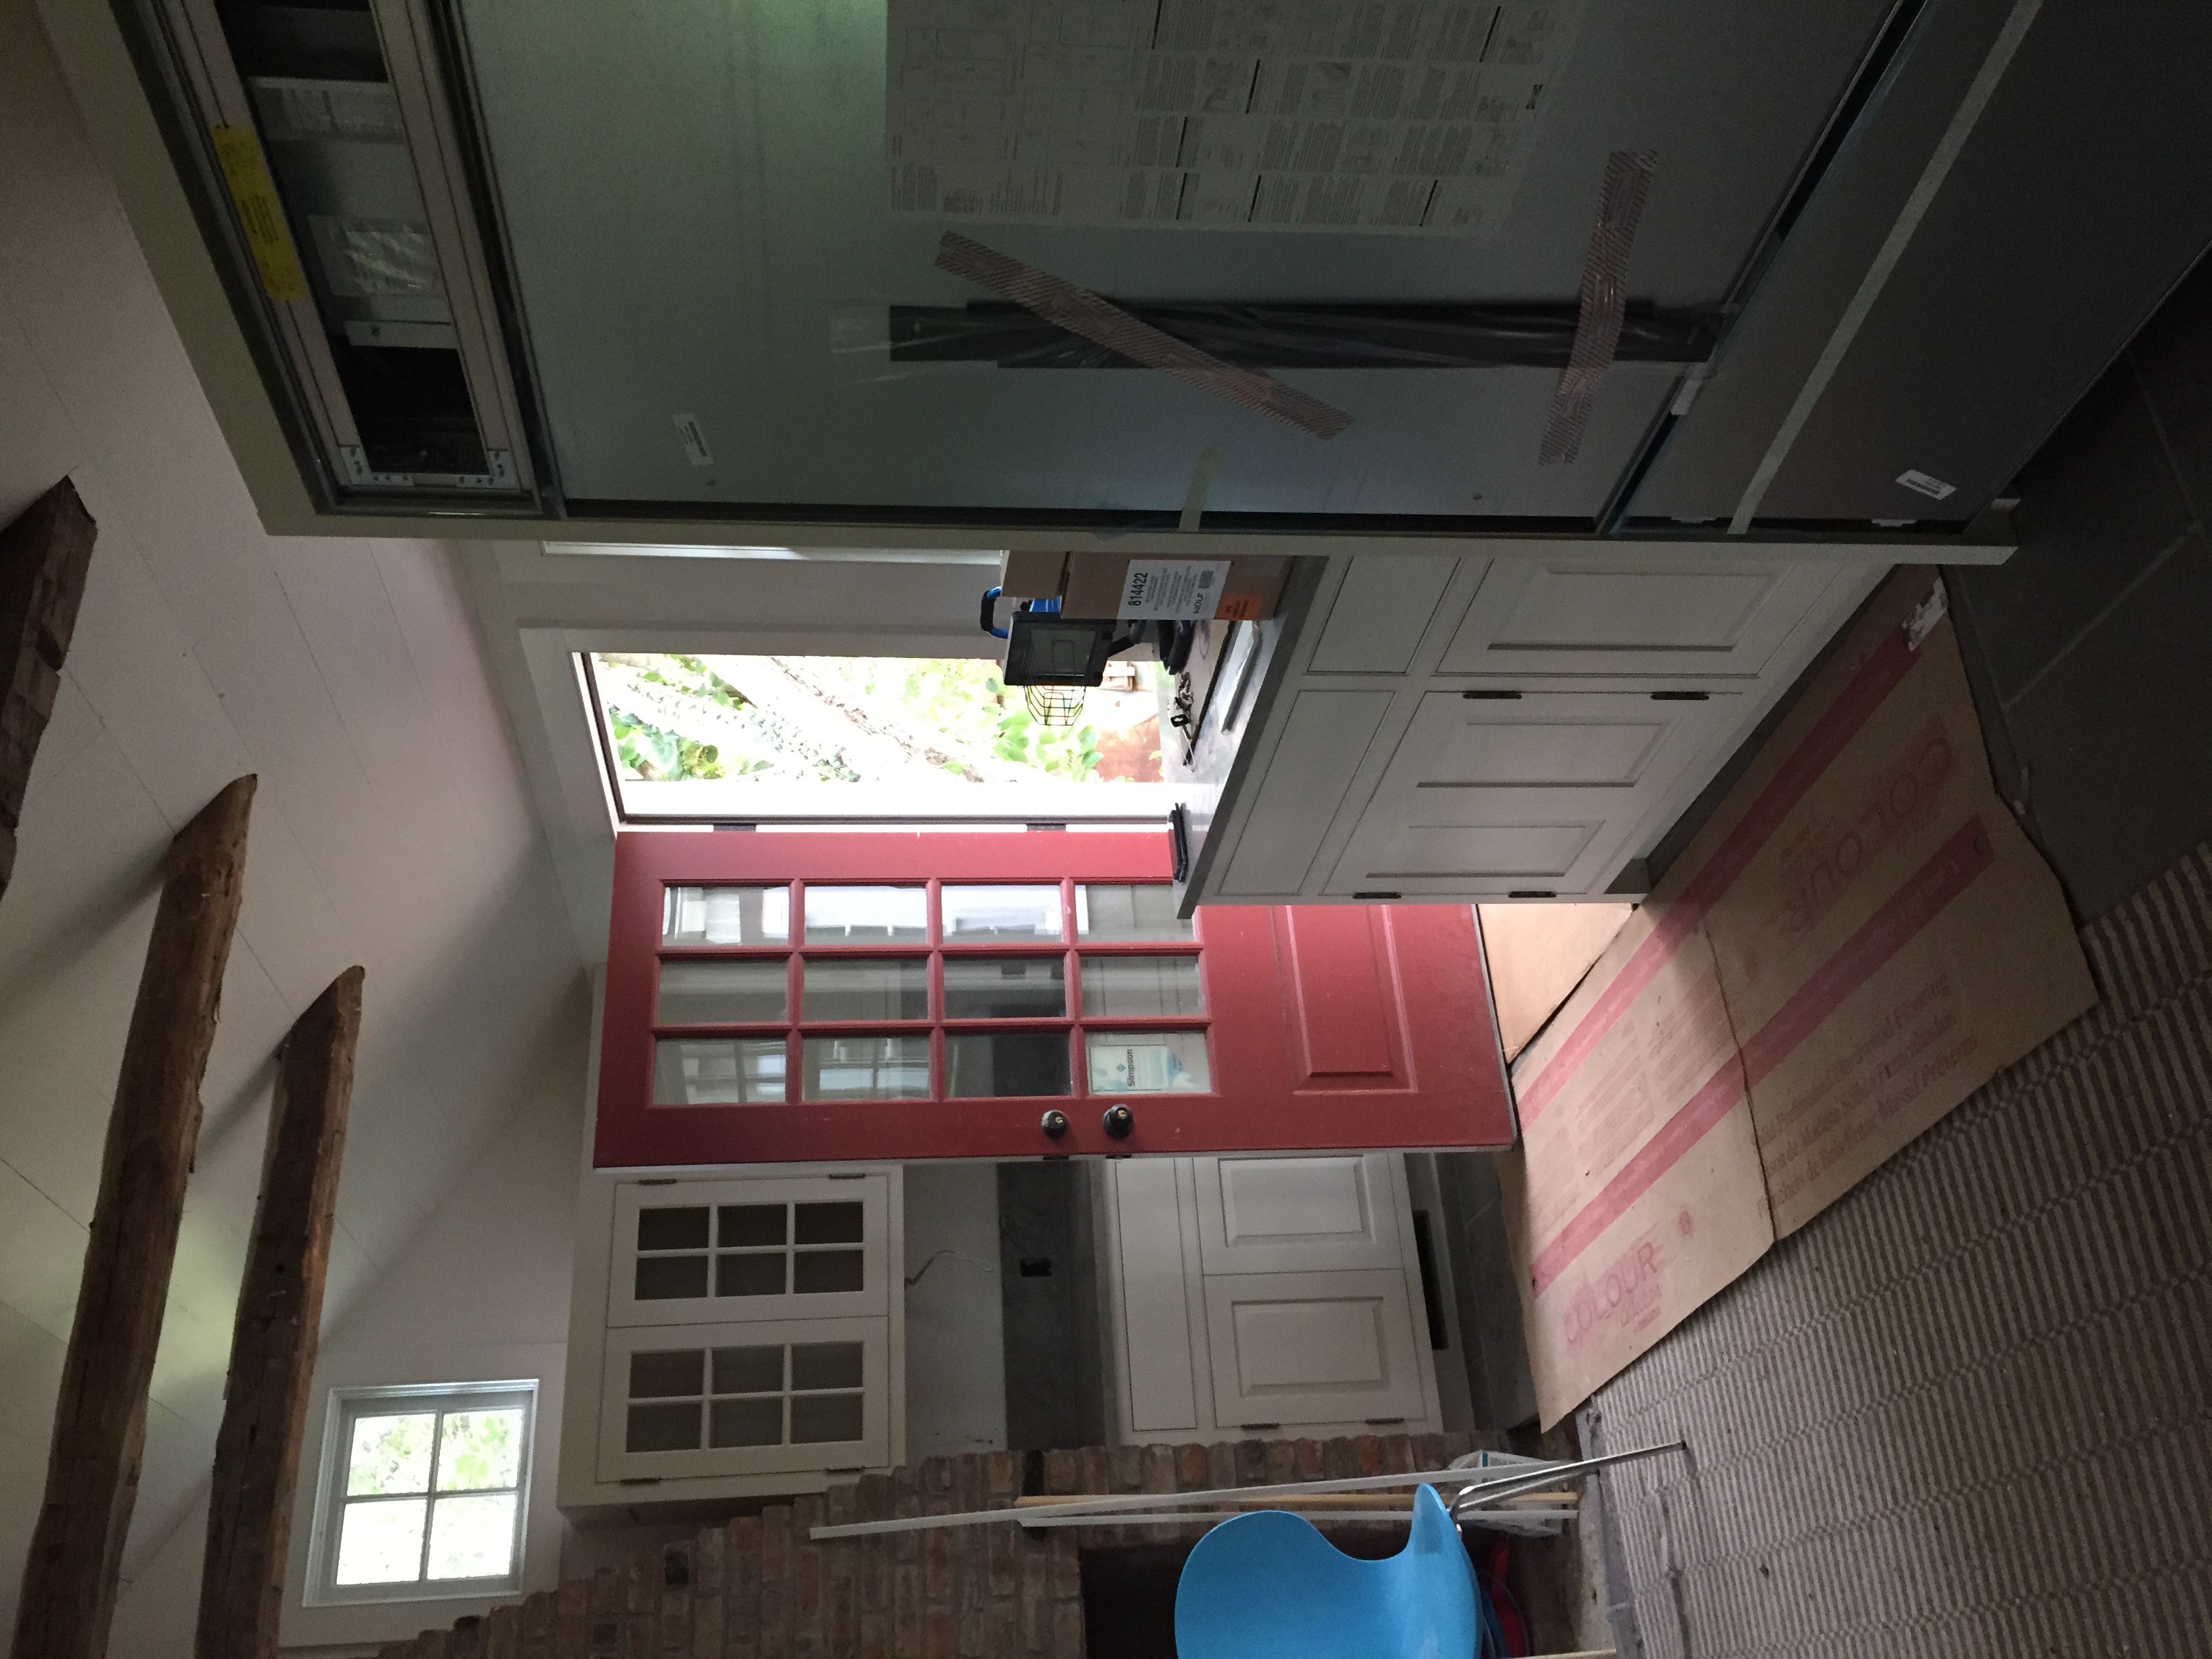
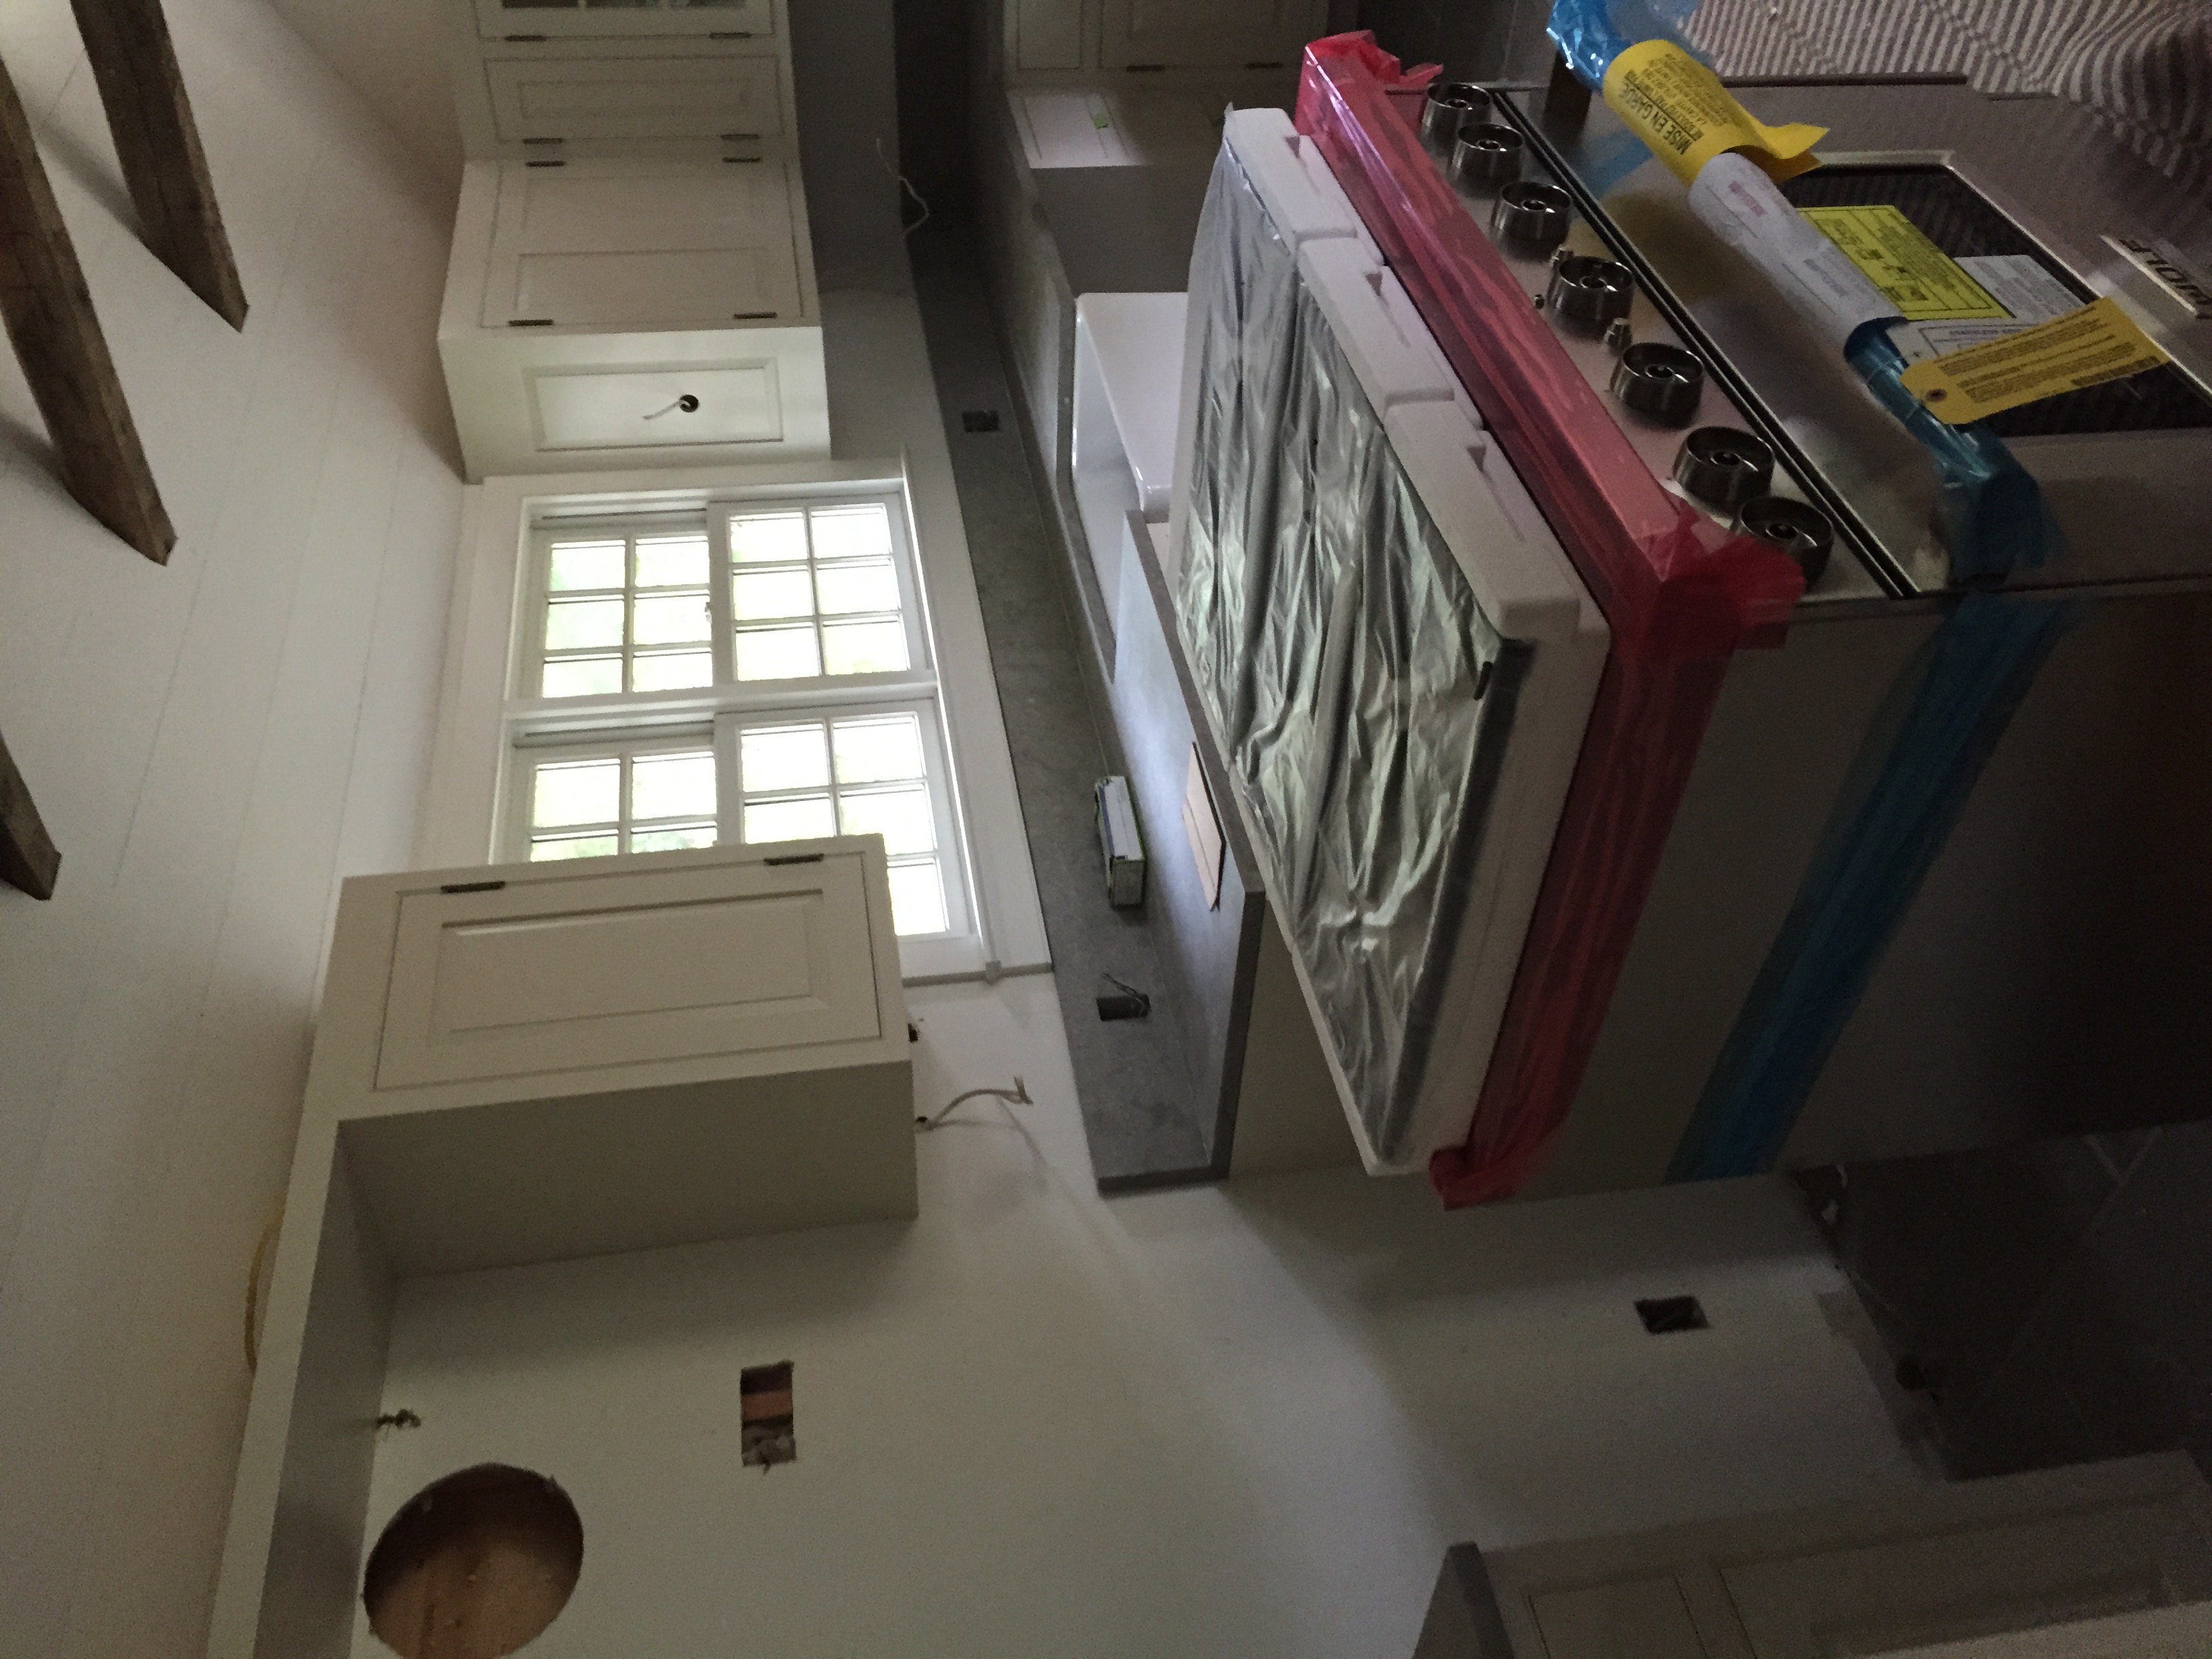
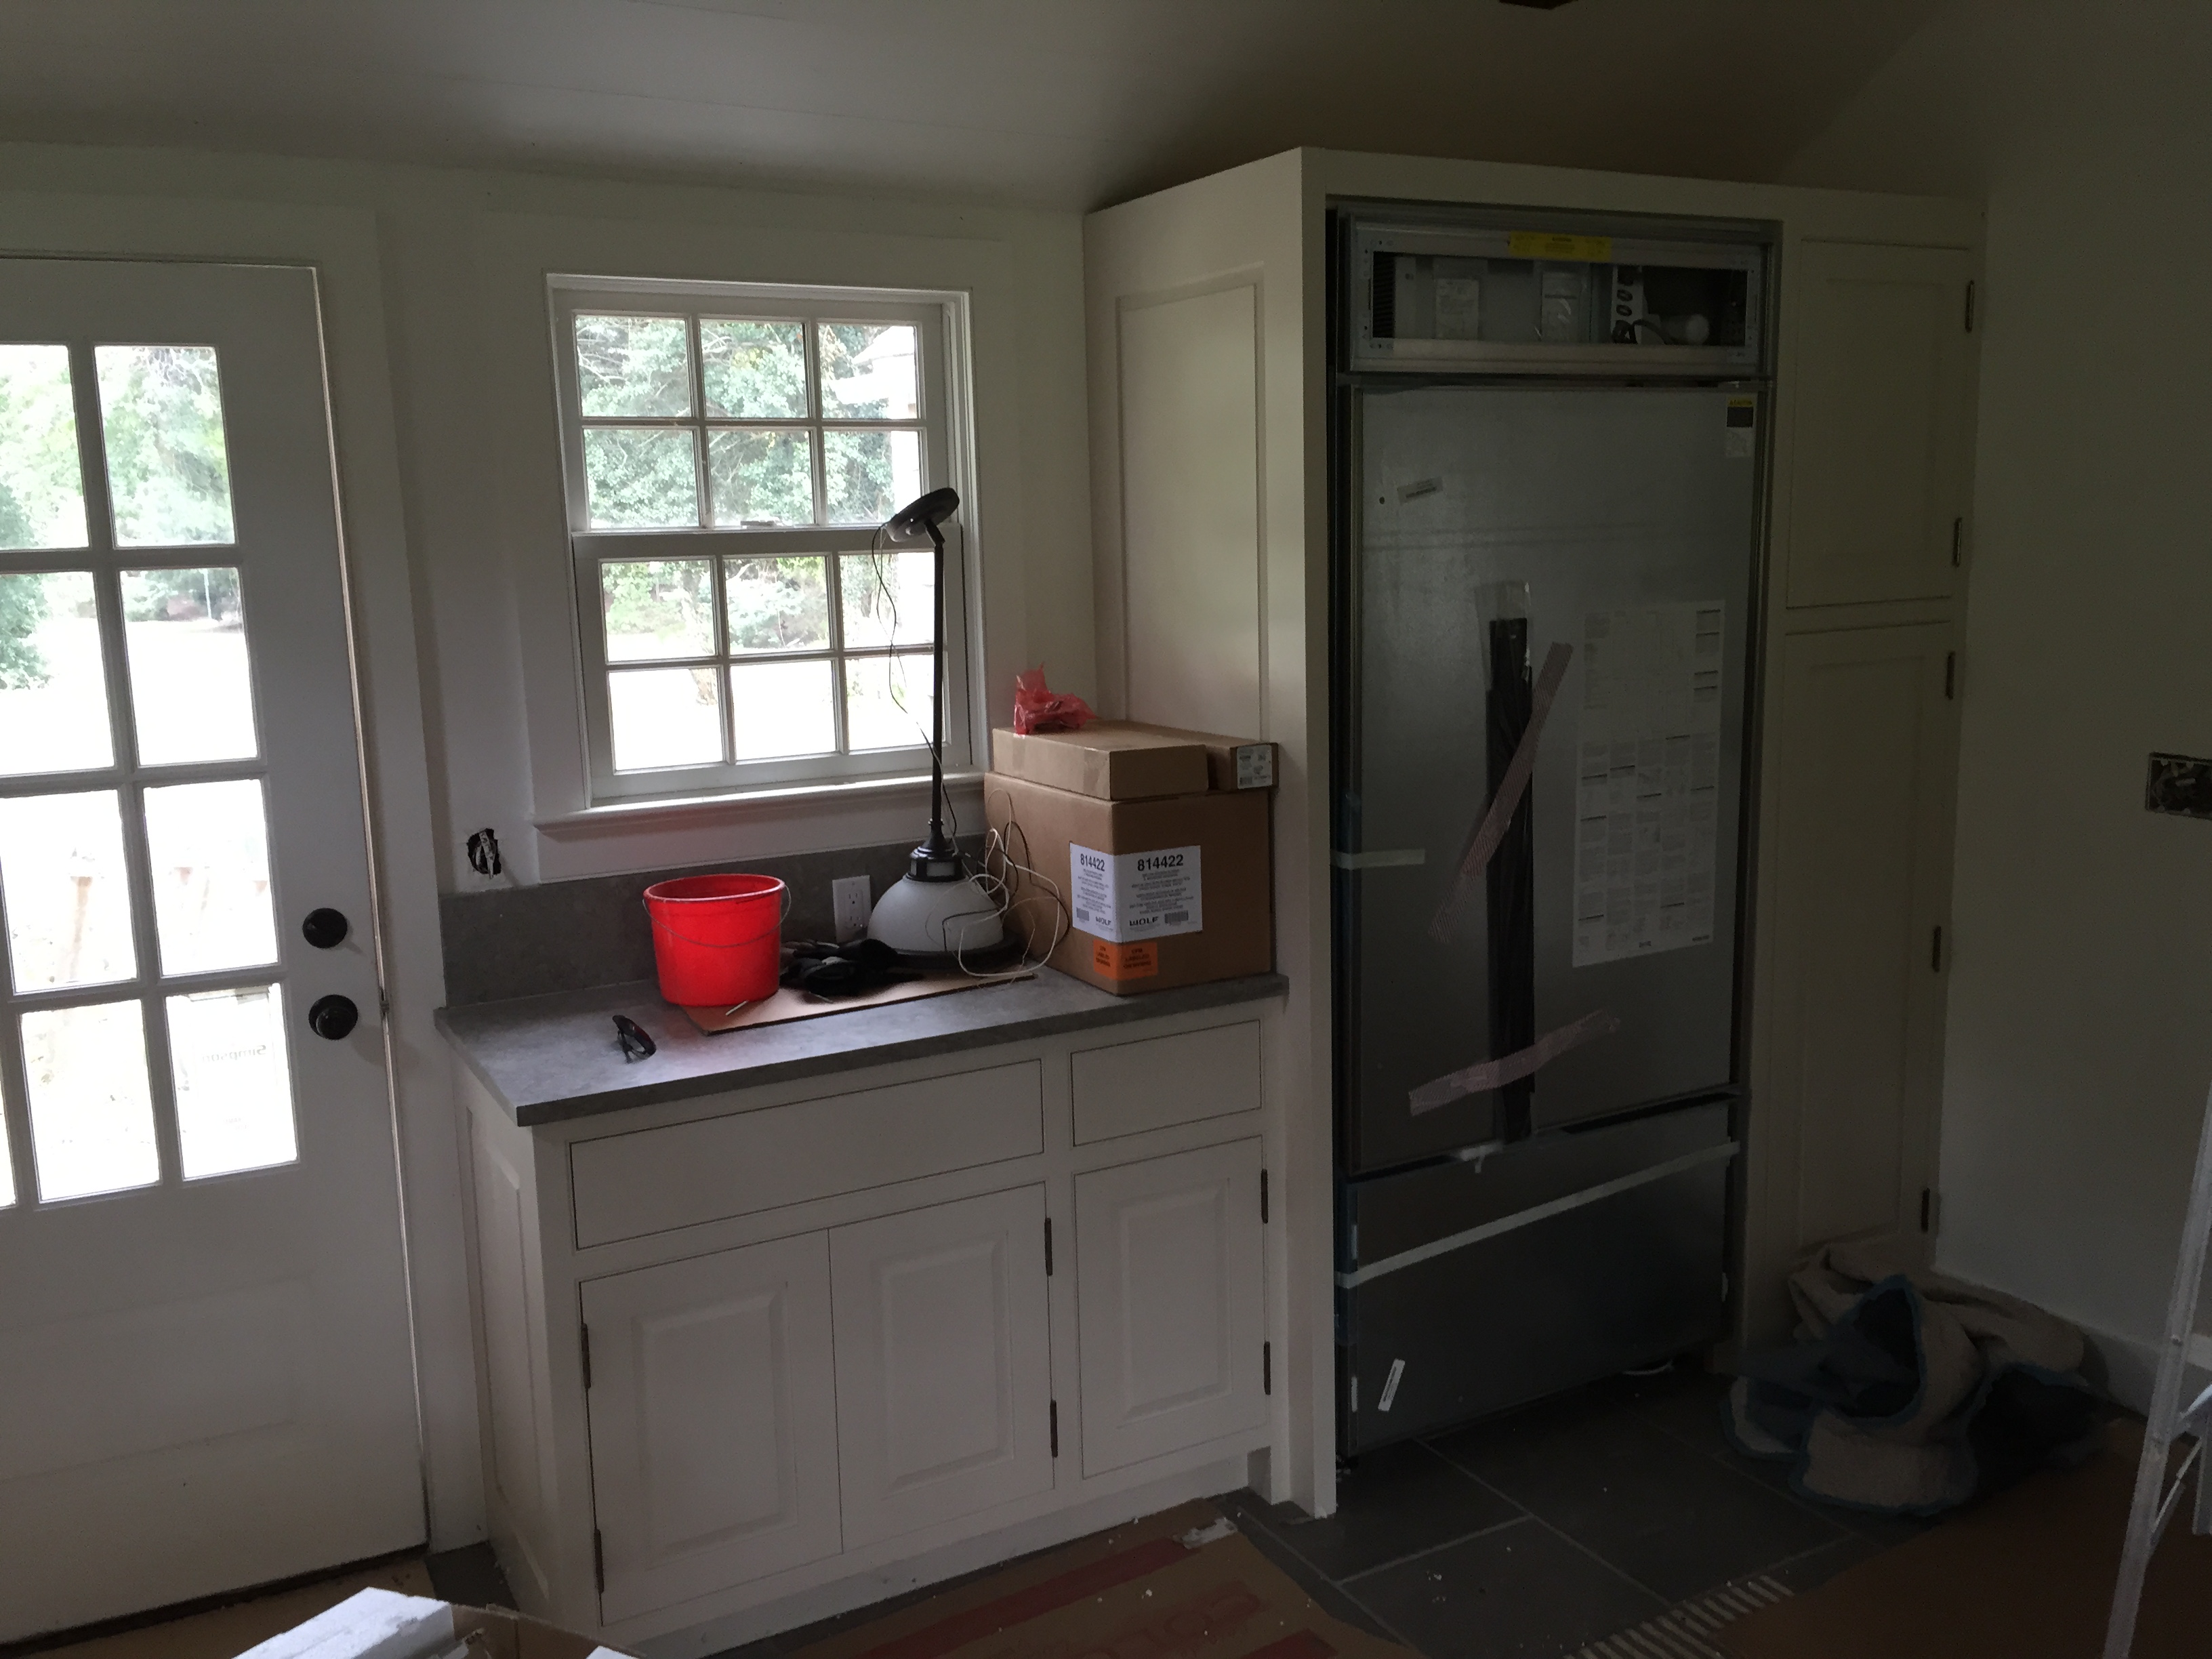
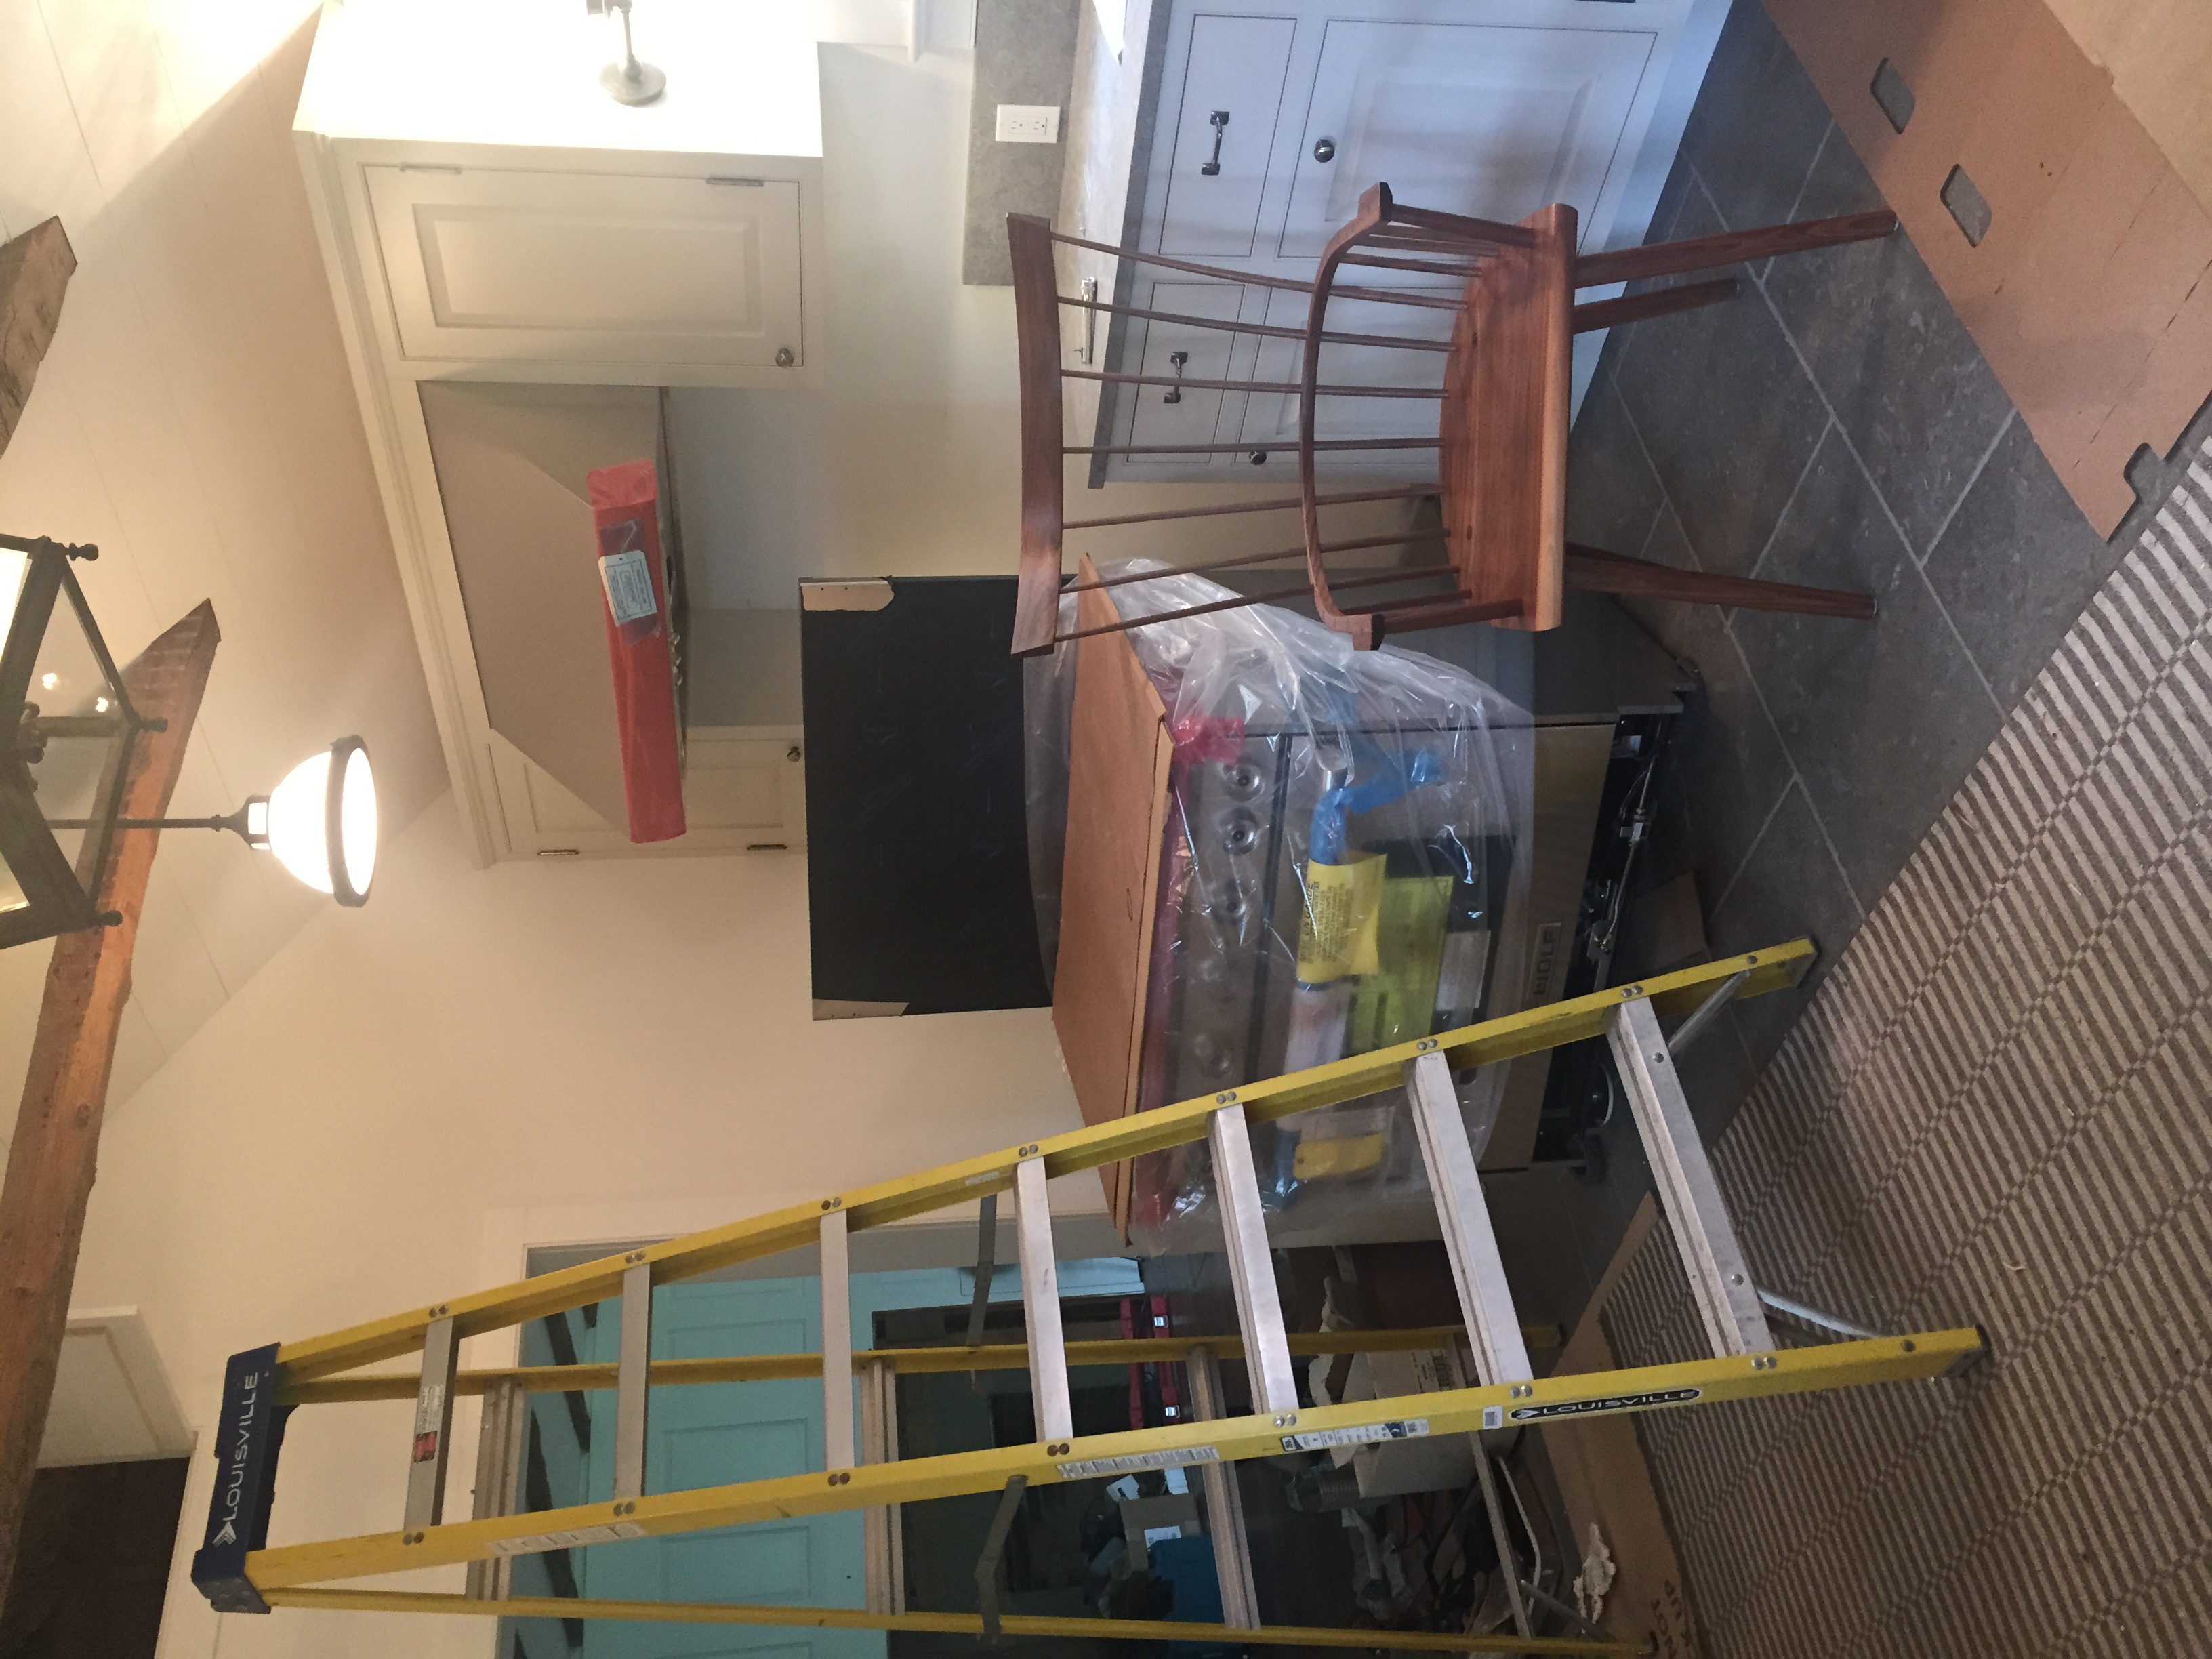
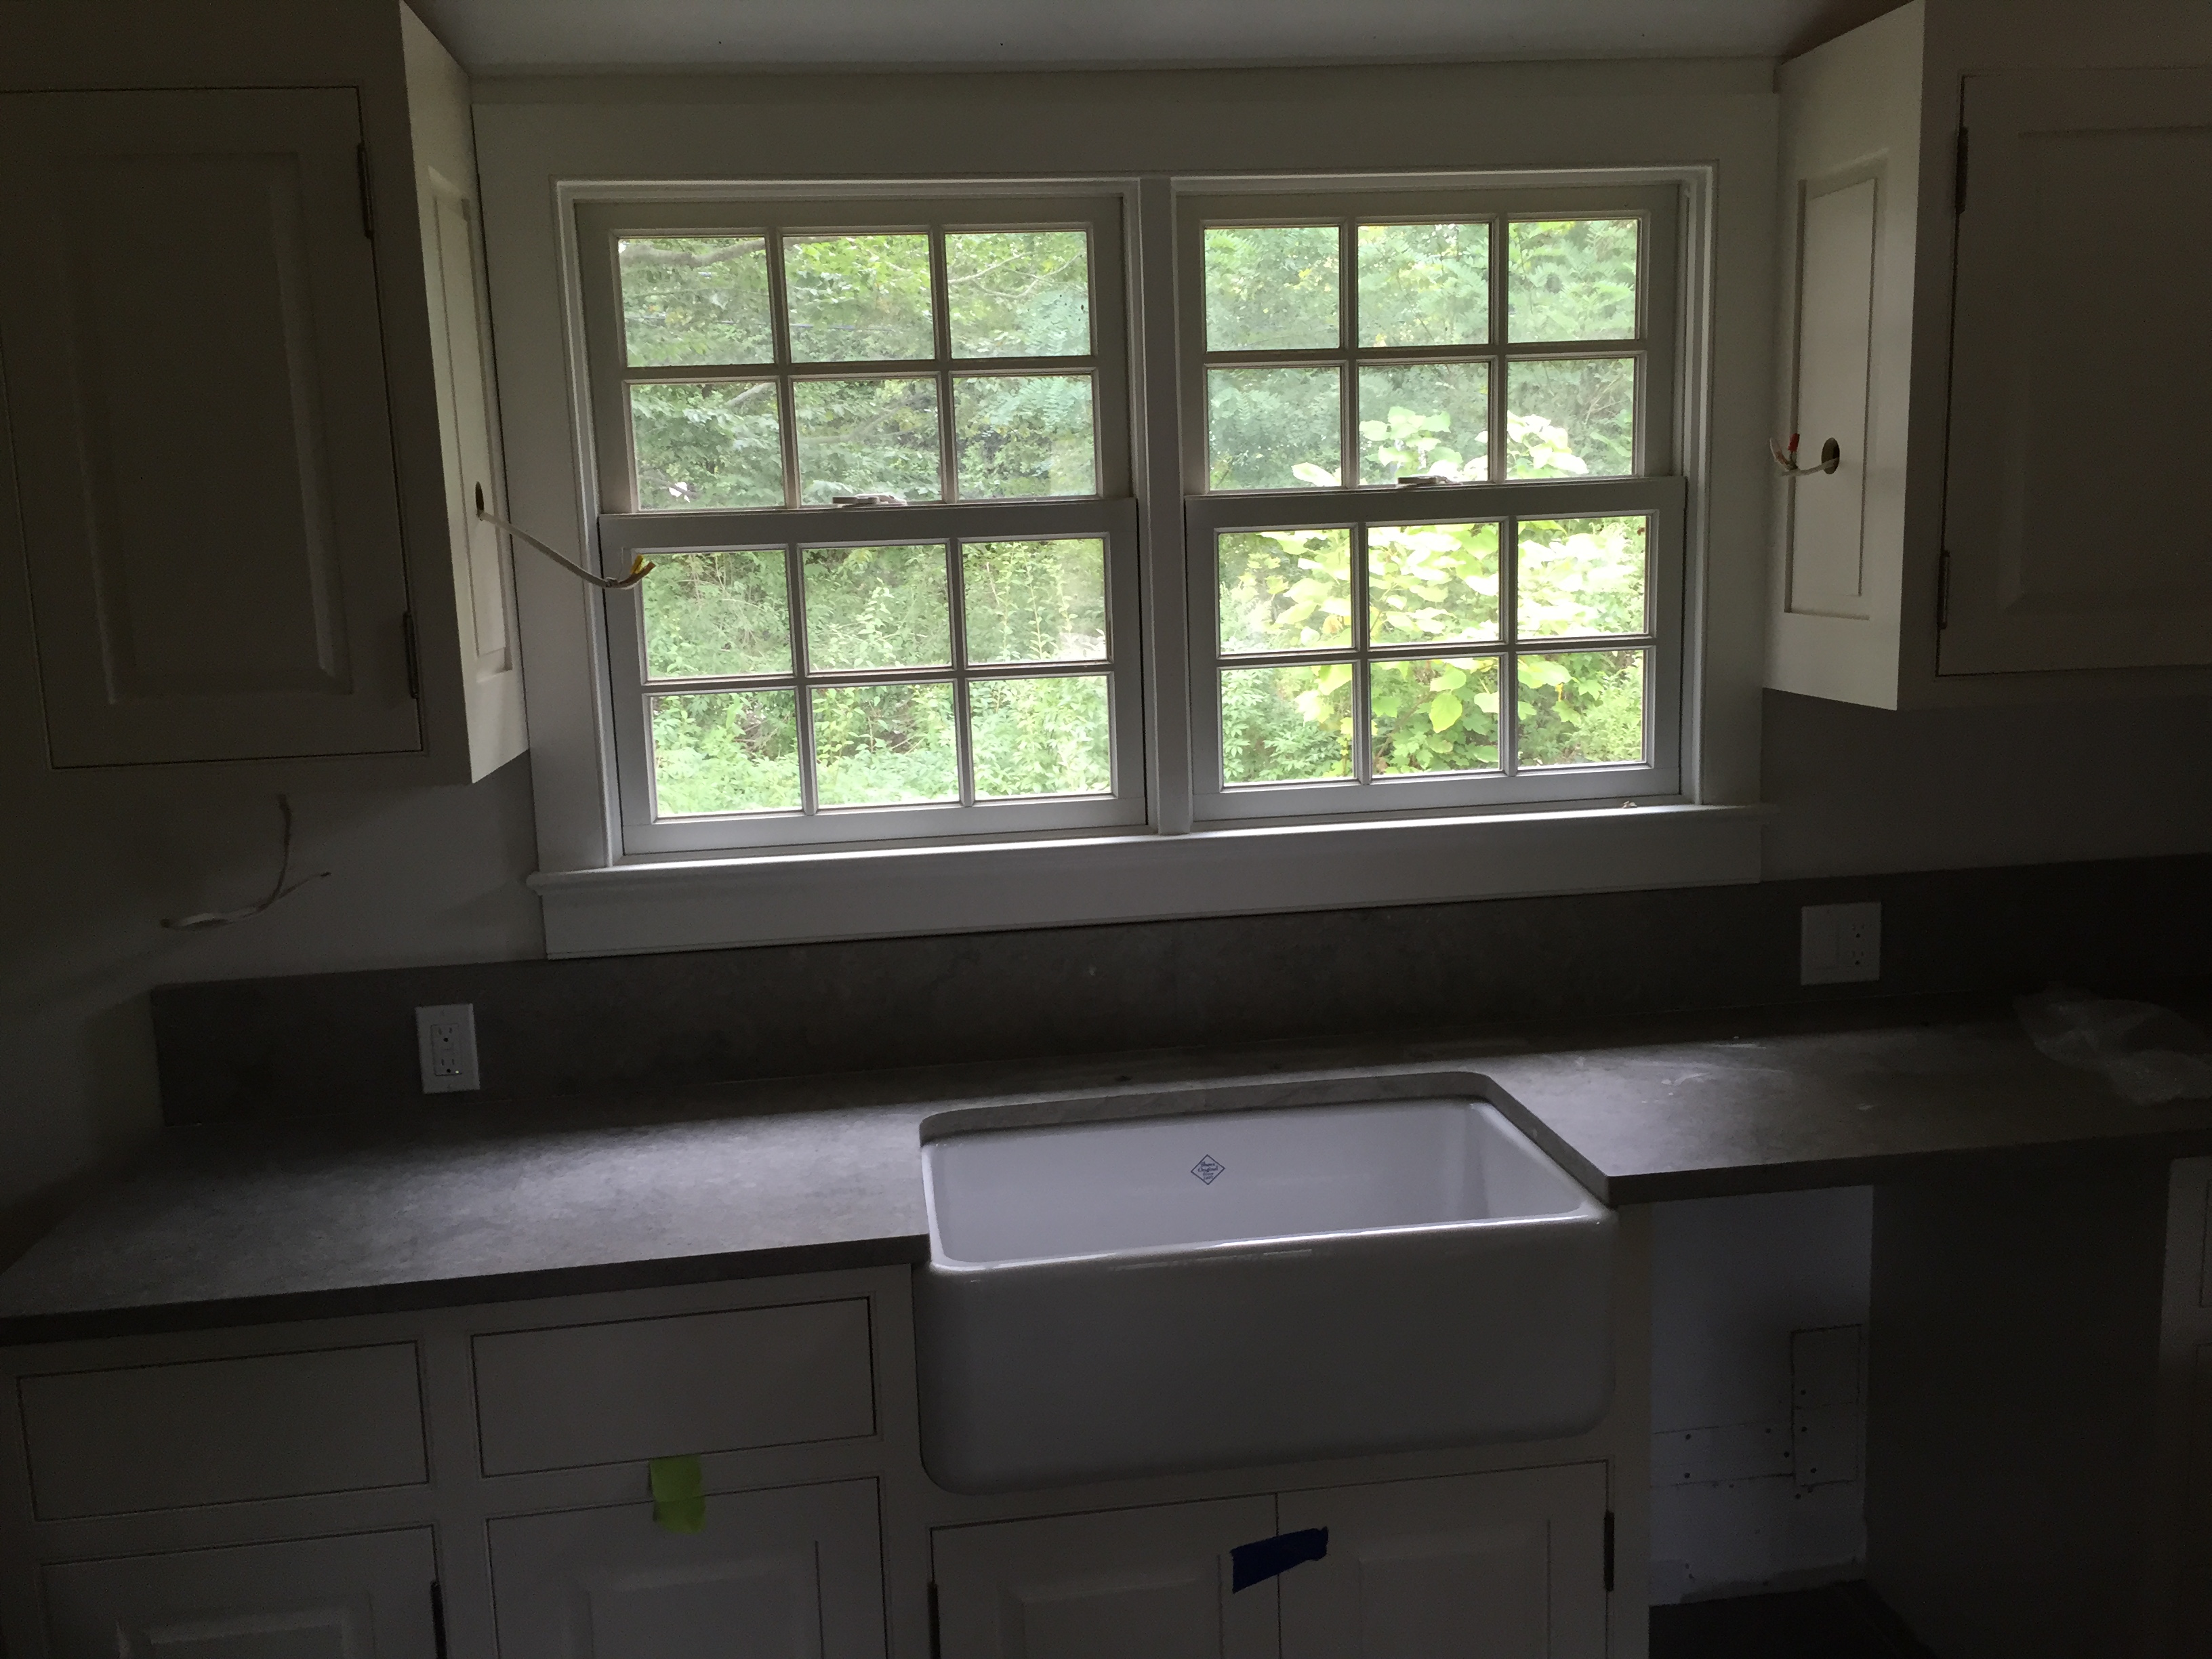
In the kitchen and mud room we installed French limestone tile, which has great texture and develops a natural rich patina over time. For the bath and shower areas we opted for classic marble and mosaic tiles, and a glass and marble wash stand for the second floor bath. The kitchen cabinets were custom made by a local cabinet maker in Sag Harbor.







Finished Product
From there, my partner Anthony Squatrito - an interior designer - took over creating a home.